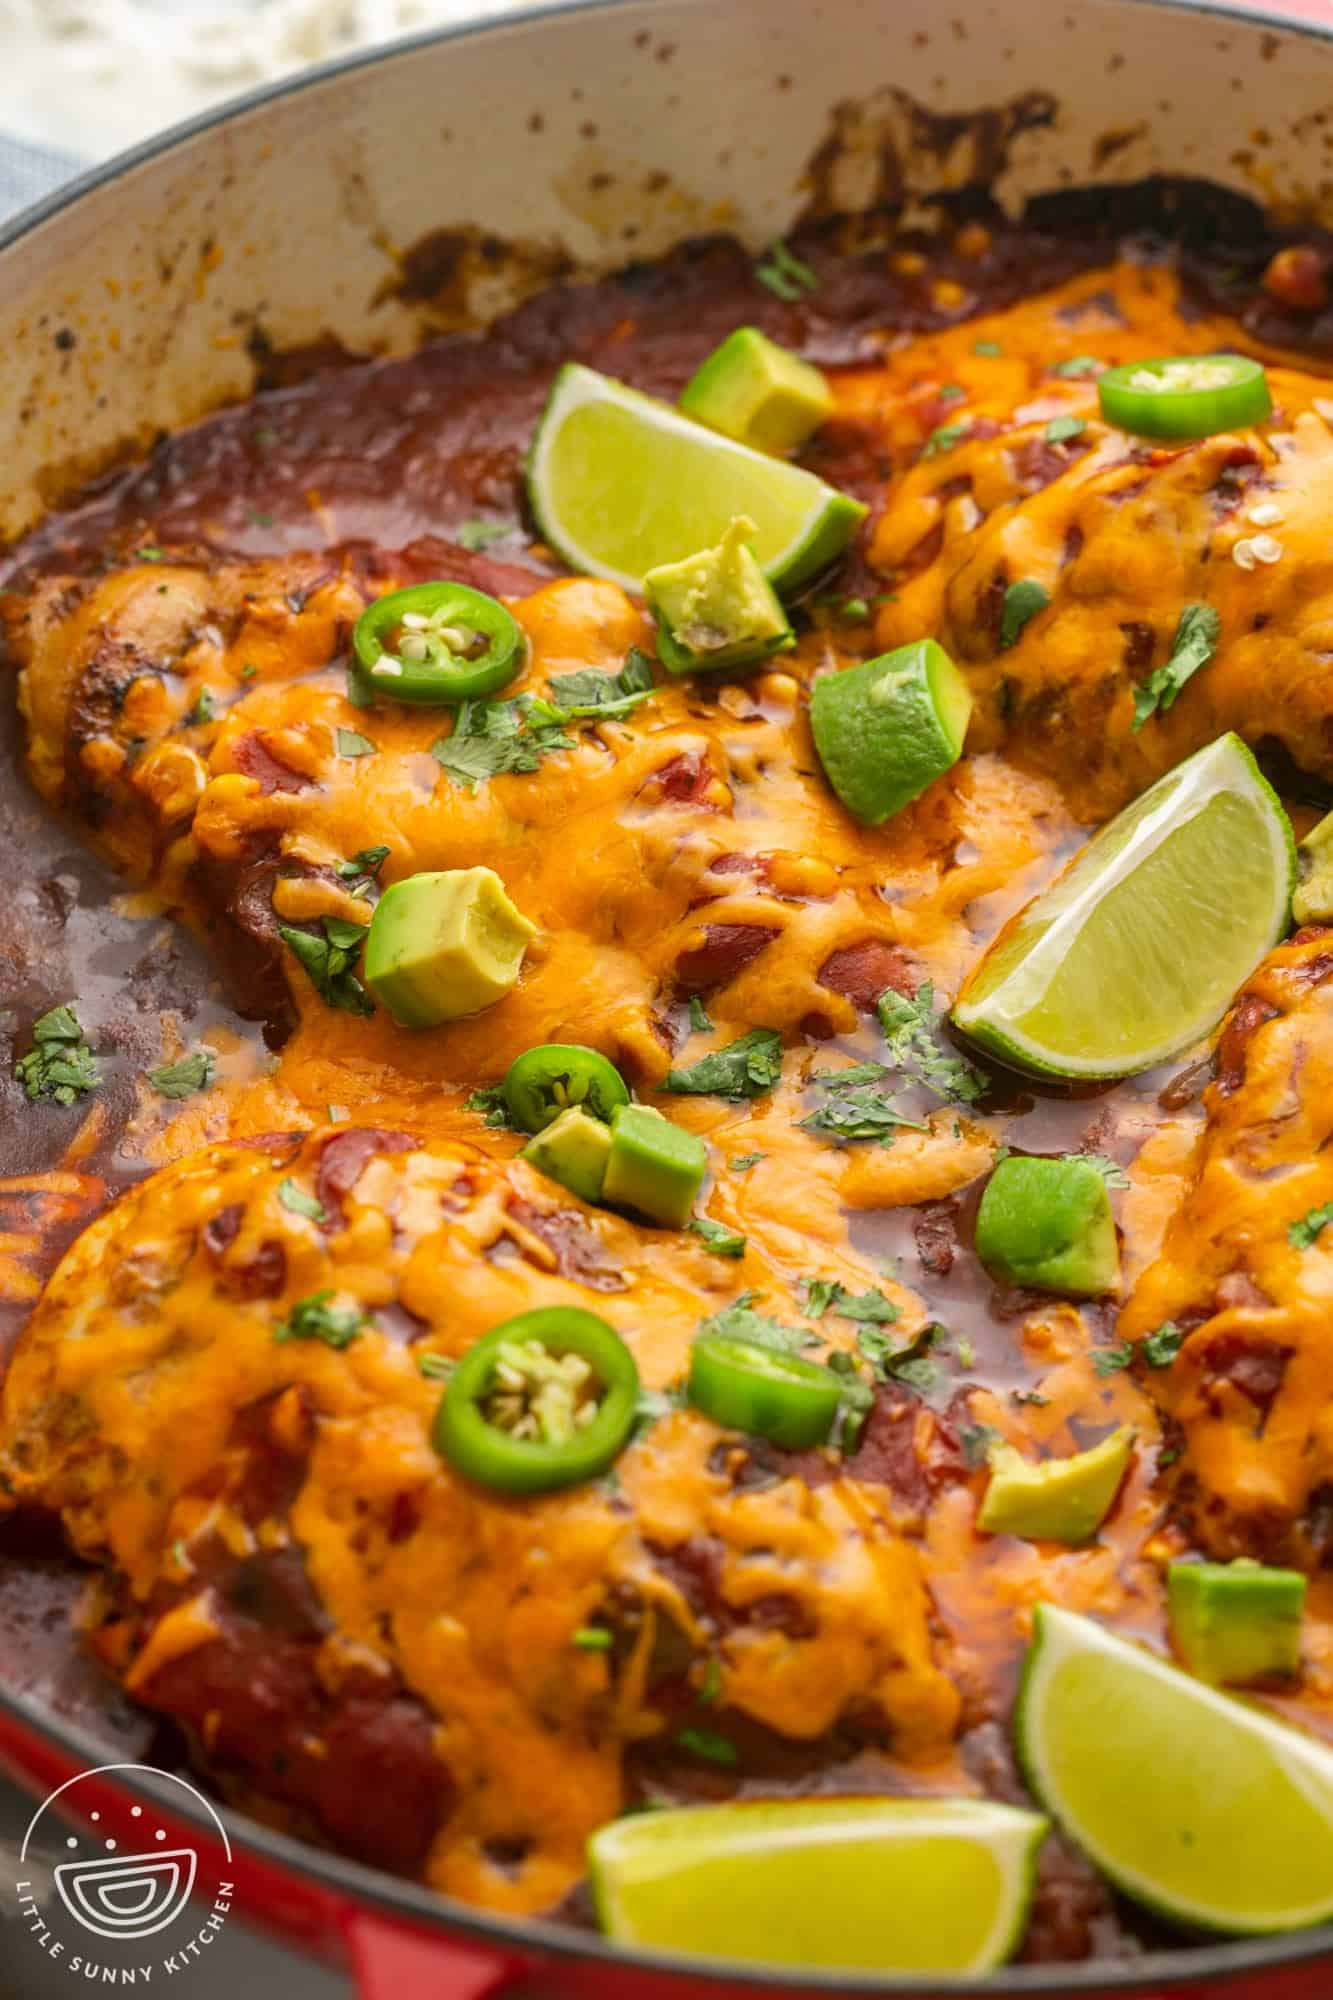
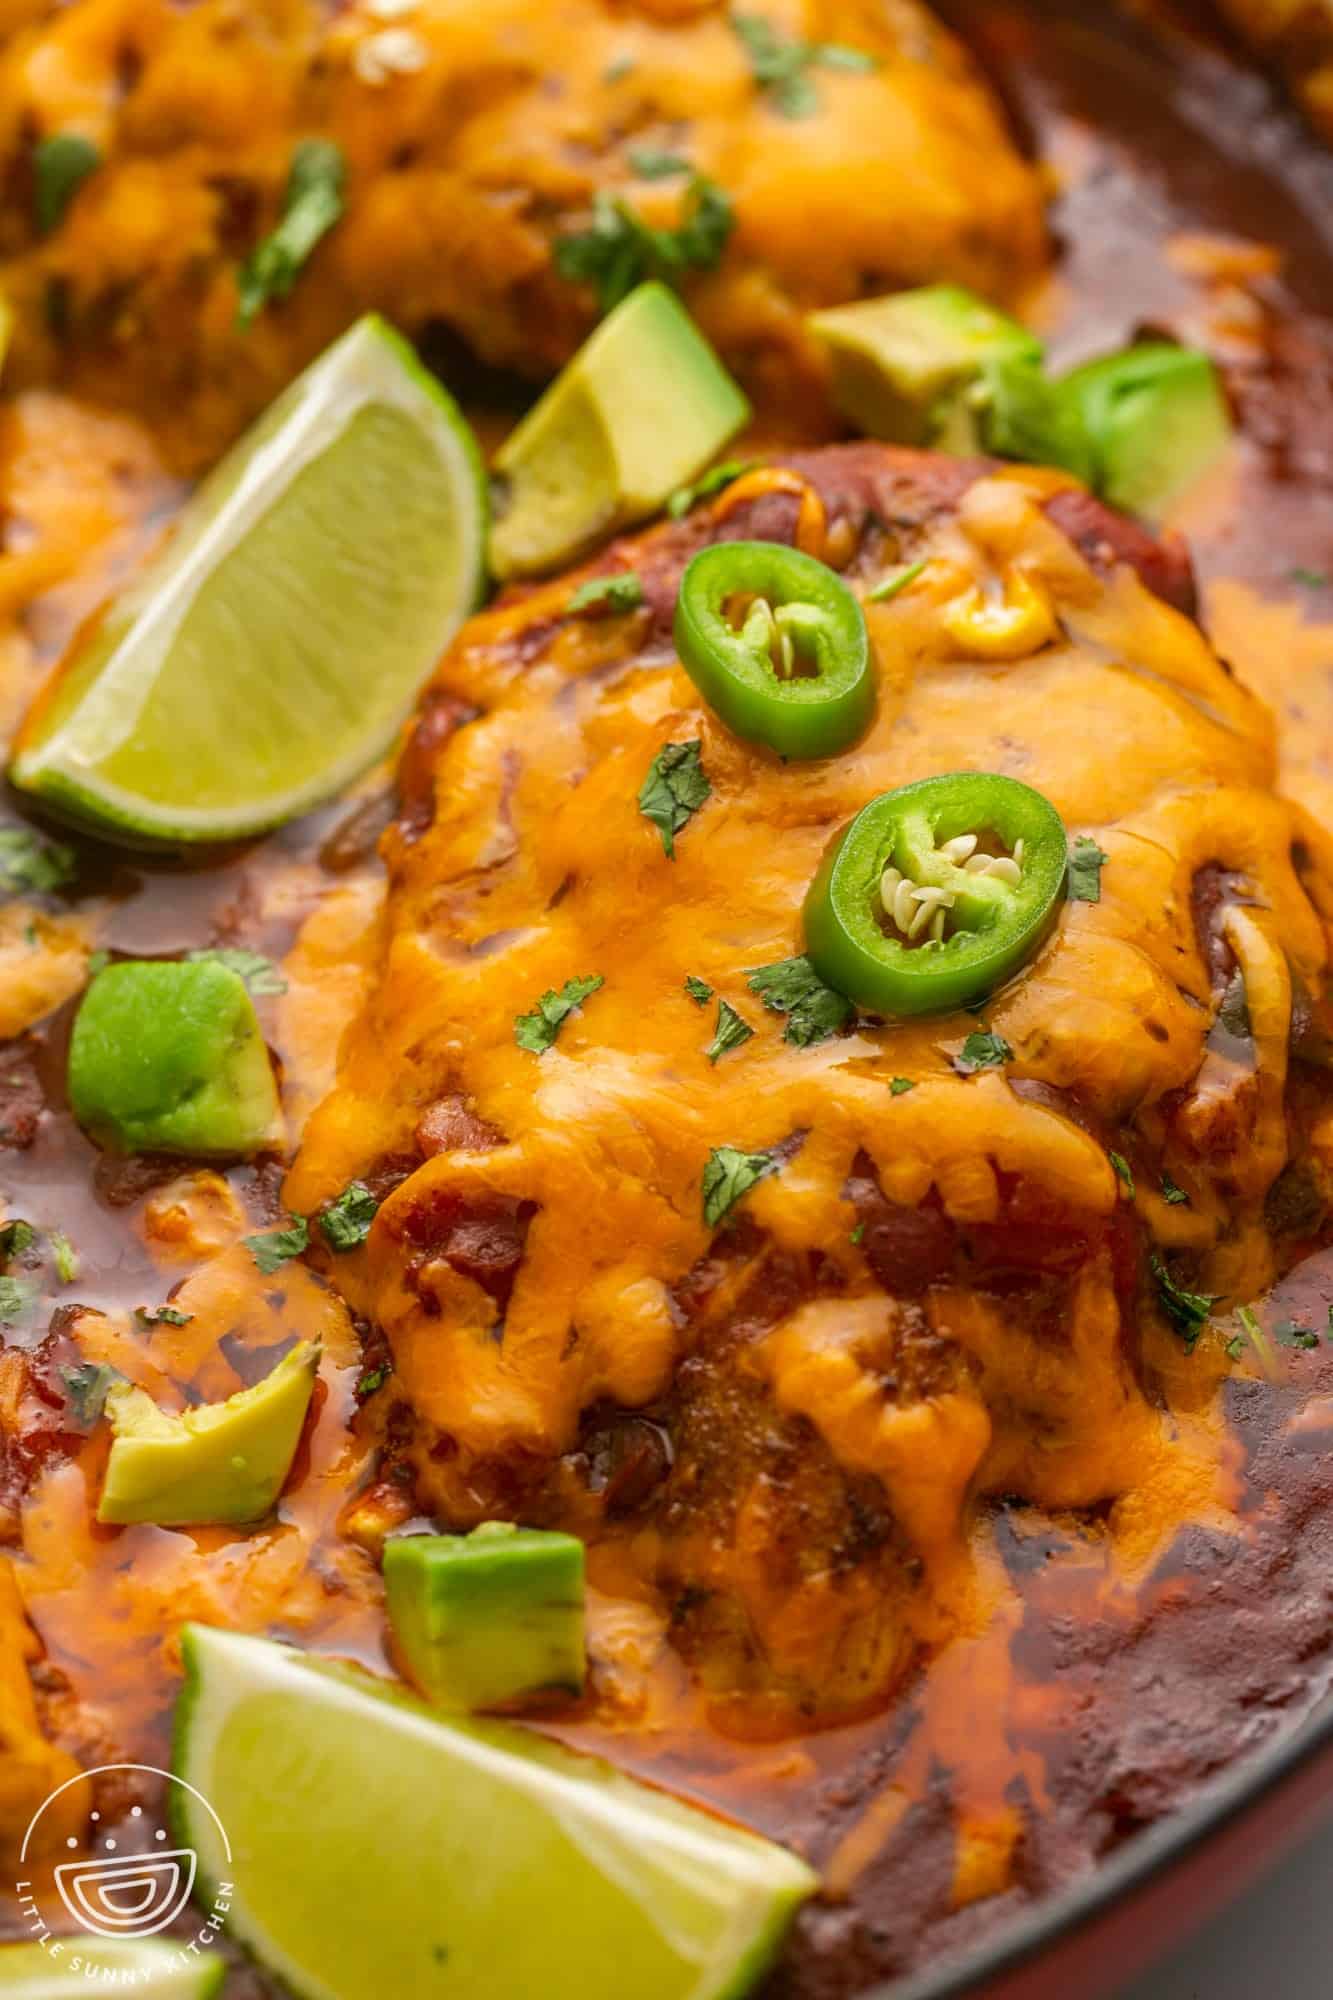
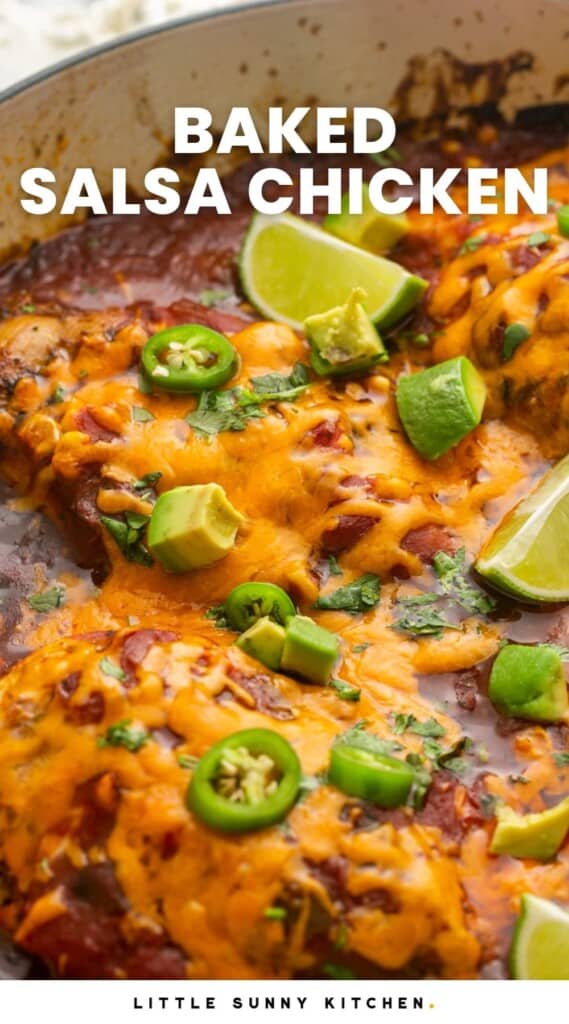
This recipe for Baked Salsa Chicken is so simple, quick, and delicious! Baked chicken breasts are so juicy and flavorful, seasoned with taco seasoning and your favorite salsa.
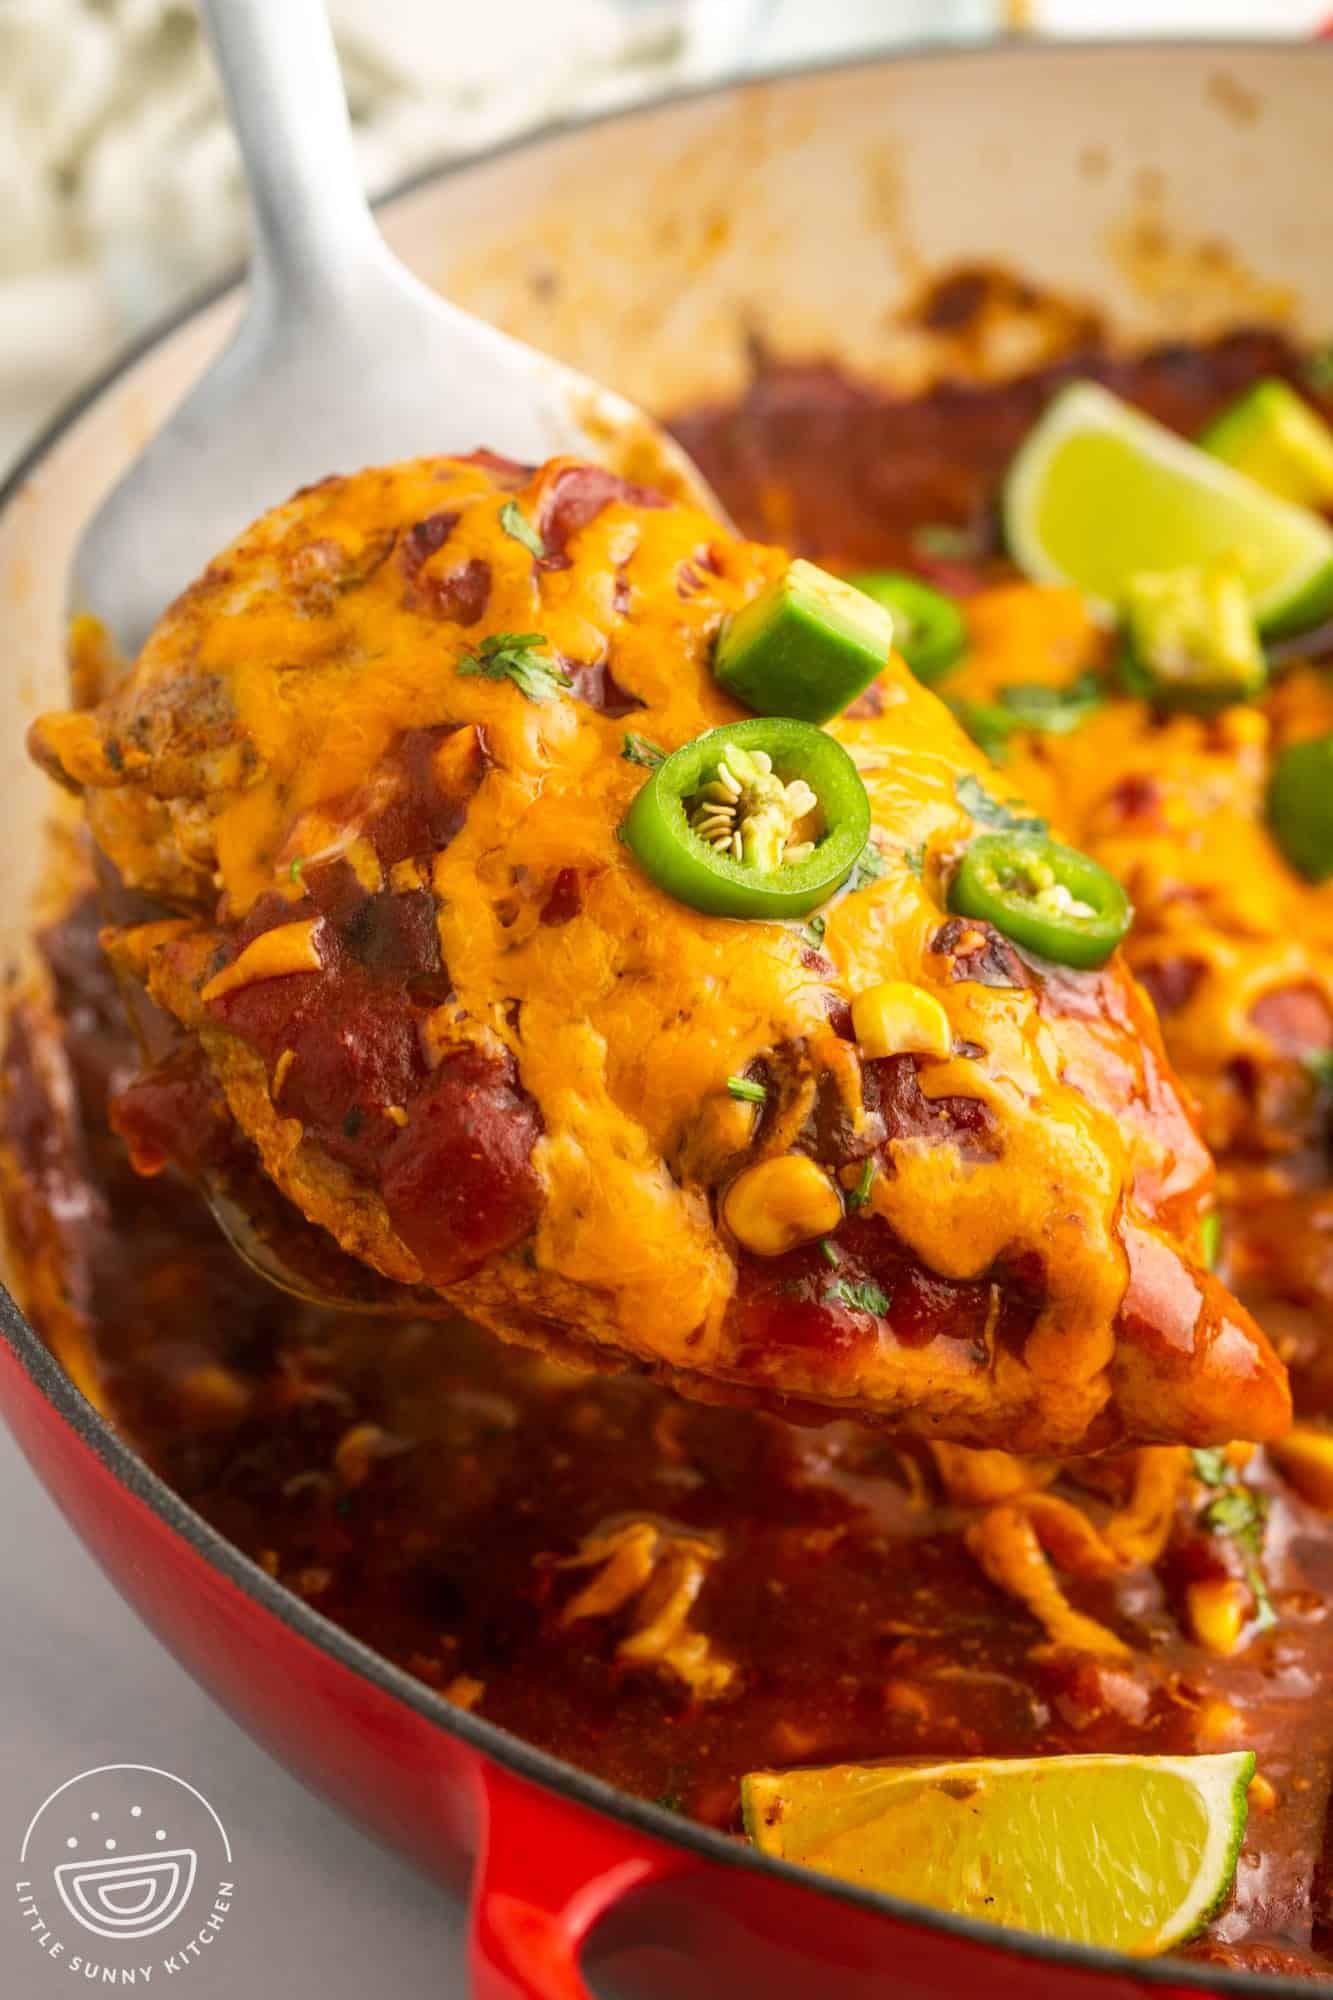
Do you need a new easy chicken dinner recipe? This quick and simple Baked Salsa Chicken should be next on your menu list!
I love how a jar of salsa and some seasonings can turn basic white meat chicken into a delicious Mexican meal. To give this easy dish extra appeal, I add sweet corn, melty cheddar cheese, and optional toppings like diced avocado and fresh jalapeno peppers.
Make some Mexican rice and pinto beans too, and you’ll have a filling, tasty dinner that everyone will ask for over and over again.
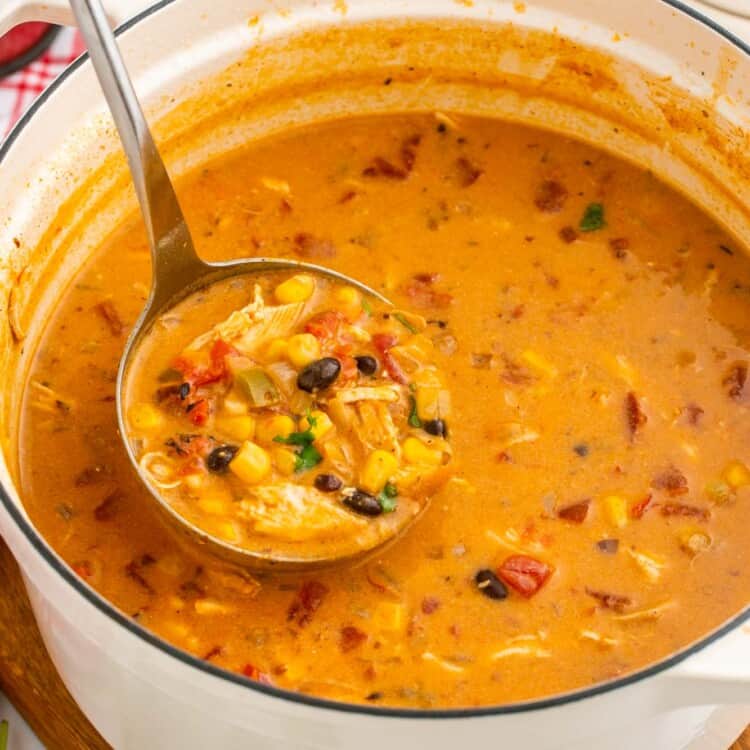
Want to make salsa chicken in the Instant Pot instead? I have two delicious chicken & salsa recipes for the IP! Instant Pot Shredded Mexican Chicken is a three-ingredient wonder recipe, or take it up a notch with my Instant Pot Creamy Salsa Chicken.
Why You’ll Love This Recipe
- Tender and Juicy Baked Chicken – We’ll sear the chicken breasts first so that they hold on to their juices, and the moisture from the salsa helps to gently finish the cooking process in the oven so that the chicken won’t dry out.
- Family Favorite – Everyone I’ve made this for loves it, including adults and kids! The flavor can be as mild or spicy as you want – it all depends on the type of salsa you use.
- Versatile Recipe – When you make salsa chicken in the oven rather than the crockpot or instant pot, the chicken breasts stay whole, rather than cooking so much that they fall apart. You can serve it as-is, but it is also tender enough that you can easily shred it up to make tacos, nachos, and more!
Ingredients In Baked Salsa Chicken
Here’s what you need to make this easy Mexican shredded chicken:
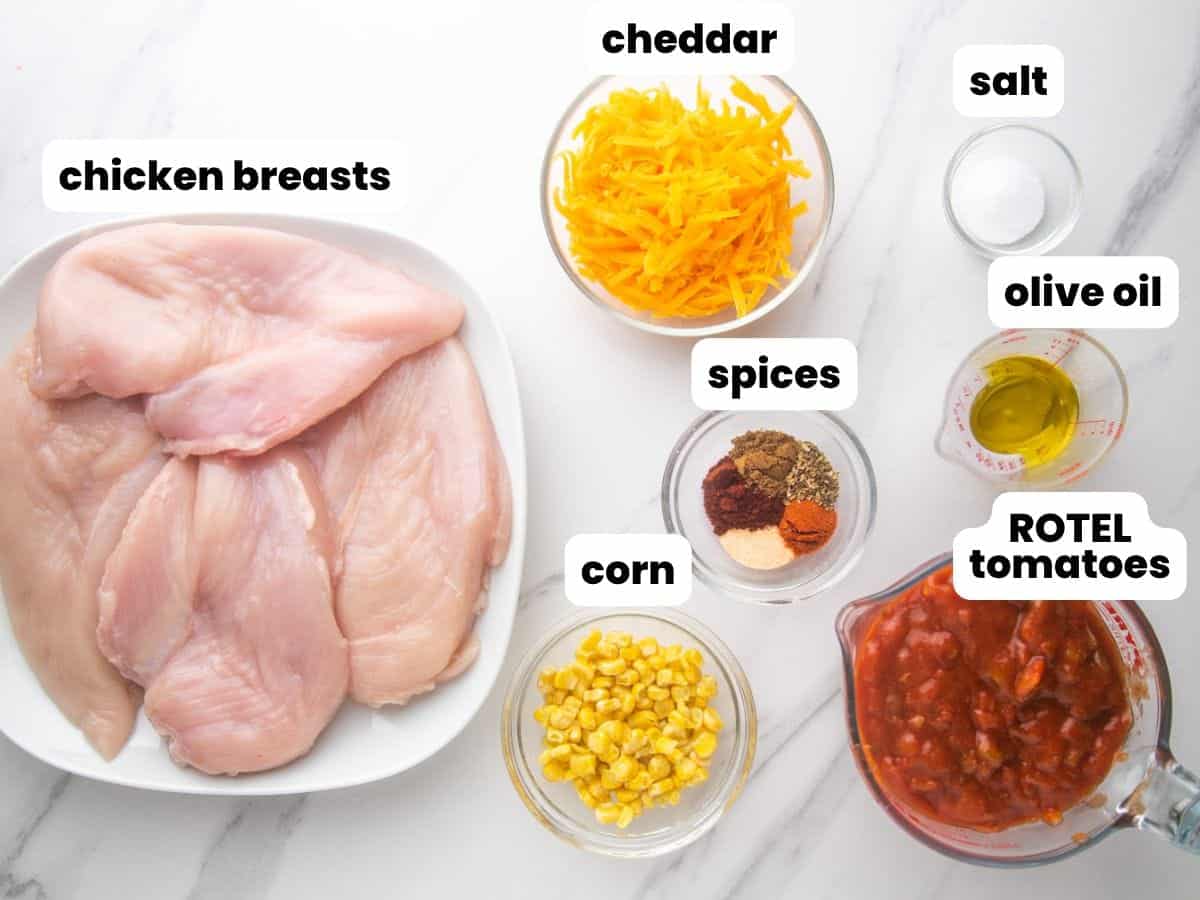
Complete list of ingredients and amounts can be found in the recipe card below.
- Chicken Breasts: Use four boneless skinless chicken breasts, and pound them out so that they’re all about the same thickness. This will help them cook evenly and be done all at the same time.
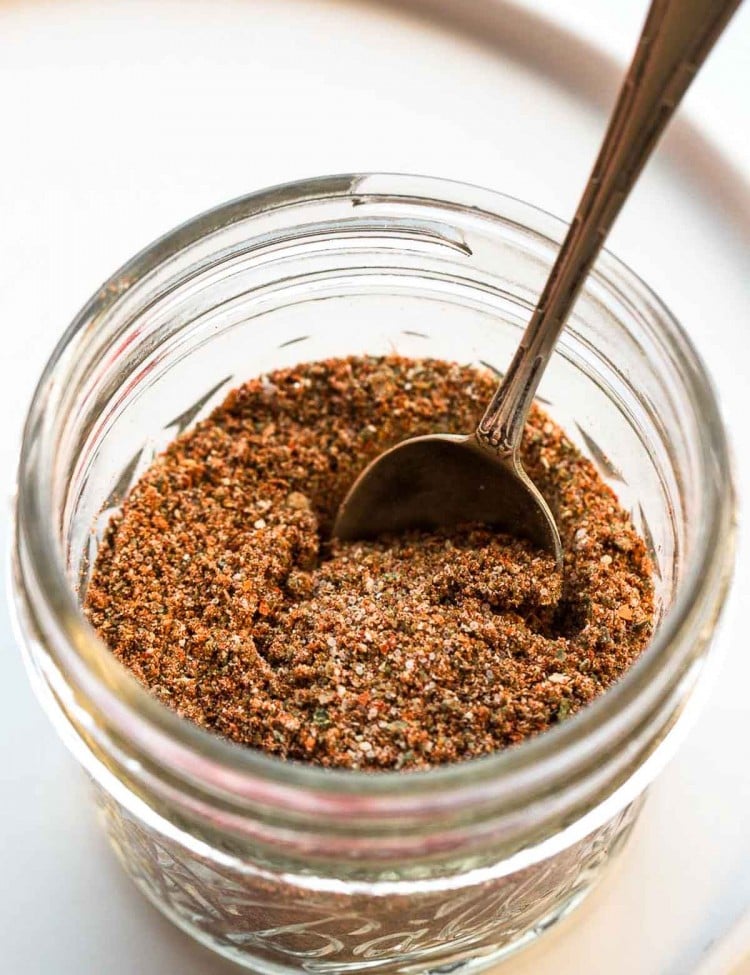
- Seasoning: You can follow the recipe card below to mix up just enough taco seasoning to make this recipe, or use my homemade taco seasoning recipe to make enough to keep on hand.
- Olive Oil: Use light olive oil to sear the chicken in an oven-safe skillet.
- Frozen Corn: I always have a bag of corn in the freezer. A handful adds a bit of sweetness to this dish.
- Chunky Salsa: Choose your favorite brand of salsa for this recipe. you’ll need two cups, so be sure to pick up a big jar!
- Cheese: Cheddar cheese melts beautifully over these Mexican chicken breasts, but you can also use Mexican blend shredded cheese.
How To Make Baked Salsa Chicken
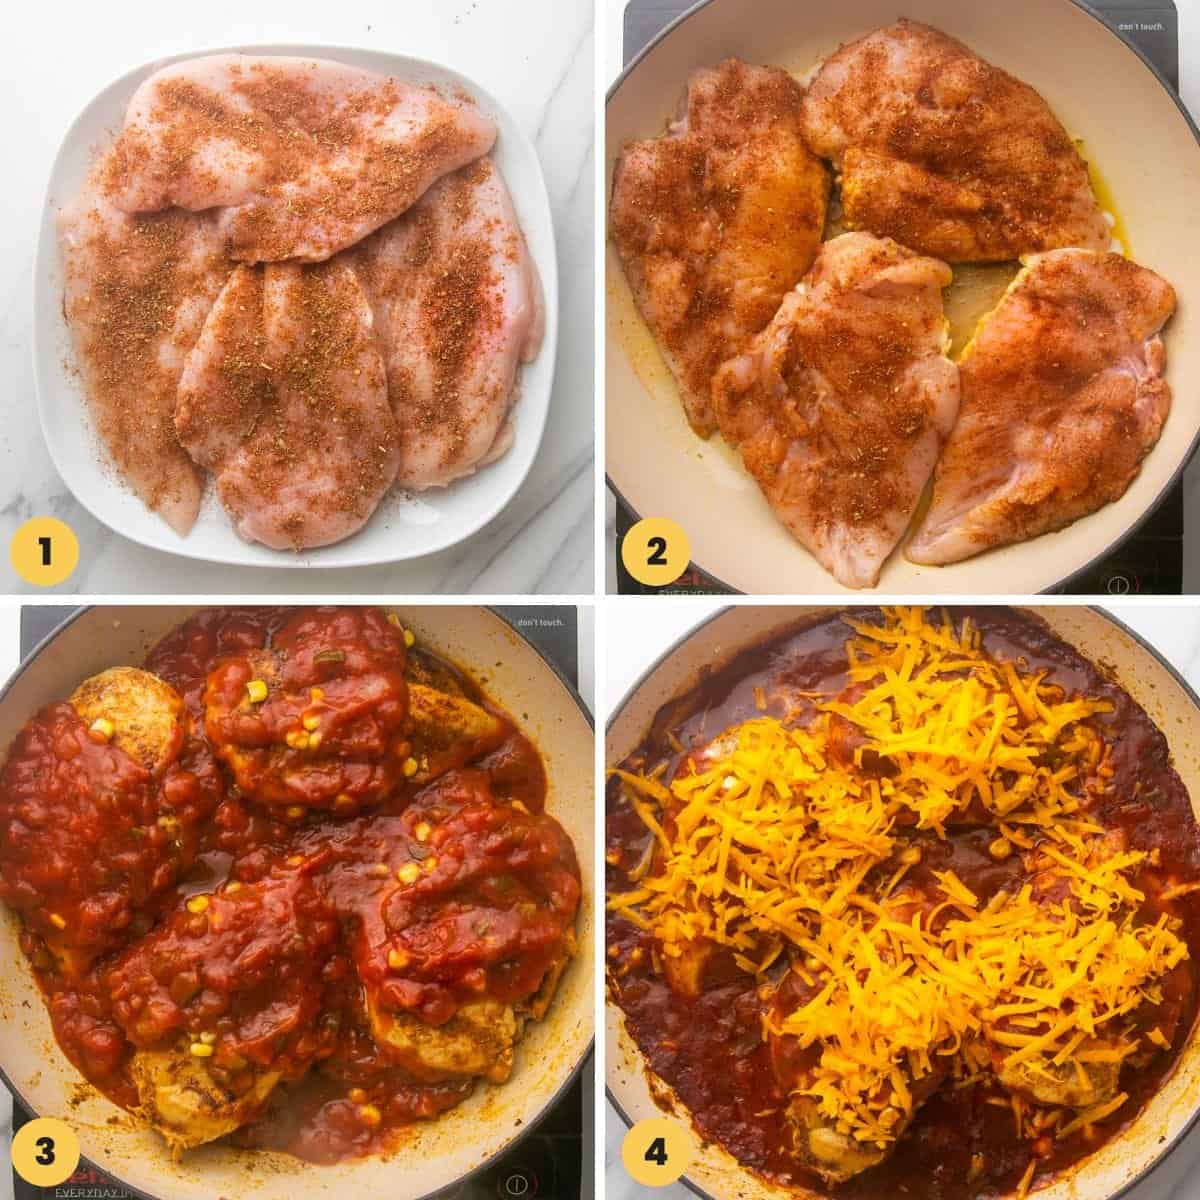
- Get Ready: Preheat the oven to 350°F/180°C. Then season the chicken with salt. Sprinkle the chicken with a mixture of chili powder, paprika, oregano, and cumin (or taco seasoning), being sure to get both sides.
- Sear: Heat olive oil in a large oven-safe skillet over medium-high heat. Add the chicken and brown it for 3-4 minutes per side. It doesn’t need to be fully cooked, just browned. You can deglaze the pan with a bit of water now if you like to add extra flavor to the dish.
- Bake with Salsa: Sprinkle the chicken with frozen corn, then pour the salsa over it. Move the chicken around a bit so that some of the salsa is also underneath the meat. Bake for 25 minutes, or until the internal temperature of the chicken is 165°F/74°C.
- Finish with Cheese: When the chicken is fully cooked, remove it from the oven, sprinkle with shredded cheese, and place under the broiler for a few minutes until the cheese is melted and bubbling.
Tip!
No worries if you don’t have an oven-safe skillet! Just transfer the chicken from the skillet to a baking dish before baking it.
Recipe Tips
- Use Other Chicken: Boneless chicken thighs or chicken tenders will also work in this recipe. You may need to adjust the baking time depending on the size of the pieces.
- Taco Seasoning: This recipe includes instructions for mixing up a seasoning blend for the chicken, but you can skip that part and replace the salt, pepper, and seasonings with 2 tablespoons of packaged or homemade taco seasoning instead.
- Skip the EVOO. In this recipe, we’re using olive oil to cook the chicken, so light olive oil is ideal. You can also use any type of cooking oil, like canola or avocado oil. Save the extra virgin olive oil for vinaigrettes!
- Use a Thermometer to be sure that the chicken is fully cooked. Keep in mind that the amount of time you need to bake chicken breasts with salsa depends on how thick they are.
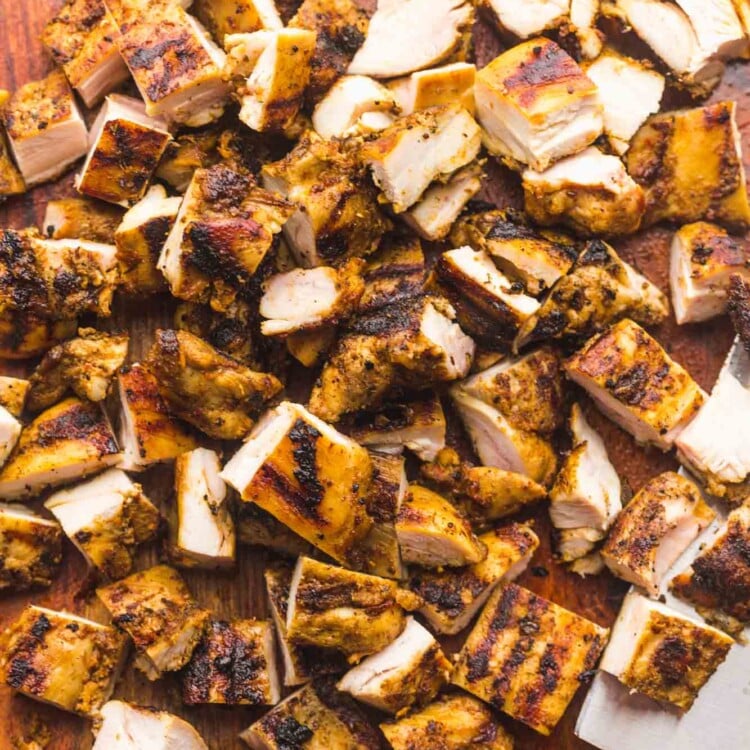
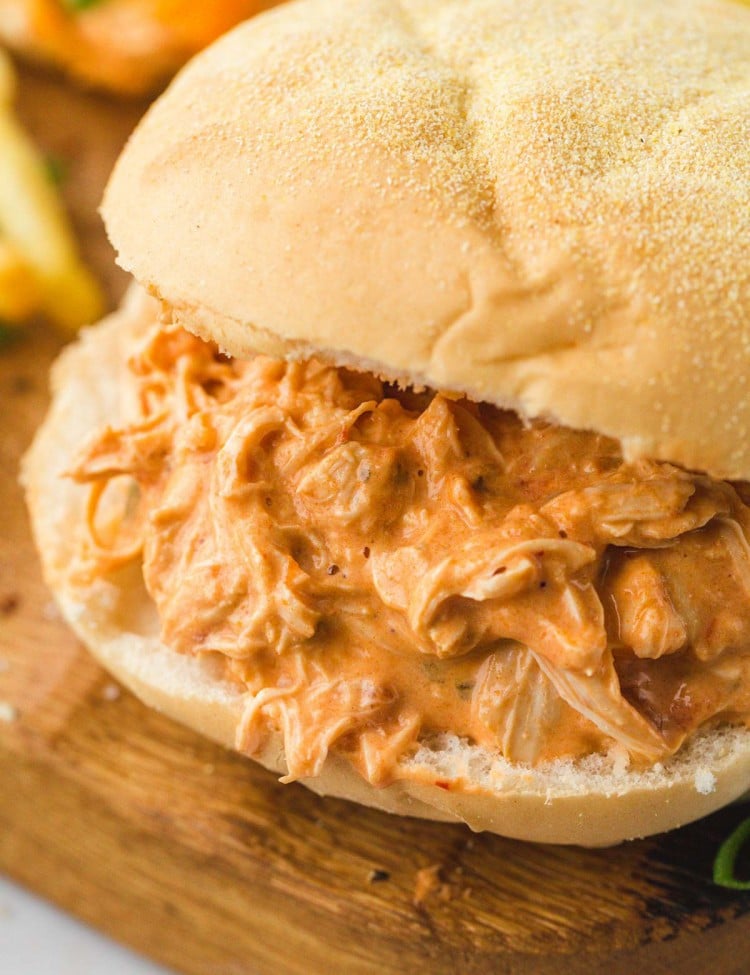
- Try Shredding the Chicken: Shredded salsa chicken is perfect for adding to recipes, or enjoying in taco form. You can do this with two forks, or let the chicken cool down a bit and use your hands!
Storing Tips
Kleftoverover salsa chicken in an airtight container in the fridge for 3-4 days.
This recipe makes delicious leftovers! Meal prep for your lunches with cut up salsa chicken. You can add it to salads or pack it with rice and veggies.
What To Serve With Baked Salsa Chicken
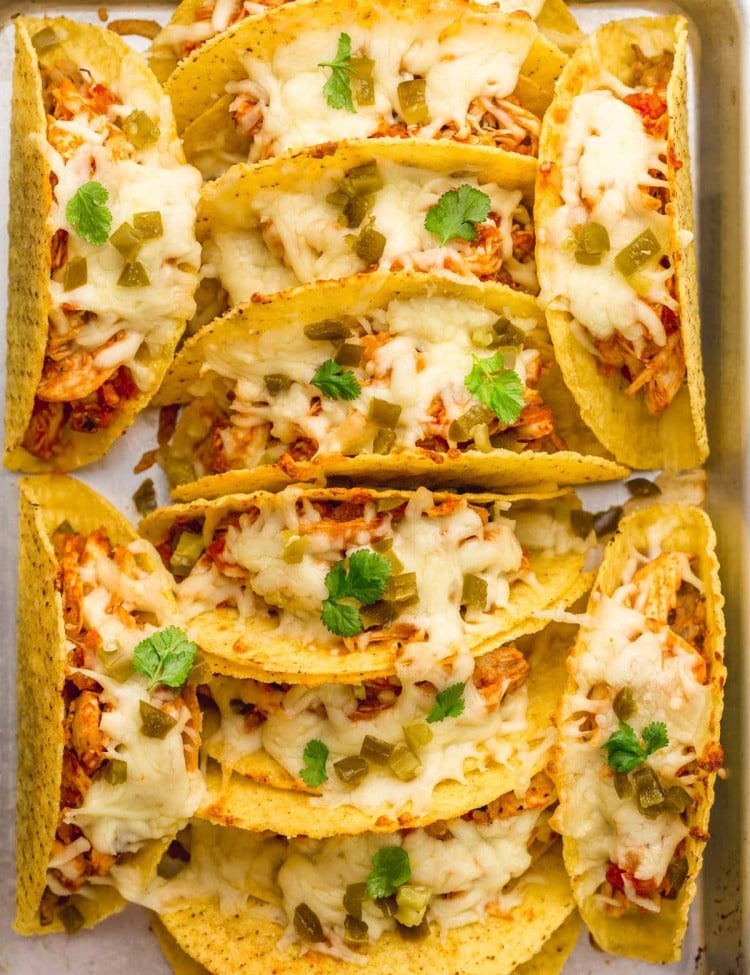
Shredded chicken baked with salsa makes the most delicious shredded chicken tacos! Simply add the chicken to warm tortillas and top with all of your favorite taco toppings.
You could also make chicken nachos!
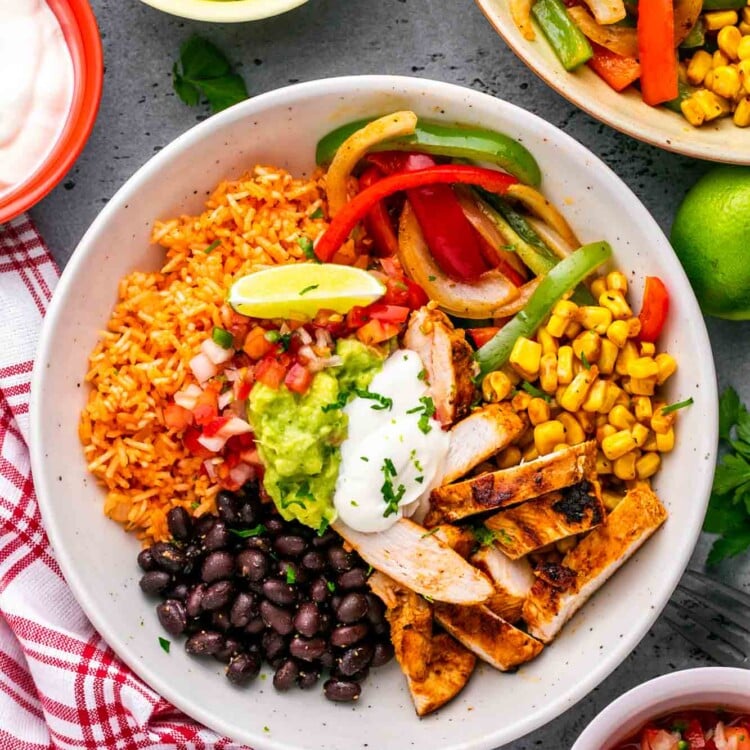
You don’t have to shred this salsa chicken though. Enjoy it just as it is, serving 1 chicken breast per plate. I highly recommend that you make a batch of cilantro lime rice, or Mexican rice to enjoy on the side.
Other Mexican sides you can serve with this easy chicken meal include Mexican fruit salad and tortilla chips with fresh Pico De Gallo.
For dessert, try Sopapilla Cheesecake, or Pinata Cupcakes!
Baked Salsa Chicken Toppings
Salsa Chicken is low-carb if you eat it just as it is, without tortillas or tacos. Either way, I like to add toppings to the chicken before serving. Try these:
- Diced avocado
- Guacamole
- Sliced jalapeno peppers
- Green Onion
- Smoked Queso Dip
- Lime Crema
- Sour Cream
The options for salsa taco chicken toppings are endless! Use your favorites, or whatever fresh veggies you have on hand.
Recipe FAQs
Yes, any tomato-based salsa will work in this recipe. I use jarred salsa just because it’s easy and I know it’s delicious!
The amount of spice in this dish will depend on the salsa you’re using. There’s only a mild amount of spice in the seasoning, so if you choose a mild salsa, the chicken shouldn’t be too spicy. If you like heat, pick up a jar of hot salsa instead.
Yes, add cooked black beans or pinto beans in with the corn and salsa before baking. If you’re using canned beans, just be sure to rinse them.
This oven-baked salsa chicken recipe is one that you are going to want to hang on to, so be sure you pin it to save. Your family will be asking you to make this for dinner often, I’m sure!
Did you make this? Be sure to leave a review below and tag me on Facebook, Instagram, or Pinterest!

Baked Salsa Chicken
Equipment
- 12-inch stainless steel skillet or other oven-proof skillet
- Instant-read thermometer
Ingredients
- 4 chicken breasts pounded to an even thickness
- 1 teaspoon salt
- 2 teaspoons chili powder
- 1 ½ teaspoons smoked paprika
- 1 teaspoon dried oregano
- 1 teaspoon ground cumin
- 1 tablespoon olive oil Use light olive oil, not extra virgin
- 1 cup frozen whole kernel corn
- 2 cups chunky salsa
- 1 cup cheddar cheese or melting mexican blend
Instructions
- Preheat the oven to 350°F/180°C.
- Season the chicken with salt, then in a small bowl combine chili powder, paprika, oregano, and cumin, and season the chicken with it from both sides.
- In a large skillet over medium high heat, heat olive oil. Add the chicken and brown it for 3-4 minutes per side to give it color.
- Optional: deglaze the pan with a splash of water to add lots of flavor!
- Sprinkle the chicken with corn, then cover with salsa. Use a spatula to move the chicken around to get some of the salsa under each breast.
- Bake in the preheated oven for 25 minutes or until the internal temp of the chicken is 165°F/74°C.
- Remove the chicken from the oven, sprinkle it with shredded cheese, and place it under the broiler for a few minutes until the cheese is melted and bubbling.
- Remove from the oven, and top with your favorite toppings.
Notes:
- In place of the salt and other seasonings, use 2 teaspoons of taco seasoning.
- Boneless chicken thighs or chicken tenders will also work in this recipe. You may need to adjust the baking time depending on the size of the pieces.
- The total bake time will depend on the thickness of your chicken. Be sure to check for doneness using an instant-read thermometer.
- If you don’t have an oven-proof skillet, transfer the chicken from the skillet to a baking dish before baking it.
- Shredded salsa chicken is perfect for adding to recipes, or enjoying in taco form. You can do this with two forks, or let the chicken cool down a bit and use your hands!
- Optional toppings: Diced avocado, sliced jalapeno, sliced green onions, sour cream. Any of your favorite taco toppings will be delicious.
- To Store: Keep leftovers in an airtight container in the fridge for 3-4 days.
Nutrition Information
This website provides approximate nutrition information for convenience and as a courtesy only. Nutrition data is gathered primarily from the USDA Food Composition Database, whenever available, or otherwise other online calculators.
© Little Sunny Kitchen


Svetlana says
So easy and my family loved it!
Little Sunny Kitchen says
Thank you, Svetlana! I’m glad you and your family loved this recipe!
Kristyn says
My family has always loved this dish!! We love to make homemade salsa for it. It’s loaded with flavor & goes great with so many things!
Little Sunny Kitchen says
Thank you for the wonderful review, Kristyn! So glad to hear this is a family favorite!
Jordan F says
I made this with boneless, skinless chicken thighs and all of my kids loved it. My oldest asked me to make it again tomorrow 🙂
Little Sunny Kitchen says
I’m so glad it was a hit! Thanks for the review, Jordan!
Julia says
This was amazing! I added extra jalapenos to this recipe for an extra kick. So good! I will be making this again for a ladies get-together this weekend!
Little Sunny Kitchen says
I’m so glad you loved this recipe, Julia! Thanks for the kind review