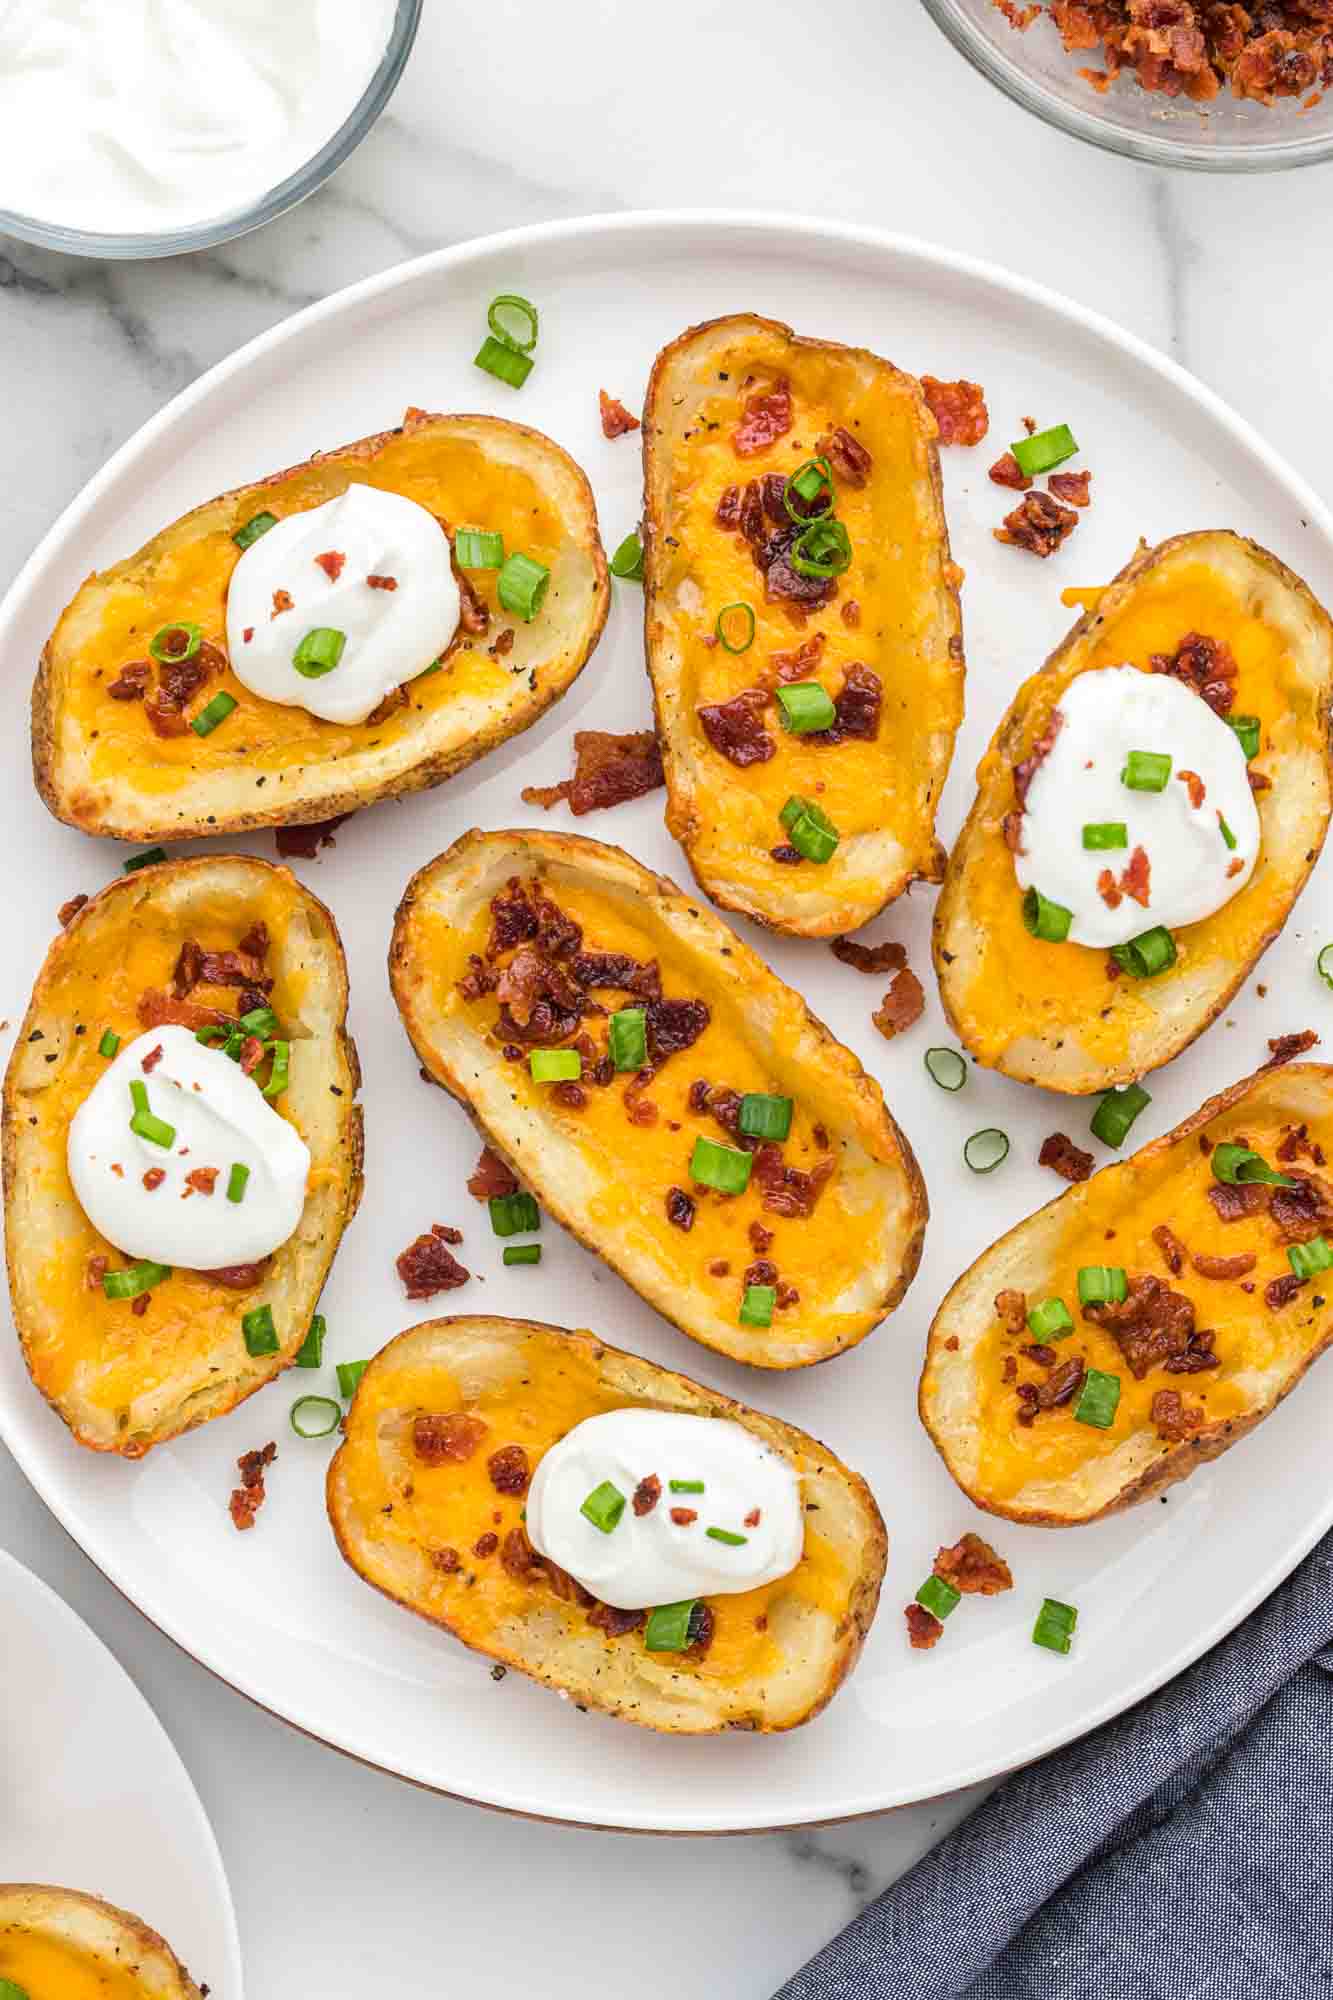
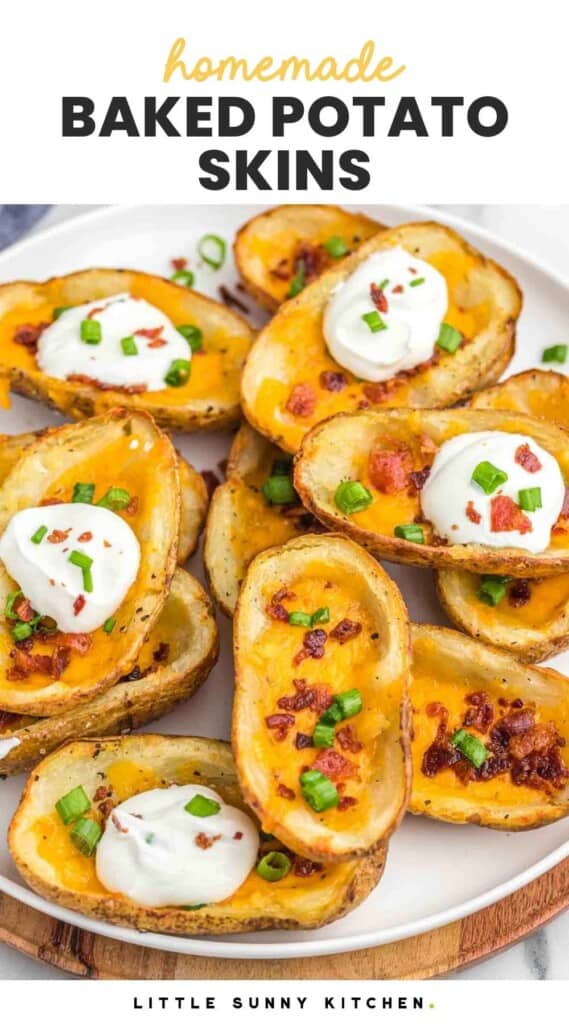
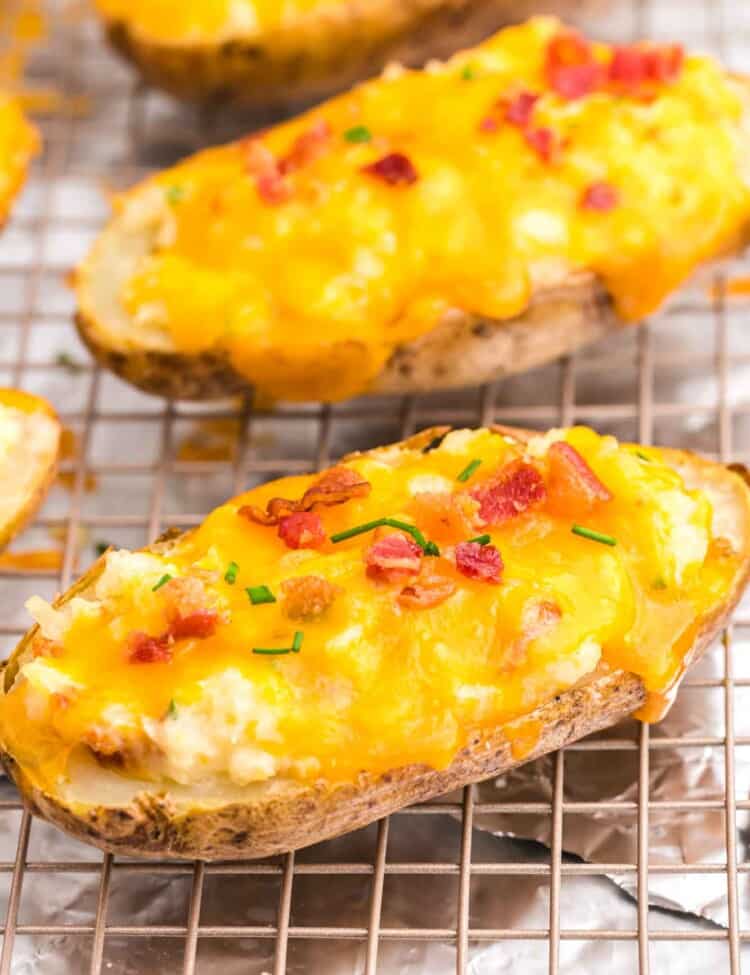
This recipe for potato skins is so simple to make, you’ll wonder why you ever bought them frozen or ordered takeout! Simple ingredients create delicious flavors in this cheesy, salty, and satisfying potato skins appetizer.
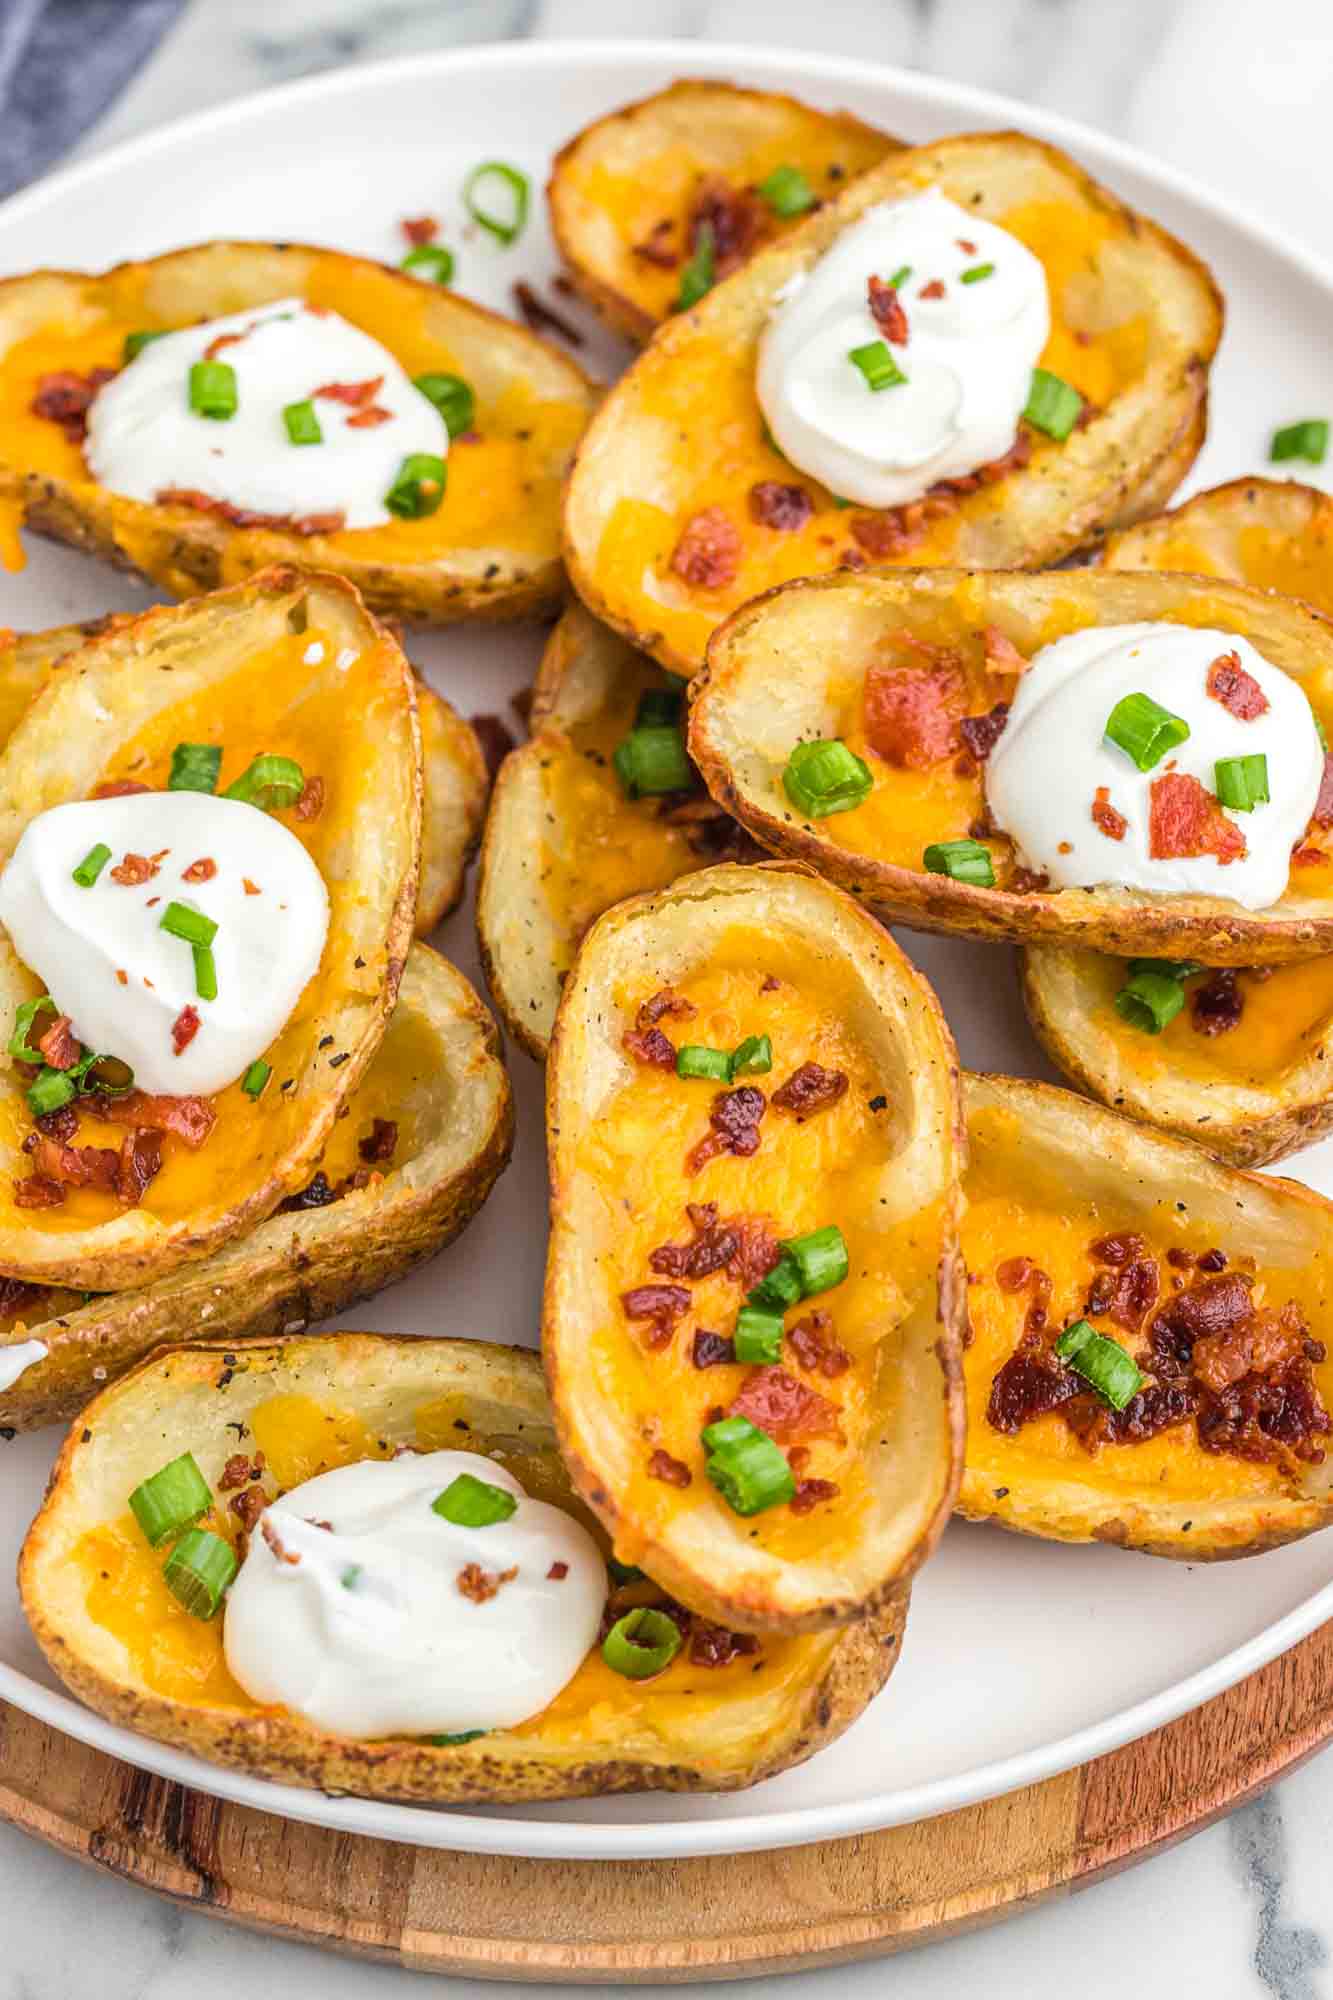
Potato skins are my idea of the perfect bar food. Simple enough to eat with a glass of beer and a couple of friends, hearty enough to hold you over until dinner, and irresistibly tasty. You know what else is pretty perfect? Twice Baked Potatoes are similar to this recipe and equally tasty.
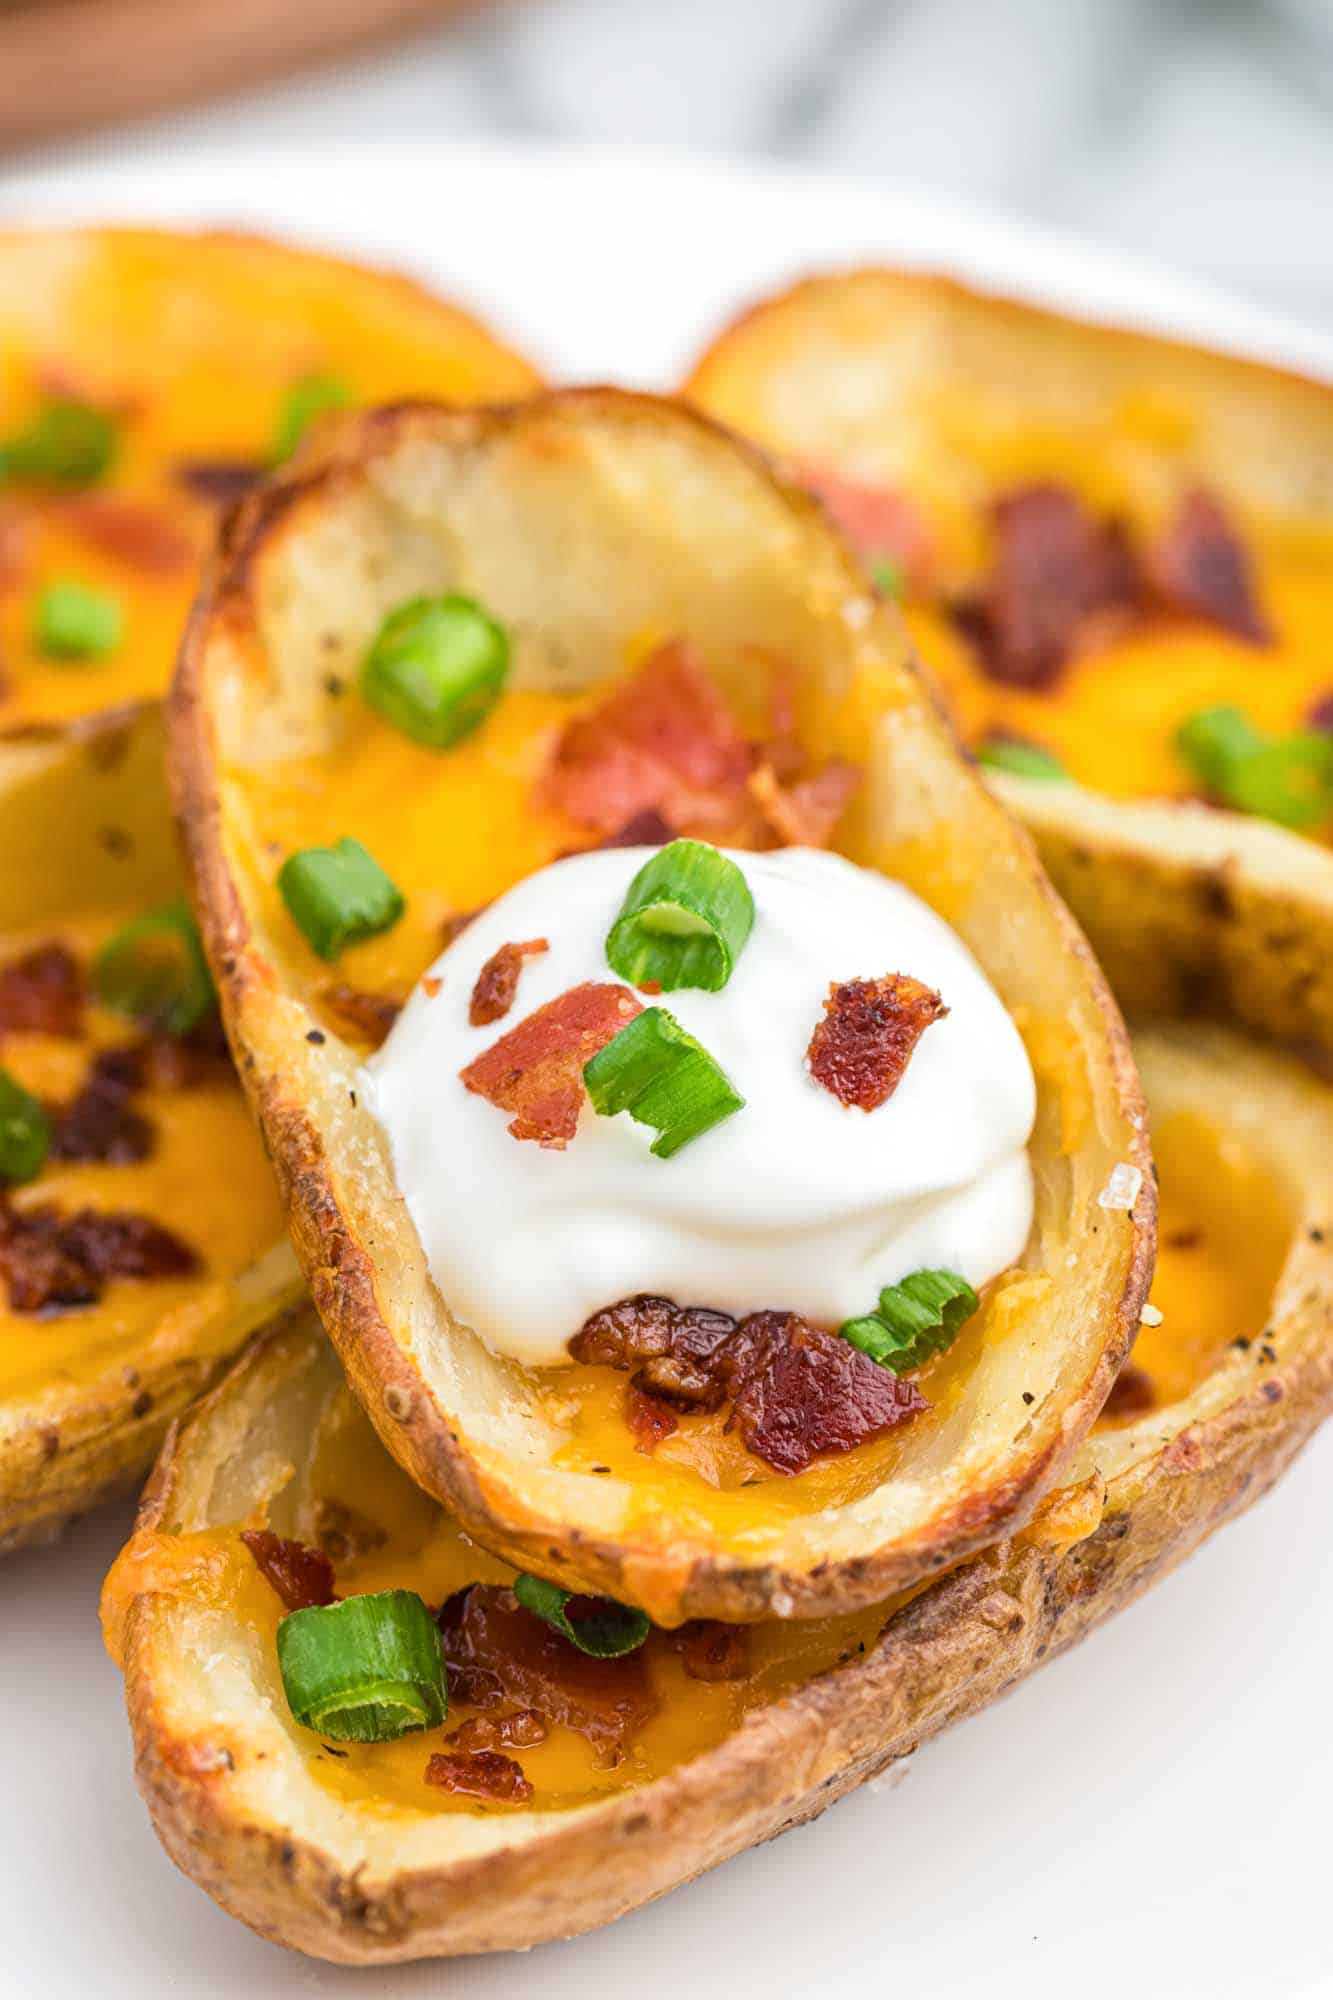
Typically deep fried, potato skins are hollowed out and filled with melted cheese and bacon, then topped with green onion and sour cream. The result is a savory snack that is salty, creamy, filling, and perfect.
We’re making homemade potato skins here, and rather than deep frying them, we’re baking them with a bit of oil to get the potatoes nice and crispy. This recipe for baked potato skins is healthier than the restaurant version but just as good.
Why You’ll Love This Recipe
- It’s Simple. The ingredients in this dish are easy to find, simple food items, and the method used is easy to follow. If you can bake a potato, you can make homemade potato skins.
- Everyone loves these. I haven’t met many people who didn’t enjoy a crispy potato filled with cheese and bacon. Have you? Seriously though, potato skins might be the perfect food.
- You can make them ahead. Serving these for a party or gathering? Bake the potatoes the day before and do the crisping and assembling right before the party.
- Make them a meal. While not typically a dinner entree, baked potato skins can absolutely be your dinner. Serve with a salad and you have a simple, delicious meal.
Ingredients Needed For Homemade Potato Skins
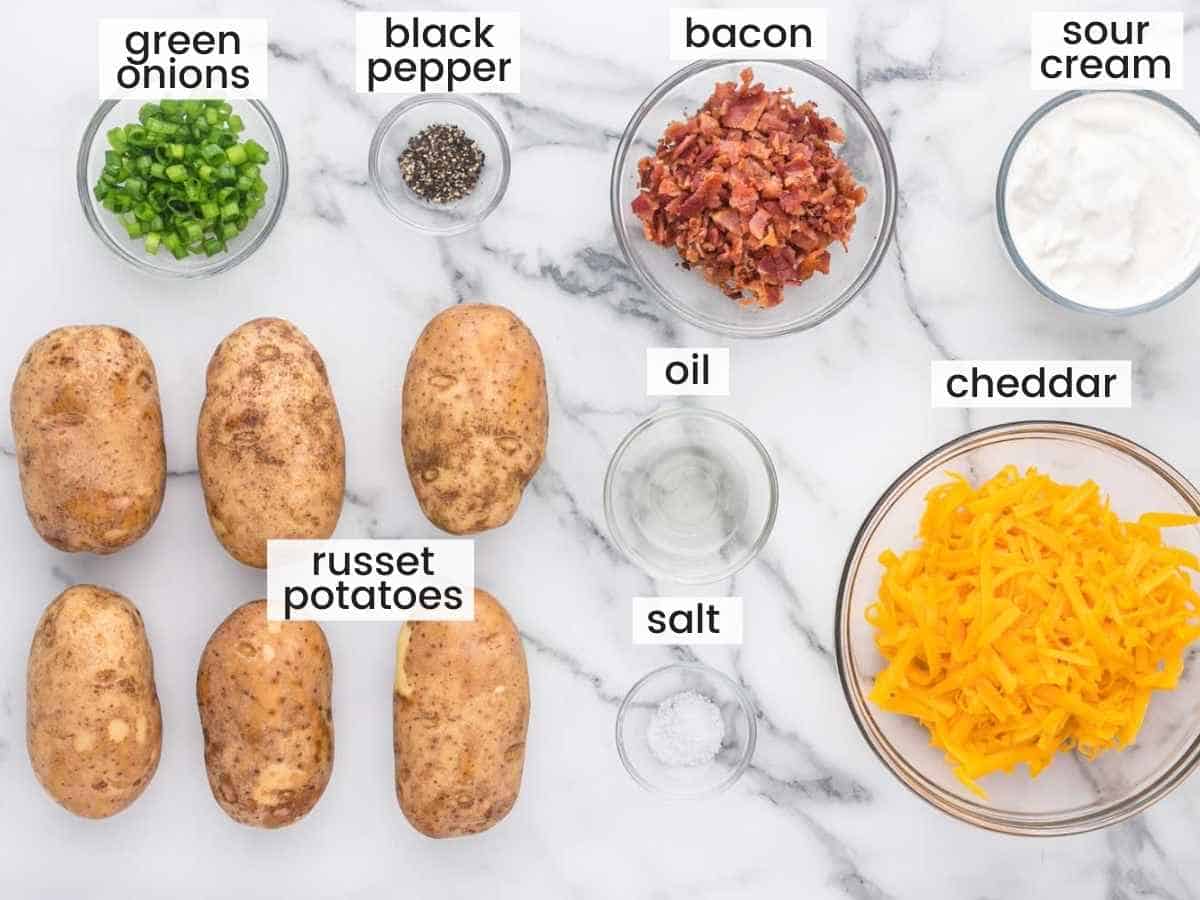
- Russet Potatoes: The best potatoes for the job are long russet potatoes. You want to use small russets for this recipe though, so keep that in mind when you’re shopping. I find that if I buy a large bag of potatoes, it’s filled with large potatoes, and if I buy the small bag, I get the perfectly sized potatoes for baking and filling.
- Olive Oil: After baking the potatoes, we’ll roast them in the oven coated with oil to get the crispy edges that we want.
- Salt and Pepper: Bacon adds a lot of saltiness to this dish, but for perfectly seasoned potato skins, salt and pepper is key.
- Bacon: You only need about 4 slices of bacon to properly top these potatoes, but you can add more if you like. Cook the bacon mostly crispy and cut or crumble it into small pieces.
- Cheese: Cheddar cheese is perfect for these. Buy it already shredded or shred your own from a block.
- Sour Cream: A dollop of sour cream is the perfect cool topping for crispy, cheesy potato skins.
- Green Onion: sliced green onions add flavor and beautiful color to the final plate.
Complete list of ingredients and amounts can be found in the recipe card below.
How to Make Potato Skins
- Preheat: Heat the oven to 400°F/200°C. We want it nice and hot to bake the potatoes quickly and evenly.
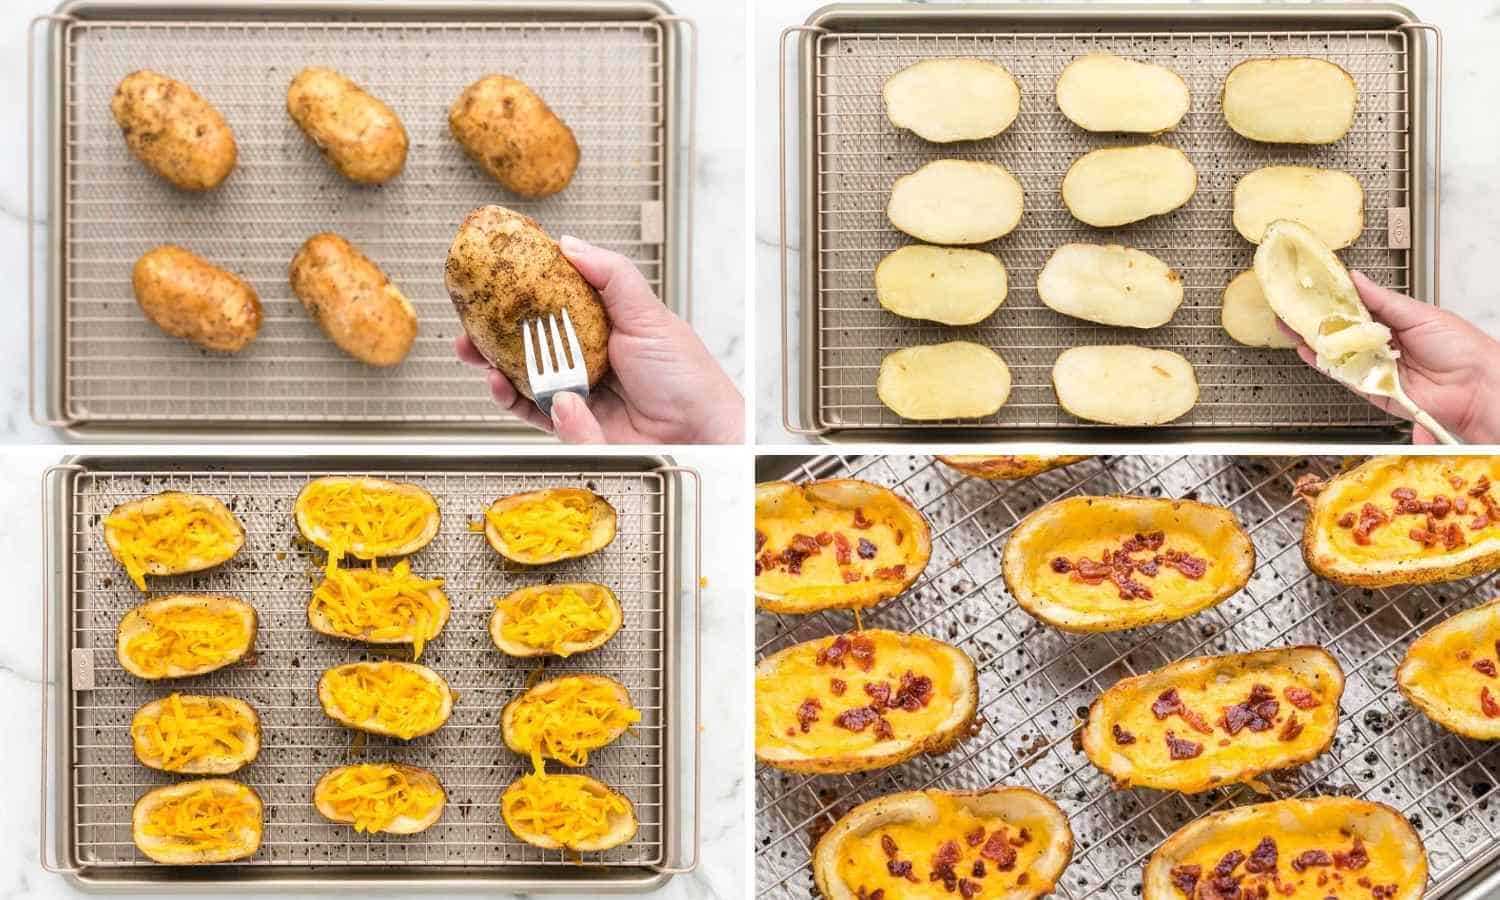
- Prep Potatoes: Prepare the russet potatoes by washing and scrubbing the skins, and then drying them. Pierce potatoes with a fork, rub with olive oil, and season with salt and pepper.
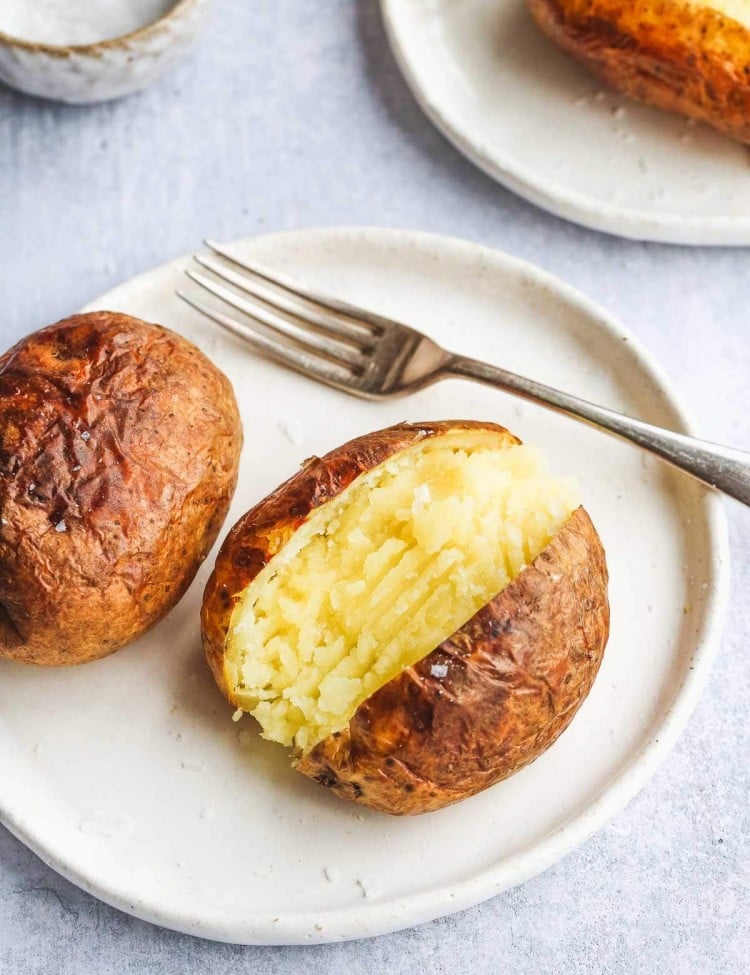
- Bake: Place potatoes on a rack over a sheet pan and bake for 40-50 minutes. Test to ensure that they are cooked using an instant read thermometer. The internal temp should be 210°F/100°C. At this temp the potatoes will be tender when pierced with a knife, but not overly tender. Remove from the oven and let them cool.
- Cut Potatoes: Cut each potato in half lengthwise, and carefully scoop out the flesh leaving about ¼ inch stuck to the skin of the potatoes.
- Crisp Potato Skins: Return the cut and scooped potato skins to the sheet pan and brush them inside and out with olive oil. Season with salt and pepper and place them cut side down. Bake for 15 minutes, then flip over and bake for 5 minutes more.
- Fill: Remove potato skins from the oven and sprinkle with cheese. Return to the oven for 5 more minutes or until the cheese is melted.
- Finish and Serve: Sprinkle with bacon pieces, top with a dollop of sour cream, and garnish with sliced green onions.
Top Tips
- Small Potatoes. Choose the smallest russet potatoes you can find when making homemade potato skins. They will cook quicker, and be the perfect size for handheld eating.
- Be Careful. When scooping out the potato flesh, make sure to leave enough so that the potato skin isn’t too fragile. You don’t want to tear it, or it will be difficult to fill. Also be careful when handling hot potatoes. Let the baked potatoes cool until they are cool enough to handle before cutting them.
- Get them Crispy. For perfectly crispy potato skins, make sure that you are generous with the oil, and use a brush to get oil on every surface of the potato skin. You can add a couple extra minutes to the bake time if they don’t look crispy enough, but remember that we’ll be baking them for 5 more minutes after adding the cheese.
- Cheese is everything. Sharp or medium cheddar cheese works best here, it melts beautifully and has lots of savory, salty flavor. Bagged shredded cheese will work, but if you can grate your own from a block you’ll get a much better melt and flavor.
- Scrub the potatoes. Don’t skip this step here, because the potato skin is the main event. Use a rough cloth or a brush to get the skins as clean as possible.
How to Serve Homemade Potato Skins
How about with a dip? Sure, we’re already adding sour cream, but a bit more creamy goodness can only make things better. Try some Homemade Ranch Dressing, Raising Canes Sauce, or even some Buffalo Wing Sauce (it will be like you’re having potato skins and wings at the bar!)
Serve as an Appetizer. Homemade potato skins on the table along with other appetizers like Air Fryer Shrimp, Instant Pot Spinach Artichoke Dip with chips, and some Crockpot Little Smokies would be a beautiful and hearty spread for a football game or holiday party. See All of our Appetizer Recipes to get more ideas.
Make dinner out of them. I can totally eat a few of these potato skins and call it a meal! To make it a bit more balanced, add some vegetables, like a Caesar Salad or a simple Coleslaw.
Homemade Potato Skins Variations
Add vegetables such as broccoli, peppers, or seasoned beans.
Add another type of cheese, such as pepper jack or Colby.
Pizza Potato Skins – Cook the potato skins the same, but instead of cheddar cheese, add a small amount of pizza sauce, a handful of mozzarella cheese, and a few pepperoni to each shell.
Taco Potato Skins – Use cheddar and/or nacho cheese sauce, and top with cooked taco meat, sour cream, and salsa.
Frequently Asked Questions
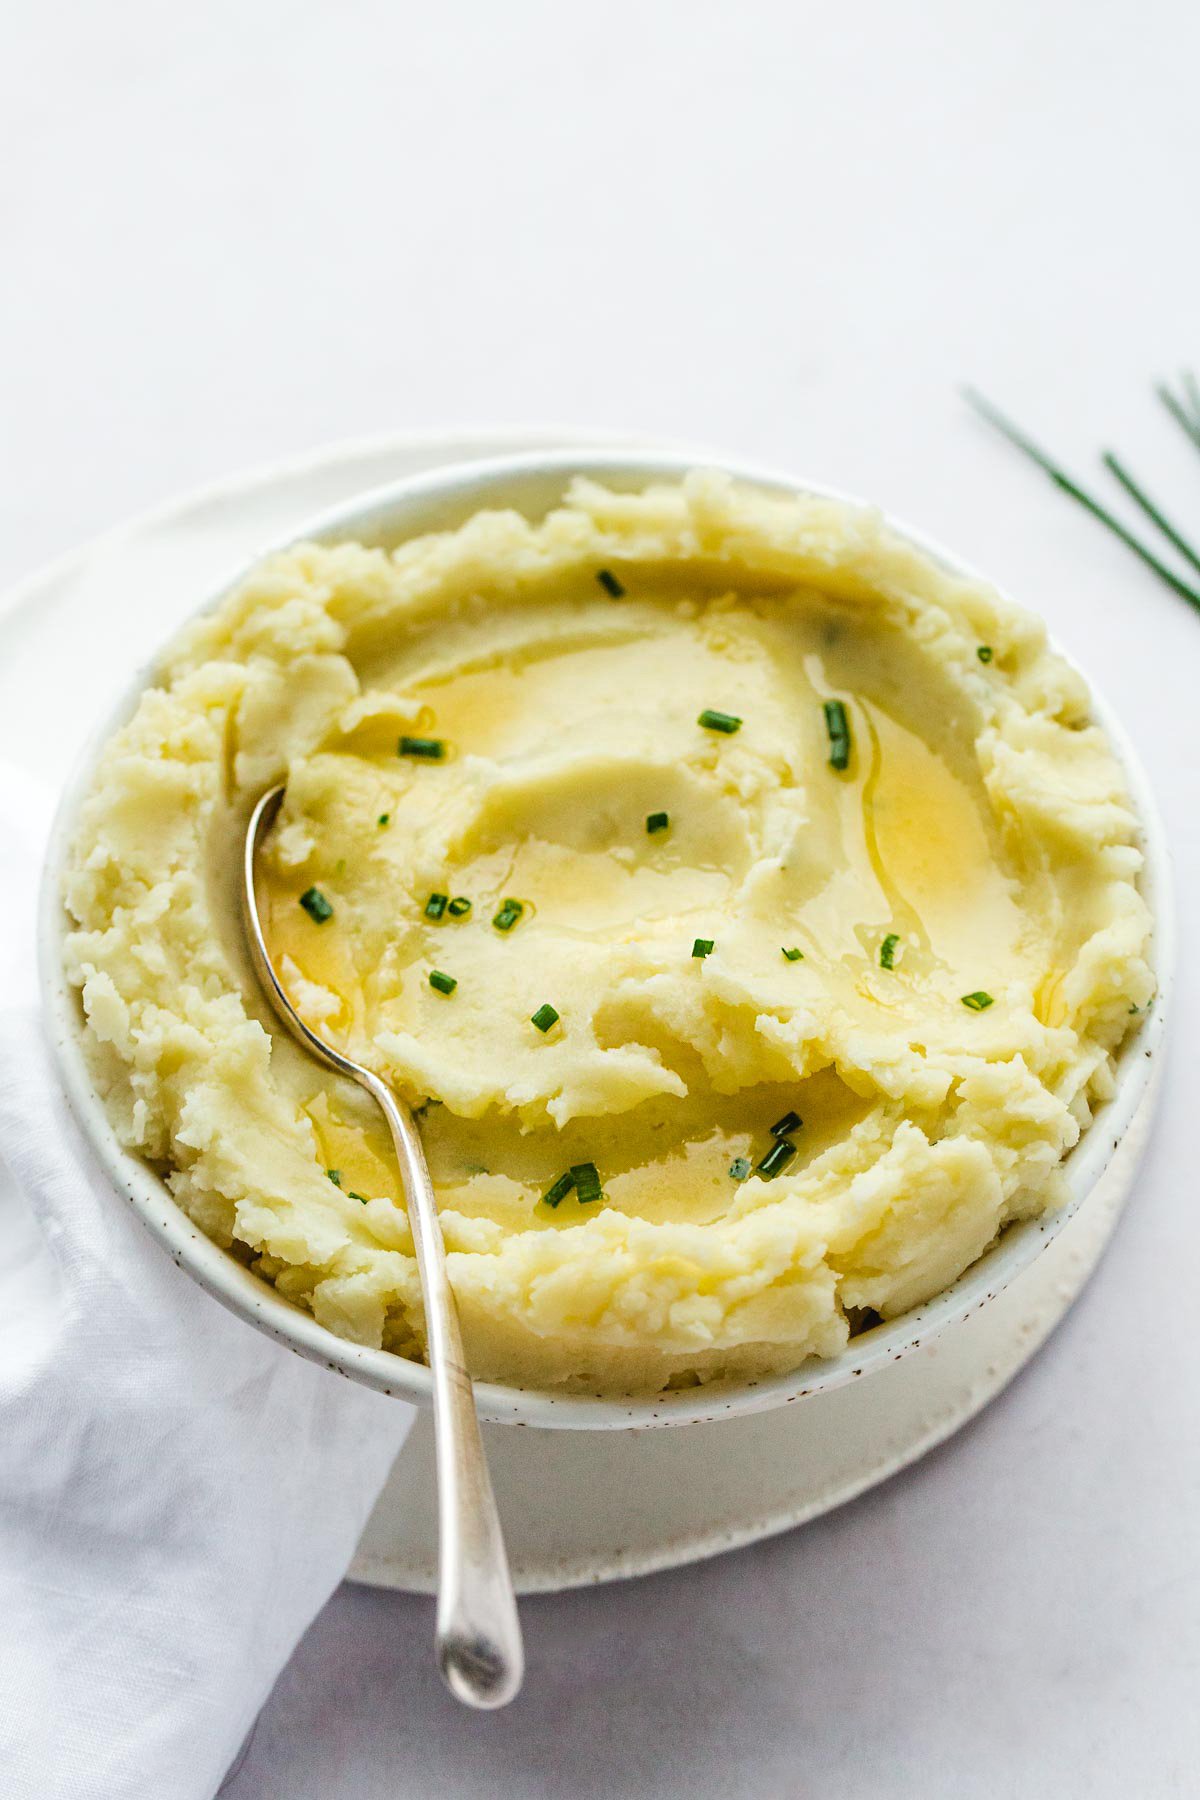
Get creative with that extra potato gift! The easiest thing to do is to incorporate the potato into a mashed potato dish like these easy, Cheesy Mashed Potato Cakes.
I don’t recommend using other potato varieties for this recipe. Russets have the perfect texture, shape, and sturdiness for making baked potato skins. Other potatoes won’t work as well.
Store leftover potato skins (ideally without sour cream and onions added) in an airtight container in the fridge for up to 5 days. To reheat, use the oven, microwave, or air fryer. 1 minute in the microwave and 3-5 using the other methods should be perfect.
Enjoy these homemade potato skins at your next football party, holiday gathering, or any time you want a satisfying, cheesy snack!
Did you make this? Be sure to leave a review below and tag me on Facebook, Instagram, or Pinterest!

Baked Potato Skins
Ingredients
- 6 small russet potatoes about 7 oz each, Note 1
- 2 tablespoons olive oil
- ½ teaspoon salt
- ¼ teaspoon ground black pepper
For the filling
- 1 ¼ cups shredded cheddar cheese
- 4 sliced cooked bacon finely chopped or crumbled
- ¾ cup sour cream
- ¼ cup green onions sliced
Instructions
- Preheat oven to 400°F/200°C.
- Wash, scrub, dry potatoes and pierce potatoes with a fork. Rub with oil, and season with salt and pepper.
- Place on a rack over a sheet pan, and bake for 40-50 minutes. The internal temp should be 210°F/100°C (they will be tender when pierced with a fork/knife but not overly tender). Remove from the oven, and let them cool until they’re cool enough to safely handle.
- Cut the potatoes lengthwise, and carefully scoop out the flesh leaving about ¼ “ stuck to the skin of the potatoes (be careful to leave the skin intact).
- Return the potatoes to the sheet pan, then brush with olive oil from the inside and outside. Season with salt and pepper, place them cut side down and bake for 15 minutes, flip and bake for 5 more minutes.
- Remove from the oven, and sprinkle with cheese. Return to the oven for 5 more minutes or until the cheese is melted and potato skins are looking crisp.
- Sprinkle with bacon, top with a dollop of sour cream per each potato skin and garnish with sliced green onions.
Notes:
- Small Potatoes. Choose the smallest russet potatoes you can find when making homemade potato skins. They will cook quicker, and be the perfect size for handheld eating.
- You want to use potatoes with a higher starch content so they bake up nice and fluffy. Russet potatoes or Yukon Golds are great and readily available in most American and Canadian grocery stores. Sebago potatoes in Australia or Maris Piper or King Edwards potatoes in the UK are perfect choices.
- Scrub the potatoes. Don’t skip this step here, because the potato skin is the main event. Use a rough cloth or a brush to get the skins as clean as possible.
- Make sure to pat the potatoes dry so that the skin crisps up nicely and the water on the outside of the potato doesn’t create any extra steam.
- Pierce potatoes with a fork before baking to avoid exploding potatoes!
- Be Careful. When scooping out the potato flesh, make sure to leave enough so that the potato skin isn’t too fragile. You don’t want to tear it, or it will be difficult to fill. Also, be careful when handling hot potatoes. Let the baked potatoes cool until they are cool enough to handle before cutting them.
- For perfectly crispy potato skins, make sure that you are generous with the oil, and use a brush to get oil on every surface of the potato skin. You can add a couple extra minutes to the bake time if they don’t look crispy enough, but remember that we’ll be baking them for 5 more minutes after adding the cheese.
- Cheese. Sharp or medium cheddar cheese works best here, it melts beautifully and has lots of savory, salty flavor. Bagged shredded cheese will work, but if you can grate your own from a block you’ll get a much better melt and flavor.
Nutrition Information
This website provides approximate nutrition information for convenience and as a courtesy only. Nutrition data is gathered primarily from the USDA Food Composition Database, whenever available, or otherwise other online calculators.
© Little Sunny Kitchen
Leave a Review!