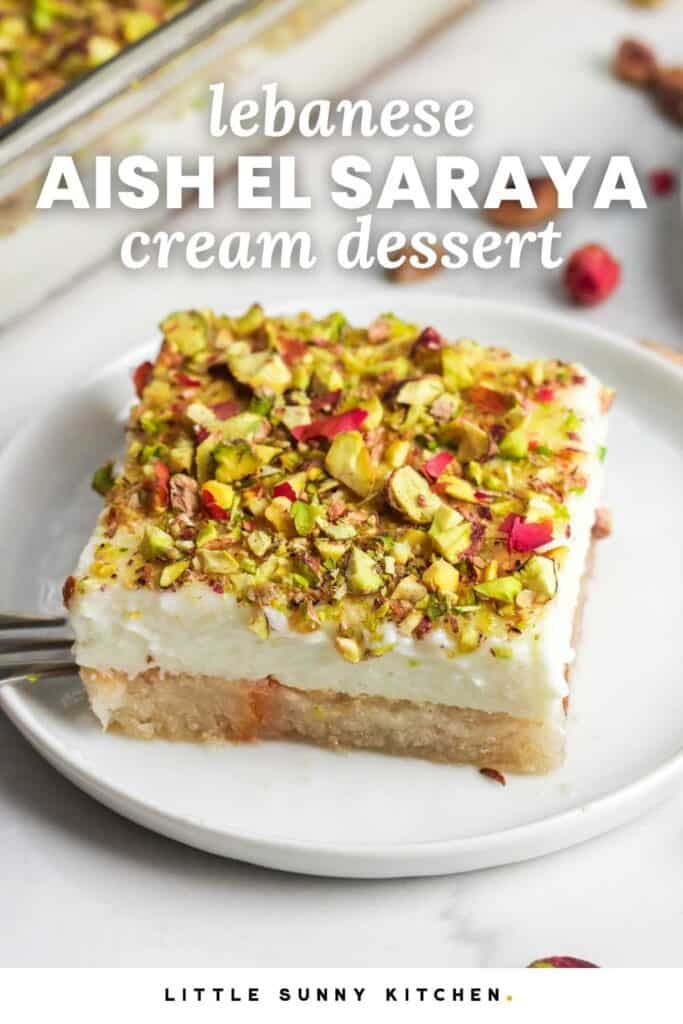
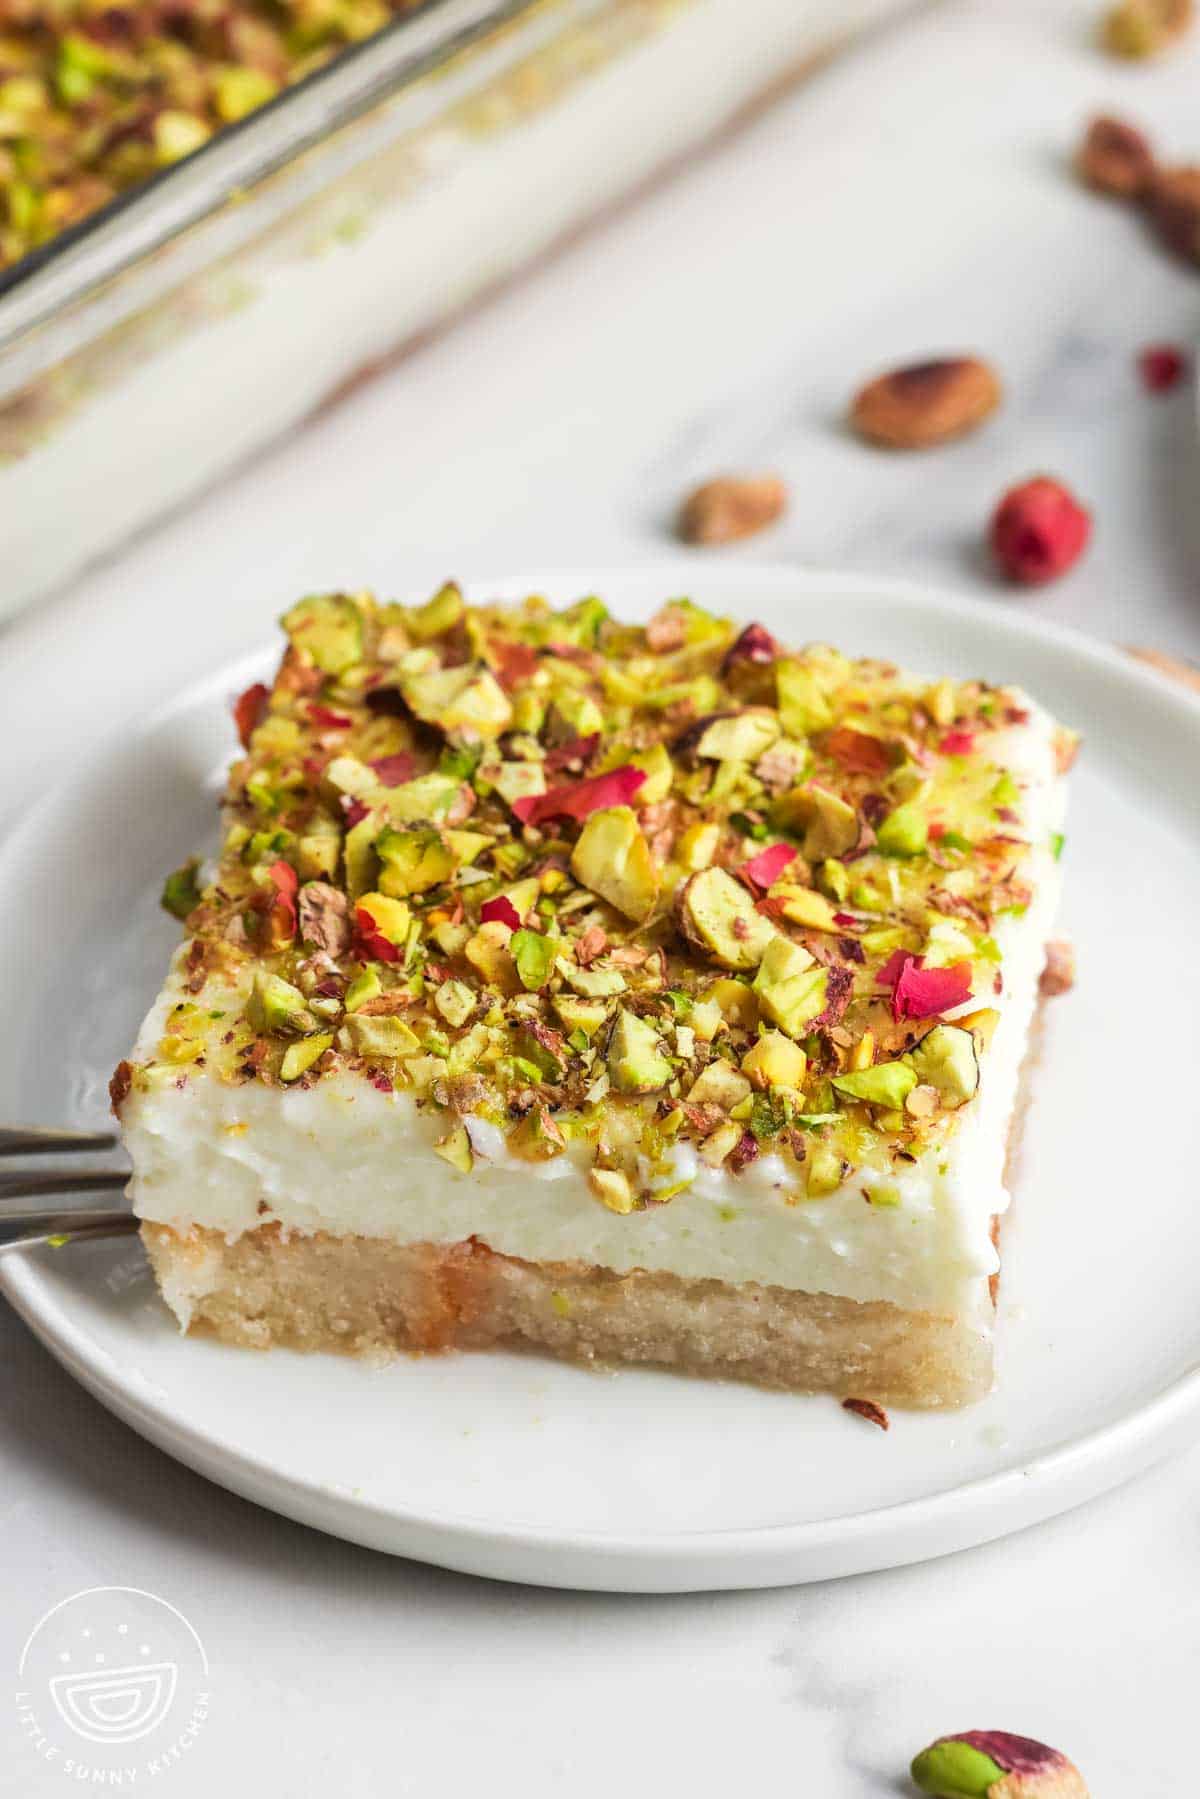
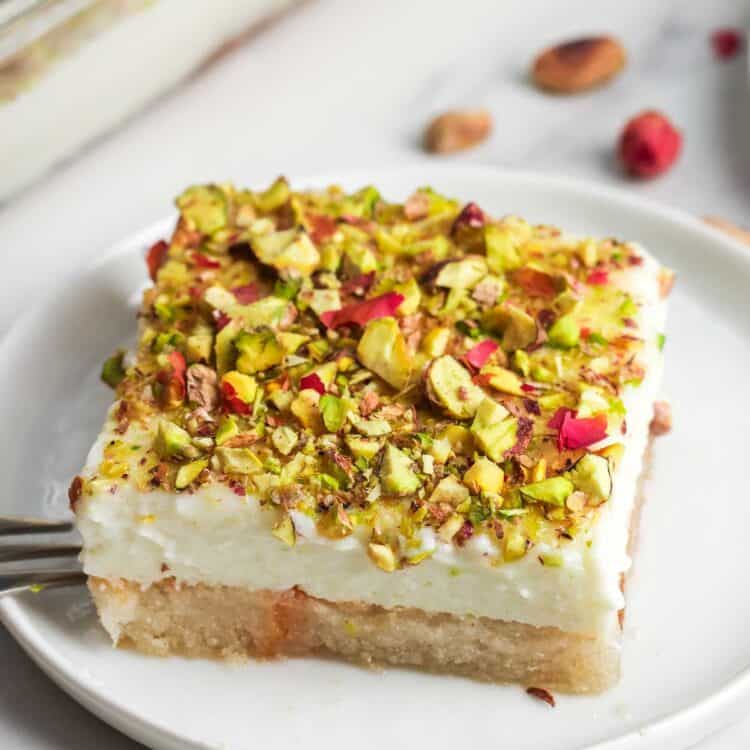
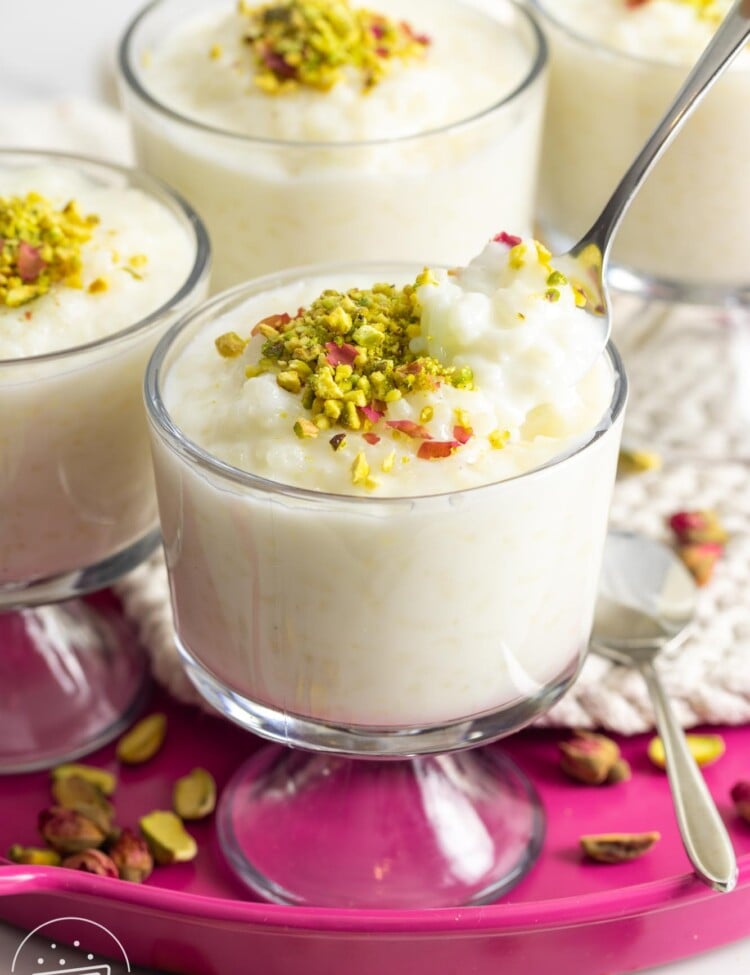
Aish el saraya is a classic Levantine dessert made with toasted bread soaked in fragrant sugar syrup, topped with a thick layer of cream, and finished with chopped pistachios. It is assembled in layers and chilled, making it an easy no-bake dessert that can be prepared ahead and served cold.
This is a well-known dessert across the Levant, including Lebanon, Syria, Jordan, and Palestine. It is often prepared for family gatherings, during Ramadan, or whenever guests are welcomed into the home.
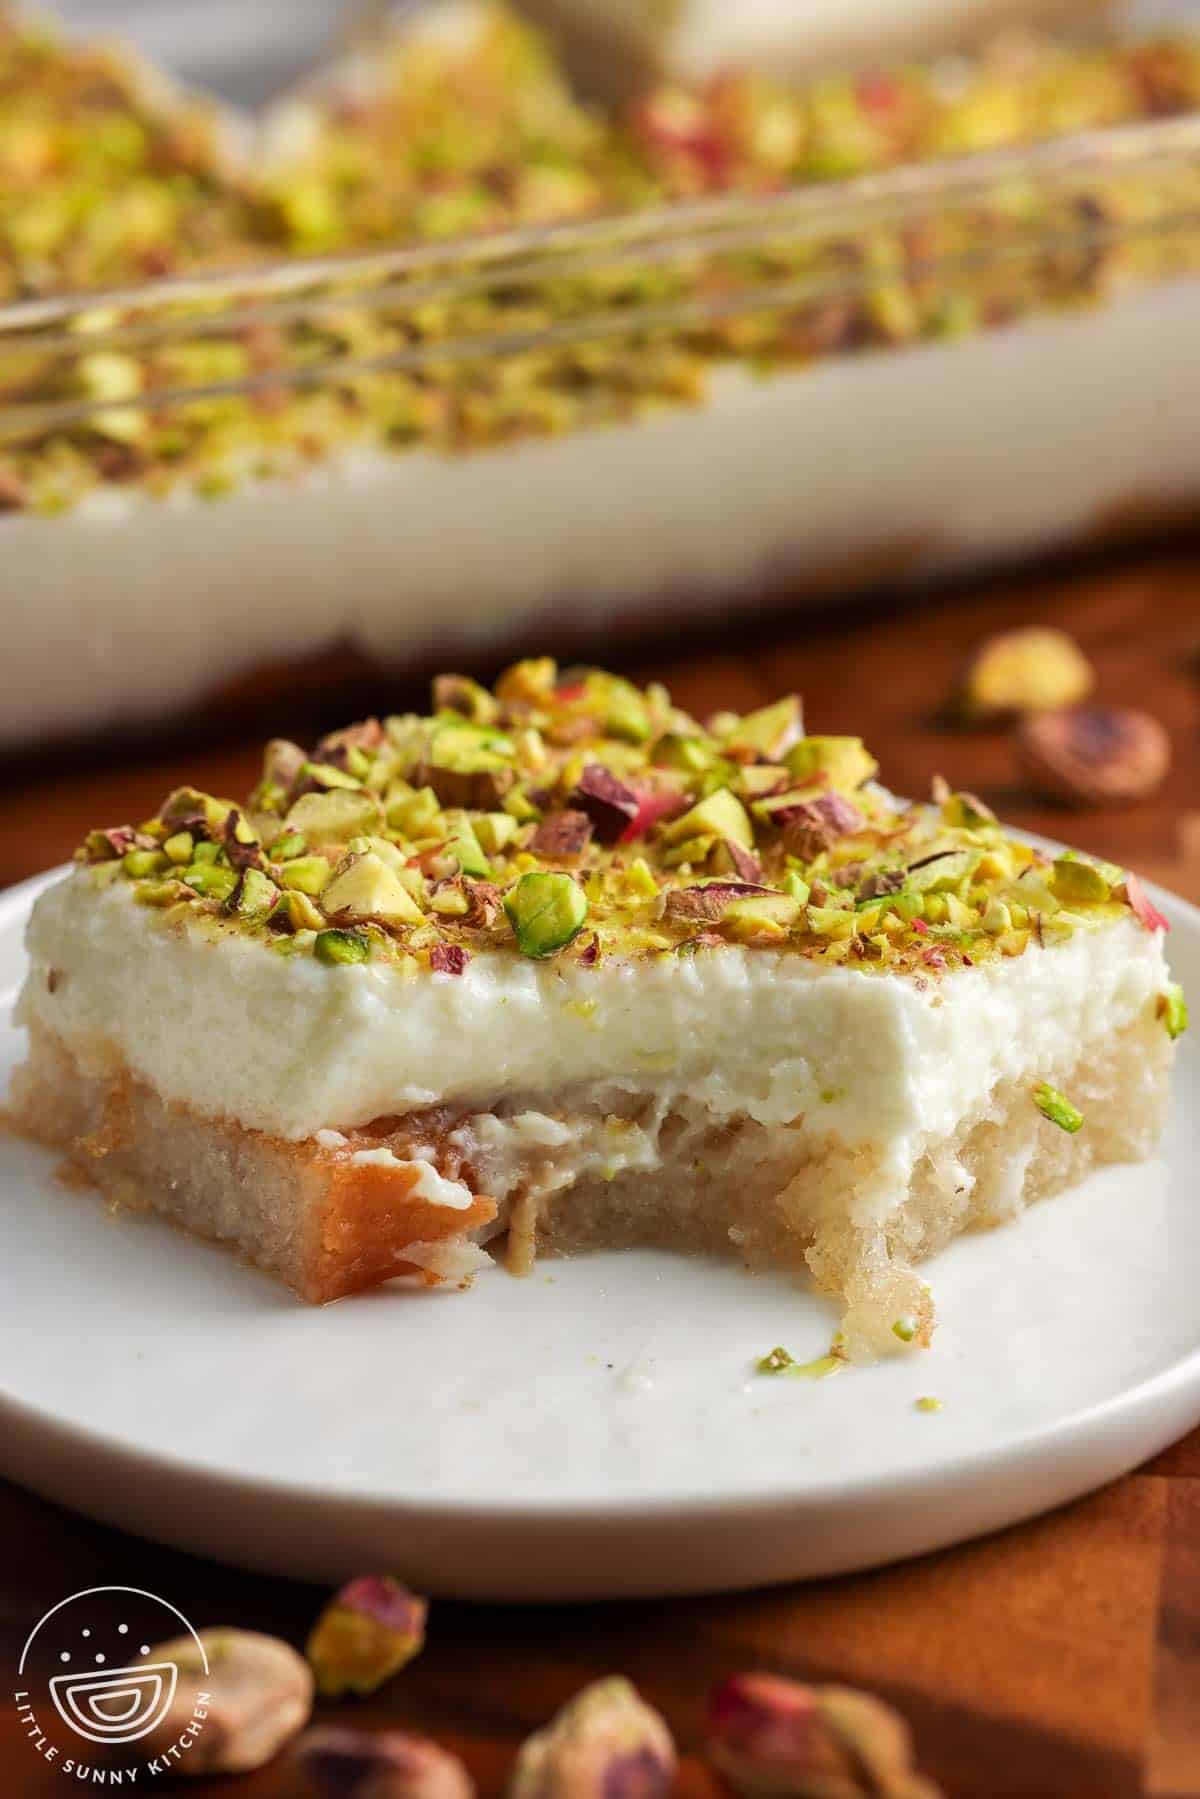
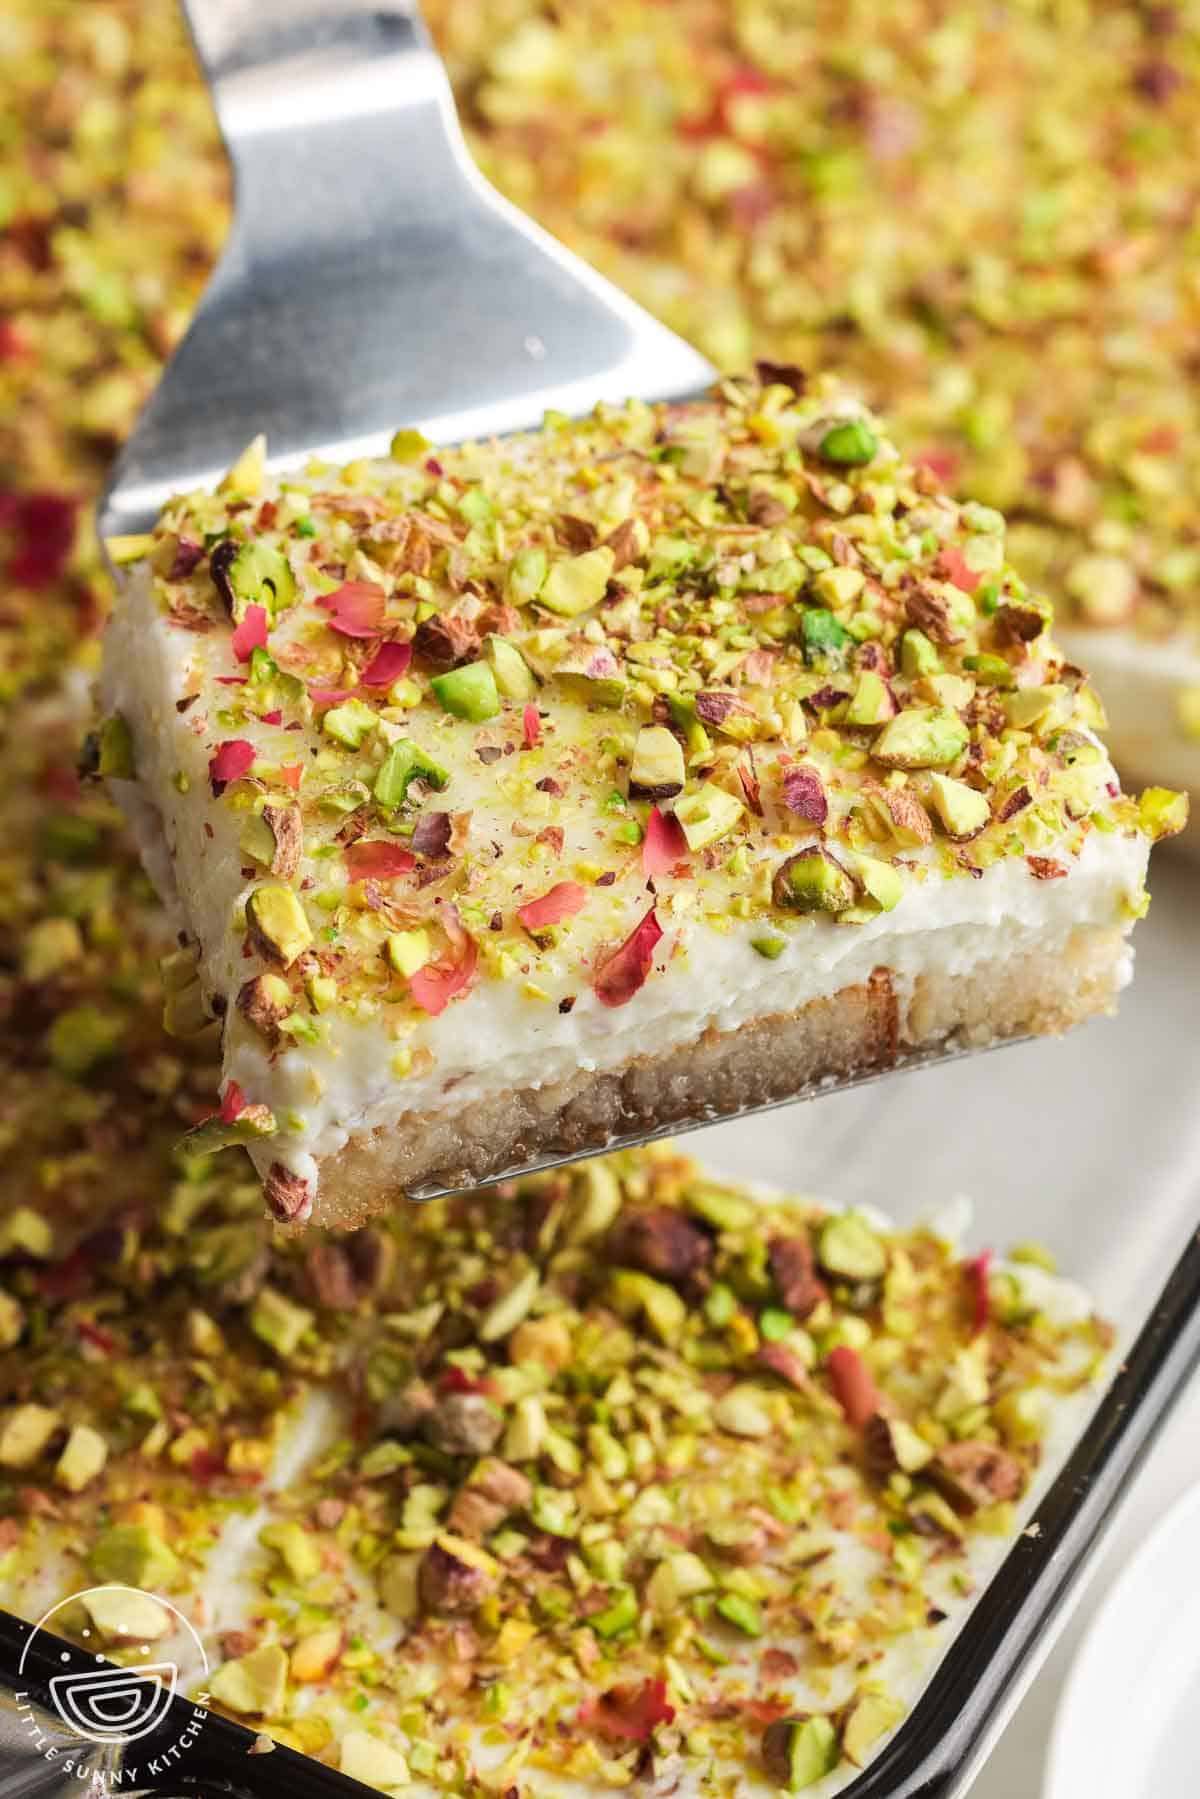
In this version, the bread is soaked just enough to stay soft but not fall apart, and the ashta sets into a creamy layer that cuts neatly into squares. Because it needs time to chill, it is ideal to prepare ahead of time and keep it in the fridge until you are ready to serve.

Aish El Saraya From My Mom’s Kitchen
My mom made aish el saraya all the time, especially when guests were coming over. It was one of those desserts that meant the house was about to fill up. In the Levant, chocolate is not a big part of everyday desserts, so this one is made with cream, semolina, sugar syrup, and finished with pistachios.
I still make it the same way today, and it is one of the most requested desserts at our family gatherings. My sister loves it, and it never lasts long on the table. It is easy to make, but the result is very, very good, and it always feels familiar and comforting.
It is also a great way to use up stale bread. I usually use sandwich bread, and most of the time it is the one I bake at home, which makes this dessert even more special to me.
Ingredient Notes
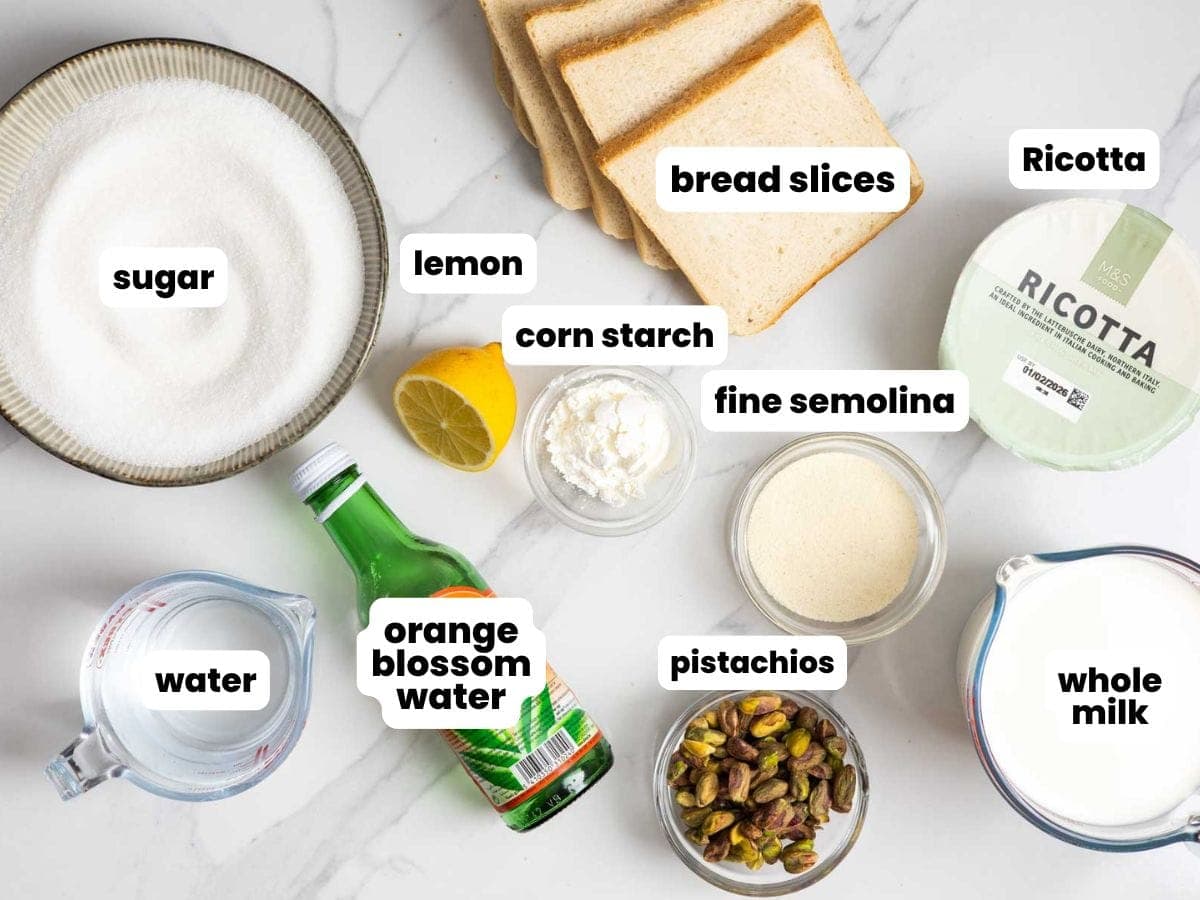
Complete list of ingredients and amounts can be found in the recipe card below.
- Semolina: Use fine semolina for the cream layer. Coarse semolina will give a grainy texture.
- Ashta shortcut: I use my homemade Ashta clotted cream recipe, then finish it by stirring in ricotta at the end instead of separating the milk solids. This makes the cream easier to prepare and keeps it smooth.
- Bread: Homemade sandwich bread works very well, but plain white store-bought bread is a reliable option and absorbs the syrup evenly.
Choosing the right bread
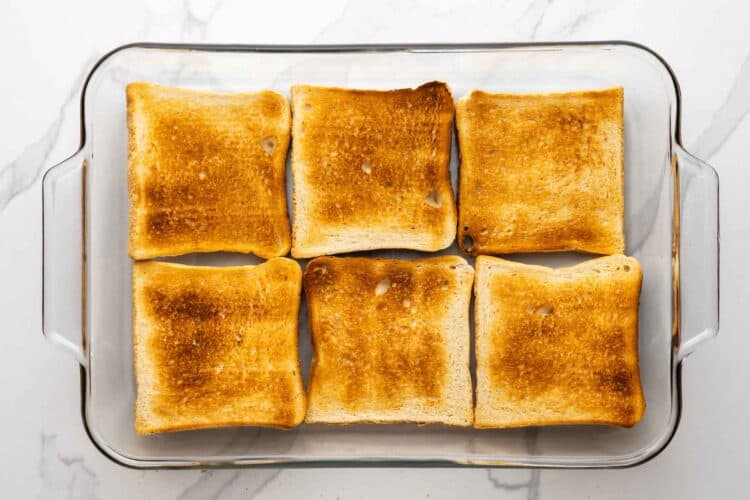
White sandwich bread works best for aish el saraya. It toasts evenly and absorbs syrup without falling apart. Day-old bread is ideal because it holds its structure better once toasted and soaked in sugar syrup.
Toast the bread until deep golden. Proper toasting is what prevents the base from becoming soggy. You can use a toaster, oven, or a dry pan.
Getting the syrup right
The syrup (attir or Sharbat) should be warm when poured over the bread, not boiling hot. This allows the bread to absorb flavor evenly without breaking down.
The syrup should be sweet but not thick. Lemon juice helps balance the sweetness and keeps the dessert from feeling heavy. I also like to add a mix of orange blossom water, and rose water to the sugar syrup.
Cream layer tips
The cream should be thick enough to spread but still smooth. Stir constantly while cooking and stop as soon as it thickens.
Let the cream cool slightly before spreading so it sits on top of the bread rather than sinking into it.
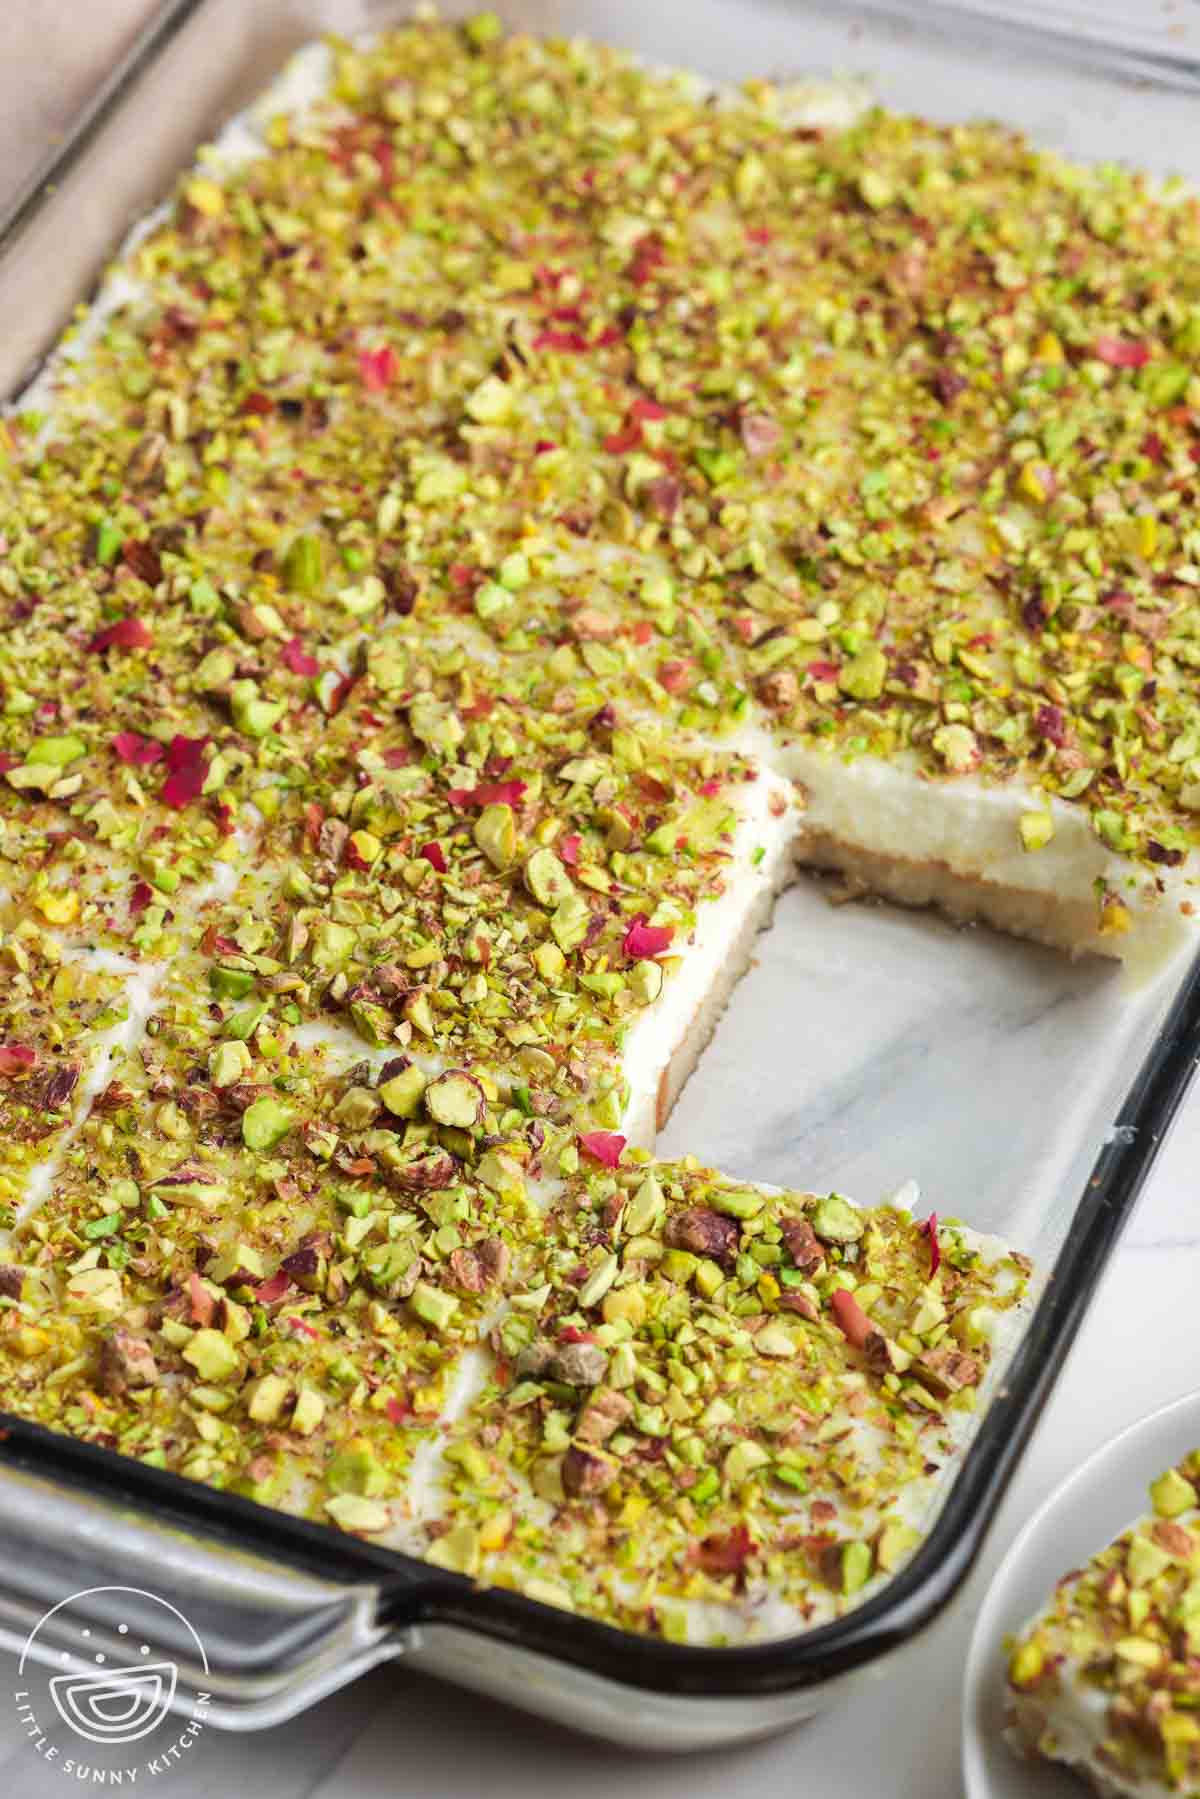
Assembly and chilling
Once assembled, cover and refrigerate for several hours. Chilling allows the layers to set and improves the final texture.
For clean slices, chill fully and use a sharp knife, wiping it between cuts.
Serving suggestions
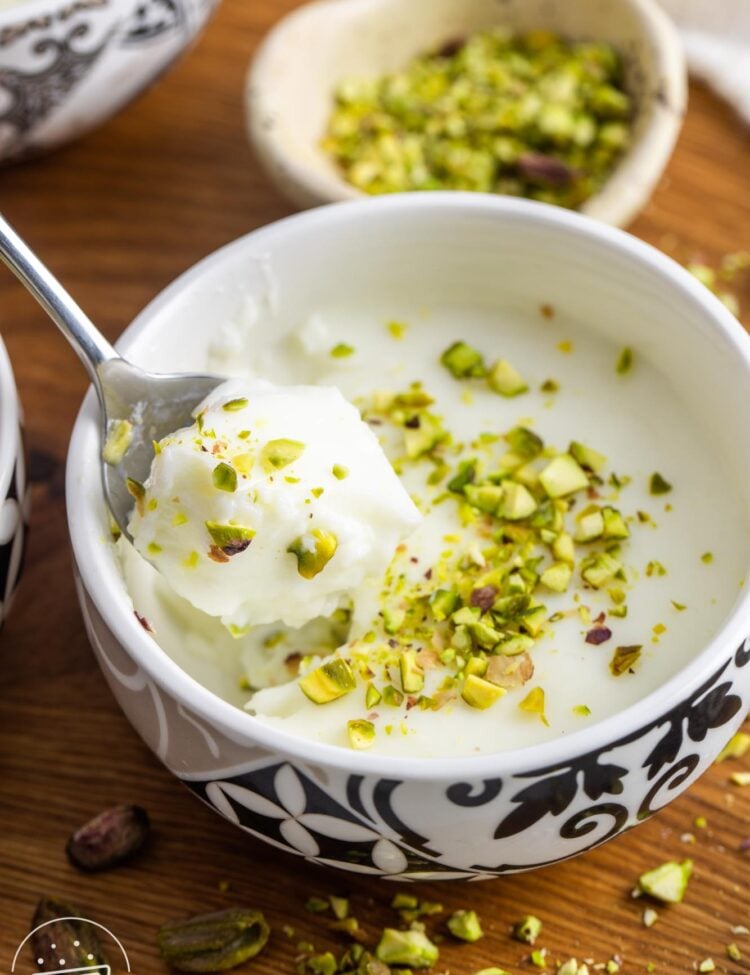
Aish el saraya is best served cold. Garnish with pistachios or almonds just before serving. It pairs well with coffee or tea and works well as a light dessert after a large meal.
Storage tips
Store in the refrigerator, covered, for up to 3 days. Freezing is not recommended, as the cream layer can change texture after thawing.
Did you make this? Be sure to leave a review below and tag me on Facebook, Instagram, or Pinterest!
Aish El Saraya
Equipment
- Plastic wrap
Ingredients
White bread layer
- 6 slices white sandwich bread
Sugar syrup
- 1 ½ cups (300 g) white granulated sugar
- 1 cup (240 ml) water
- 1 teaspoon (5 ml) fresh lemon juice
- 1 tablespoon (15 ml) orange blossom water
Ashta cream
- ⅓ cup (45 g) fine semolina
- 3 tablespoons (20 g) cornstarch cornflour in the UK
- 1 tablespoon (12 g) granulated sugar
- 4 cups (950 ml) whole milk
- 1 ½ teaspoons (7.5 ml) orange blossom water
- 1 ½ teaspoons (7.5 ml) rose water
- 8 ounces (225 g) ricotta cheese
Topping
- ¾ cup (90 g) pistachios finely chopped
Instructions
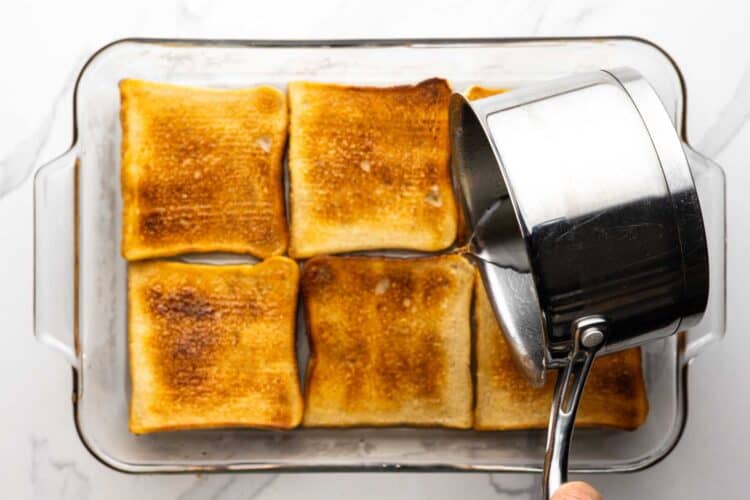
- Toast the bread slices until lightly golden and crisp, then arrange them in a single layer in the baking dish.

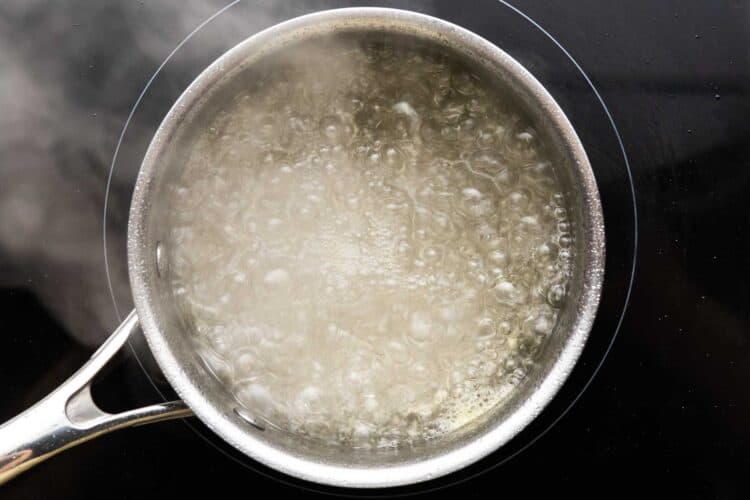
- Combine the sugar and water in a saucepan and bring to a boil. Add the lemon juice and simmer for about 7 minutes until the syrup lightly coats the back of a spoon but still pours easily. Remove from the heat and stir in the orange blossom water.
- Pour the hot syrup evenly over the toasted bread. Let it soak for 2-3 minutes, then carefully flip the bread slices so both sides absorb the syrup evenly. This helps prevent dry patches and ensures even soaking.
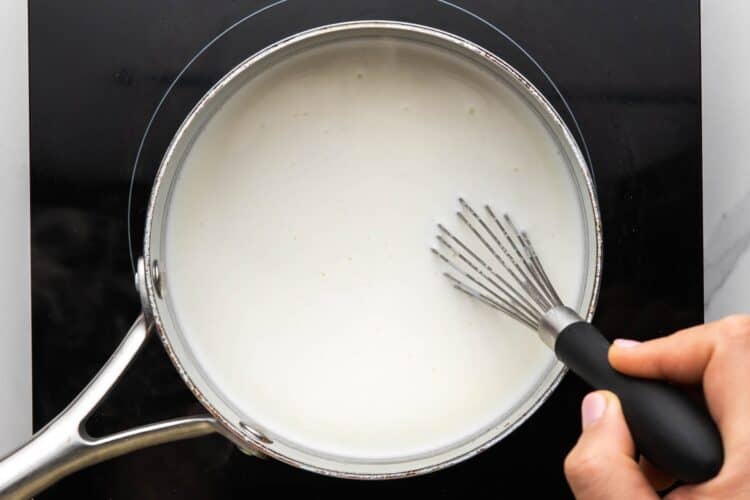
- Whisk the semolina, cornstarch, sugar if using, and milk in a clean saucepan until smooth. Cook over medium heat while stirring constantly until thickened to a loose pudding consistency, and clear lines remain when you run a spatula through it (takes about 10-12 minutes).
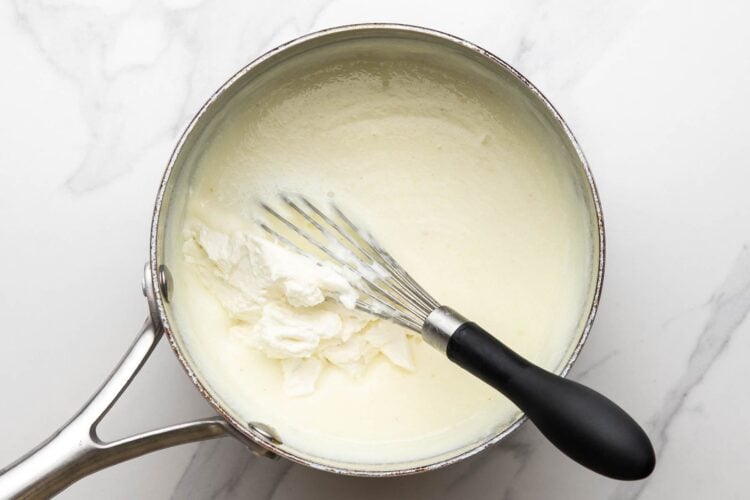
- Remove from the heat and stir in the orange blossom water, rose water, and ricotta cheese until smooth and fully combined.
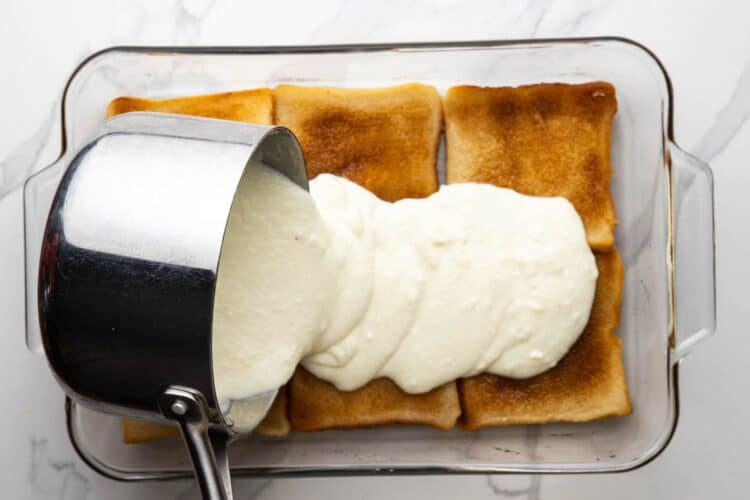
- While the ashta is still warm, pour it evenly over the soaked bread and smooth the surface. The top should look glossy and level.
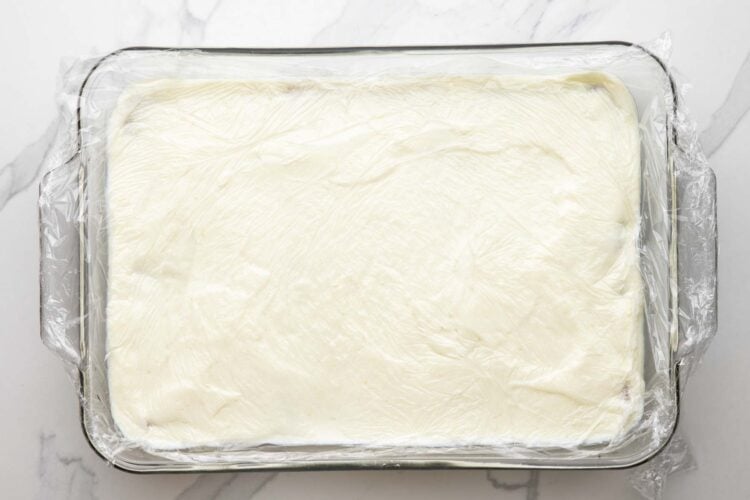
- Cover the dessert directly with plastic wrap, pressing it gently against the surface to prevent a skin from forming.
- Refrigerate for at least 4 hours or overnight until fully chilled and set.
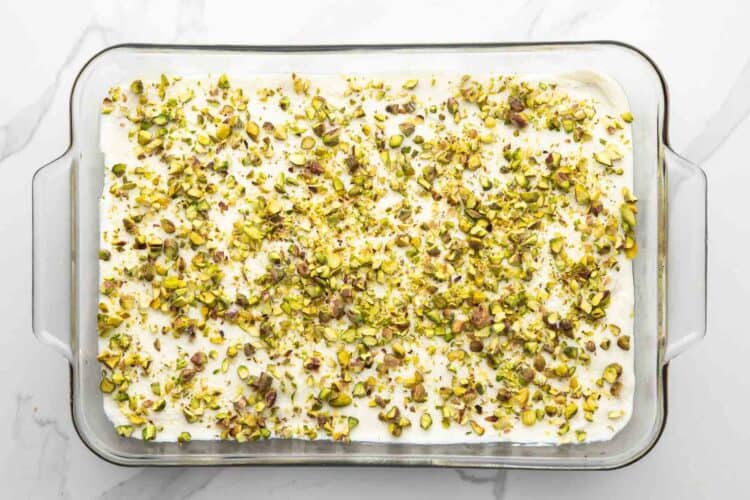
- Just before serving, remove the plastic wrap, sprinkle evenly with chopped pistachios, then cut into squares and serve cold.
Notes:
- The syrup should be hot when poured over the bread so it absorbs properly.
- The ashta must be poured while warm to spread into a smooth, even layer.
- The optional sugar and floral waters in the ashta enhance aroma rather than sweetness and do not affect structure.
- A glass baking dish helps retain the syrup evenly and allows the layers to set cleanly.
- Store covered in the refrigerator for up to 3 days. This dessert is not suitable for freezing as the cream layer will lose its texture.
Nutrition Information
This website provides approximate nutrition information for convenience and as a courtesy only. Nutrition data is gathered primarily from the USDA Food Composition Database, whenever available, or otherwise other online calculators.
© Little Sunny Kitchen
Leave a Review!