Perfect for Fall, these Pumpkin Spice Whoopie Pies are subtly spiced, soft, and cake-like cookies filled with a light and sweet cream cheese frosting.
This easy recipe is sure to be loved by the whole family and makes a wonderful treat for Halloween, Thanksgiving, or any cozy Autumn weekend.
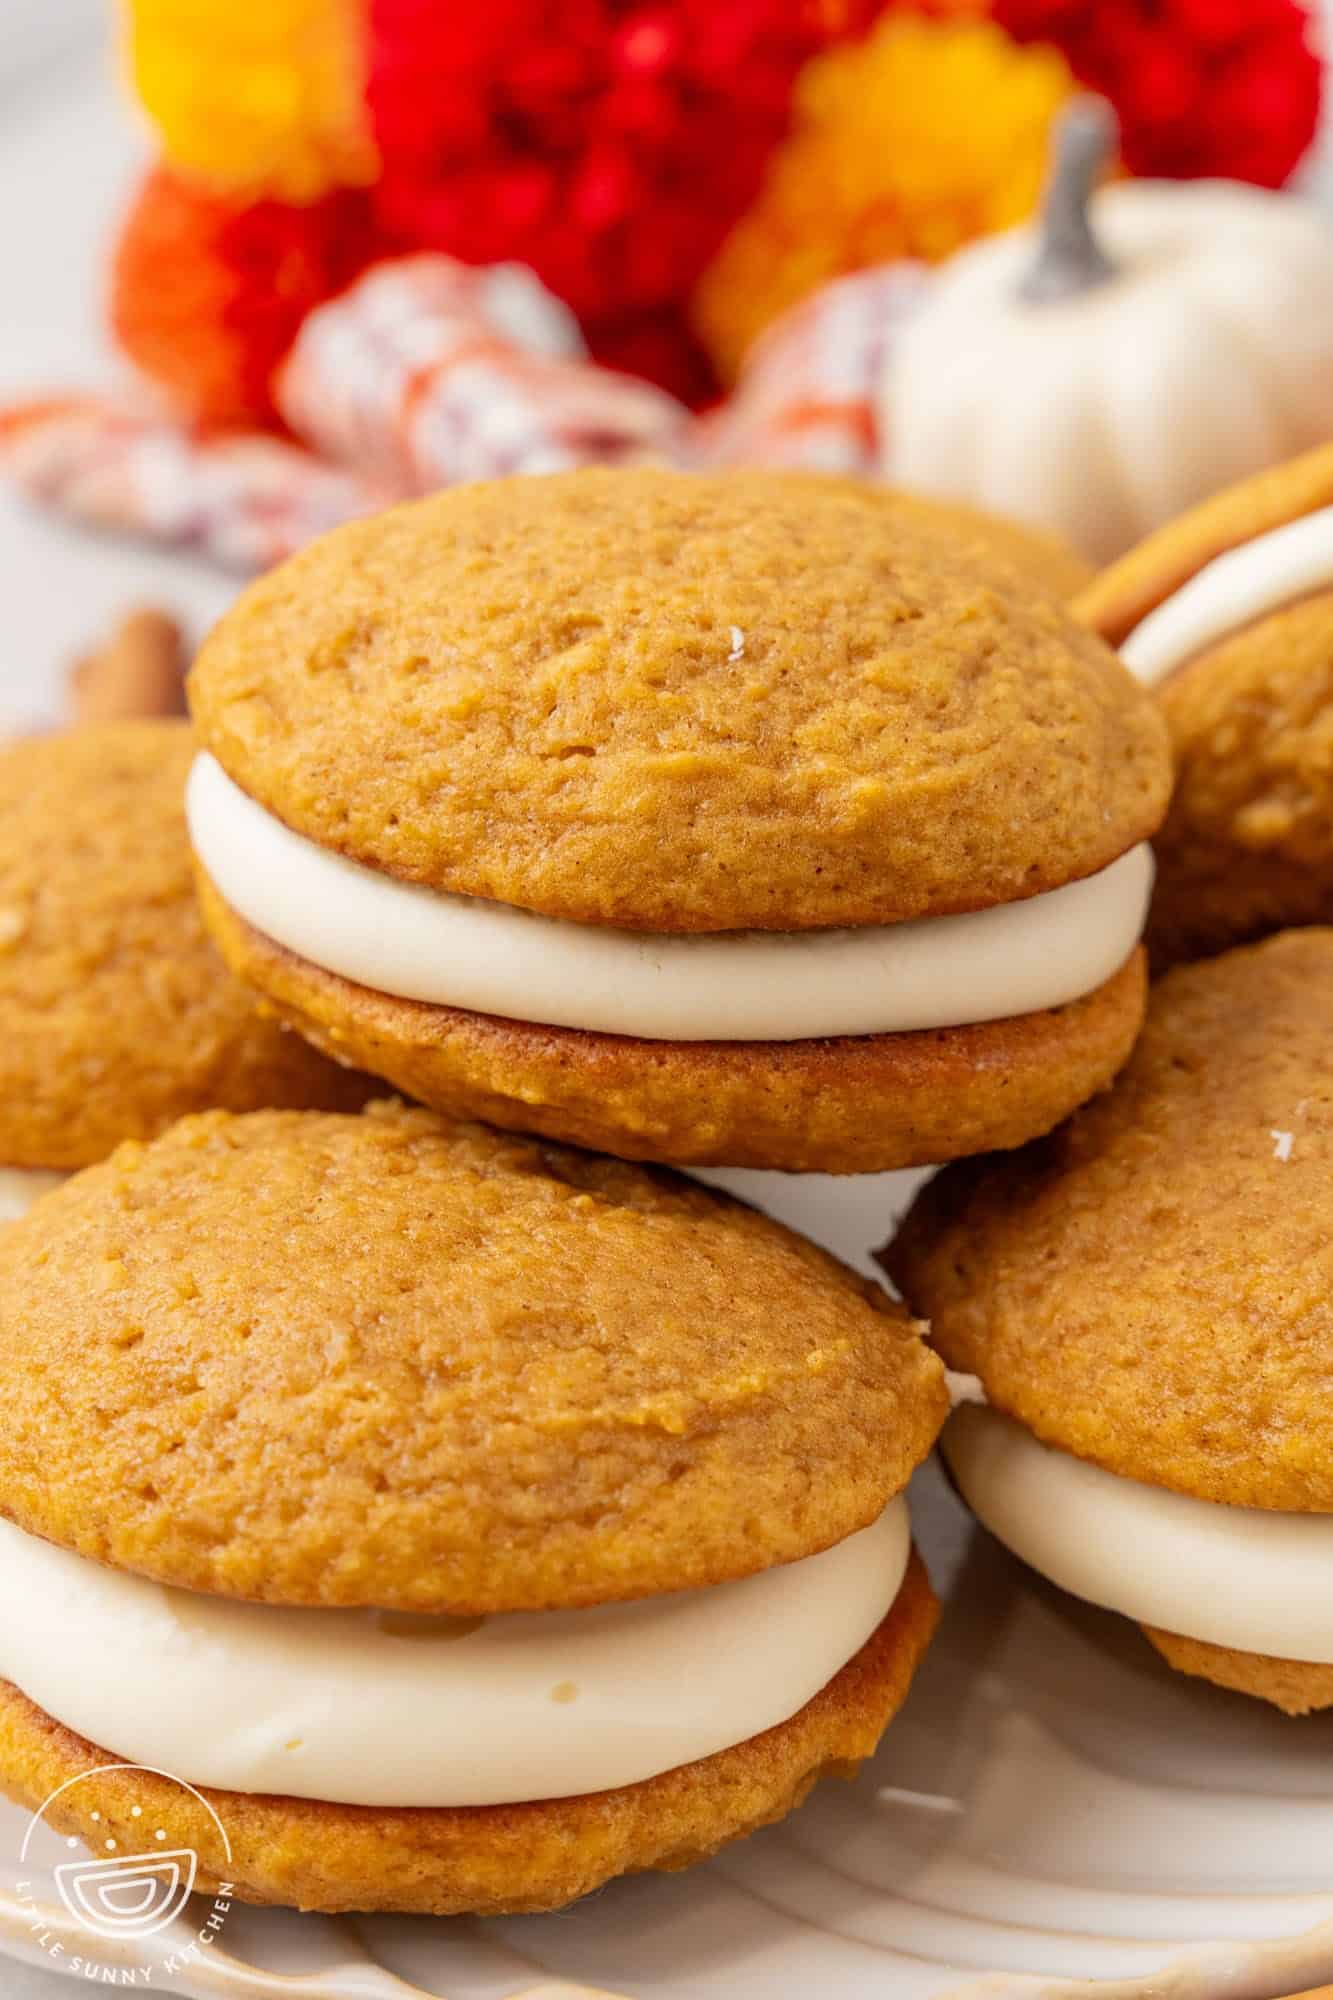
What is a Whoopie Pie? Is it a cake? A cookie? Well, it’s neither. And it’s also both!
Whoopie Pies are in a dessert category all on their own. These divine treats are like hand-held miniature cake sandwiches, filled with a creamy frosting.
This recipe will teach you how to make a delicious pumpkin-spiced variation on the basic chocolate and vanilla whoopie pie recipe. These whoopie pumpkin pies are completely perfect for fall, with all of the best flavors of the season.
Pumpkin Whoopie Pies are filled with a rich and luscious cream cheese frosting because cream cheese frosting is perfect with all things pumpkin spiced!
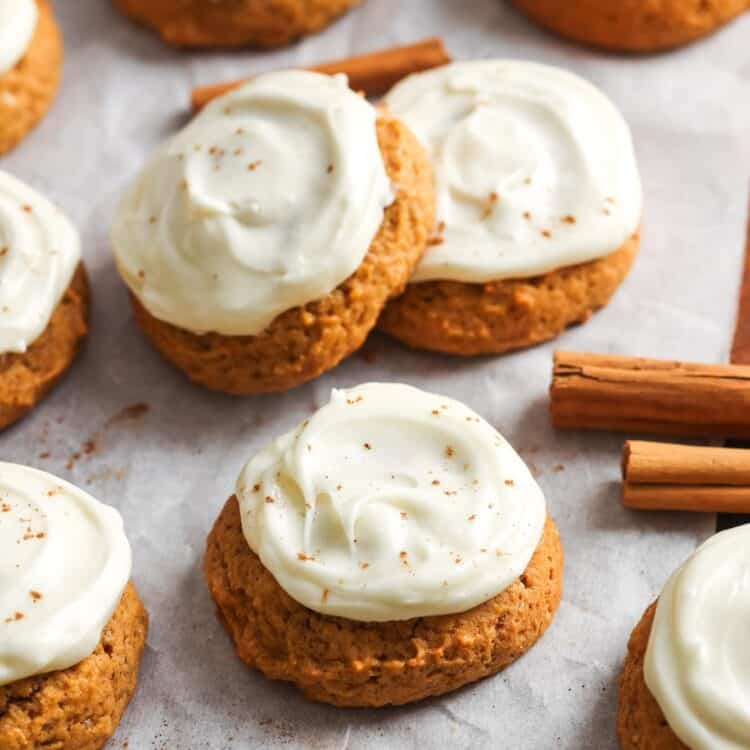
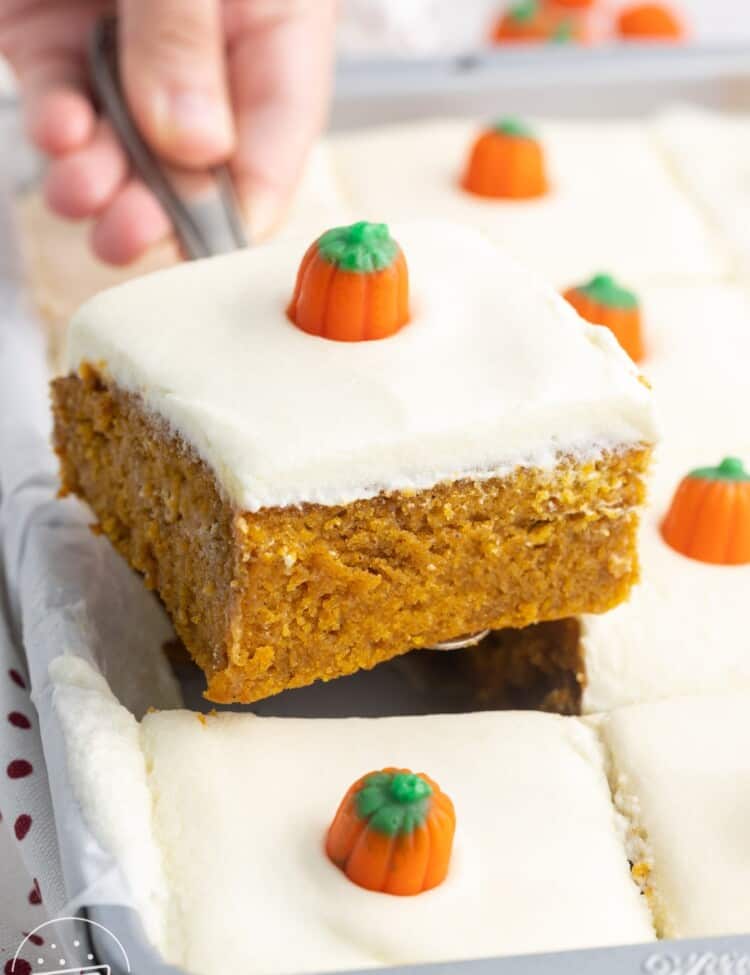
If you like this recipe, be sure to try my Pumpkin Scones, Pumpkin Cake Roll, Easy Pumpkin Cake, and Pumpkin Cookies with Cream Cheese Frosting.
And if you’d like to make a less pumpkin-y version of this recipe, go ahead and grab my recipe for Vanilla Whoopie Pies!
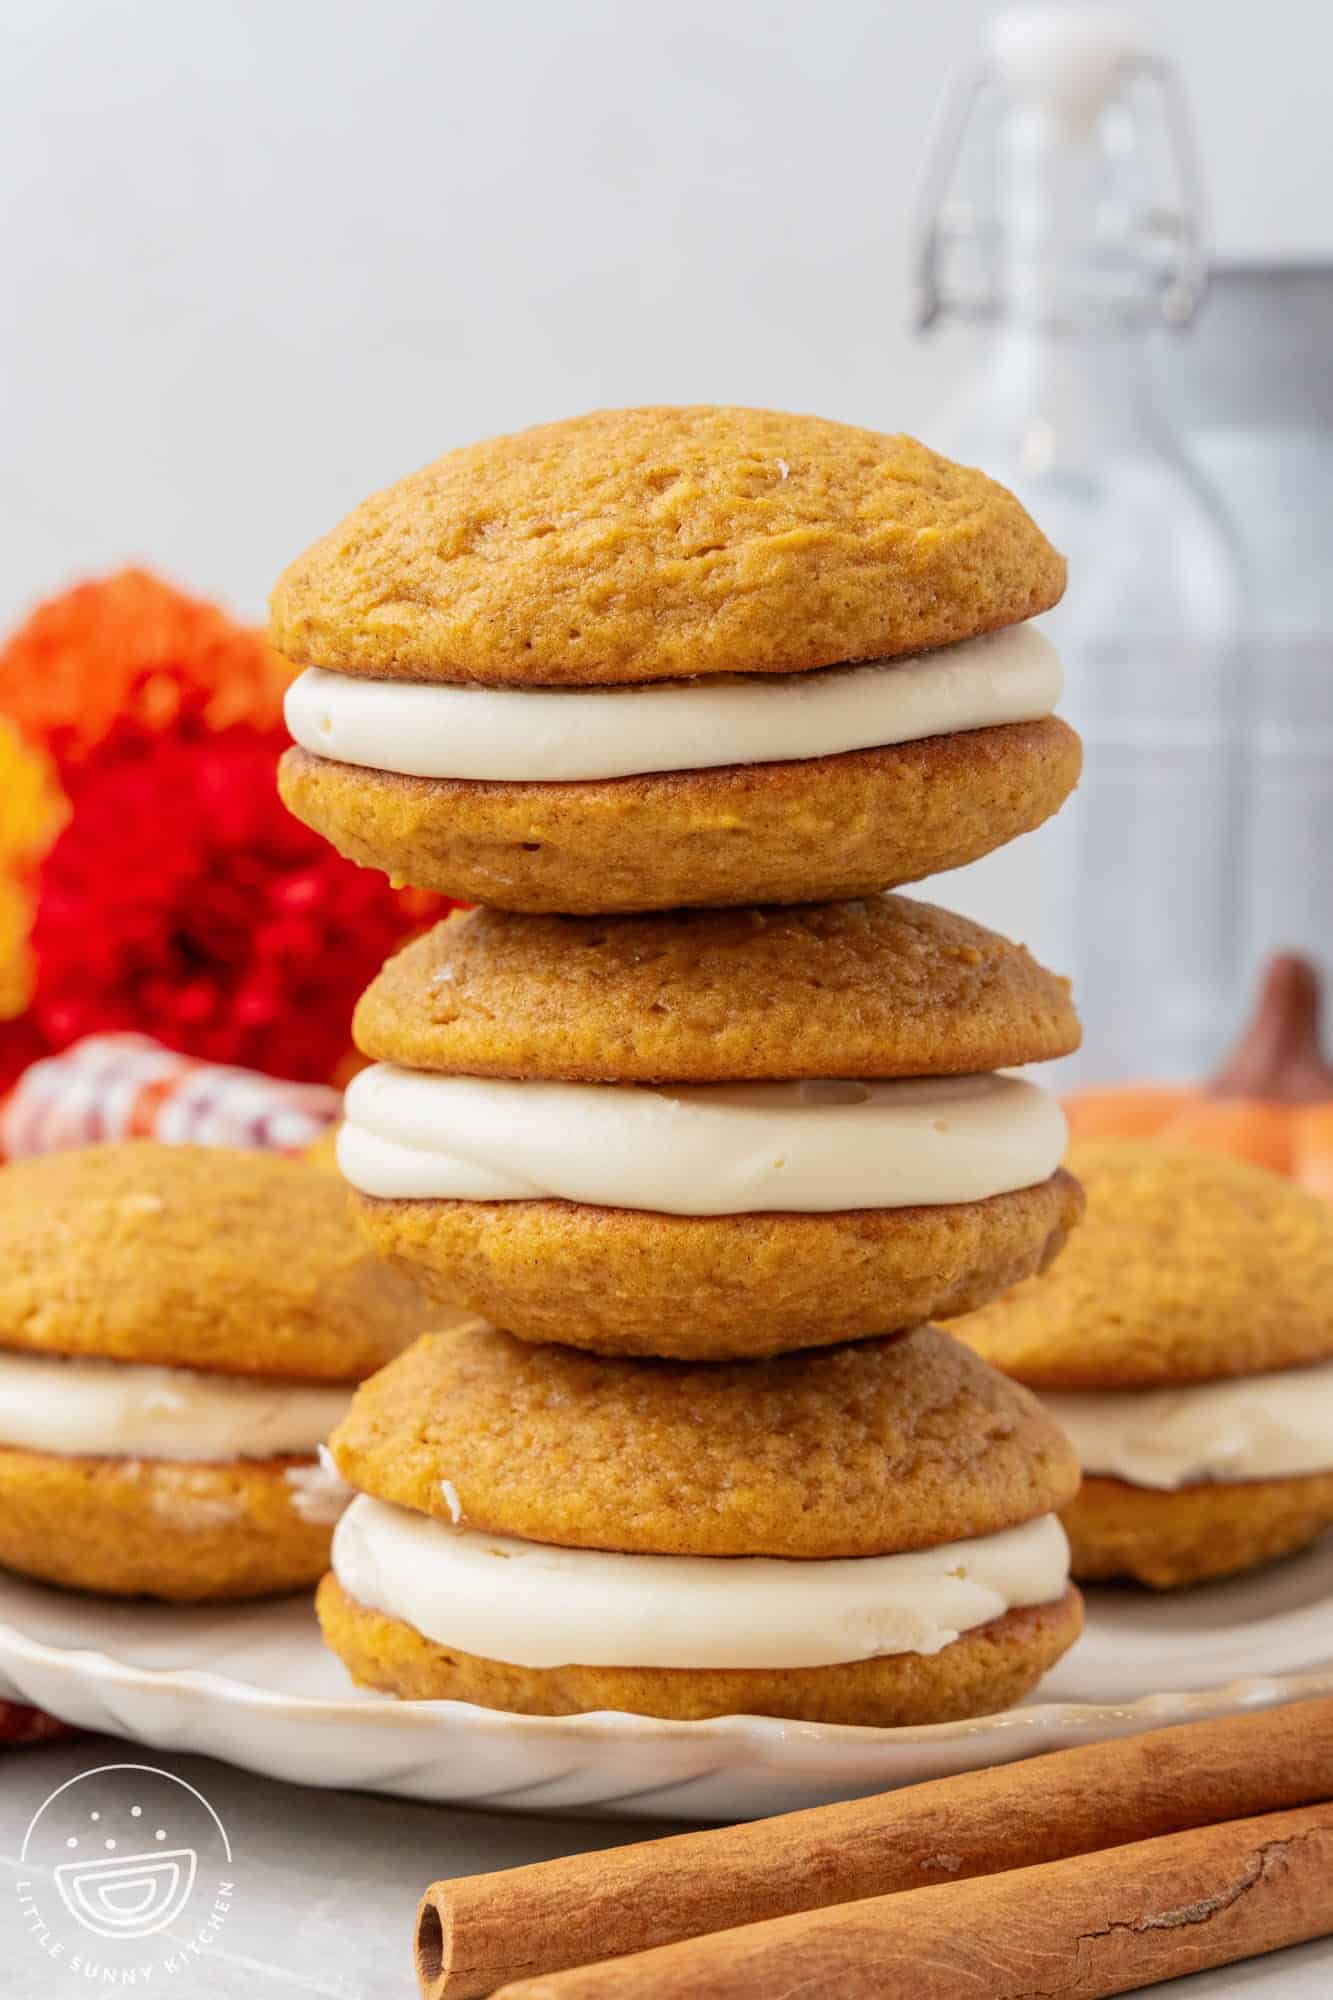
Why You’ll Love This Recipe
- A Twist on a Classic – Traditionally, whoopie pies are chocolate cakes filled with vanilla frosting. Today we’re giving that recipe an autumn-themed makeover with pumpkin and cream cheese frosting instead.
- Simple Ingredients and Recipe – Everything you need to make Pumpkin Whoopie Pies is easily available at the grocery store, or maybe already in your pantry. Follow along with this step-by-step recipe and you’ll be enjoying this delicious dessert in no time at all!
- Pumpkin Spice! – Use pre-made pumpkin spice to make flavoring these whoopie pies easy. The sweet, aromatic blend of cinnamon, nutmeg, ginger, and cloves is exactly what you wait for all summer long.
Key Ingredients for Pumpkin Whoopie Pies
Here’s what you need to make these fun fall treats:
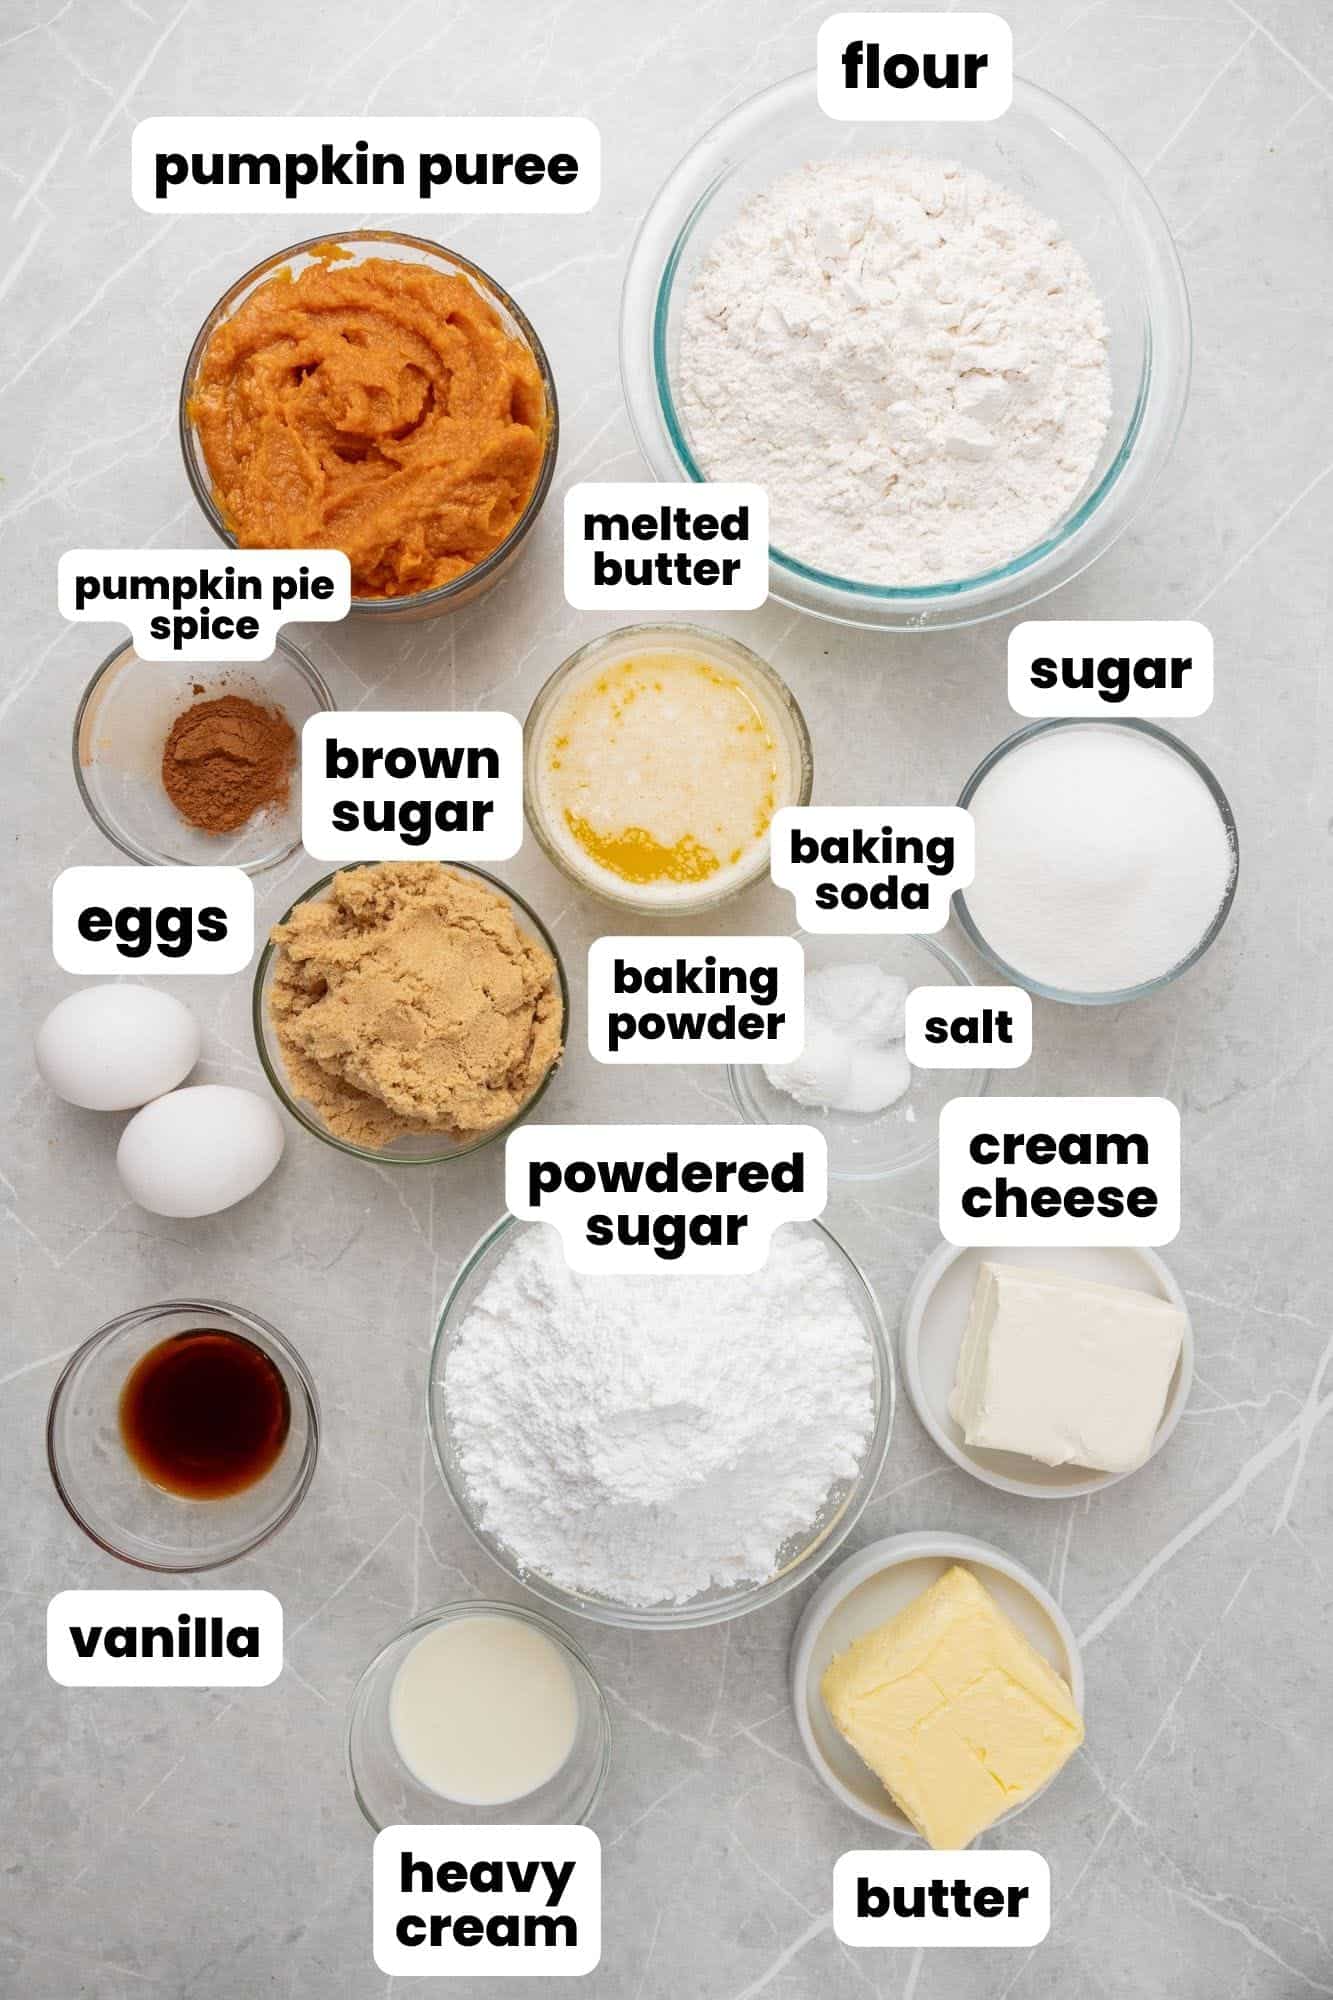
- Pumpkin: Be sure to buy plain, pure canned pumpkin for this recipe, and avoid pumpkin pie filling, which includes sugar and spices that we don’t need here.
- Eggs: I always recommend letting your eggs come to room temperature before mixing them into your dough and batter recipes. This simple step will ensure that your whoopie pie dough is perfectly smooth.
- Brown Sugar: The molasses flavor in the brown sugar is so good with pumpkin. Plus, the brown sugar helps to keep the cookies moist and soft.
- Vanilla Extract: Use your best quality pure vanilla extract for a rich, warm flavor.
- Baking Powder and Baking Soda: This recipe is more like a cake than a cookie, so both of these are needed to make the whoopie pie shells light and fluffy.
- Pumpkin Spice: This spice blend typically includes cinnamon, ginger, nutmeg, and cloves. Buy it pre-made, or learn how to make your own pumpkin spice mix, especially if you love to bake pumpkin desserts!
- Cream Cheese Frosting: The filling for pumpkin whoopie pies is a simple mixture of softened cream cheese, butter, powdered sugar, heavy cream, and vanilla extract. You can also use my cinnamon cream cheese frosting recipe if you like a little bit of extra spice.
Complete list of ingredients and amounts can be found in the recipe card below.
How To Make Pumpkin Whoopie Pies
Get ready to bake by setting your oven to 350°F (180°C) and lining four baking sheets with parchment paper. Set the trays aside while the oven preheats and you mix up the batter.
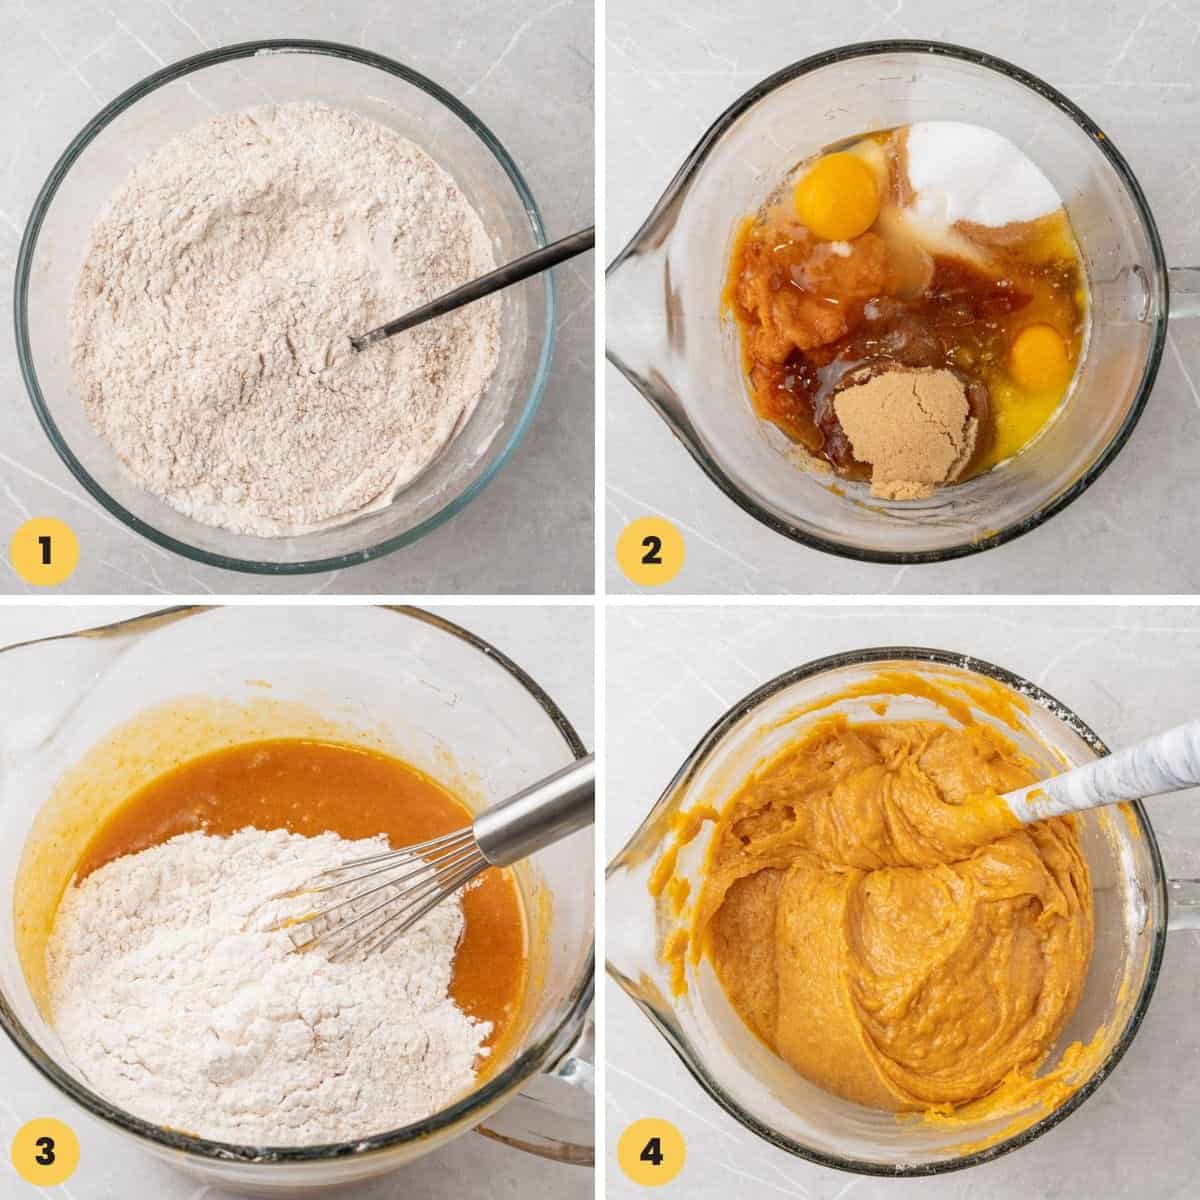
- Mix the Dry Ingredients: In a medium mixing bowl, whisk together the flour, pumpkin pie spice, baking powder, baking soda, and salt; set aside
- Mix the Wet Ingredients: In a separate larger bowl, whisk together the pumpkin, sugar, brown sugar, melted butter, eggs, and vanilla until smooth.
- Combine: Add the dry ingredients to the wet ingredients.
- Whisk: Stir in the flour mixture just until it’s combined, and avoid overmixing.
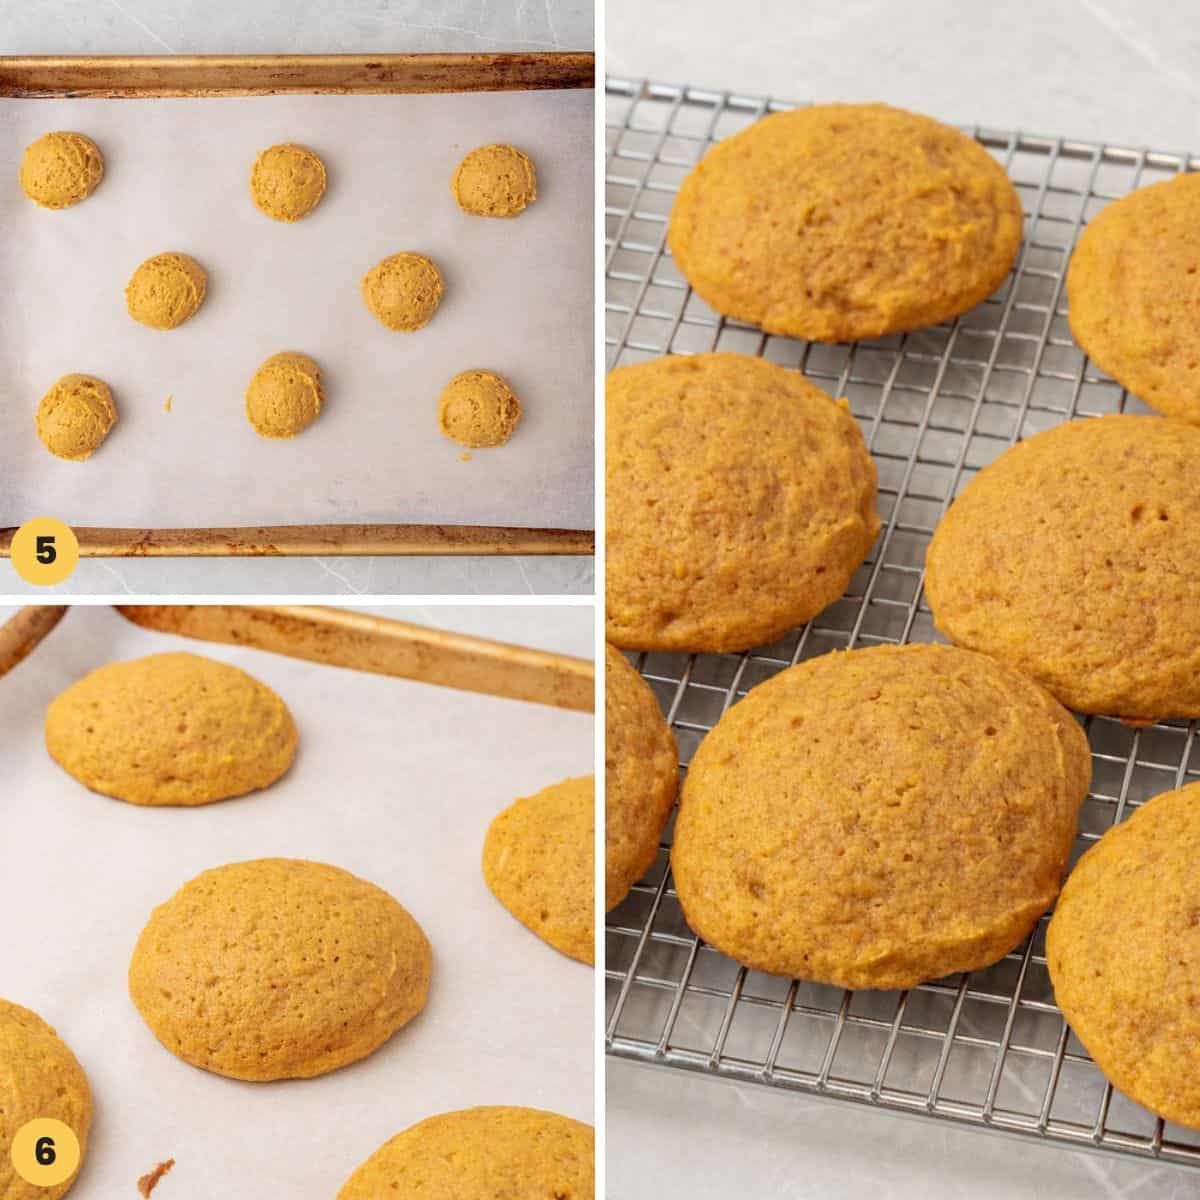
- Scoop: Use a small ice cream scoop to drop the dough at least 2” apart onto the prepared baking sheets. Each portion should be 2.5-3 tablespoons.
- Bake: Bake the cookies in the preheated oven for 12-15 minutes, or until a toothpick inserted in the center comes out clean and they are no longer wet on top. Allow the cookies to cool completely while you make the filling.
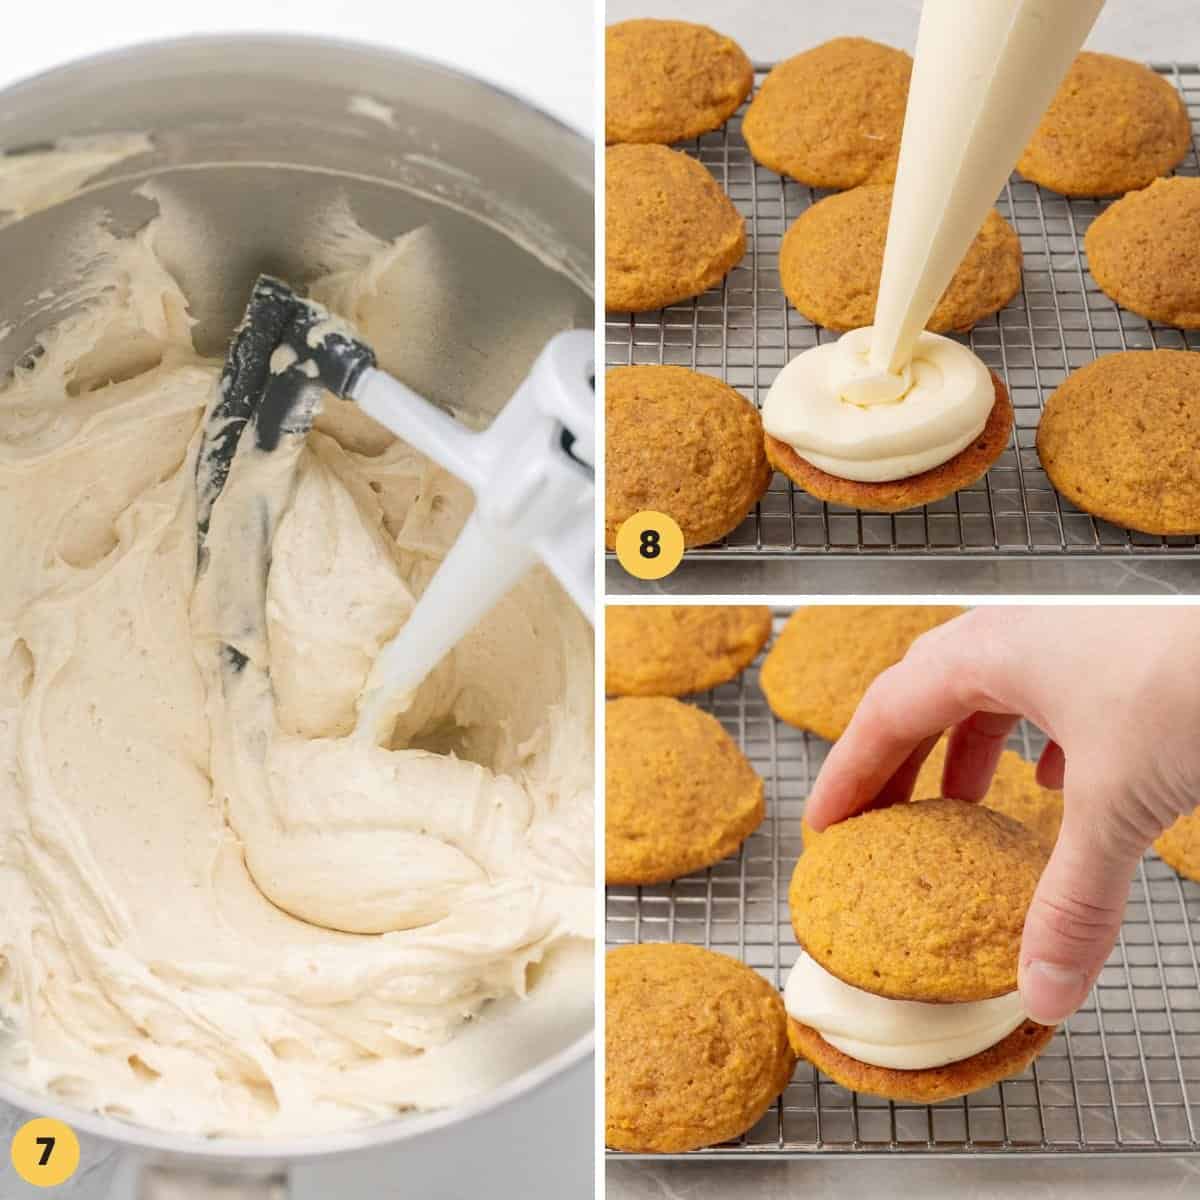
- Make the Frosting: Cream together the butter and cream cheese until smooth, about 3-4 minutes. Next, add the powdered sugar and mix until smooth. Beat in the heavy cream and the vanilla extract, then beat on high for an additional 2-3 minutes until the filling is light and creamy.
- Fill: Pipe or spread a generous amount of the cream cheese filling onto the flat bottoms of half of the cookies. Top with the other cookies to create your pumpkin whoopie pie sandwiches. Chill in the fridge for at least 30 minutes before serving.
Tip!
While you can eat these whoopie pies directly after making them, allowing them to chill in the refrigerator will firm up the frosting. They will be easier to eat this way, and less messy!
Recipe Tips
- Try to make the dough balls the same size. Once baked, you’ll want both the top and the bottom of each whoopie pie to match. A cookie scoop will help you portion the batter perfectly.
- Let them cool. Adding cream cheese frosting to warm pumpkin cookies would be a disaster! Be sure that the cookies are completely cool before adding the filling.
- Adjust the filling. Replace a small amount of the heavy cream with pure maple syrup to create a maple cream cheese filling. I’ve also heard of filling pumpkin whoopie pies with a mixture of marshmallow cream that’s been thickened with powdered sugar. My white chocolate buttercream would also be tasty here.
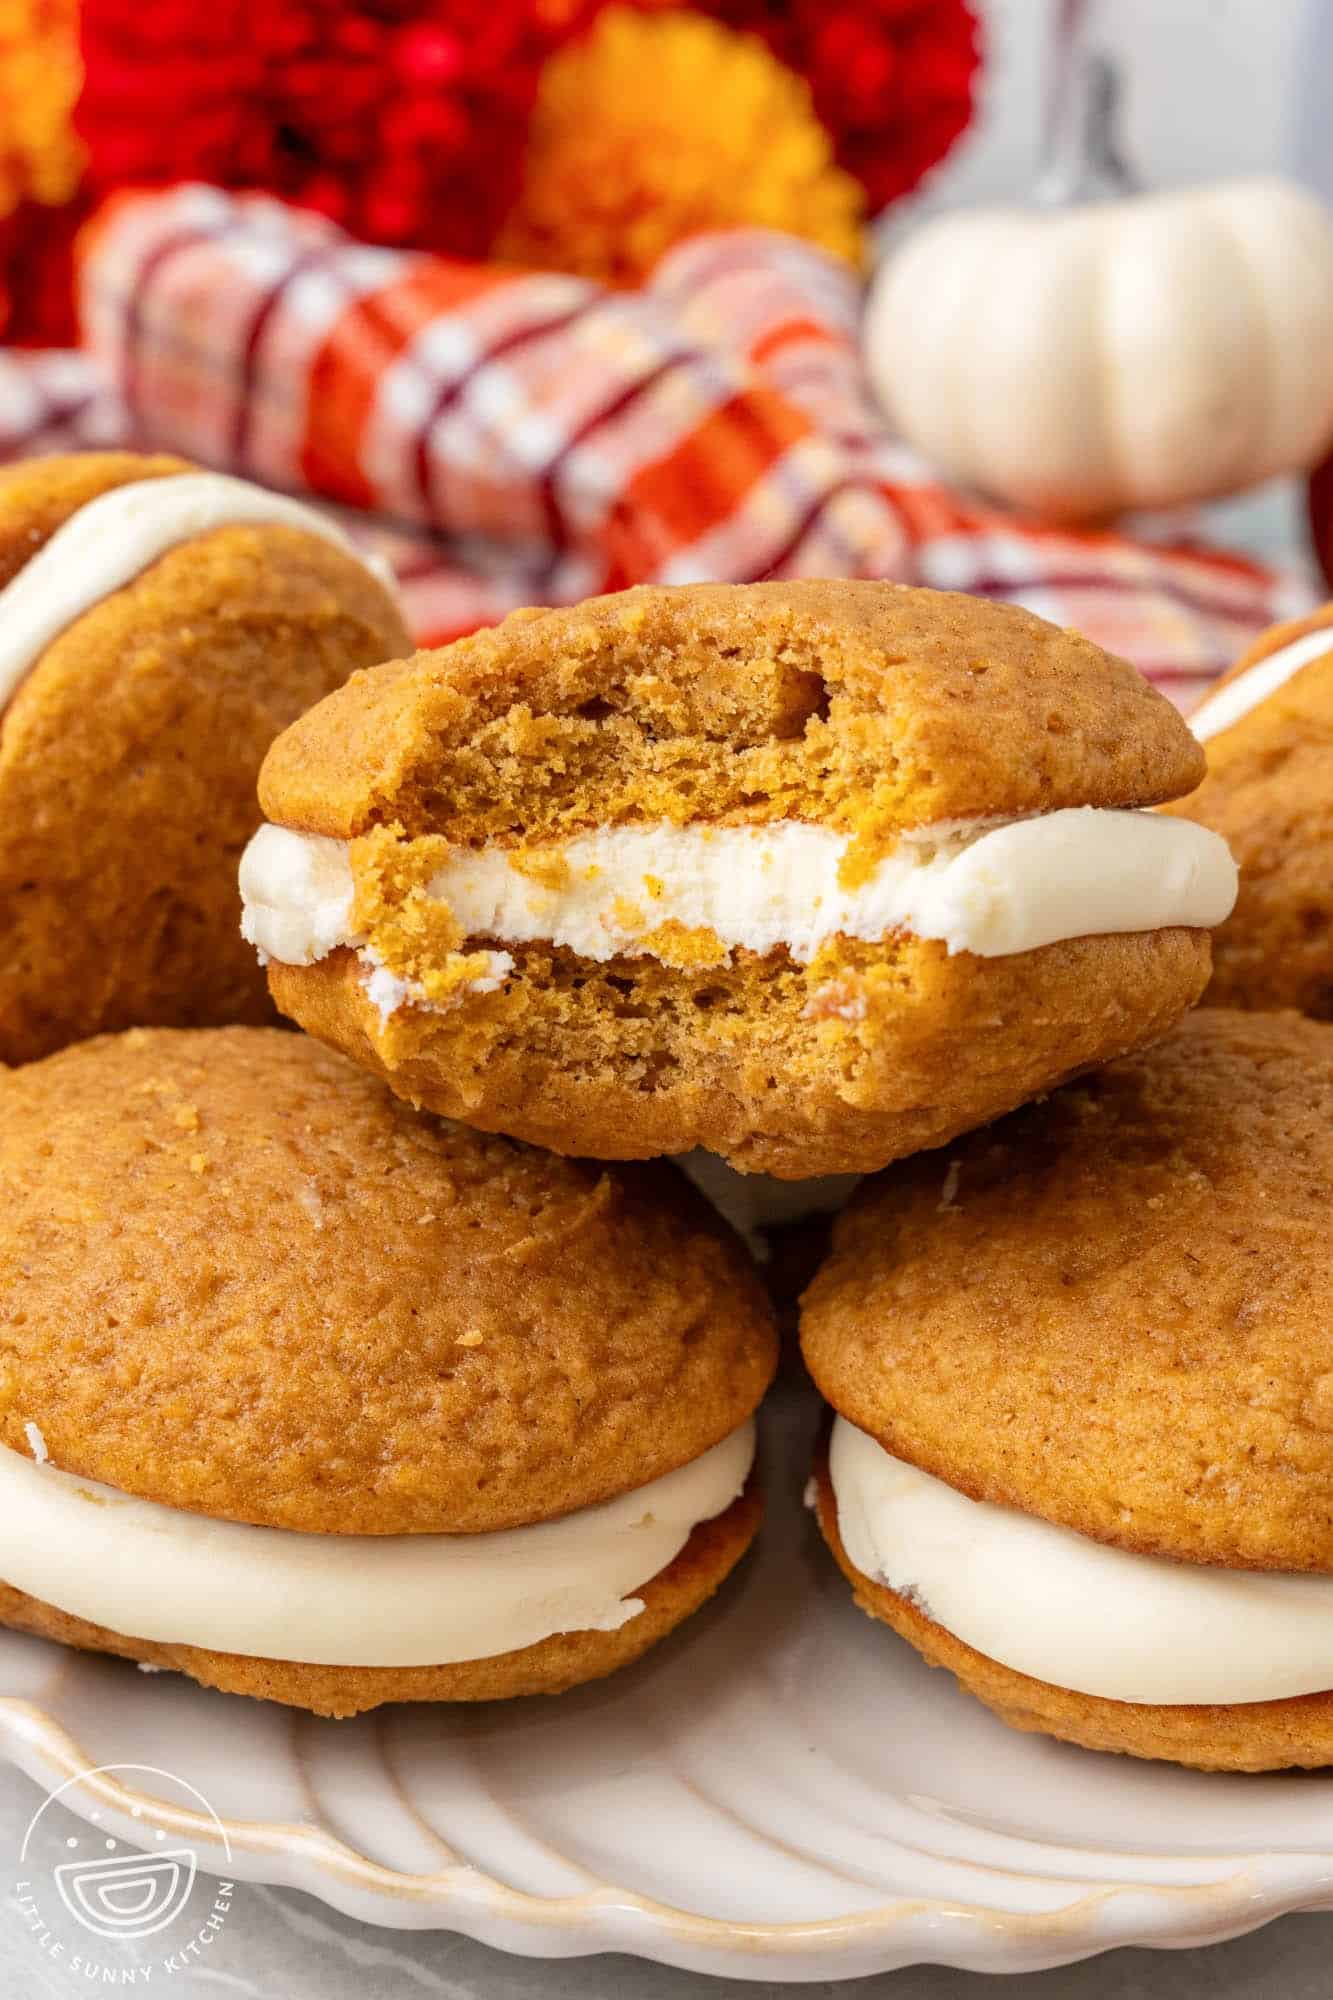
Whoopie Pie Storing Tips
Store your pumpkin whoopie pies in an airtight container in the refrigerator. If kept this way, they will stay fresh for 4-5 days. After that, they will start to dry out.
Let the whoopie pies sit at room temperature for a bit before eating so that the frosting can soften.
You can freeze whoopie pies for longer storage too! They freeze quite well. It’s best to wrap each whoopie pie individually with plastic wrap, then place the wrapped cookies in a zipper bag or freezer container. Store in the freezer for up to 6 months.
Let frozen whoopie pies thaw on the counter for 30 minutes before enjoying.
Recipe FAQs
Of course! Feel free to scale the recipe as far as you need to and make sure that everyone gets at least 1!
It’s best to store anything with cream cheese frosting in the refrigerator to avoid spoilage.
Pumpkin pie spice is generally a combination of cinnamon, nutmeg, ginger, and cloves. You can mix these to make a homemade pumpkin pie spice, or simply use cinnamon if that’s what you have.
Pumpkin Whoopie Pies are such a fun and different pumpkin dessert! Everyone will be so impressed that you made these from scratch, which makes them perfect for all of your social occasions this season.
Did you make this? Be sure to leave a review below and tag me on Facebook, Instagram, or Pinterest!

Pumpkin Whoopie Pies
Equipment
- Cookie Sheets
- Parchment paper or silicone baking mat
Ingredients
For the cookies:
- 3 ¼ cup (390 g) all purpose flour
- 1 tablespoon pumpkin pie spice
- 1 teaspoon baking powder
- ½ teaspoon baking soda
- ½ teaspoon salt
- 1 ½ cups (340 g) pumpkin puree
- 1 ¼ cups (250 g) granulated sugar
- 1 cup (200 g) light brown sugar
- 1 cup (225 g) unsalted butter melted
- 2 large eggs at room temperature
- 1 teaspoon vanilla extract
For the cream cheese filling:
- ½ cup (113 g) unsalted butter softened
- 4 ounces (113 g) cream cheese softened
- 3 cups (340 g) powdered sugar
- 1 tablespoon (15 ml) heavy cream
- ½ teaspoon vanilla extract
Instructions
- Preheat the oven to 350°F (180°C) or 160°C if using a fan oven. Line 4 baking sheets with parchment and set aside
- In a medium mixing bowl, whisk together the flour, pumpkin pie spice, baking powder, baking soda, and salt; set aside
- In a separate larger bowl, whisk together the pumpkin, sugar, brown sugar, melted butter, eggs, and vanilla until smooth.
- Add the dry ingredients to the wet ingredients and whisk until just combined. Use a small ice cream scoop (about 2.5-3 tablespoon scoop) to scoop the batter onto the prepared baking sheet at least 2” apart. Bake the cookies in the preheated oven for 12-15 minutes, or until a toothpick inserted in the center comes out clean and they are no longer wet on top.
- Allow the cookies to cool on the baking sheet for 10 minutes before transferring to a wire rack to cool completely
- Prepare the filling by creaming the butter and cream cheese until smooth, about 3-4 minutes. Add the powdered sugar and mix until smooth. Beat in the heavy cream and the vanilla extract, then beat on high an additional 2-3 minutes until the filling is light and creamy.
- Once the cookies have cooled completely, flip half upside down (flat side up) and pipe or spread a generous amount of filling on top. Add another cookie on top, flat side down, and press down gently to create the cookie sandwich.
- Chill the cookies in the fridge for at least 30 minutes to firm up before serving.
Notes:
- Try to make the dough balls the same size. Once baked, you’ll want both the top and the bottom of each whoopie pie to match. A cookie scoop will help you portion the batter perfectly.
- Let them cool. Adding cream cheese frosting to warm pumpkin cookies would be a disaster! Be sure that the cookies are completely cool before adding the filling.
- To Store: Store your pumpkin whoopie pies in an airtight container in the refrigerator. If kept this way, they will stay fresh for 4-5 days. After that, they will start to dry out. Let the whoopie pies sit at room temperature for a bit before eating so that the frosting can soften.
- To Freeze: They freeze quite well. It’s best to wrap each whoopie pie individually with plastic wrap, then place the wrapped cookies in a zipper bag or freezer container. Store in the freezer for up to 6 months. Let frozen whoopie pies thaw on the counter for 30 minutes before enjoying.
Nutrition Information
This website provides approximate nutrition information for convenience and as a courtesy only. Nutrition data is gathered primarily from the USDA Food Composition Database, whenever available, or otherwise other online calculators.
© Little Sunny Kitchen



Elena says
How many does this recipe make?
Diana says
15 sandwich cookies.