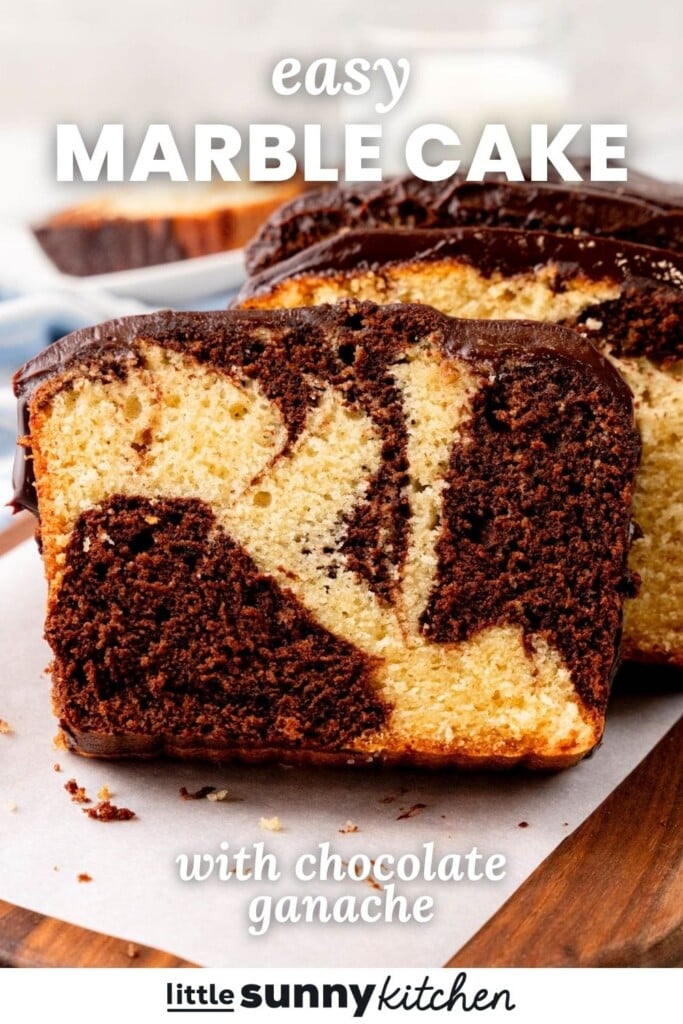
A marble cake recipe made from scratch in a loaf pan with a single batter. The cake recipe requires no cake flour, no melted chocolate, and no fancy tools, and the easy chocolate ganache icing is optional. I have a simple trick for the sharpest swirl pattern that keeps the vanilla and chocolate cake separate without any muddiness.

It Took 4 Tests, But We Got It Right
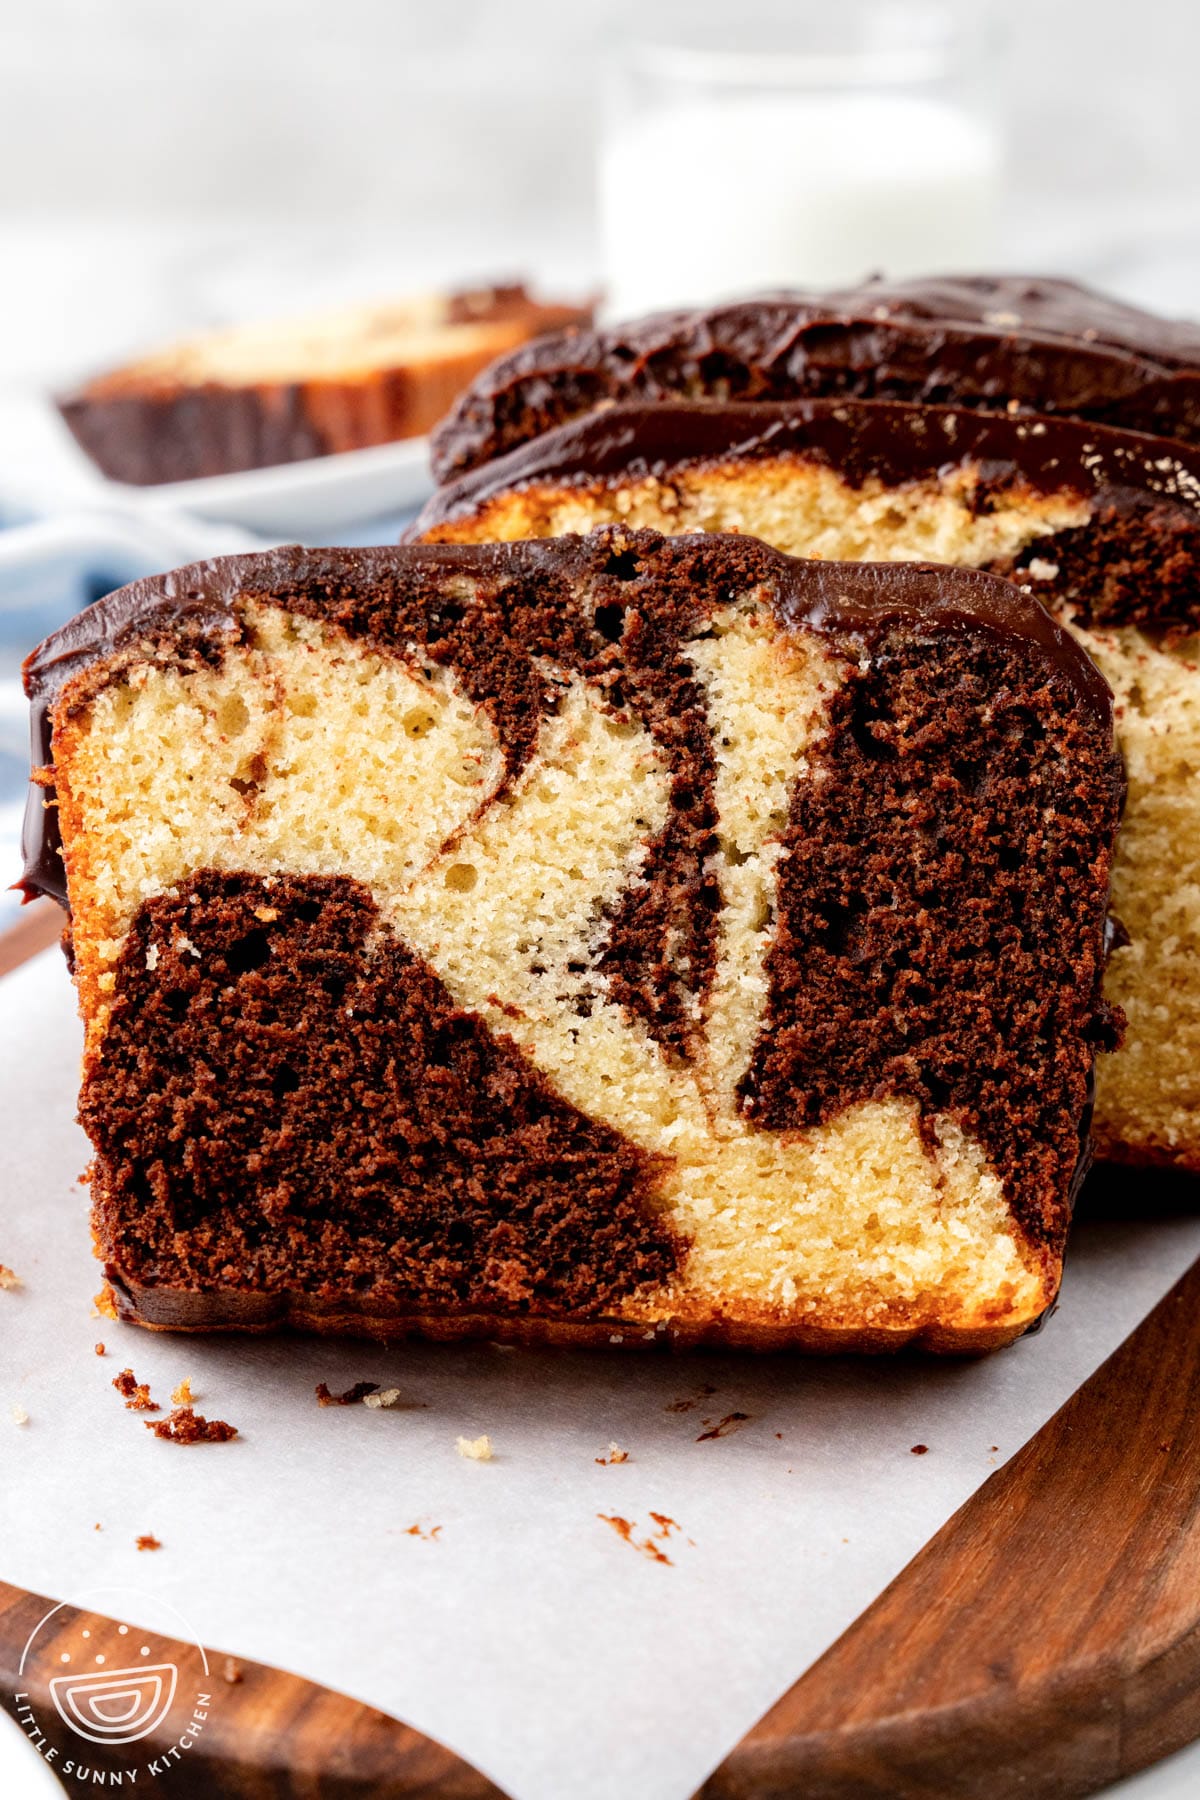
One version had too much sour cream and too much baking soda, and it fell flat. Another tested letting the batter sit before baking, but that didn’t give enough rise to the cake. Once I had the texture of this marble cake from scratch correct, I played around with the swirl pattern to get it just right. The trick is to use a bigger scoop for the vanilla batter than the chocolate batter, and then a few simple moves to create the exact swirl pattern you see here.
What Is Marble Cake?
The marble cake as we know it now originated from the German Marmorkuchen, which was traditionally a swirled sweet yeast bread with half of the dough tinted and flavored with molasses and warm spices. German immigrants brought the recipe to the United States in the mid-1800s, and it shifted over the years into a vanilla and chocolate marble cake.
Another old-fashioned cake you might like is my Hot Milk Cake. It’s a simple vanilla cake topped with powdered sugar. For chocolate lovers, try my Texas Sheet Cake or Flourless Chocolate Cake.
Ingredients for Marble Cake
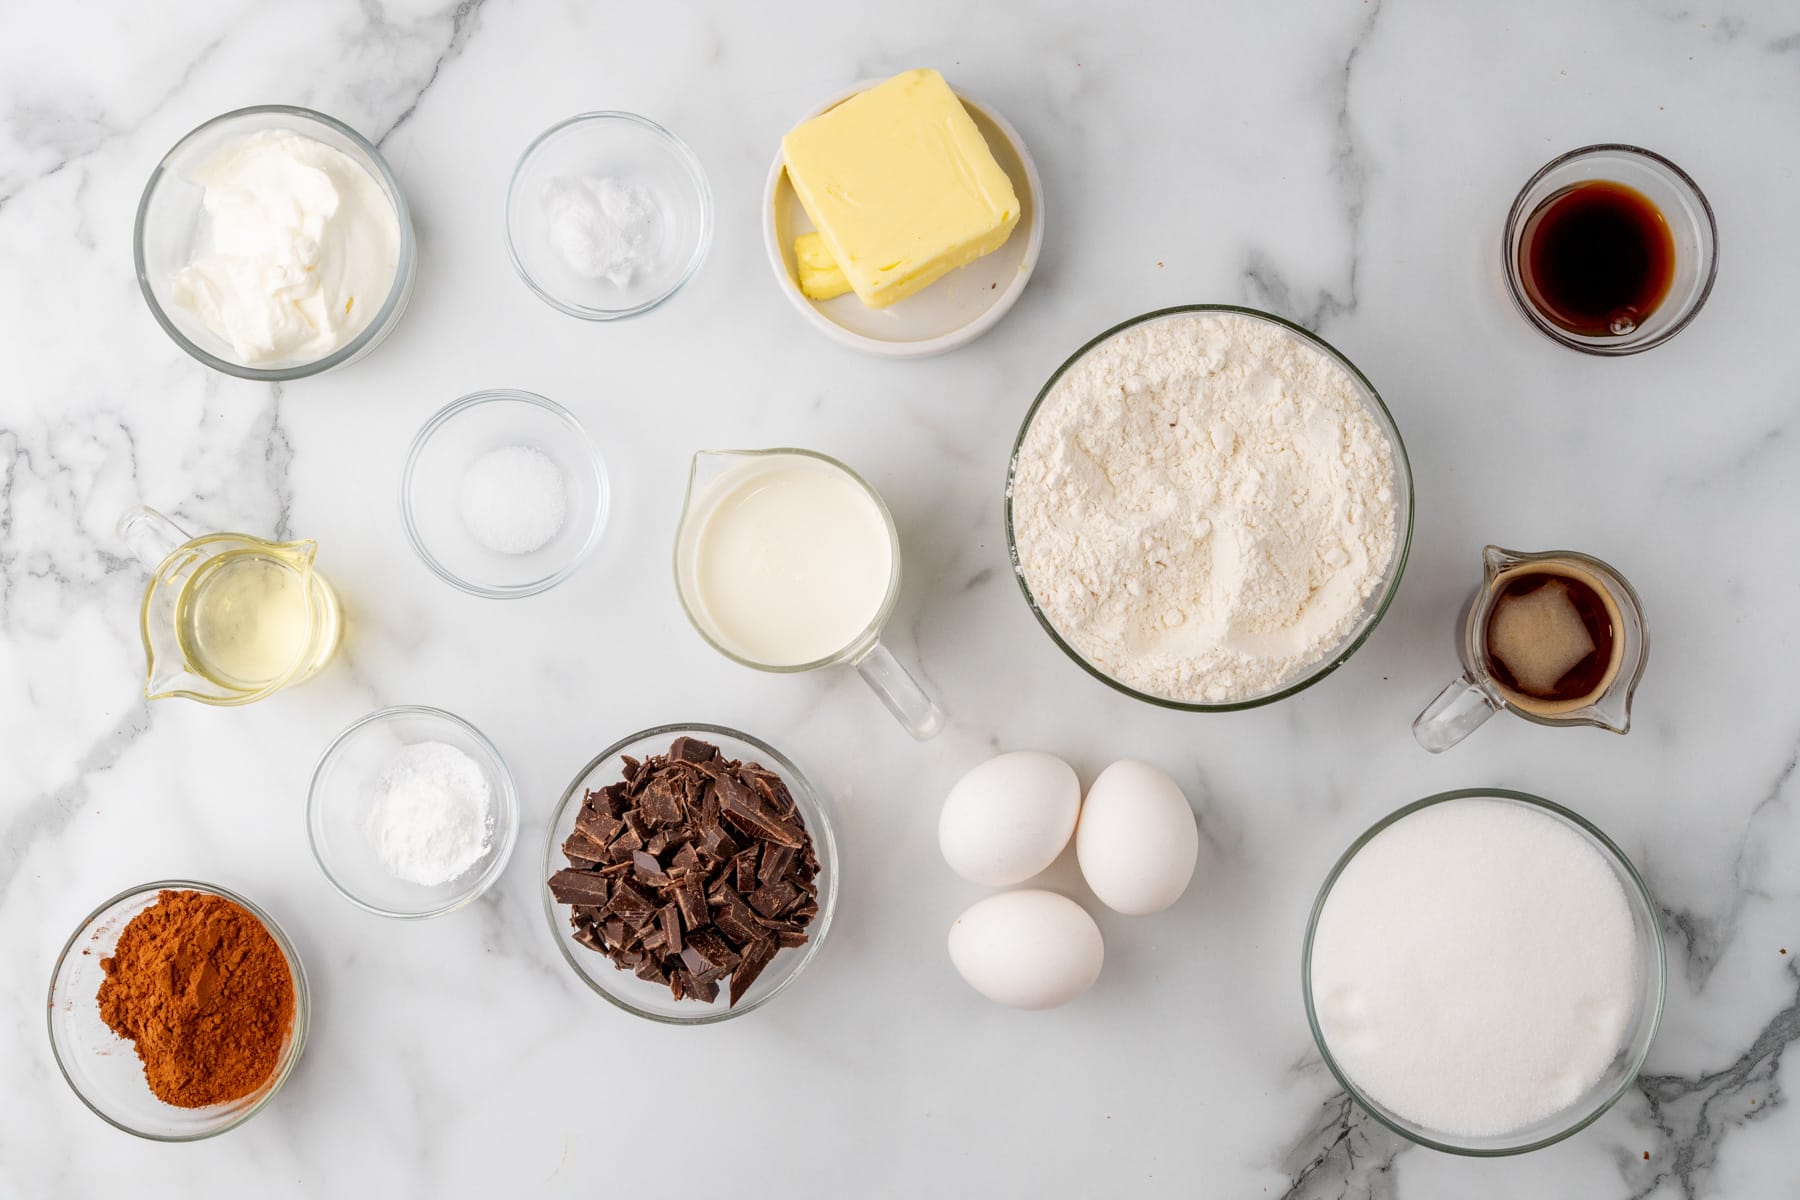
Complete list of ingredients and amounts can be found in the recipe card below.
- Butter and Oil: Butter is for taste, and oil keeps the cake moist even on days 2 and 3.
- Natural or Dutch Process Cocoa Powder: Either type of cocoa powder will work in this recipe. Dutch cocoa will give a darker color.
- Sour Cream: Full-fat sour cream adds moisture and richness to the cake.
- Coffee: I use hot brewed coffee to bloom the cocoa powder, which intensifies the flavor without making it taste like coffee. Blooming the cocoa also prevents dry cocoa powder pockets. If you don’t have coffee, use hot water instead.
- Chocolate: For the optional ganache, use a semisweet chocolate bar rather than chocolate chips, which won’t melt as smoothly.
How To Make Marble Cake
This is a visual walkthrough of the recipe steps. The full recipe instructions are included in the recipe card below.
Mix the Cake Batter
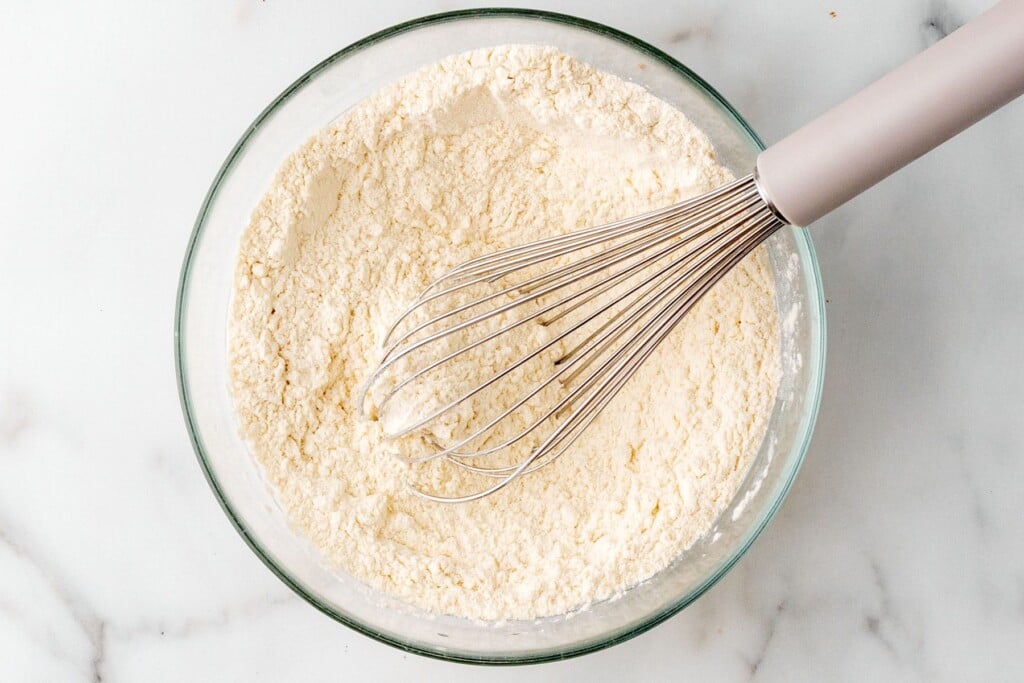
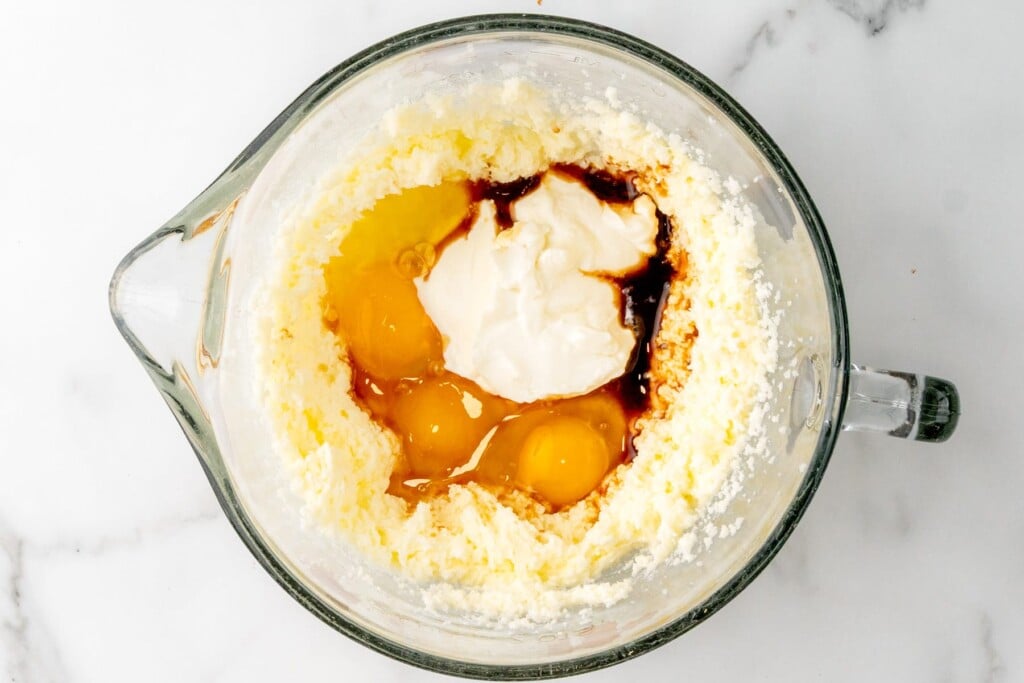
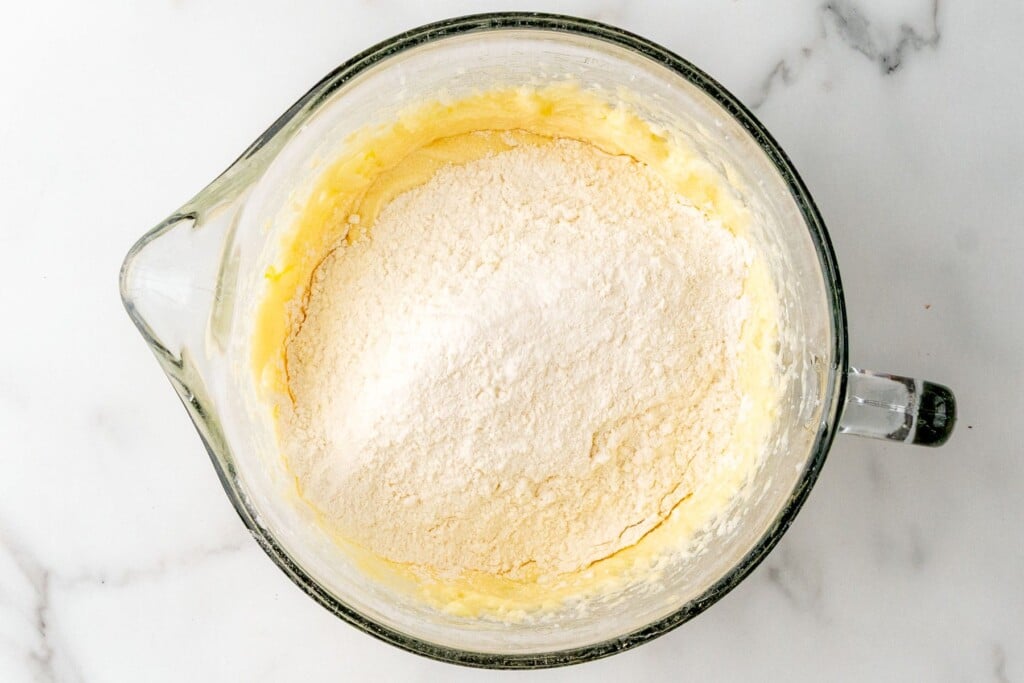
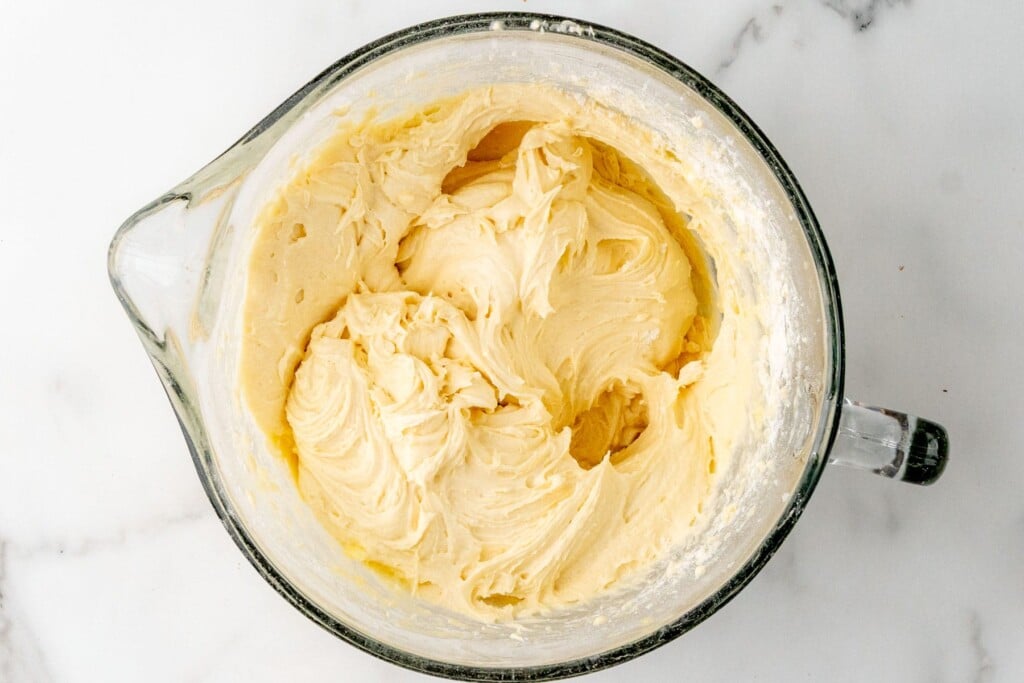
Mix the flour with salt, baking soda, and baking powder in a bowl. In another bowl, cream the butter with sugar and oil. Then mix in the eggs, sour cream, and pure vanilla extract. Add the flour mixture to the butter mixture, mixing just until no dry streaks remain.
Turn Some of the Batter Chocolate
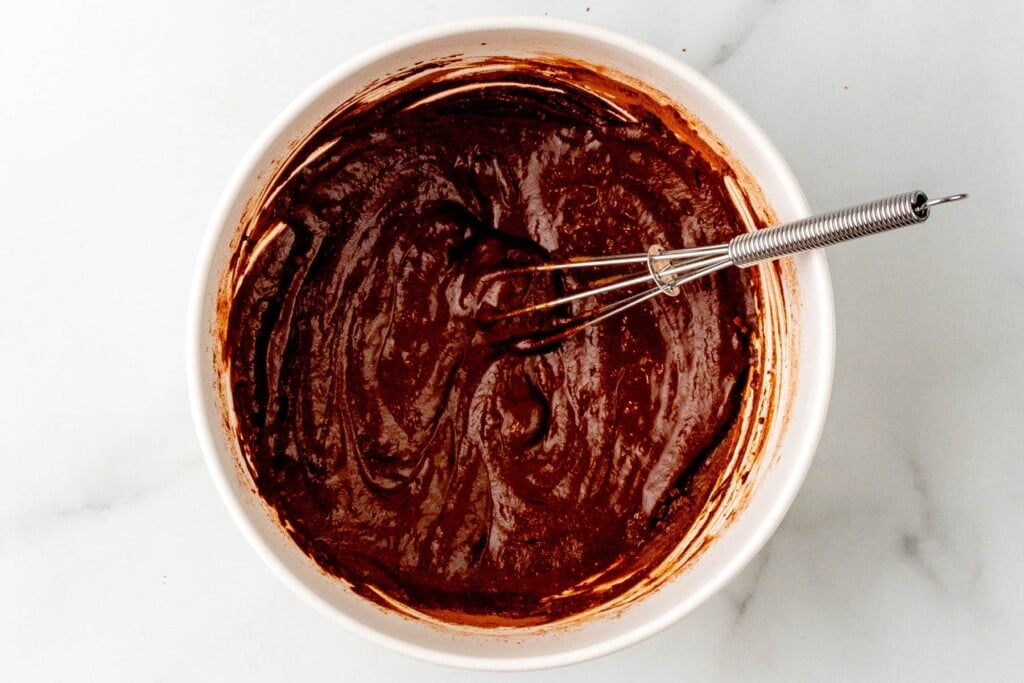
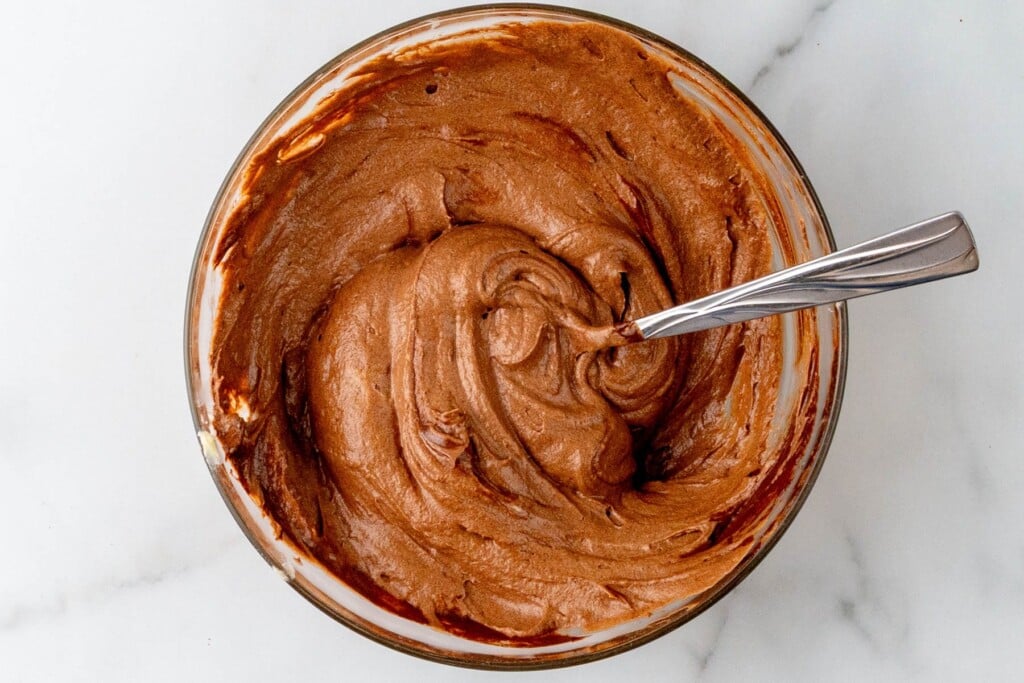
Start by whisking the cocoa powder with hot coffee to create a paste. Then stir this mixture into 1 cup of the vanilla batter in a separate bowl.
Swirl and Bake
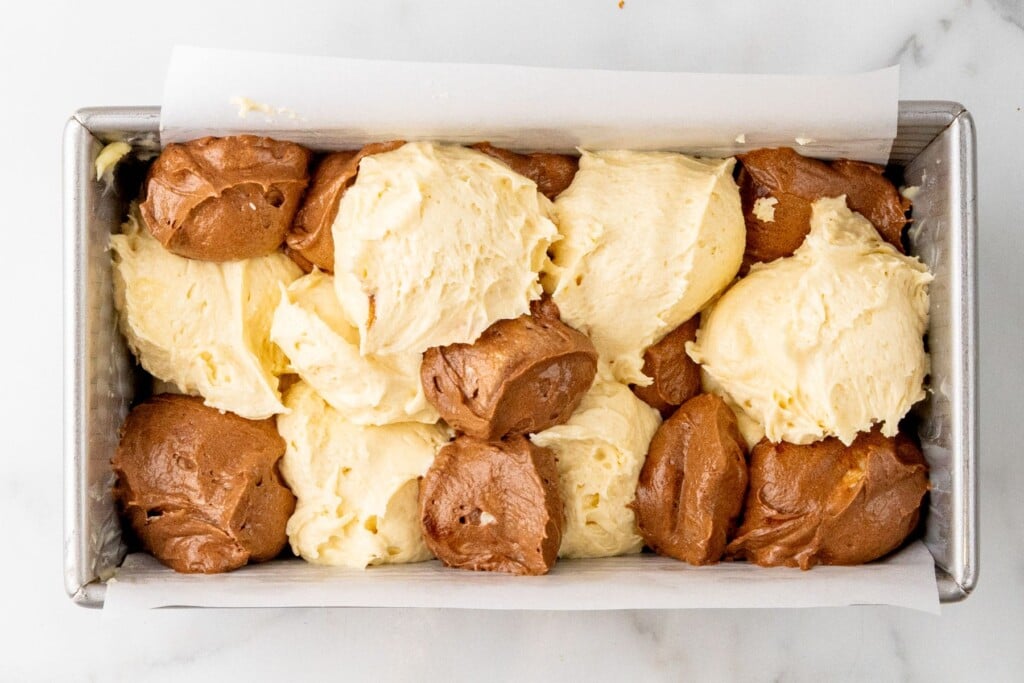
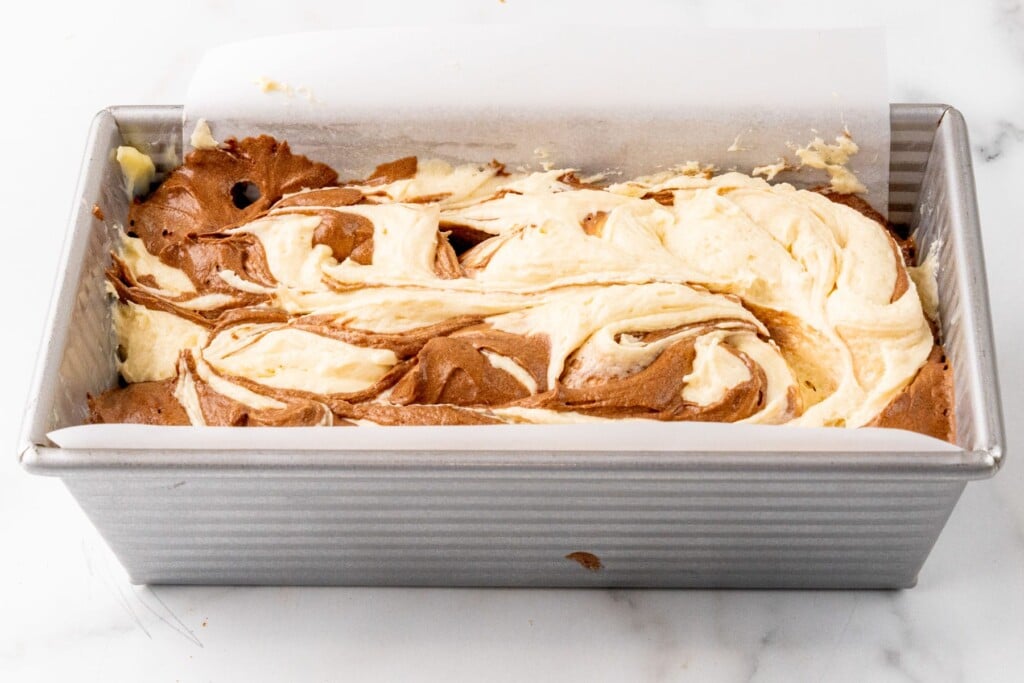
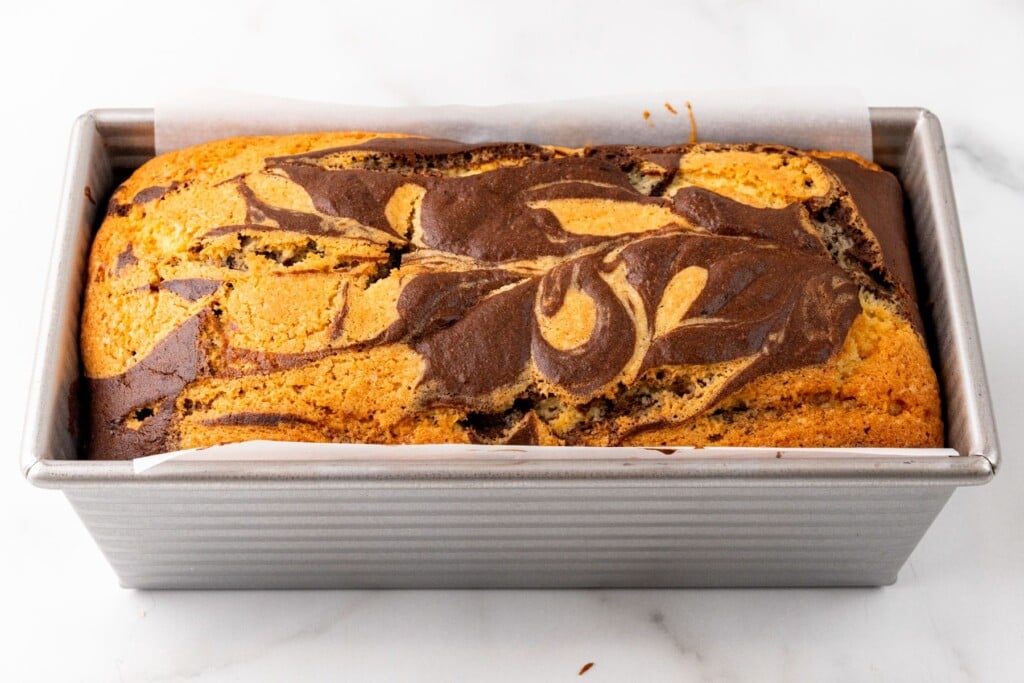
Use a scoop to add the batter to a prepared loaf pan, alternating colors. Then use a butter knife to swirl the batters together. Bake as directed, and let the cake cool completely before adding the optional chocolate ganache.
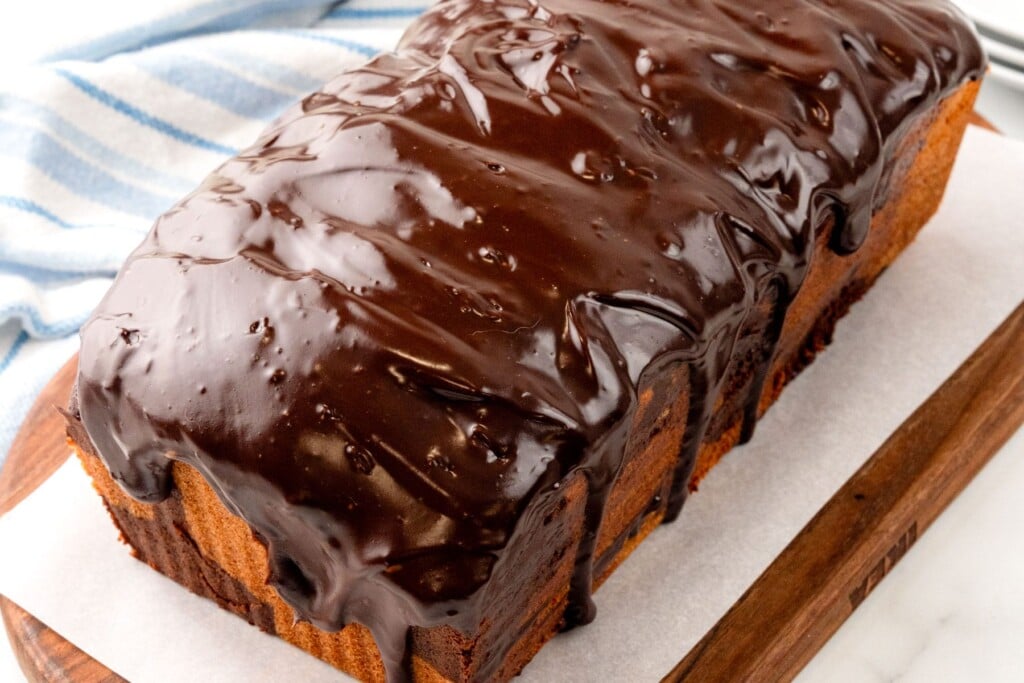
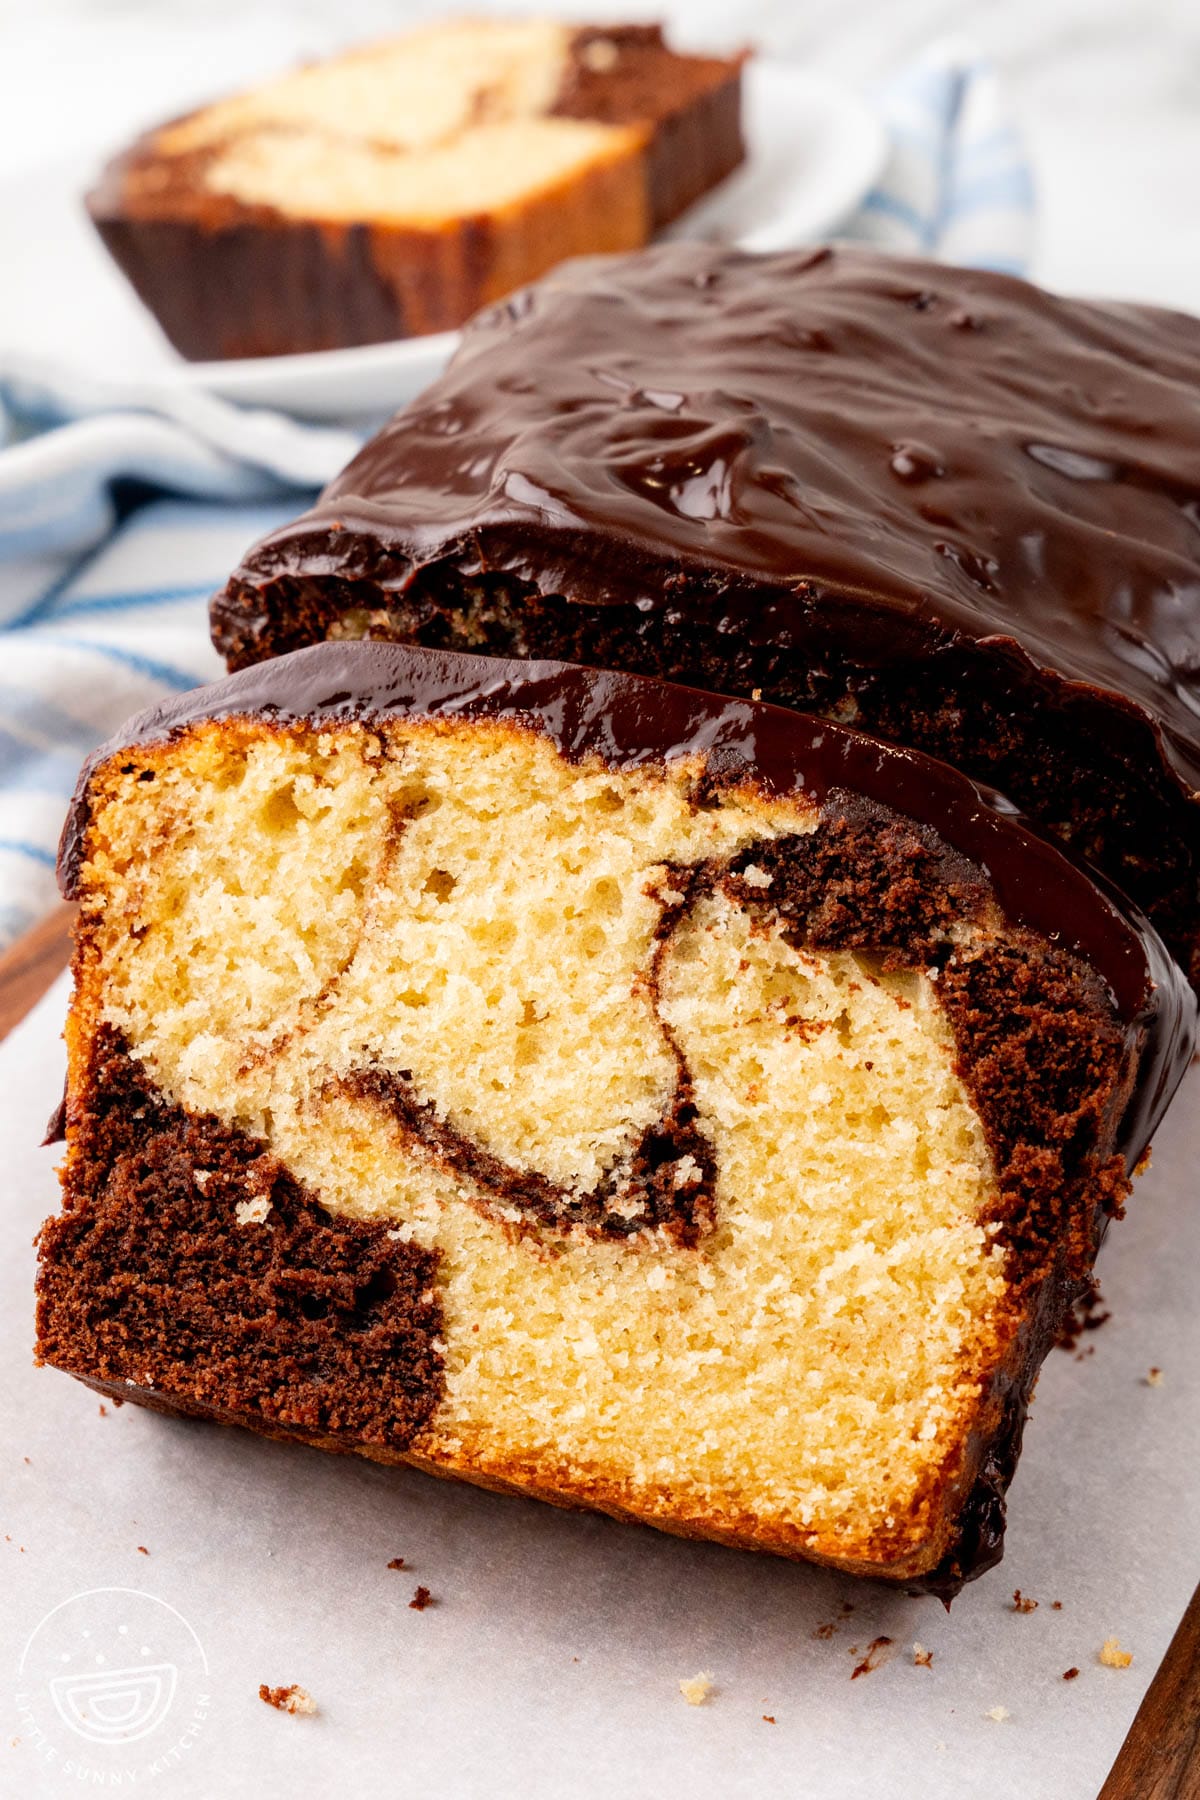
How To Get Perfect Marble Swirls
- Alternate the batter in the pan. I use two different cookie scoops: a larger one that is about 2 tablespoons for the vanilla batter since there’s more of it, and a smaller one (1 tablespoon) for the chocolate batter.
- Use a knife to make just 2 swirl motions. The first is one continuous S shaped zigzag down the length of the pan. The second is one continuous zigzag from side to side, working from one short end of the pan to the other. Any more and the colors start to muddy.
Marble Cake Recipe Tips
- Use Room Temperature Ingredients. Cold eggs or sour cream will keep the batter from mixing together smoothly.
- Do Not Overmix. Once the flour is added to the wet ingredients, stir just until you can’t see any dry streaks of flour. The batter will be thick.
- Bake Right Away. Letting the batter sit in the pan too long can cause it to lose rise. Be sure to have the oven preheated and ready to go.
- Tent With Foil. Only if the loaf starts to get too brown on top while it’s baking.
- Test For Doneness: You’ll know that the cake is done when a toothpick inserted into the center comes out clean or with just a few moist crumbs.
Marble Cake Variations
Marble Bundt Cake: Use a 9 or 10-cup Bundt pan, and bake for 45 to 55 minutes.
Extra Flavor: Try adding orange zest to the vanilla batter, or ½ to 1 teaspoon of espresso powder to the cocoa powder and coffee mixture.
Topping: Instead of chocolate ganache, dust the top of the cake with powdered sugar.
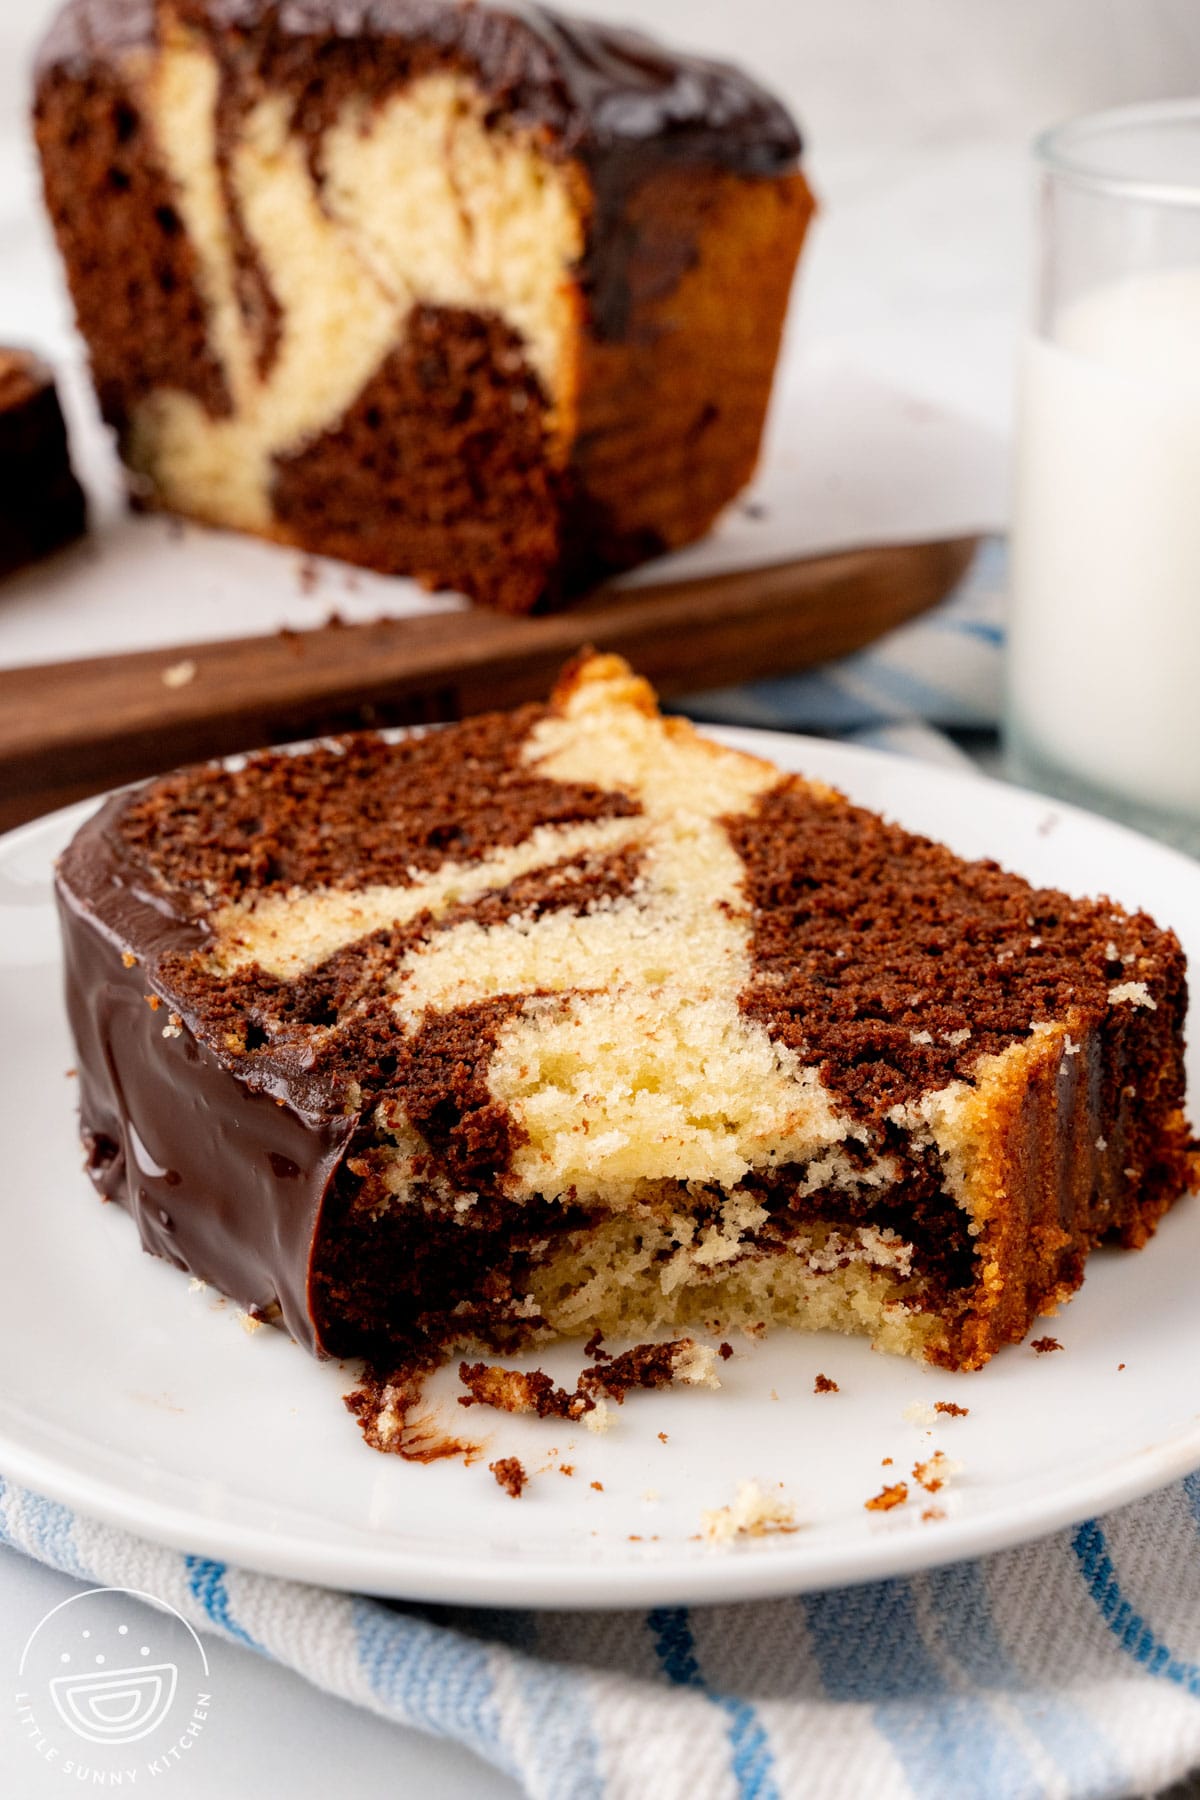
How To Store Marble Cake
- Without ganache, the cake can be stored at room temperature in an airtight container for up to 3 days.
- With ganache, the cake should be refrigerated. It can be stored for up to 5 days in an airtight container.
- Freeze by wrapping the entire cake or slices (without ganache) with plastic wrap and/or foil for up to 3 months. Thaw at room temperature, then add the topping if you like.
Recipe FAQs
The marble effect comes from alternating chocolate and vanilla cake batters in the pan, and then swirling them together with a butter knife. You can do a similar pattern with cinnamon swirl banana bread too.
Dry cake is usually caused by overbaking, overmixing the flour into the batter, or a mistake in measuring ingredients.
Definitely. This recipe uses cocoa powder to give the cake its chocolate flavor.
You can, but a homemade marble cake tastes better! Mix up a yellow cake mix batter, stir bloomed cocoa powder into a third of it, and follow the swirl instructions here before baking according to the box instructions.
This marble loaf cake was baked in an 8½ × 4½ inch (22 × 11 cm) loaf pan. A slightly larger pan (9 × 5 inch) can be used, but the cake will be thinner, so the baking time should be reduced.
We haven’t tested this recipe in a Bundt pan yet. I would try baking this recipe in a 9 or 10-cup Bundt pan. It should take 45 to 55 minutes.
Yes, if wrapped well, for up to 3 months.
A marble pound cake would have a dense pound cake batter as its base, and then have a chocolate batter swirled in. This recipe makes a moist marble cake instead. Any cake with this pattern can be called a marble cake.
Did you make this? Be sure to leave a review below and tag me on Facebook, Instagram, or Pinterest!
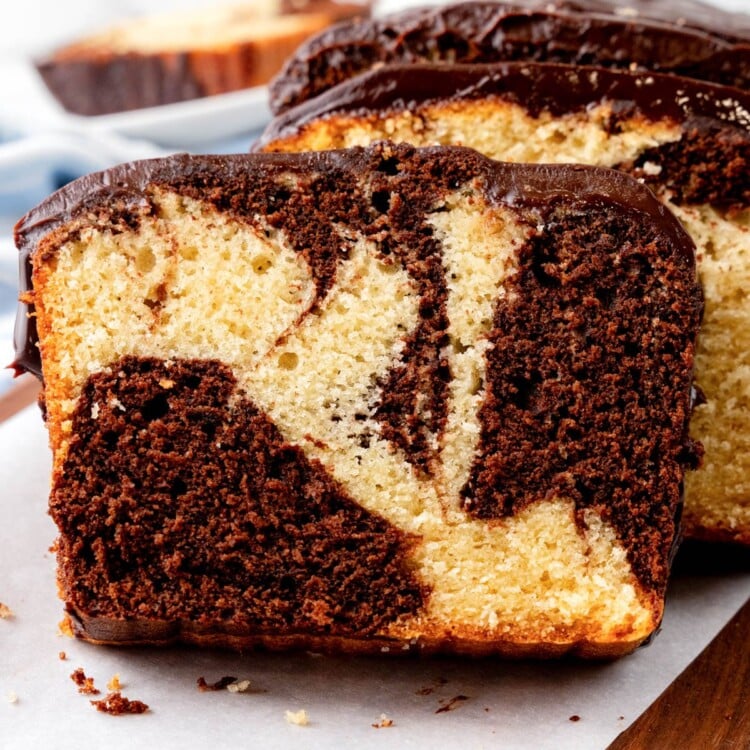
Marble Loaf Cake
Ingredients
Cake
- 1 cup (200 g) granulated sugar
- ½ cup (113 g) unsalted butter at room temperature
- ¼ cup (60 ml) vegetable oil
- ¼ cup (60 g) sour cream at room temperature
- 3 large eggs at room temperature
- 1 teaspoon pure vanilla extract
- 2 cups (240 g) all purpose flour
- 1 teaspoon baking powder
- ½ teaspoon table salt
- ¼ teaspoon baking soda
- ¼ cup (22 g) natural unsweetened cocoa powder
- ¼ cup (60 ml) hot brewed coffee or hot water
Optional chocolate ganache
- 2 ounces (57 g) semisweet chocolate finely chopped
- ¼ cup (60 ml) heavy cream
Optional alternative finish
- Powdered sugar for dusting
Instructions
- Preheat the oven to 350°F (175°C). Grease an 8½ × 4½ inch (22 × 11 cm) loaf pan and line it with parchment paper, leaving an overhang along the two long sides.
- In a large bowl, beat the sugar, butter, and oil with an electric mixer on medium speed until pale and fluffy, 2 to 3 minutes. Scrape down the bowl.
- Add the sour cream, eggs, and pure vanilla extract. Beat until combined, 1 to 2 minutes.
- In a separate bowl, whisk together the flour, baking powder, salt, and baking soda.
- Add the flour mixture to the butter mixture. Mix on low speed just until no dry streaks remain; the batter will be thick.
- In a small bowl, whisk the cocoa powder and hot coffee or water until smooth. Stir in about 1 cup of the vanilla batter until evenly colored.
- Drop alternating dollops of vanilla and chocolate batter into the prepared pan, using about 2 tablespoons for each vanilla dollop and 1 tablespoon for each chocolate dollop. Continue until both batters are used.
- Insert a butter knife into the batter and make one continuous S shaped zigzag along the length of the pan. Then make one continuous zigzag from side to side, working from one end of the pan to the other.
- Bake immediately for 55 to 65 minutes, until a toothpick inserted into the center comes out clean or with a few moist crumbs. If the top is browning too quickly, loosely cover it with foil for the remaining baking time.
- Let the cake cool in the pan for 15 minutes. Lift it out using the parchment paper and transfer to a wire rack to cool completely, about 1 hour 45 minutes more.
- For the optional ganache, place the chopped chocolate in a small heatproof bowl. Heat the cream in a separate microwave safe container in short intervals until steaming but not boiling.
- Pour the hot cream over the chocolate. Let stand for 1 minute.
- Stir until smooth, then let the ganache cool slightly until thick enough to coat the cake.
- Pour the ganache over the completely cooled loaf. Let stand for 10 to 15 minutes before slicing, or longer for a firmer topping.
- If skipping the ganache, dust the cooled loaf with powdered sugar before slicing, if desired.
Notes:
- Bake promptly: Fully preheat the oven and prepare the pan before mixing. Letting the finished batter sit before baking can reduce the rise.
- Marbling: Use larger dollops of vanilla batter and smaller dollops of chocolate batter. Stop after the two zigzag motions to keep the colors distinct.
- Room temperature ingredients: Bring the butter, sour cream, and eggs to room temperature before starting. A slightly curdled appearance after adding the eggs is not unusual; the mixture should come together when the flour is added.
- Coffee or water: Coffee adds depth to the chocolate flavor. Use hot water if preferred.
- Ganache: A chopped chocolate bar is preferred for a smooth topping. Cool the loaf completely before adding it.
- Pan size: A 9 × 5 inch (23 × 13 cm) pan will produce a shorter loaf; start checking at 50 minutes. This alternate pan timing is an estimate and has not been tested.
- Storage: Store the cake without ganache in an airtight container at room temperature for up to 3 days. Refrigerate the cake with ganache in an airtight container and use within 5 days. Bring slices to room temperature before serving.
- Freezing: Wrap the cake without ganache tightly and freeze whole or in slices for up to 3 months. Thaw while wrapped at room temperature, then add the topping.
Nutrition Information
This website provides approximate nutrition information for convenience and as a courtesy only. Nutrition data is gathered primarily from the USDA Food Composition Database, whenever available, or otherwise other online calculators.
© Little Sunny Kitchen


Leave a Review!