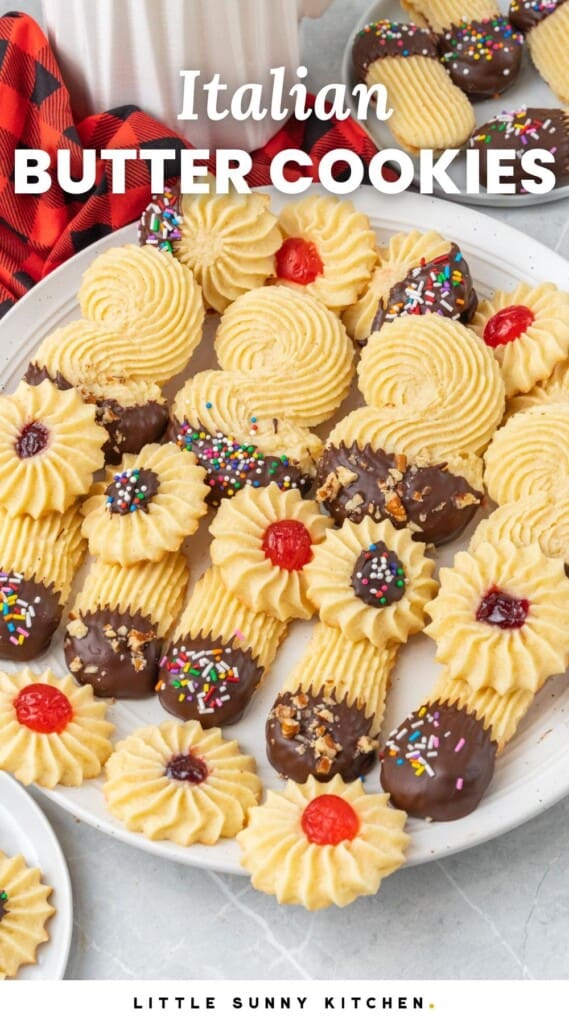
These are the best Italian Butter Cookies! Soft, buttery vanilla cookies are piped into fun shapes. Melted chocolate, jam, sprinkles, and nuts add a special touch that makes these Italian cookies perfect for the holidays.

Is there a special type of cookie that you always have at Christmas? If you’re of Italian descent, I bet you recognize these butter cookies as a holiday must-have.
There are many variations on this recipe for Italian butter cookies, but this one is perfect. It’s simple, with just 8 ingredients in the dough, and comes together without any fuss.
You’ll be enjoying these Christmas cookies even quicker because the cookie dough doesn’t need to be chilled. It goes directly from your mixer to your oven, and the cookies will be ready to decorate in about 20 minutes.
If you haven’t been lucky enough to grow up enjoying these melt-in-your-mouth buttery cookies, I suggest that you try this easy recipe right away!

Why You’ll Love This Recipe
The best part about this recipe for Italian butter cookies is that it is one cookie dough that can be shaped into any shape and decorated in multiple ways.
So you can make one recipe, and create 3, 4, or more different types of cookies. It all depends on the extras you add.
I’ve made some of my butter cookies into sandwiches, filled with jam and dipped in chocolate. Others have a candied cherry in the middle.
Then I’ve added sprinkles to a few, chopped nuts to some, and left some plain.
All of the variations a a little bit different, and they’re all delicious! You can get creative with your own toppings and shapes too.
Need more Christmas cookie ideas? Make Polish kolaczki, or almond crescents.
Key Ingredients
Here’s what you need to make these traditional Italian cookies:
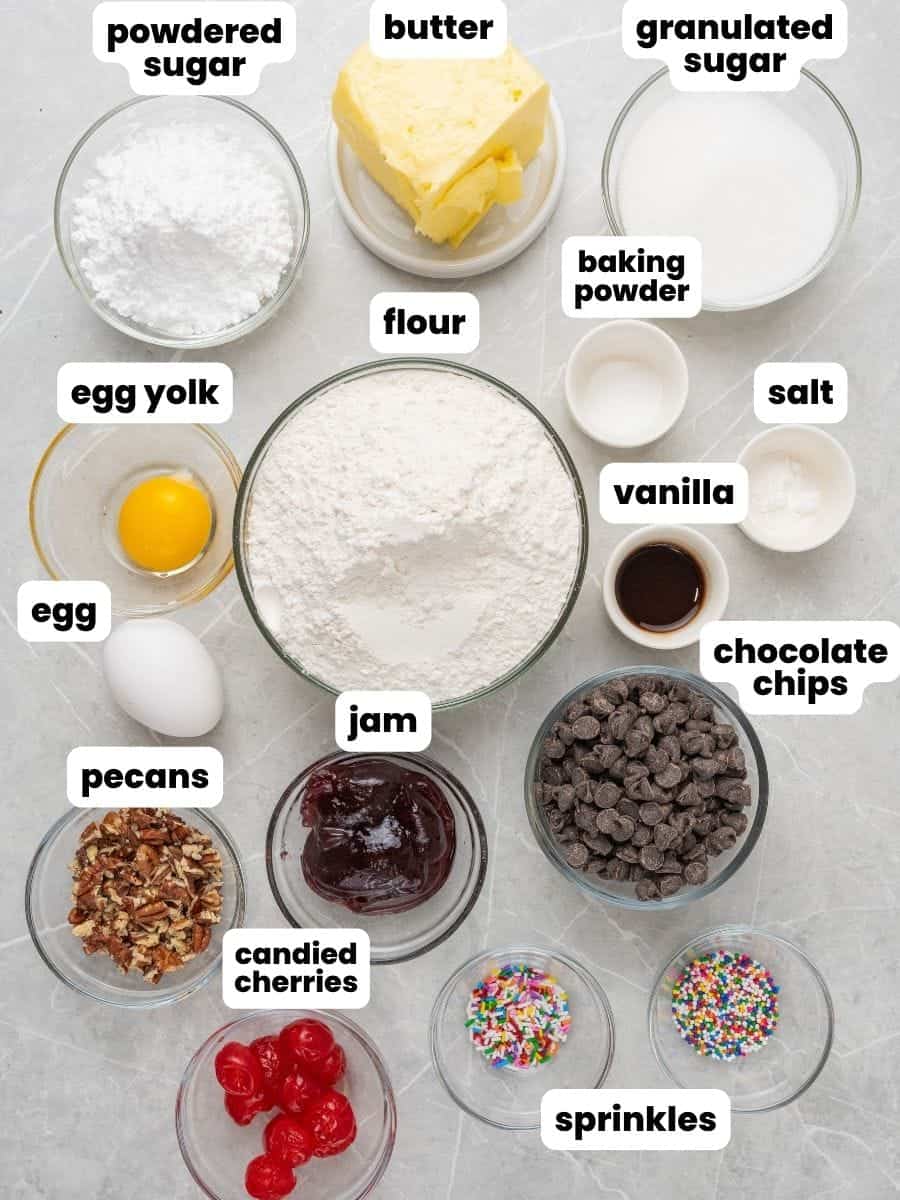
- Flour, Baking Soda, and Salt: The dry ingredients for this recipe. Be sure to combine them well using a whisk so that there are no clumps of soda in the cookies.
- Eggs: These rich butter cookies are made with 1 whole egg and 1 egg yolk.
- Butter: Use unsalted butter, and be sure that it is well-softened (but not melted) before you start. The best way to accomplish this is to let the butter sit out at room temperature for several hours.
- Sugar: Both granulated sugar and powdered sugar are needed to make these tender, melt-in-your-mouth cookies.
- Vanilla: Use good quality pure vanilla extract for the best flavor.
- Decorations: These are all optional, but what is a cookie without a little bit of flair, right? Candied cherries and jam act as tasty flower centers, while melted chocolate chips are the perfect background for sprinkles and chopped nuts.
Complete list of ingredients and amounts can be found in the recipe card below.
How To Make Italian Butter Cookies
Get started by preheating your oven to 350°F (180°C) and lining two baking sheets with parchment paper. Set those aside while you make the cookie dough.
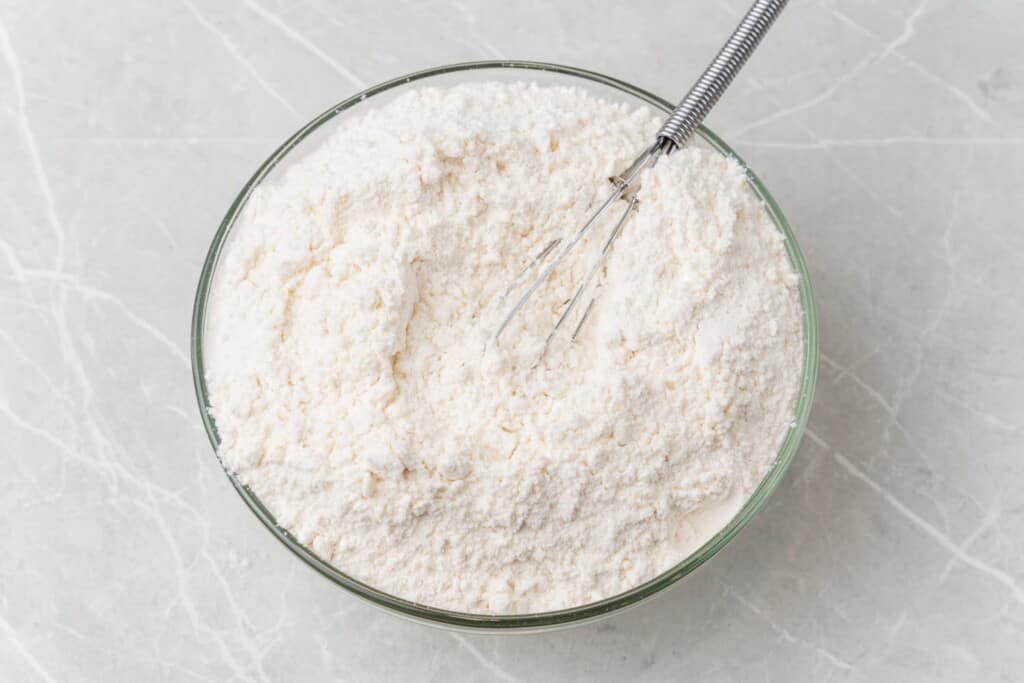
- Mix the Dry Ingredients: In a medium mixing bowl, whisk together the flour, baking powder, and salt.
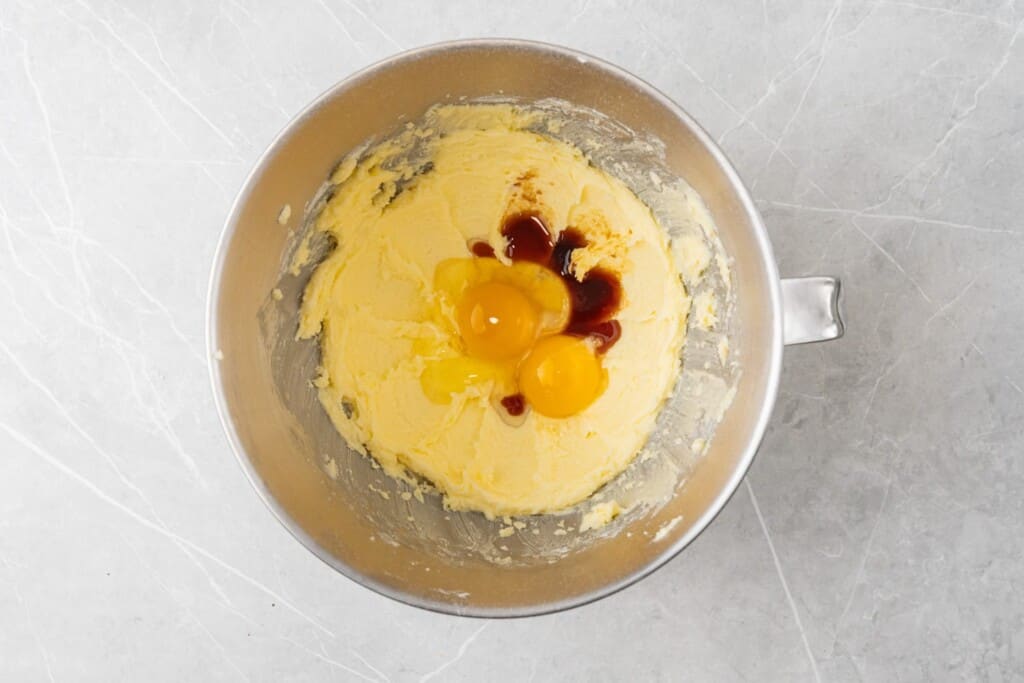
- Mix the Wet Ingredients: In the bowl of your stand mixer, beat the butter, granulated sugar, and powdered sugar on high until light and fluffy. Add the egg, egg yolk, and vanilla extract, and mix well.
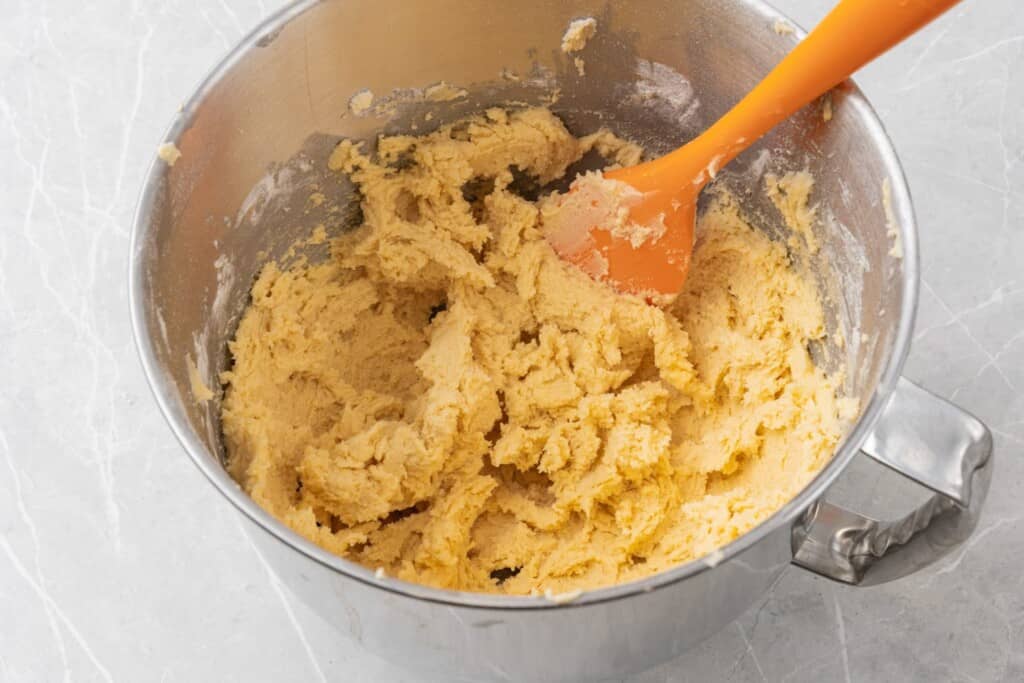
- Combine: Add the flour mixture to the butter mixture in 2-3 smaller additions, mixing well after each.
- Pipe into Shapes: Transfer the cookie dough to a piping bag fitted with a large open star piping tip, and get ready to pipe the cookies directly onto parchment lined baking sheets.
Tip!
Cream/whip the butter and sugar for at least 4 minutes! This method is called “frolla montata” which translates to “whipped shortcrust pastry”.
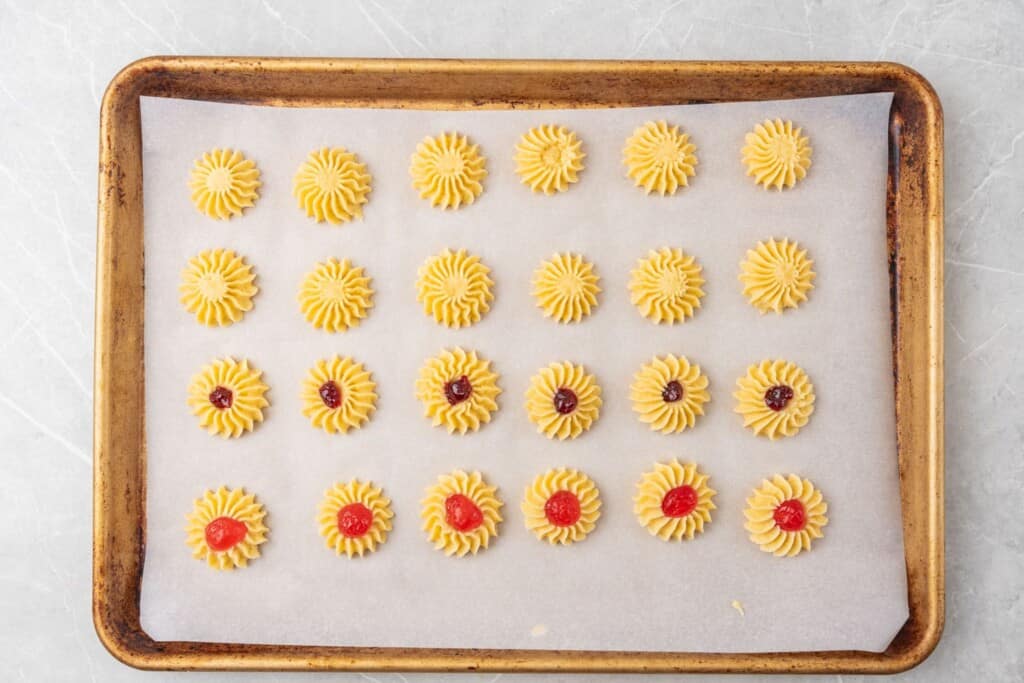
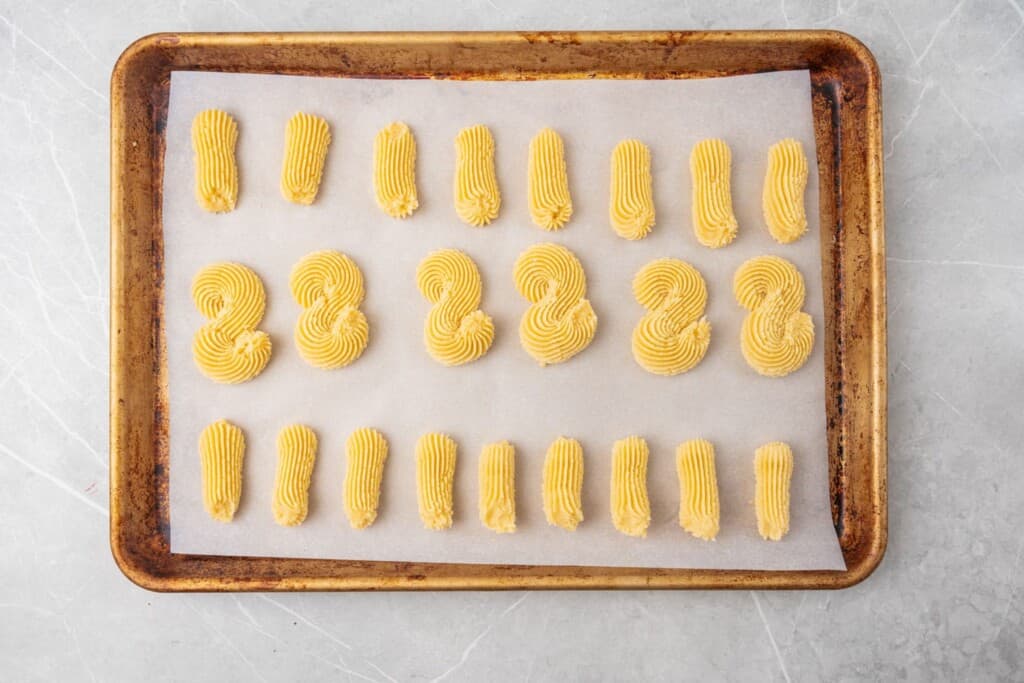
- Get Creative: You can pipe these cookies into any shape that you like! I’m making circular-shaped cookies with cherries and jam in the centers. I am also making simple lines and backward “s” shapes with the dough.
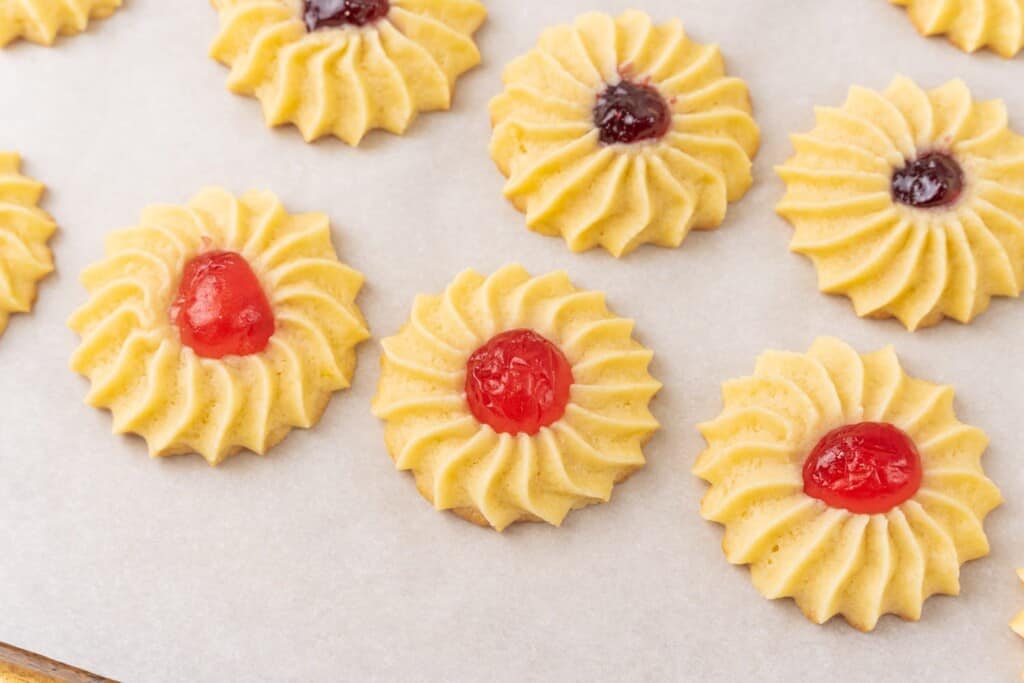
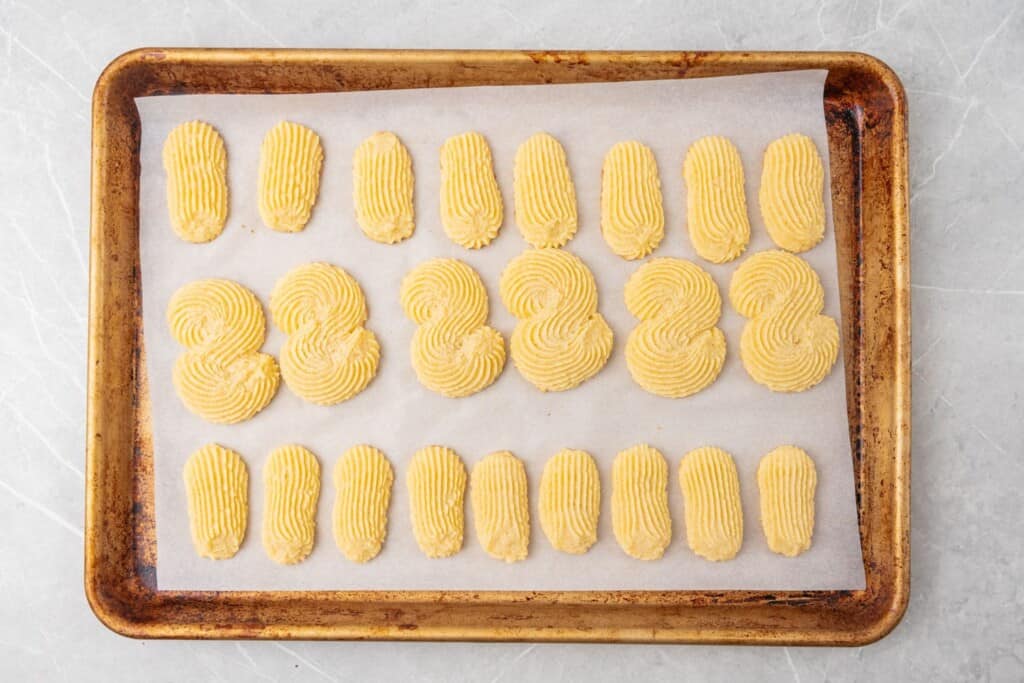
- Bake: Bake the cookies in the preheated oven until they are lightly golden brown on the bottoms. They will puff up and spread a bit while baking.
- Cool: Allow the cookies to cool on the baking sheets for 5 minutes before transferring them to a wire rack to cool completely.
Tip!
These cookies are delicious plain, but the decorations are what make them fun, festive, and perfect for the holidays!
How to Pipe Italian Butter Cookies
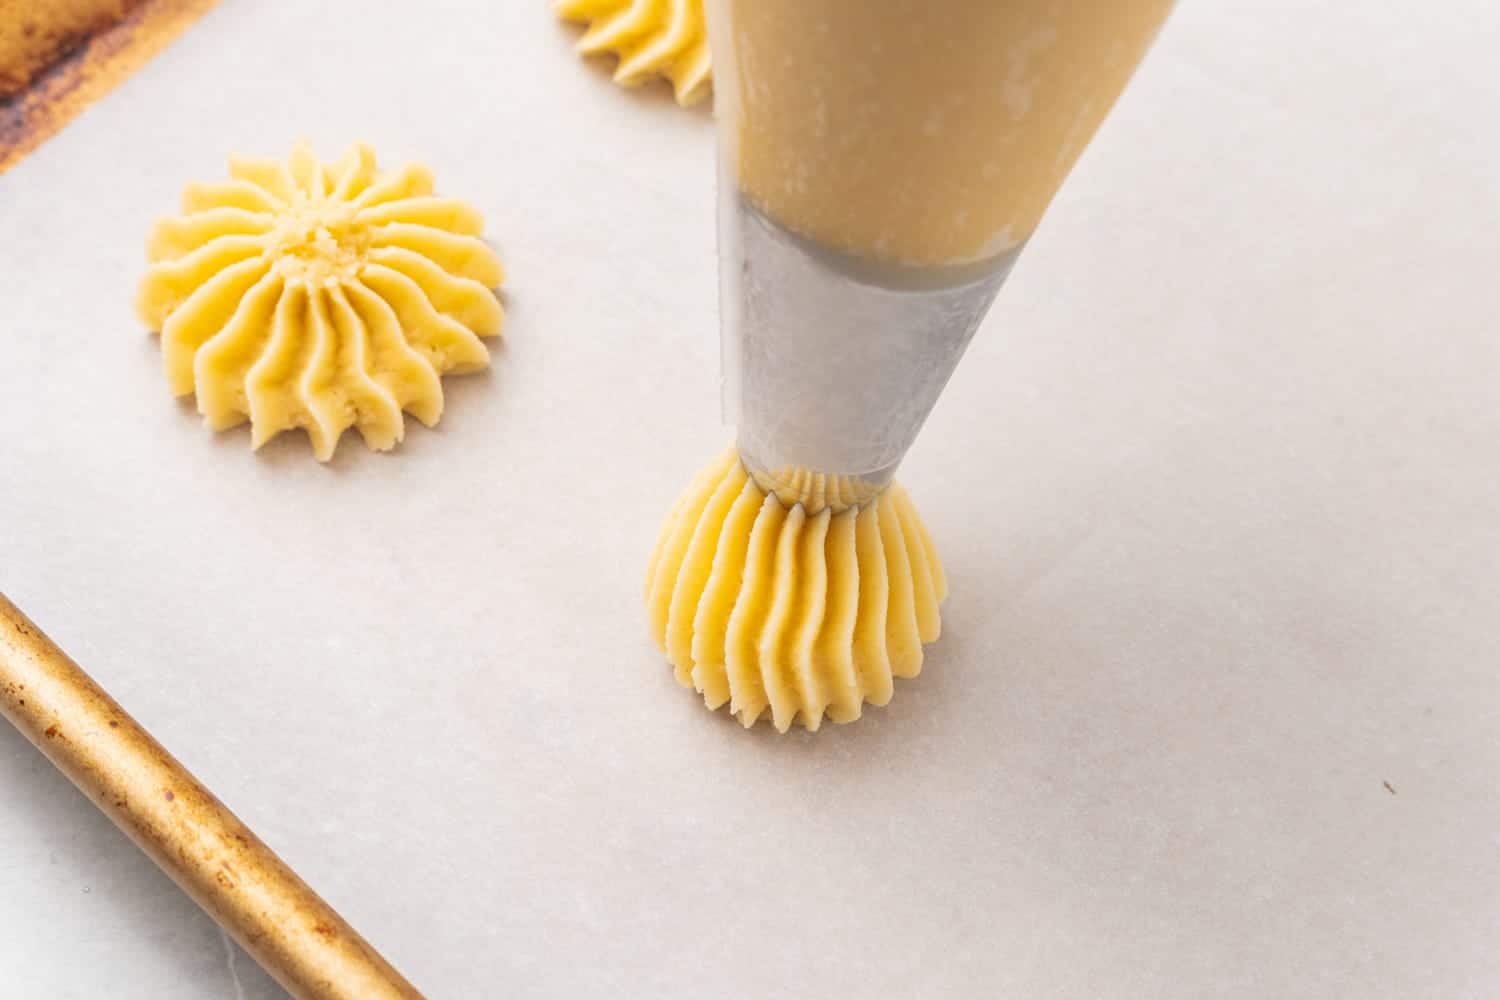
I’m using a large open star piping tip. From Wilton, it’s labeled “8B”.
Fill a large piping bag with the cookie dough, then pipe the cookies onto parchment lined sheets in your desired shapes.
- The easiest shape to make is a simple straight line.
- To get a bit more complicated, curl the ends of your line in opposite directions to make an “s” shape.
- To make the round cookies, hold the tip about ½” inch from the parchment paper and gently squeeze out the dough until the cookie is about 1.5 inches wide. Angle the tip slightly to break the dough.
- You can press a candied cherry into the center or add a half teaspoon of jam there before baking.
- Other popular shapes for Italian butter cookies include “U” shapes, squiggly lines, and circles made in a spiral.
Decorating Italian Butter Cookies
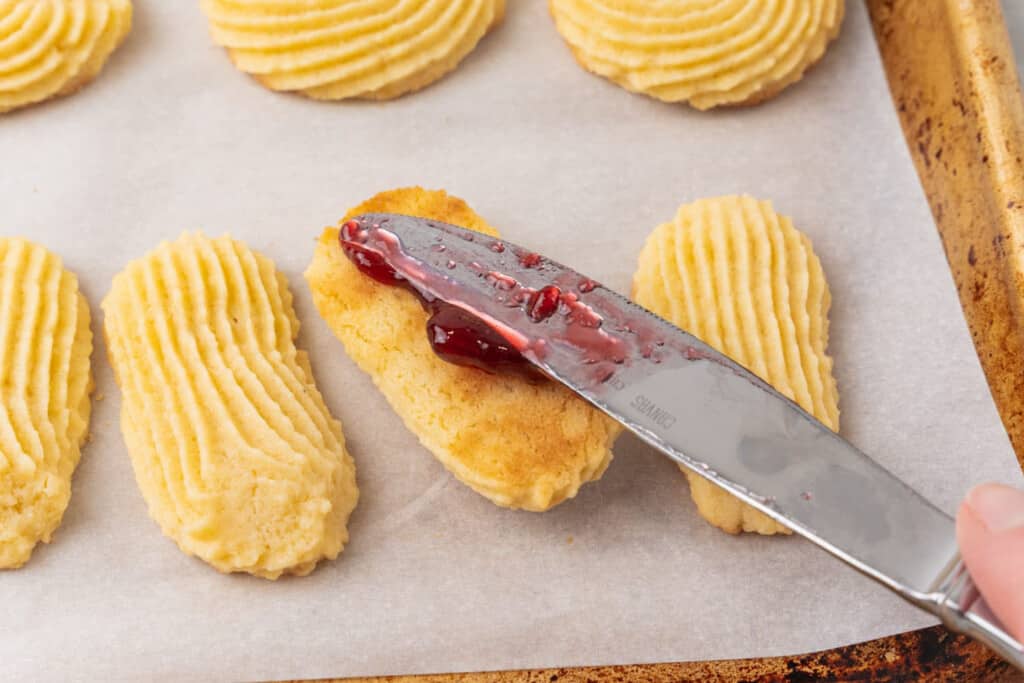
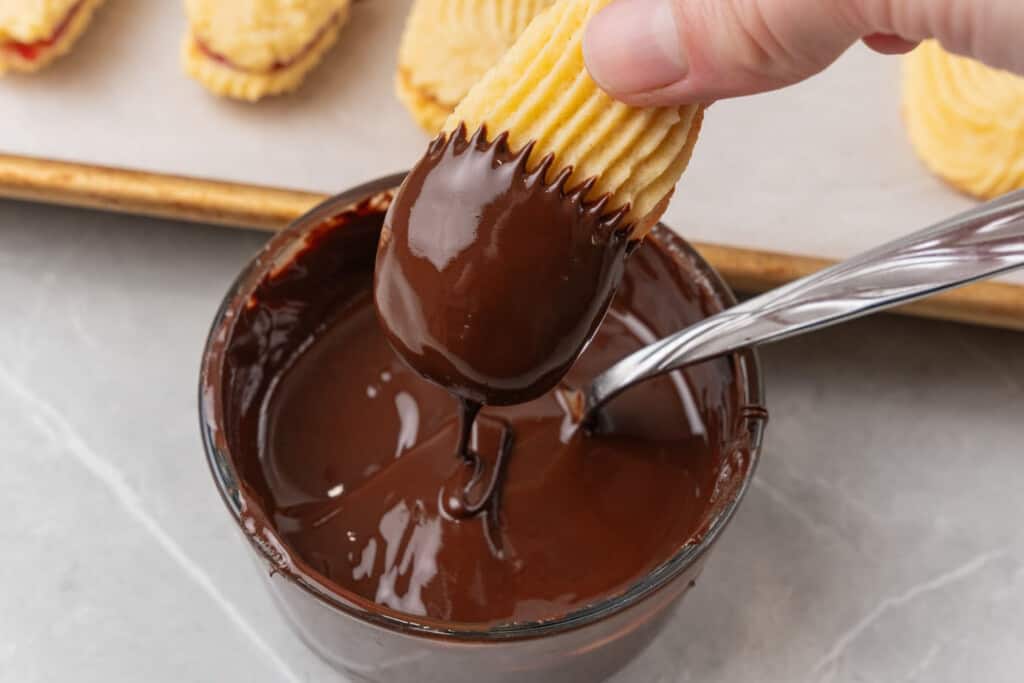
After the cookies have been baked and cooled, you can decorate them however you like!
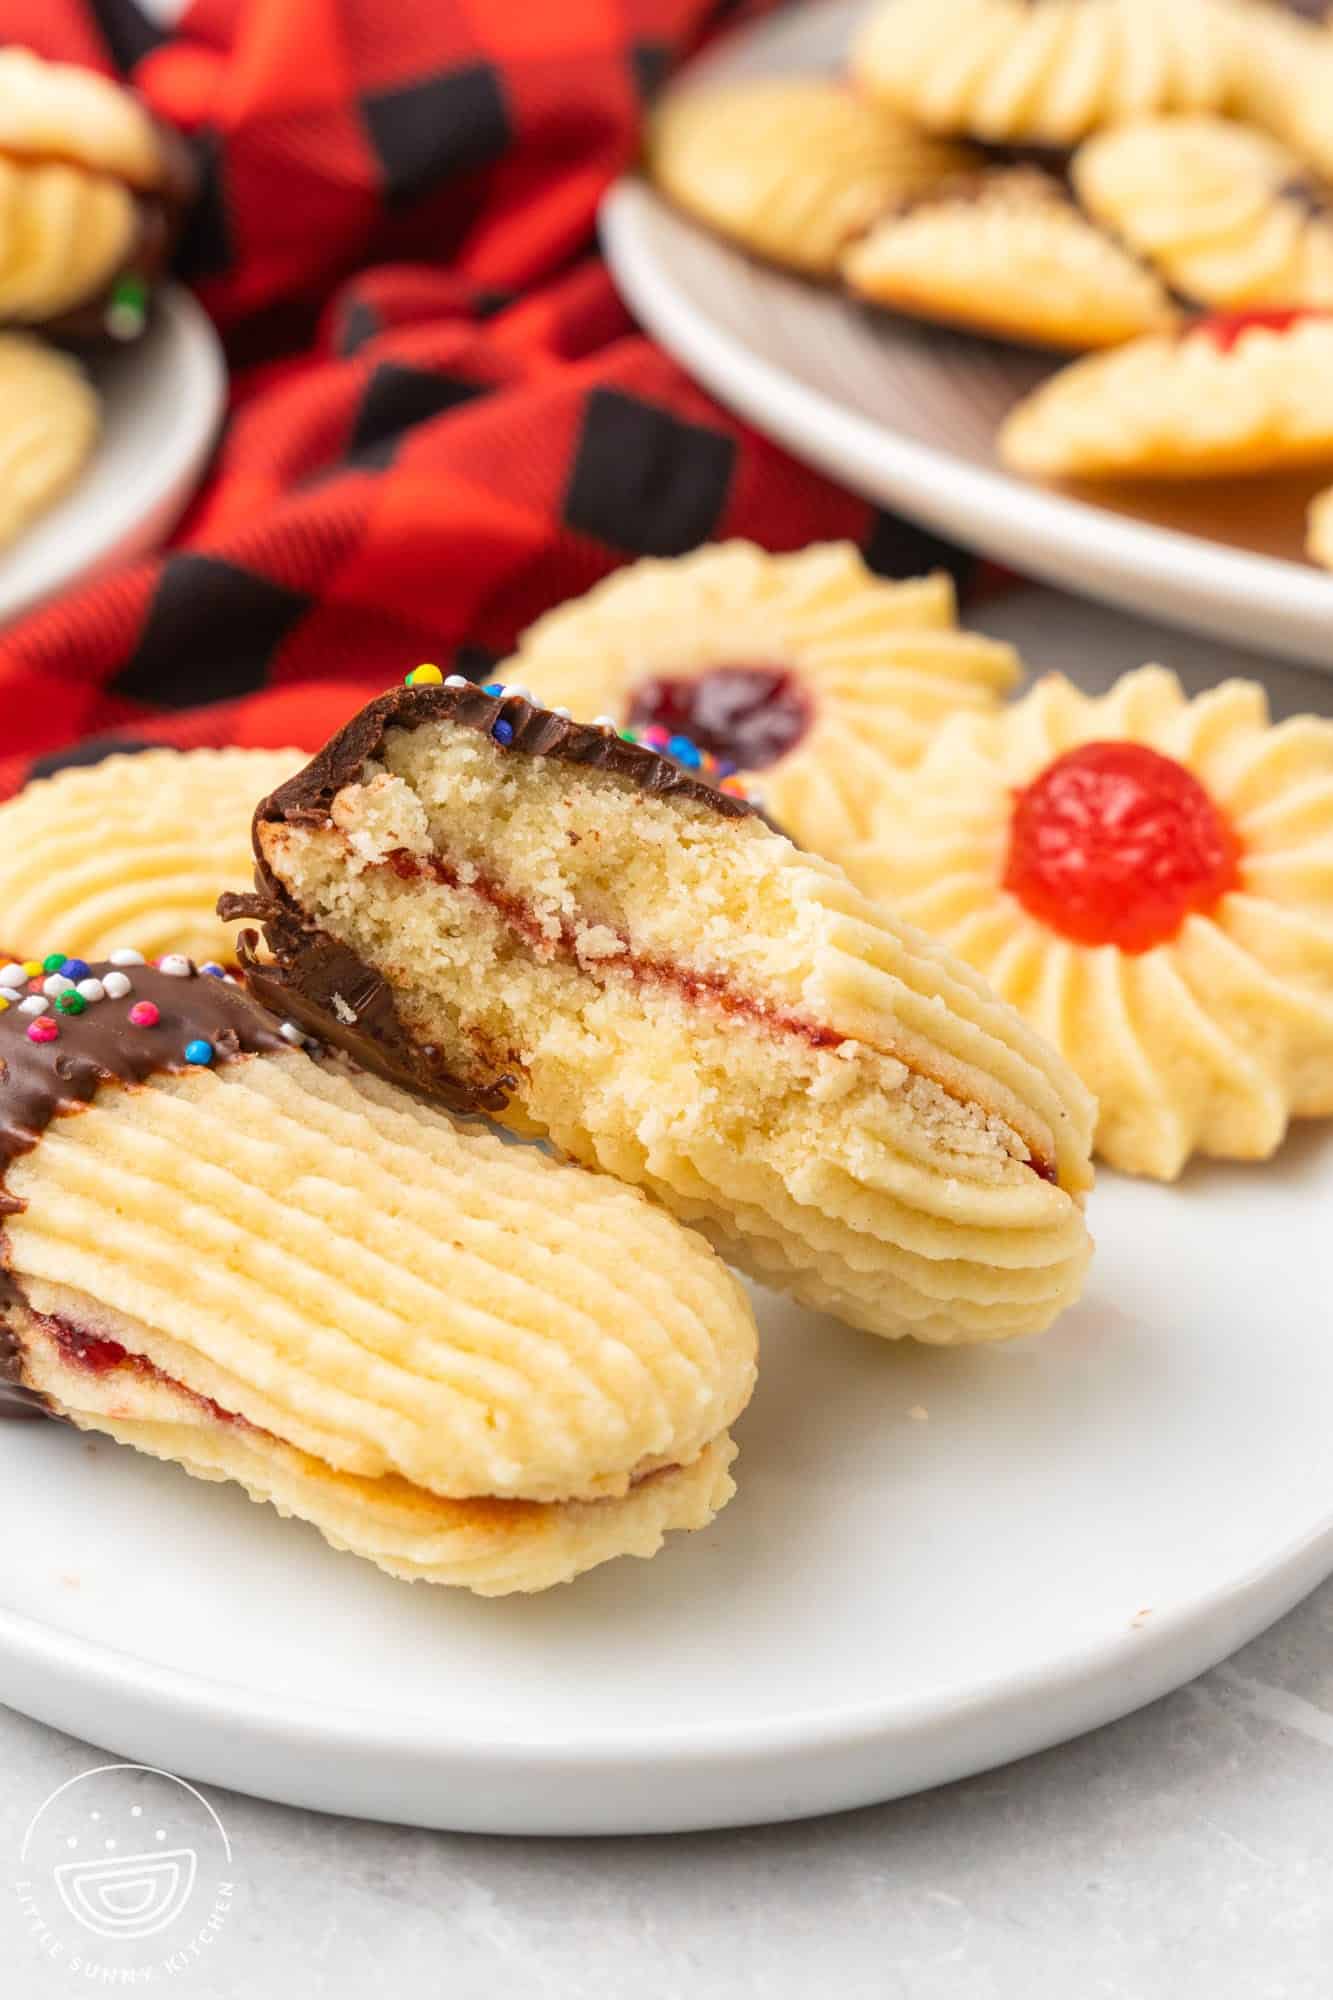
Make cookie sandwiches by spreading jam or preserves onto the back of the cookies and pressing them together.
Dip single cookies or cookie sandwiches into melted chocolate. You don’t need to cover the entire cookie, just one end of it. While the chocolate is still wet, add holiday sprinkles, shredded coconut, or chopped nuts.
Recipe Tips
- This recipe will yield approximately 36 cookies of various sizes. Depending on how you pipe them, you may get more or less.
- Whip the butter and sugars very, very well before mixing in the other ingredients. This is key to the light, melt-in-your-mouth texture.
- I did not need to chill the dough before baking. The cookies spread just a bit and were perfect without chilling. However, if it’s particularly hot in your kitchen, you may want to chill the piped cookies for 5-10 minutes before putting them in the oven.
- Be sure to let the cookies cool completely before adding any decorations.
- Instead of using a piping bag, you can use a cookie press. In a pinch, you can also just spoon the dough onto the parchment paper, but the final product won’t be quite as pretty.
- Try some citrus: You can add a teaspoon of fresh lemon or orange zest to the cookie dough.
- To make chocolate Italian butter cookies, replace ½ of the flour with unsweetened cocoa powder.

Storing Tips
Store cooled cookies in an airtight container at room temperature. Keep parchment paper between layers to keep them from sticking together. These cookies will stay fresh for up to 1 week.
You can also freeze Italian butter cookies. It’s best to freeze the cookies un-decorated. They can be stored in the freezer for up to 6 months.
These classic and traditional Italian Butter Cookies are perfect for the holidays, but they aren’t just for Christmas! Make a batch whenever you want an easy and delicious treat.
Did you make this? Be sure to leave a review below and tag me on Facebook, Instagram, or Pinterest!

Italian Butter Cookies
Equipment
- Open Star Piping Tip Wilton 8B
- Stand-mixer
Ingredients
- 2 ¼ cups (290 g) all purpose flour
- ¼ teaspoon baking powder
- ¼ teaspoon salt
- 1 cup (225 g) unsalted butter softened to room temperature
- ½ cup (100 g) granulated sugar
- ½ cup (60 g) powdered sugar
- 1 large egg at room temperature
- 1 large egg yolk at room temperature
- 1 teaspoon pure vanilla extract
- Melted chocolate candied cherries, jam, crushed nuts, sprinkles to decorate (optional)
Instructions
- Preheat the oven to 350°F (180°C), or 160°C if you have a fan oven, line 2 baking sheets with parchment paper and set aside.
- In a medium mixing bowl, whisk together flour, baking powder, and salt; set aside.
- In the bowl of a stand mixer fitted with the paddle attachment, beat the butter, granulated sugar, and powdered sugar on high until very light and fluffy, about 4 minutes. Add the egg, egg yolk, and vanilla extract and mix well.
- Add the flour mixture in 2-3 smaller additions, mixing well after each.
- Using a large open star piping tip, pipe the cookies into desired shapes. If using jam or candied cherries press into the center of circular cookies before baking.
- Bake in the preheated oven for 8-10 minutes, or until lightly golden
- Allow to cool for 5 minutes before transferring to a wire rack to cool completely.
- Once completely cooled, decorate cookies as desired by dipping in melted chocolate and sprinkling with nuts or sprinkles, or making jam cookie sandwiches
Notes:
- This recipe will yield approximately 36 cookies of various sizes. Depending on how you pipe them, you may get more or less.
- Whip the butter and sugars very, very well before mixing in the other ingredients. This is key to the light, melt-in-your-mouth texture.
- Be sure to let the cookies cool completely before adding any decorations.
- Instead of using a piping bag, you can use a cookie press. In a pinch, you can also just spoon the dough onto the parchment paper, but the final produce won’t be quite as pretty.
- Storage: Store cooled cookies in an airtight container at room temperature. Keep parchment paper between layers to keep them from sticking together. These cookies will stay fresh for up to 1 week.
- To Freeze: It’s best to freeze the cookies un-decorated. They can be stored in the freezer for up to 6 months.
Nutrition Information
This website provides approximate nutrition information for convenience and as a courtesy only. Nutrition data is gathered primarily from the USDA Food Composition Database, whenever available, or otherwise other online calculators.
© Little Sunny Kitchen








Donna says
I will try most of them before Christmas
Diana says
That sounds wonderful, Donna! I hope you enjoy baking them and sharing over the holidays.
Edna Carrick says
they all look delicious, I have to try a couple of them
Little Sunny Kitchen says
Thanks, Edna. I’m sure that you will love these!
CECILIA says
BUENISISMAS
Diana says
Gracias, Cecilia!