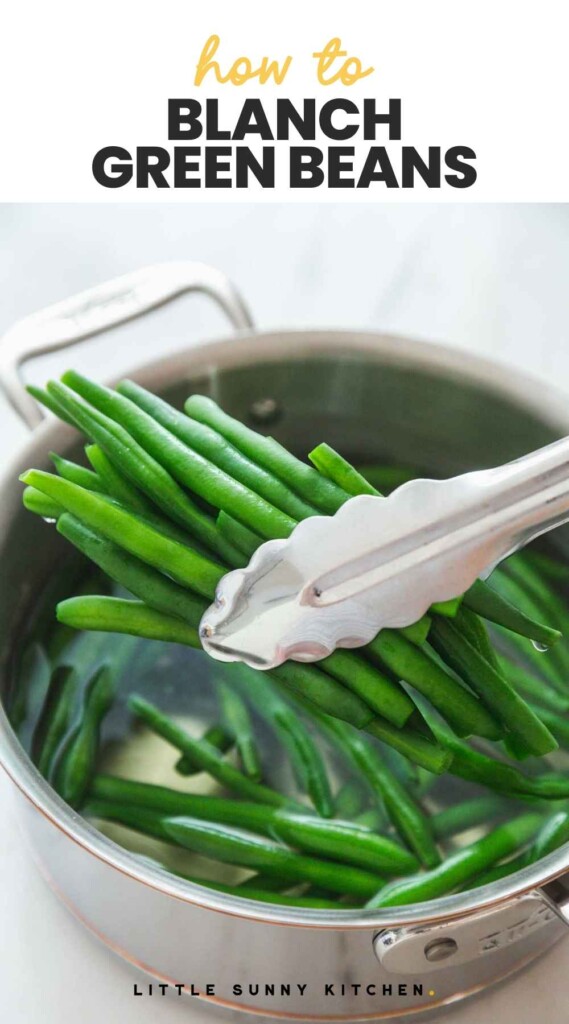
Learn how to blanch green beans easily and achieve crisp tender and vibrant green beans. Add blanched green beans to salads, serve them as a healthy snack, saute them and add to your pasta or stir fry, or freeze them!
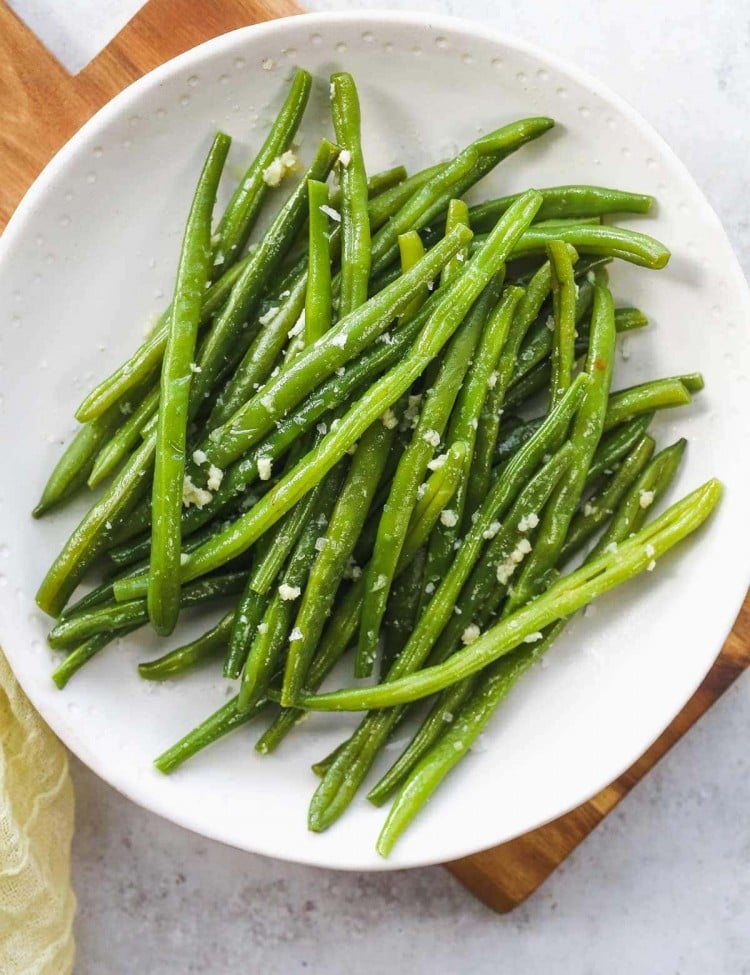
Overly tender and dull green beans are a big NO in my house! There are many ways to cook green beans, but blanching them in a simple method which makes them bright green in color with the perfect texture.
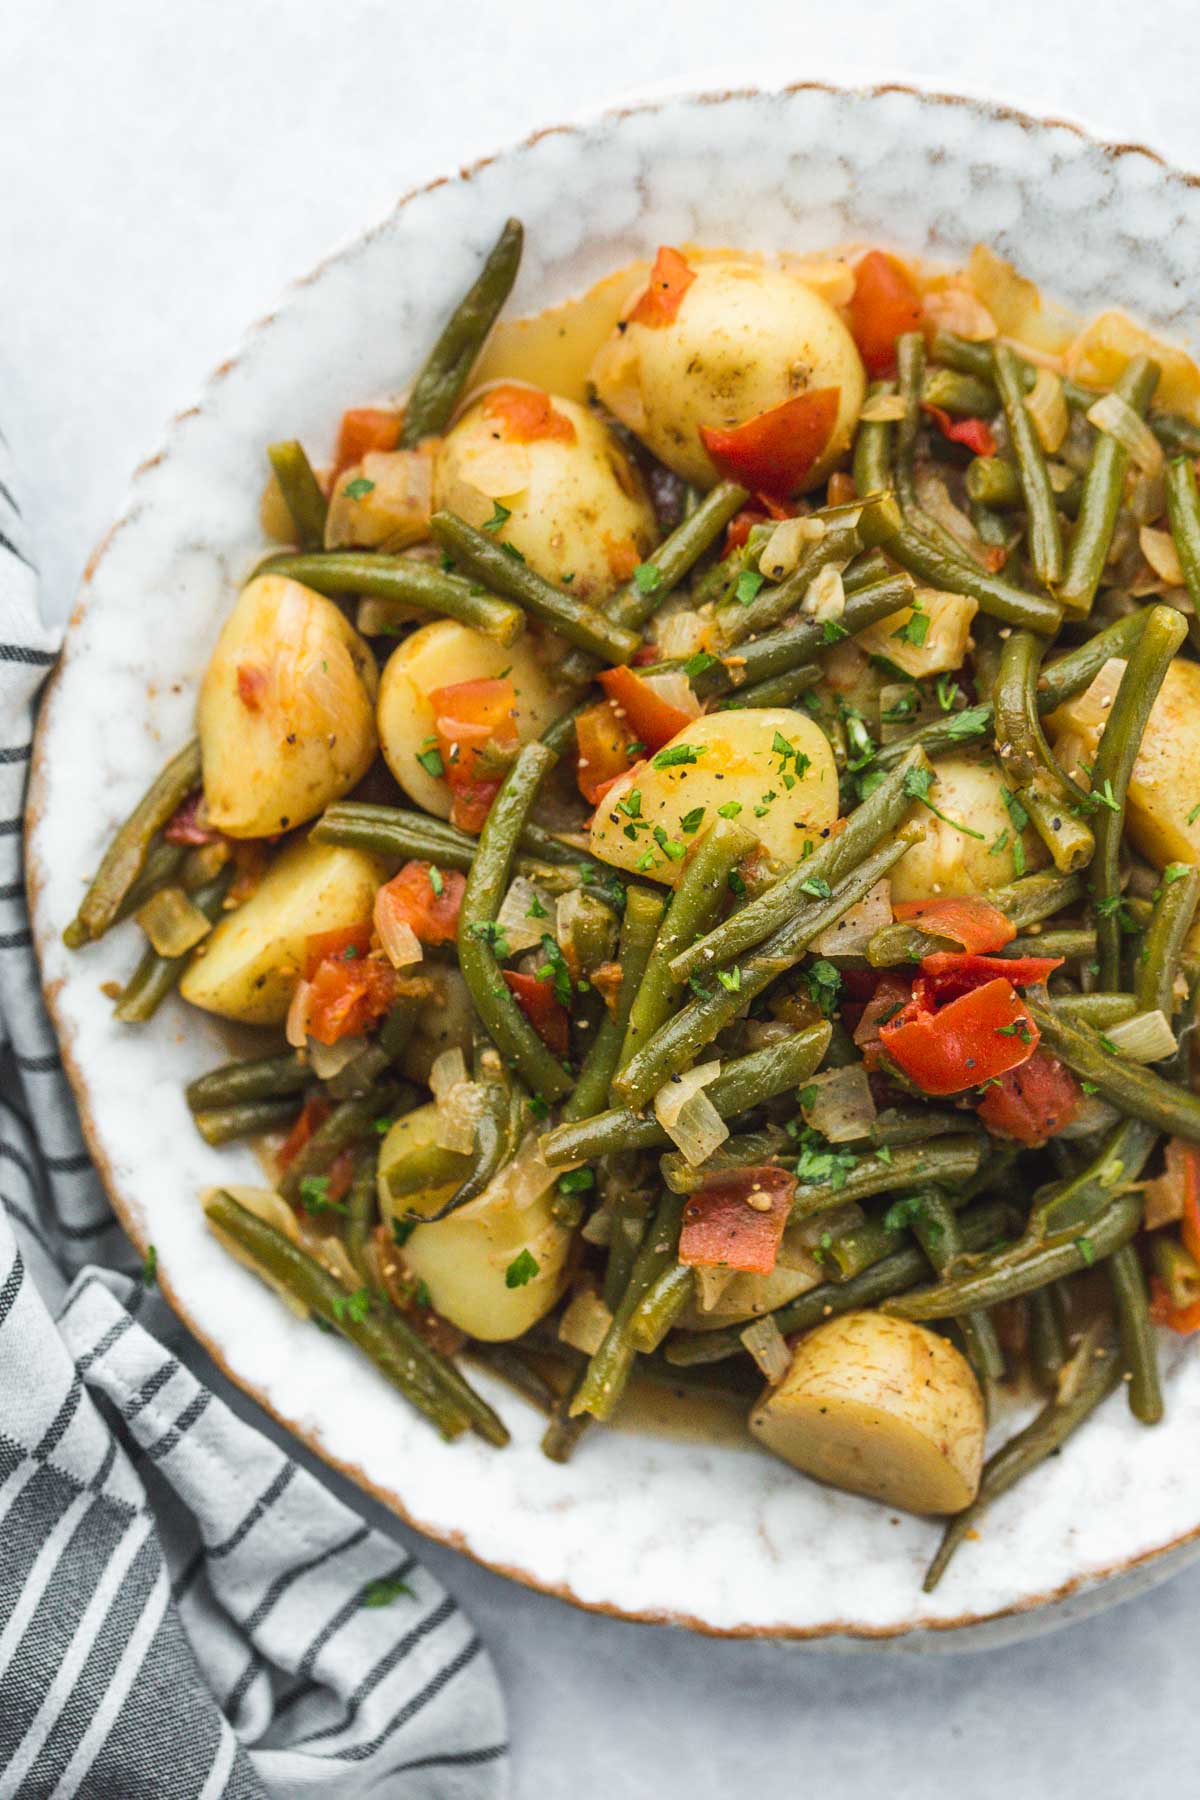
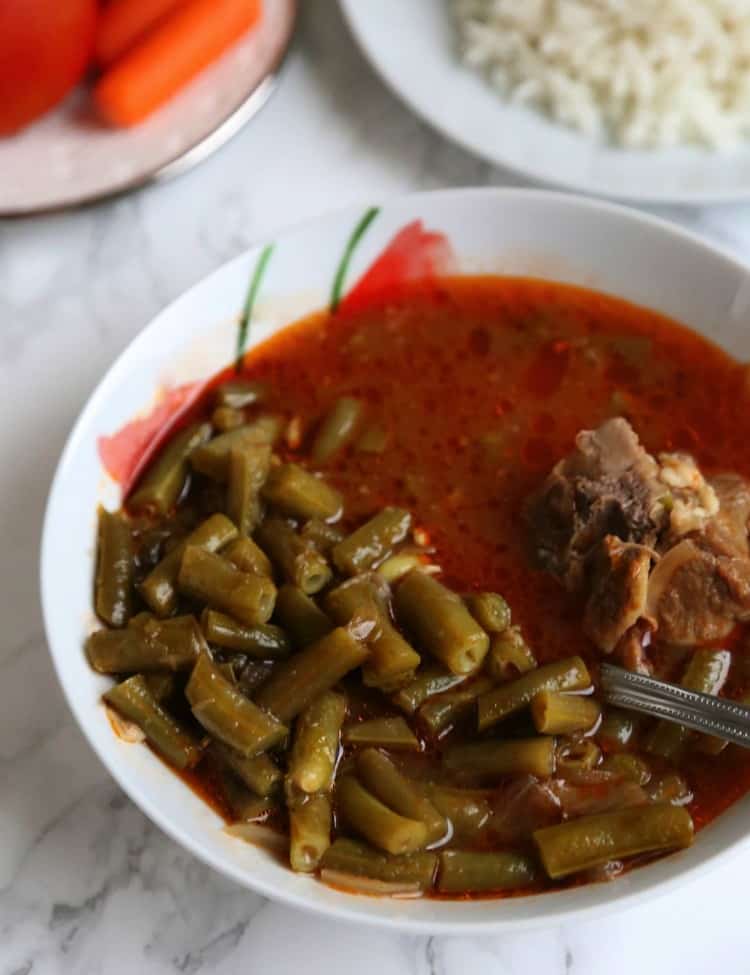
I try to achieve crunchy green beans in the Instant Pot (awesome recipe by the way!), but there are other recipes where the green beans should be a little tender, especially authentic recipes such as Greek Fasolakia, and Palestinian stewed green beans.
However, when it comes to serving green beans in a salad or as a side dish, they must be crunchy and tender at the same time. I usually blanch green beans to use in my three bean salad. And in this post, I will show you how to blanch green beans in just ten minutes!
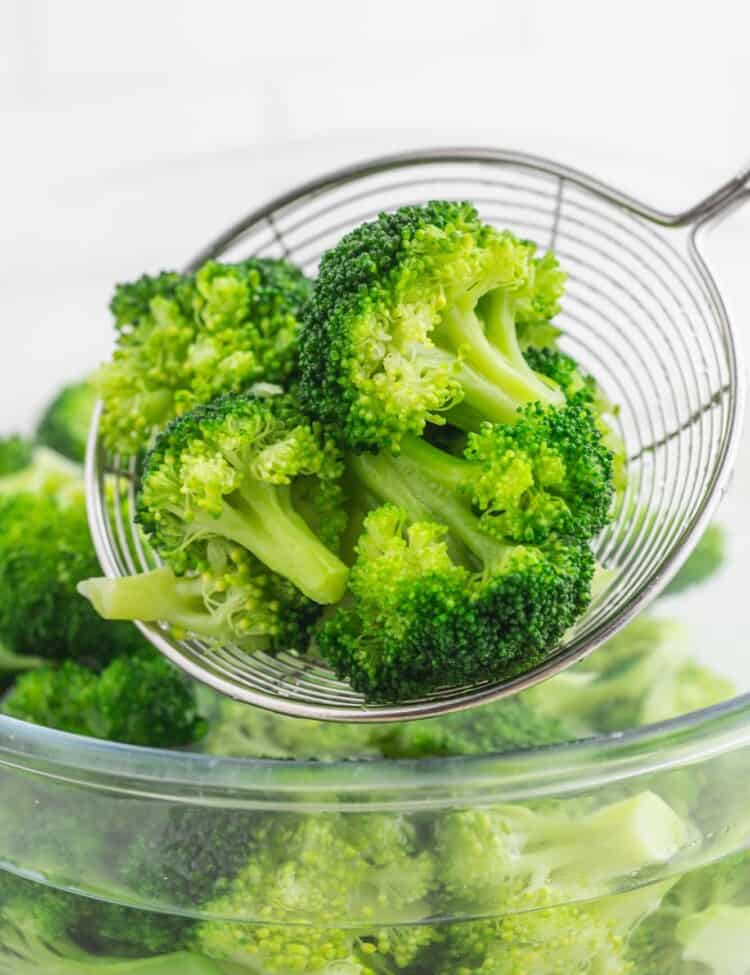
Want to learn how to blanch other vegetables as well? Check out my tutorial on how to blanch broccoli!
What is Blanching?
Blanching is a cooking method used for fruit and vegetables, that are scalded in boiling water or steam for a specific amount of time and then plunged in ice-cold water to stop the cooking process.
It is usually done to change the texture, color, or help remove the peel (think nut peeling). Blanching also helps preserve the nutritional value and color of the fruit or vegetable.
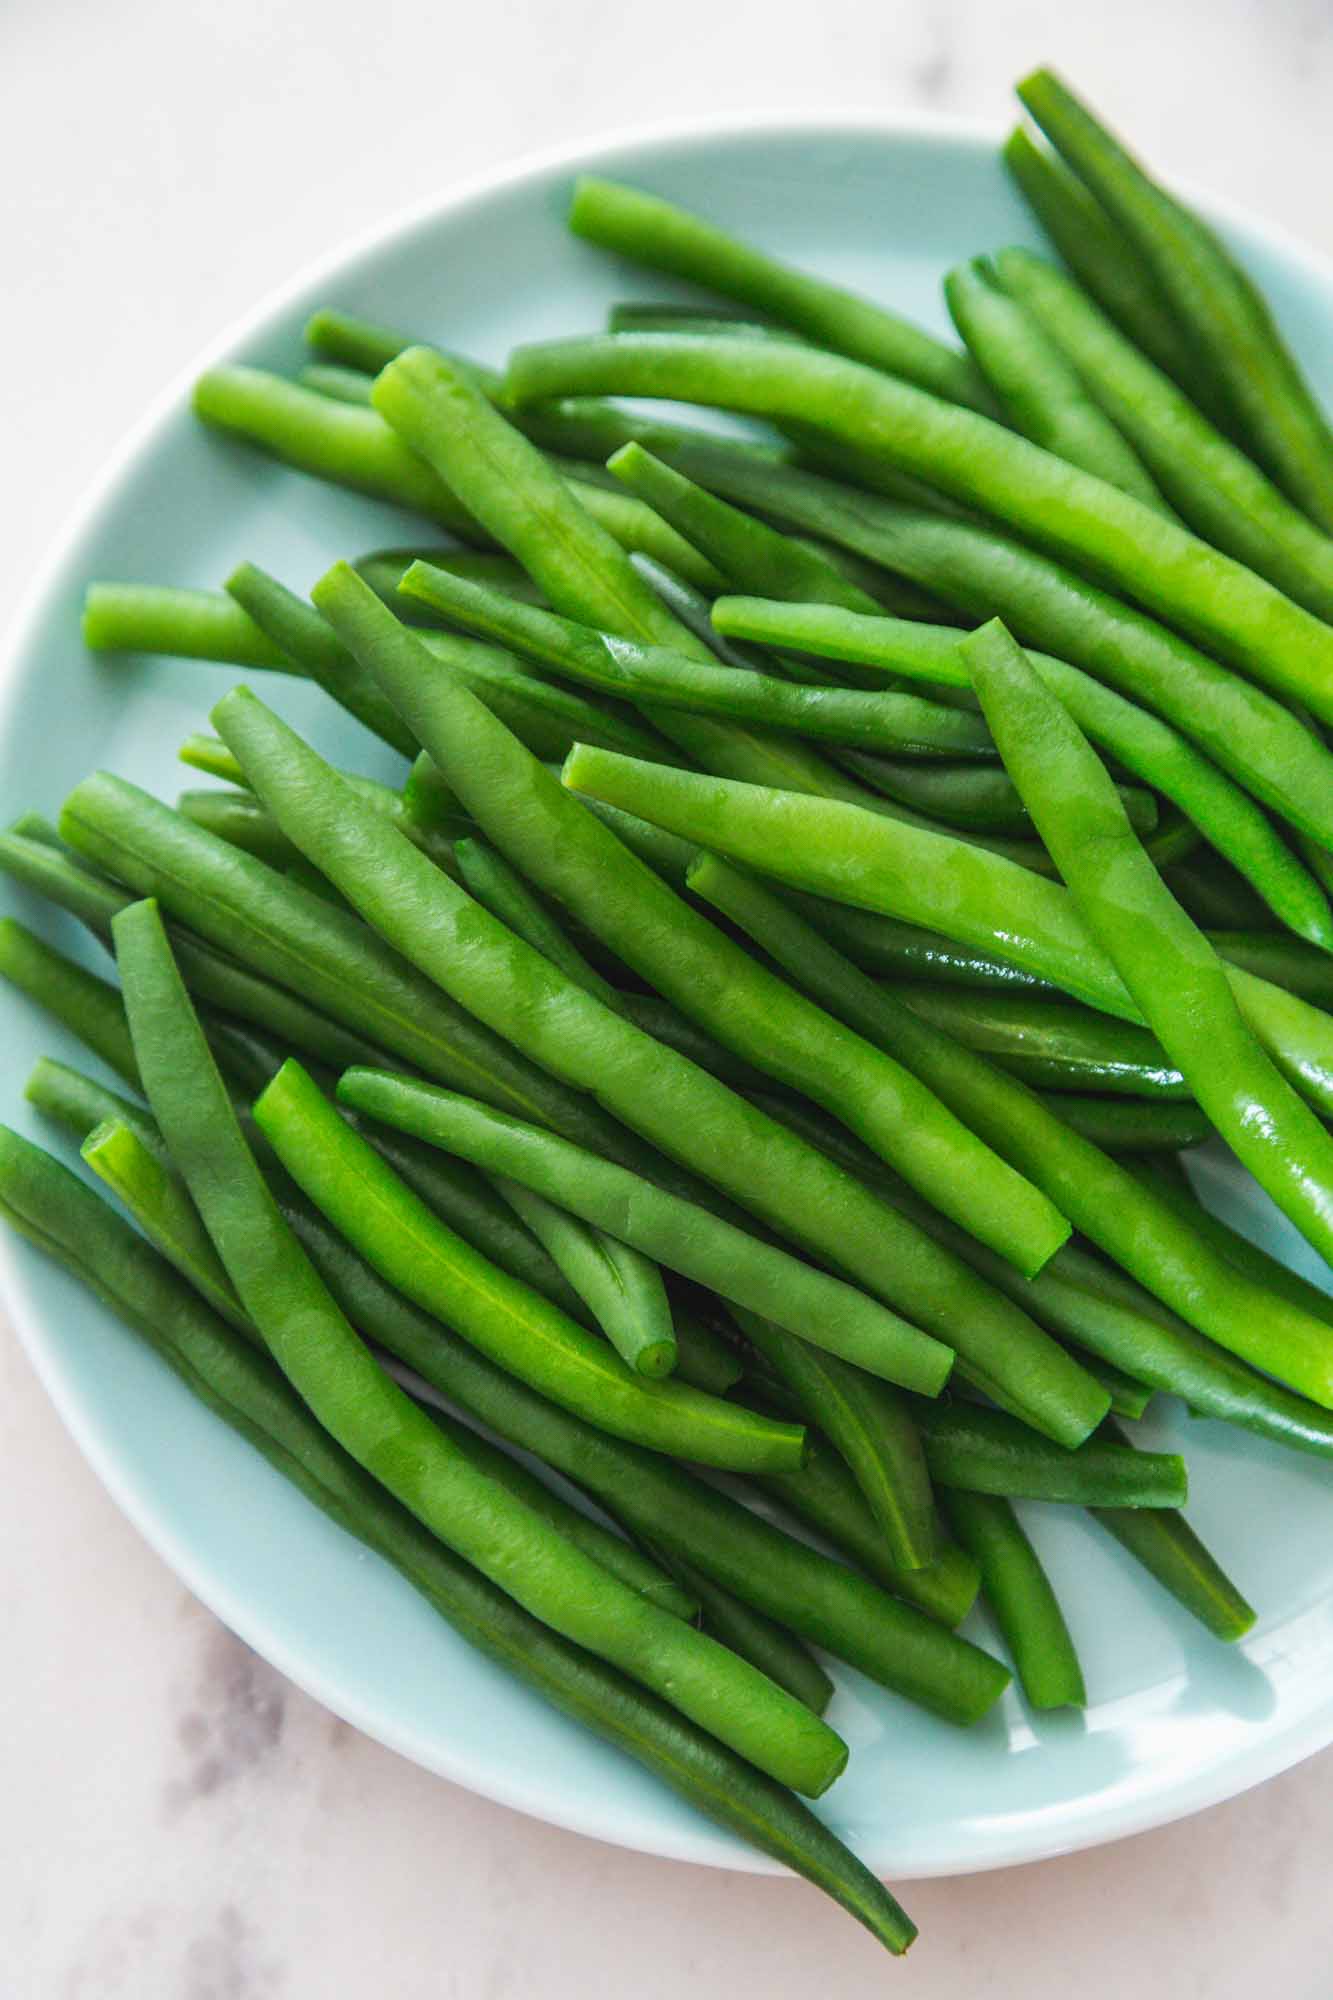
How to prepare green beans
Wash the green beans, and drain in a colander. Then either snap off the inedible ends with your fingers (this can be time consuming!), or just place them on a cutting board and cut off the ends. And that’s it, you’re done!
Tip!
This method only works for fresh green beans. Don’t attempt this with frozen greens beans as they have been blanched already.
How to Blanch Green Beans
- Boil Water – In a saucepan or a large pot, bring water to a boil and salt it.
- Prep an Ice Bath – Fill a large bowl with cold water, add ice cubes to it, and set aside.
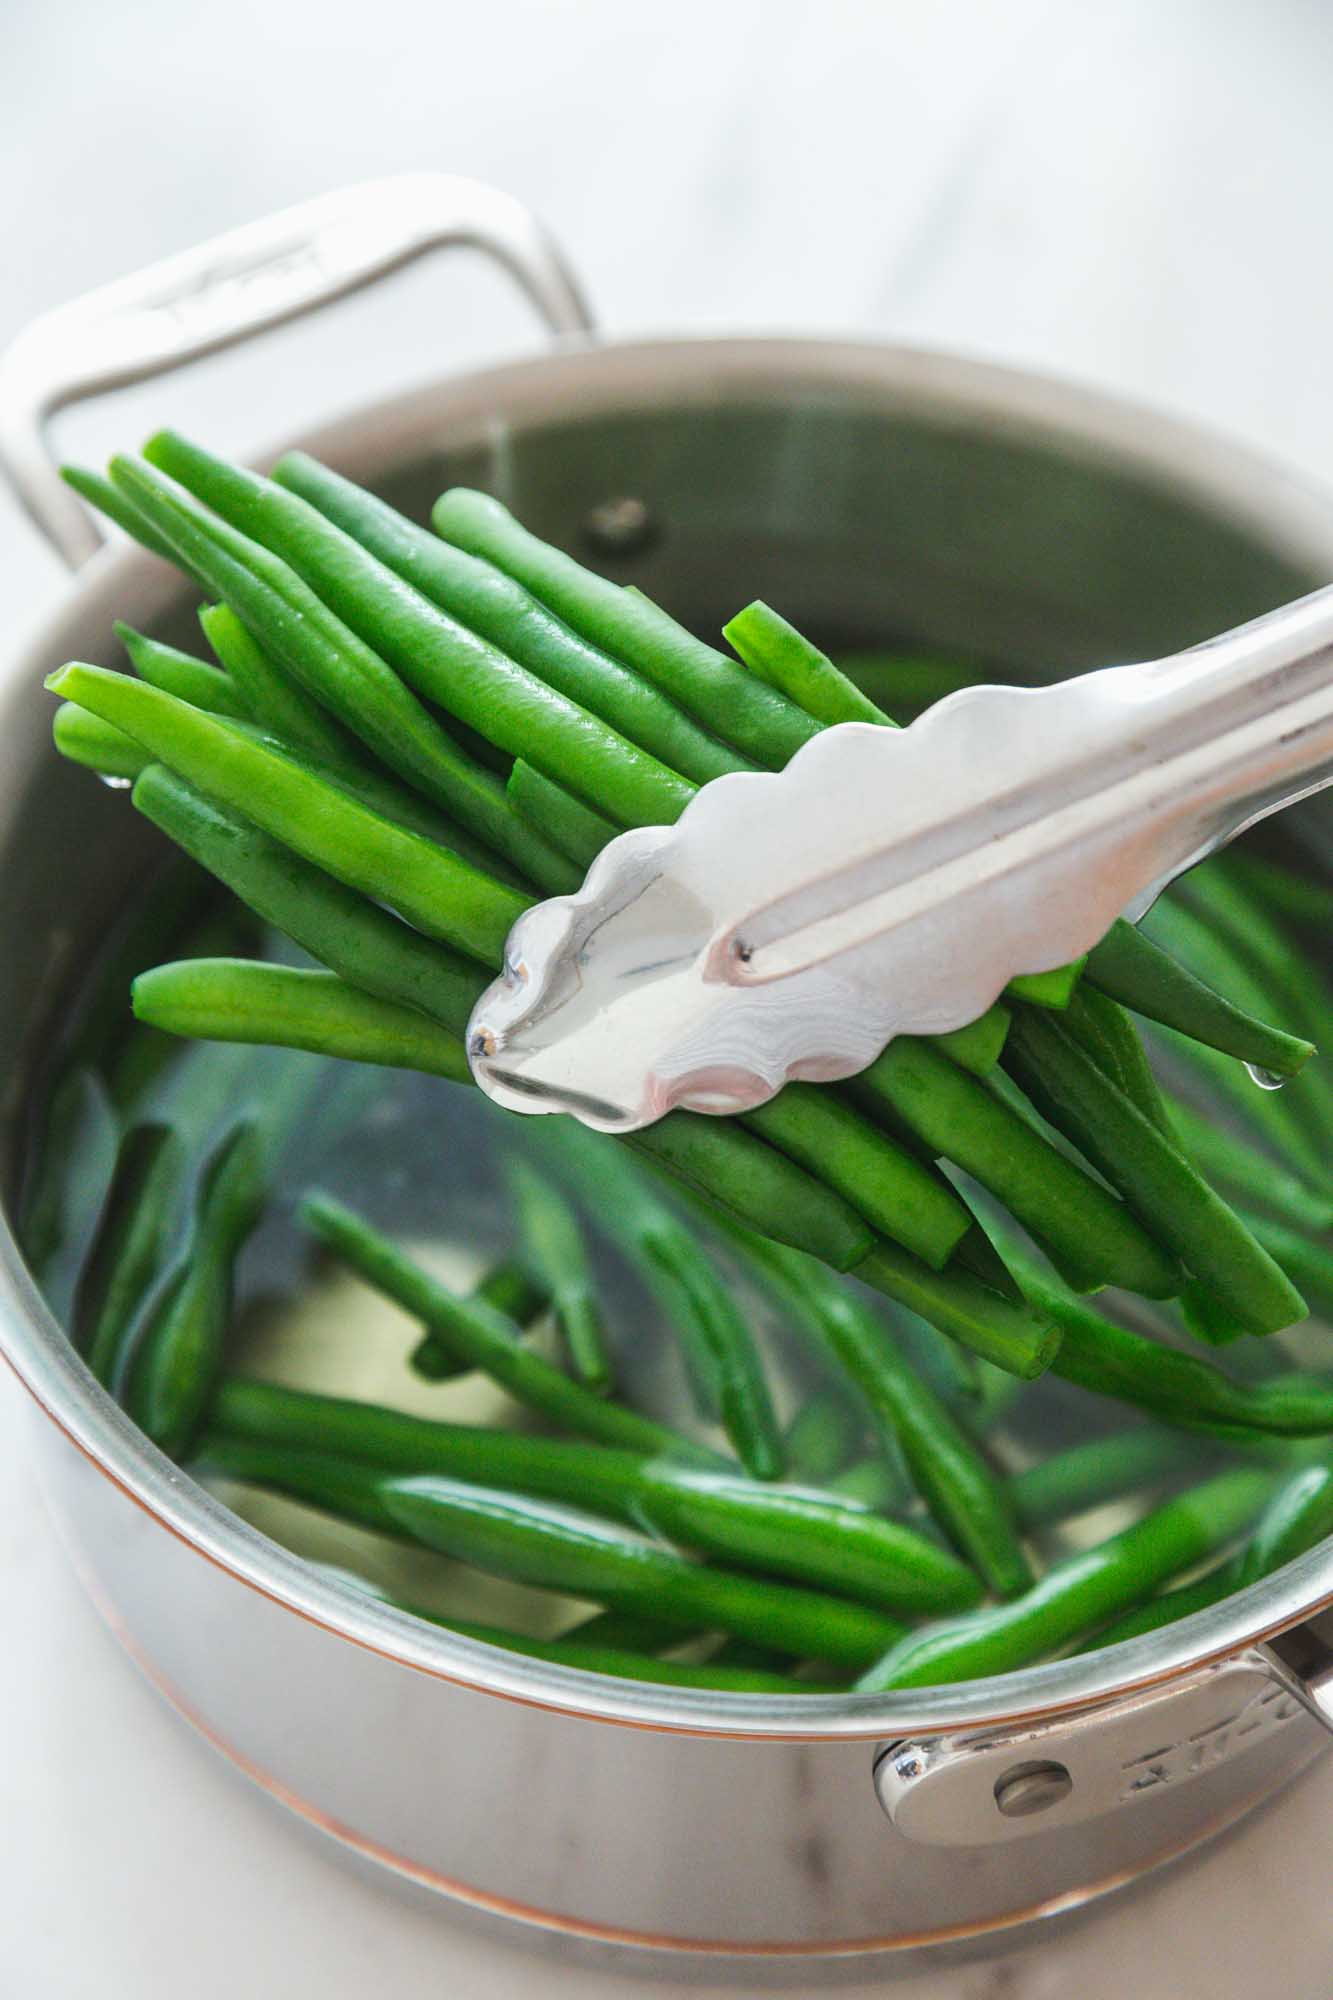
- Blanch – Add the prepped green beans to the boiling water, and set your timer to 2-3 minutes. The green beans should be bright in color, crisp and tender at the same time.
- Cool – Remove from the saucepan, and plunge into the ice bath to stop the cooking process. Leave for 5 minutes, then drain and use as desired.

How Long to Blanch Green Beans
I find 2-3 minutes is enough to reach the perfect texture for green beans. If you like your greens beans on the softer side, feel free to leave them in the hot water for an extra minute.
Tip!
This blanching method also works for snap peas, broccoli, and asparagus. Just adjust the cooking time depending on the size of your vegetable. Remove from hot water when your vegetable can be pierced with a fork but still crisp.

Frequently Asked Questions About Blanched Green Beans
You need to cut off the inedible ends before blanching. If you wish, you can cut the string beans in half or in thirds depending on what you plan to do with them.
Blanch your green beans in hot water for 2-3 minutes, then plunge in an ice cold water bath for 5 minutes. Drain, dry with paper towels and arrange green beans in a single layer on a sheet pan then freeze.
Yes! Although it’s optional, salting the water before blanching vegetables helps preserve their color and flavor.
Now that you’re a pro at blanching green beans, you will never have to deal with mushy or dull green beans ever again! Make sure to pin this tutorial for more people to enjoy.
Did you make this? Be sure to leave a review below and tag me on Facebook, Instagram, or Pinterest!

How To Blanch Green Beans
Recipe Video
Equipment
- Colander
- Large bowl
Ingredients
- 1 pound green beans ends trimmed
- 4 quarts water
- 1 teaspoon salt
- Ice cubes
Instructions
- In a saucepan, bring water to a boil and salt it.
- Prepare an ice bath by combining cold water and ice cubes in a large bowl, and set aside.
- Add the prepped green beans to the boiling water, and set your timer to 2-3 minutes. The green beans should be bright in color, crisp but tender at the same time.
- Remove from the saucepan, and plunge into the ice bath. Leave for 5 minutes, then drain and use as desired.
Notes:
Nutrition Information
This website provides approximate nutrition information for convenience and as a courtesy only. Nutrition data is gathered primarily from the USDA Food Composition Database, whenever available, or otherwise other online calculators.
© Little Sunny Kitchen

Leave a Review!