Homemade Ricotta cheese is so delicious, and an easy way to learn about the cheesemaking process! Fresh milk and cream are turned into silky, creamy curds and whey right before your eyes.
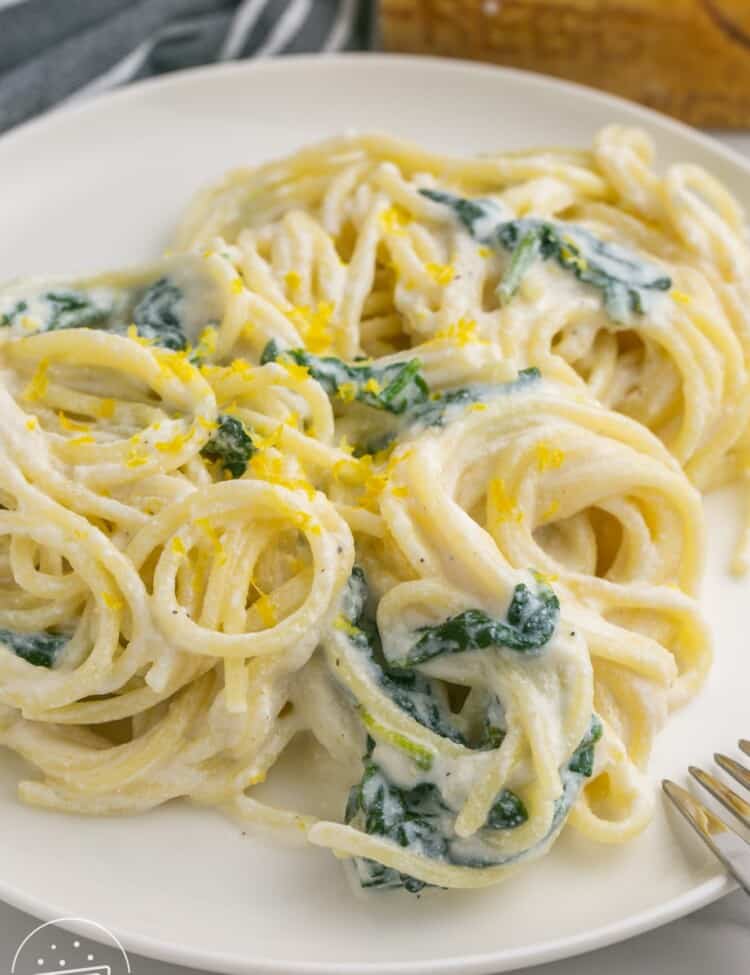
This fun and simple Ricotta Cheese recipe can be used in all of your favorite Italian recipes, like Lasagna Roll Ups and Ricotta Pasta, or spread on toast, homemade crostini, or crackers for a decadent snack.
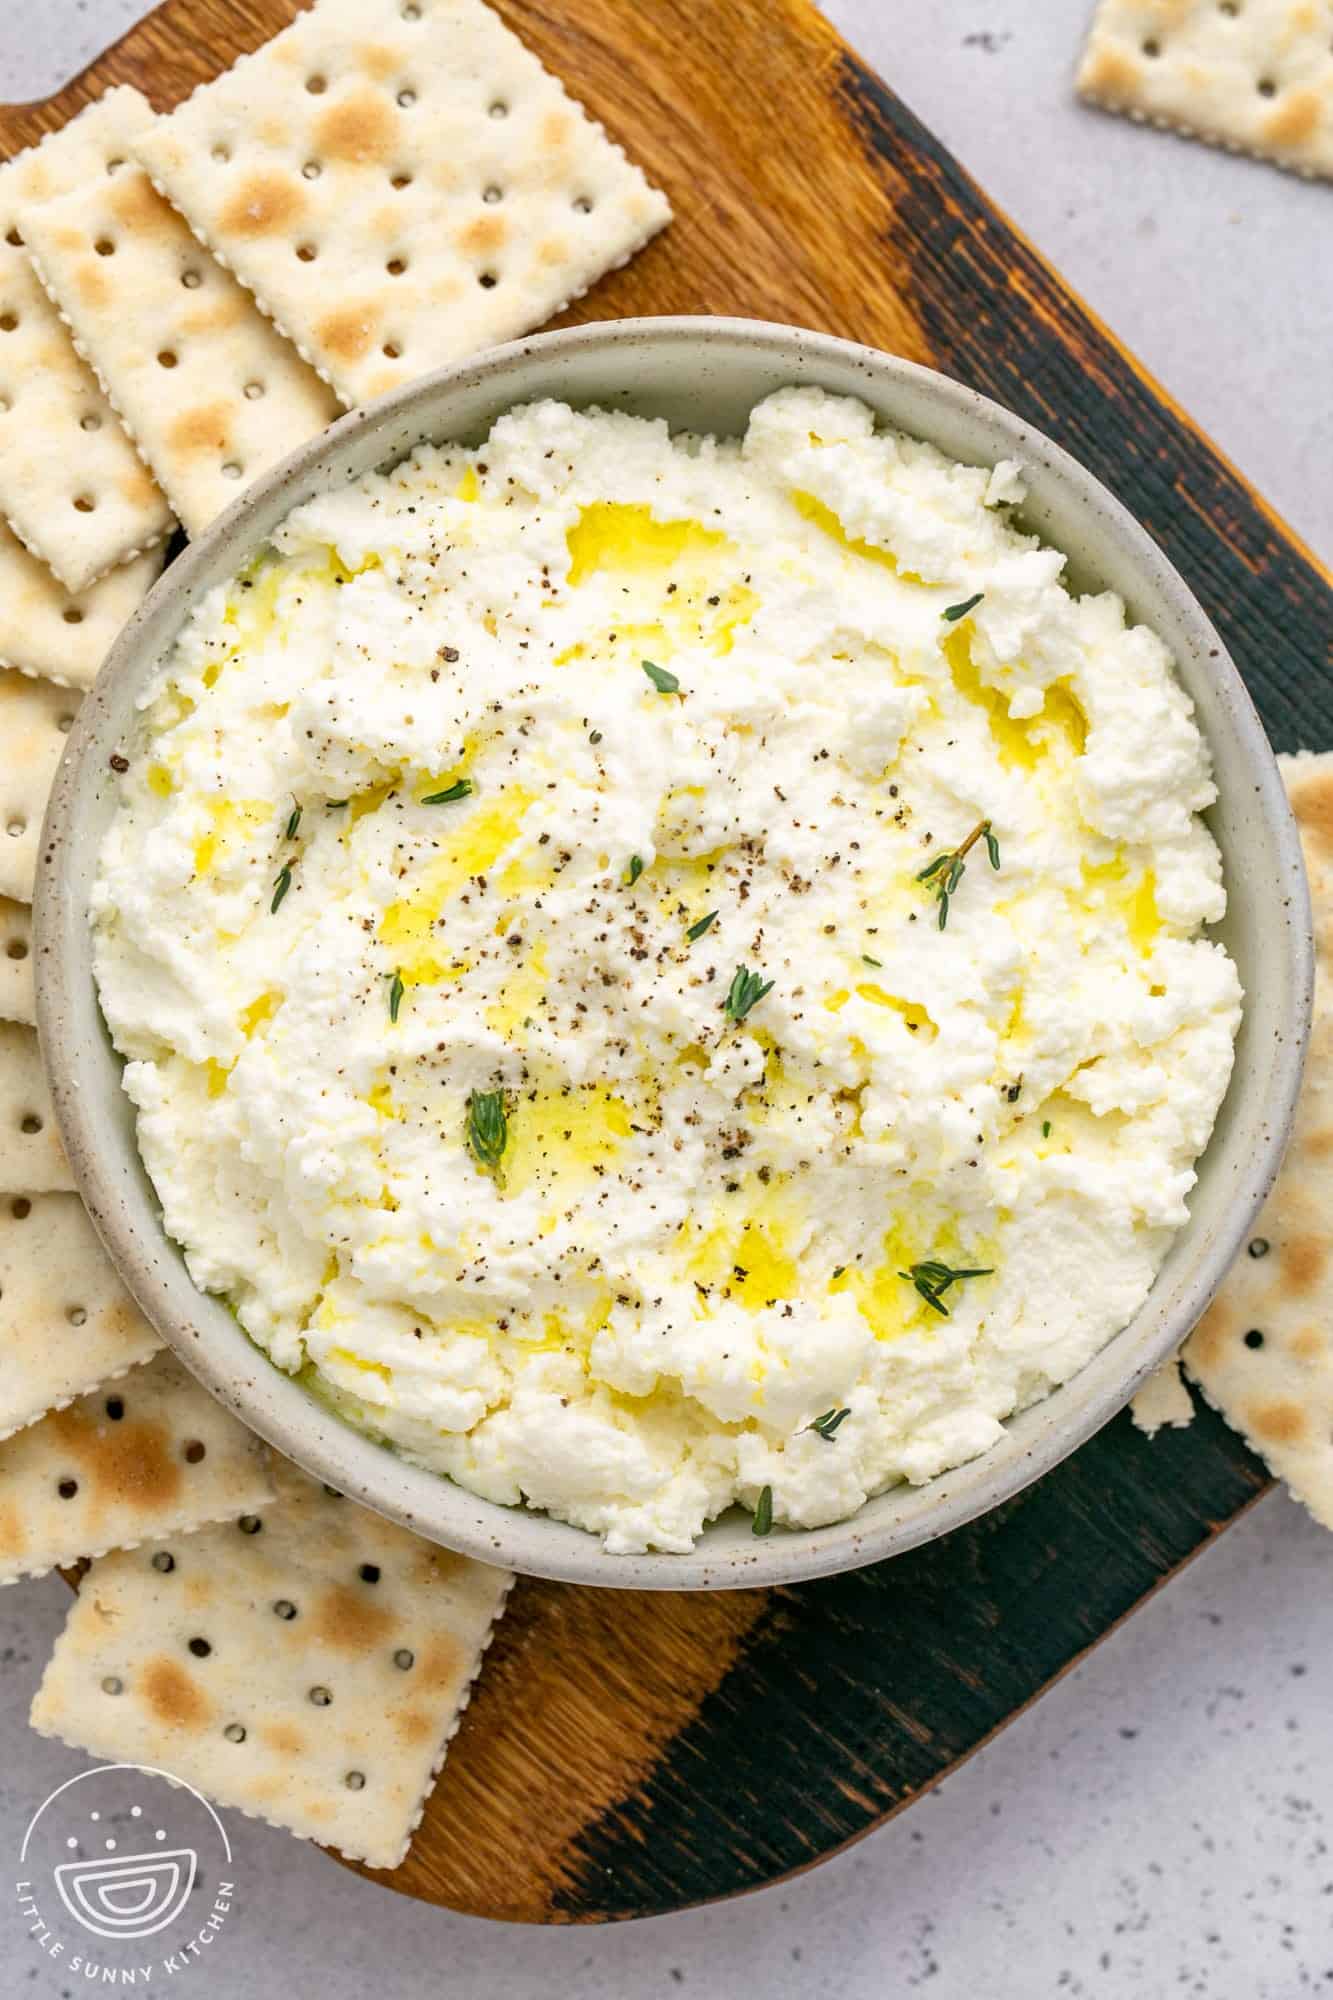
What is Ricotta Cheese?
Ricotta is a fluffy, soft, fresh cheese that is typically made from the whey that is leftover from making other cheeses. In Italian, the word ricotta translates to “re-cooked”.
The traditional ricotta making process involves heating whey, then adding an acidic ingredient to create more cheese curds from a byproduct that would otherwise be thrown away.
This ricotta cheese recipe is not exactly traditional, as we’ll be making fresh cheese using milk and cream, and not whey. For a home cook, this is the closest you’ll get to making “real” ricotta, since large amounts of whey aren’t really available to us.
This fresh cheese has the same wonderful texture you’d expect from ricotta, but it’s going to taste SO much better!
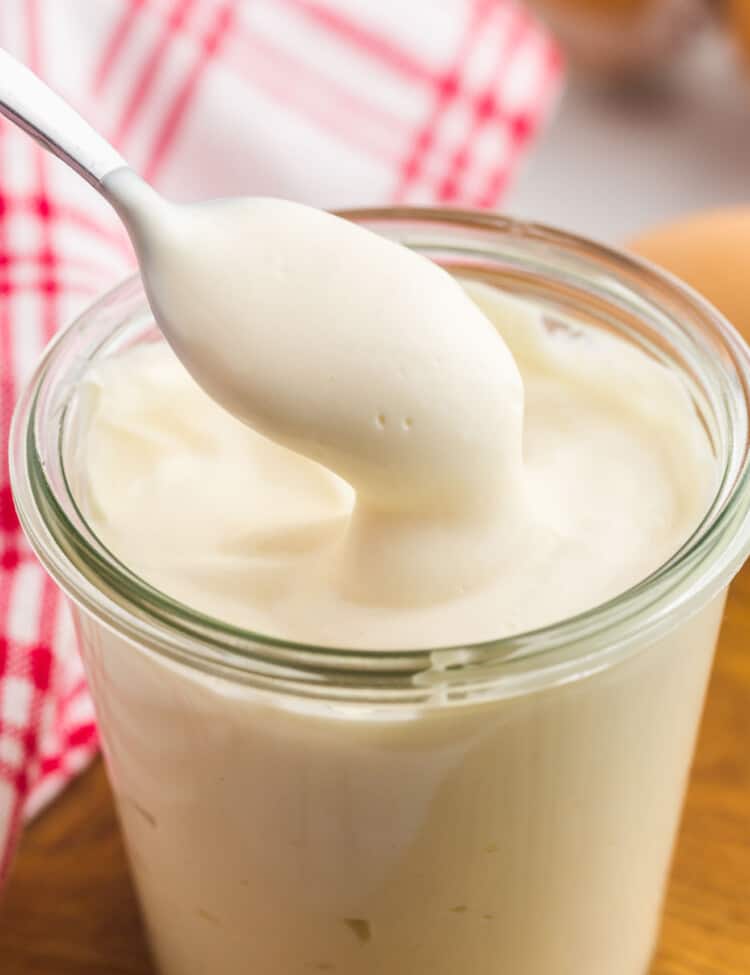
Learning how to make ricotta cheese at home, from scratch, fits right into our “Basics” series, where I show you how to cook simple recipes and staple meal-building ingredients. You might also enjoy learning how to steam the perfect hard-boiled eggs, how to make bone broth, or finding the recipe for homemade mayonnaise!
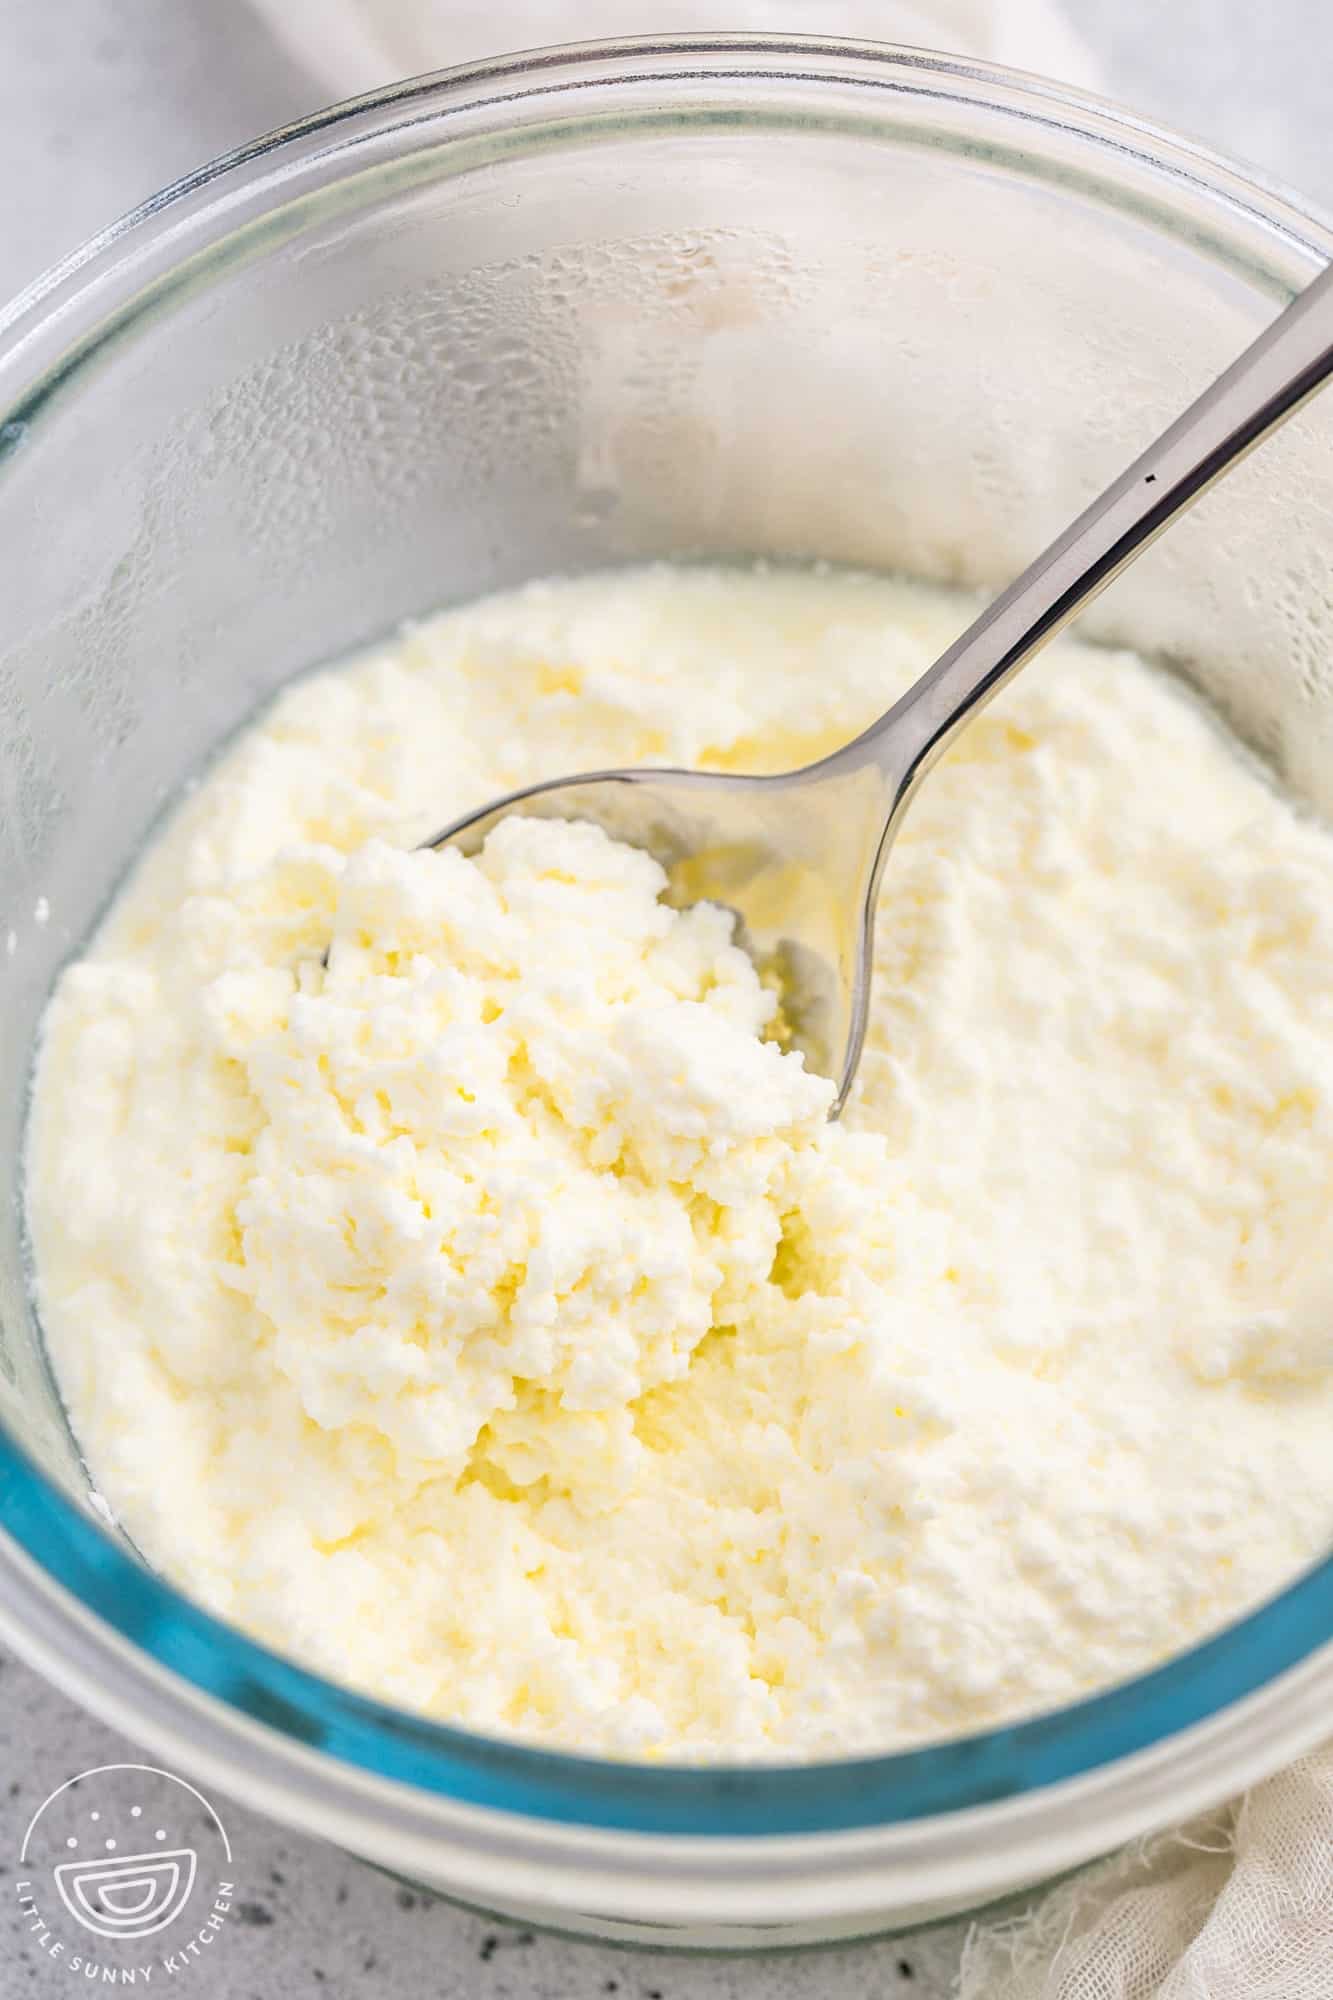
Why You‘ll Love Making Homemade Ricotta Cheese
- It’s Healthier – Grocery store ricotta cheese is convenient, sure, but it’s filled with unnecessary ingredients like xanthan gum, locust bean gum, and guar gum. These gums are added to stabilize the cheese and increase its shelf life, but why eat them if you don’t need to? You can also control the amount of salt you add when you make it yourself.
- It Tastes Better – It’s totally fine if you need to taste it to believe it! Make this recipe ASAP, and you’ll get to experience the amazing texture and fresh flavor for yourself. Homemade ricotta is sweeter and creamier than commercially made cheese.
- It’s Fun to Make – There’s something really satisfying about making your own cheese, and it’s fun to watch the milk turn into curds. You might even be able to get the whole family involved in your cheesemaking!
Tools and Ingredients Needed
Here’s everything you need to make ricotta cheese from scratch:
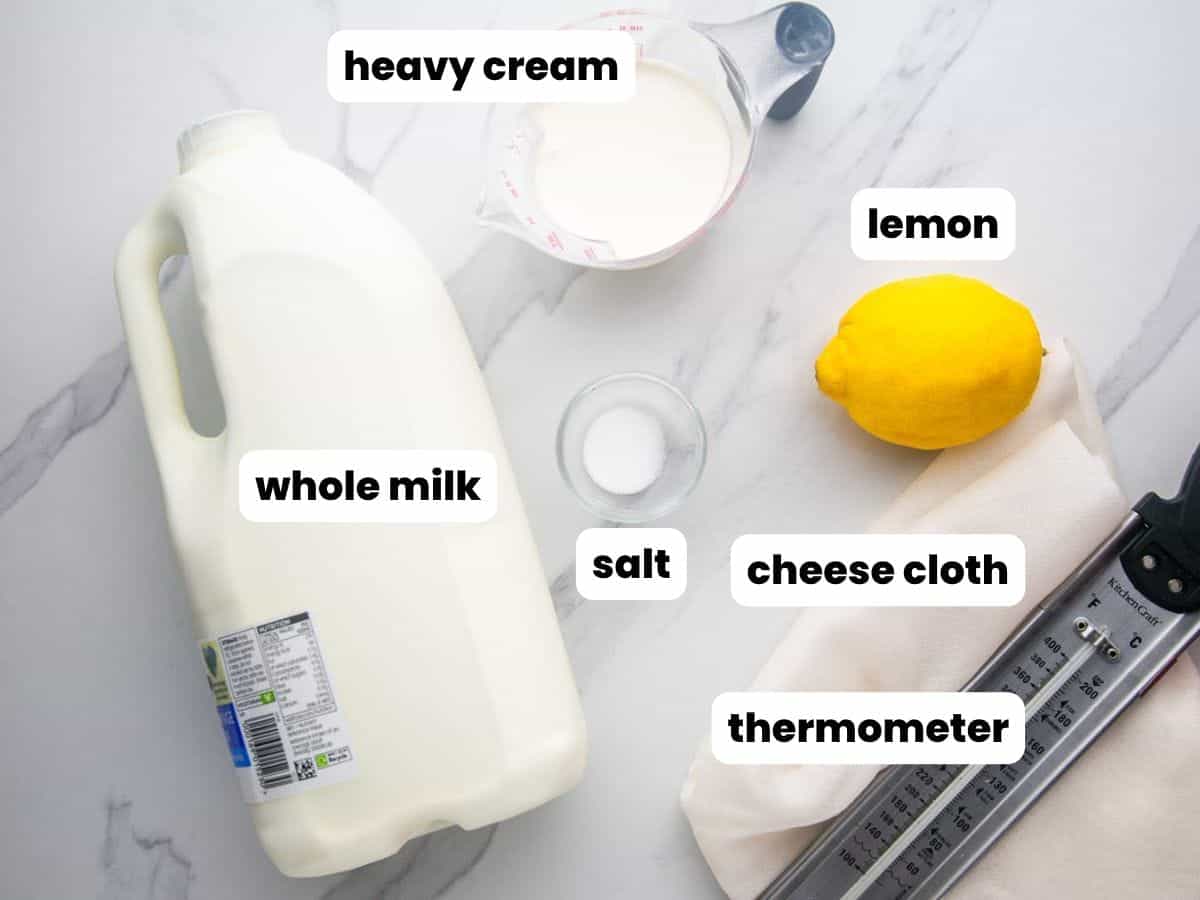
- Whole Milk and Heavy Cream: It’s very important that you don’t try to use low-fat milk in this recipe. Also, be sure to avoid any milk or cream that says “ultra-pasteurized” or “UHT” on the label.
- Lemon: You need a quarter cup of freshly squeezed lemon juice or the same amount of distilled white vinegar. The acidity is what turns milk into cheese!
- Salt
- Cheesecloth: This recipe is exactly the reason that cheesecloth exists! The finely woven thin cloth will allow us to strain the curds from the whey.
- Thermometer: You want to use a candy thermometer that you can clip onto the side of your pot. We’ll be monitoring the temperature of the milk as we go.
- You’ll also need a bowl, something to stir with, and a fine mesh strainer.
Complete list of ingredients and amounts can be found in the recipe card below.
How To Make Homemade Ricotta Cheese
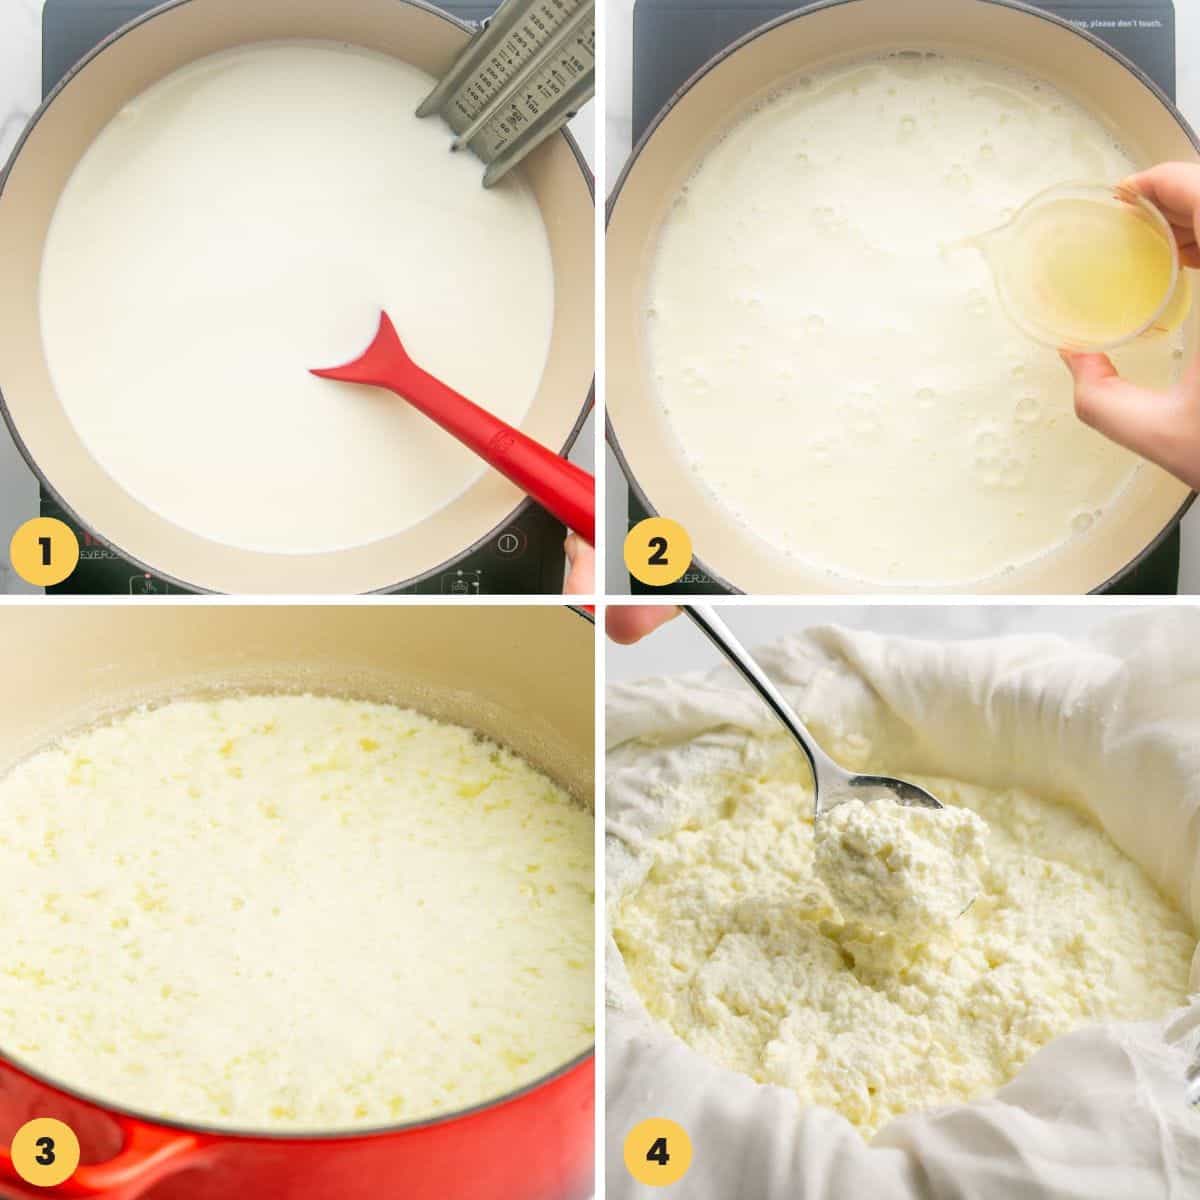
- Heat: Add milk, heavy cream, and salt to a large pot or dutch oven. Heat over medium-high heat, stirring at least once every minute to prevent scratching. You’ll heat the mixture to 195°F/90°C, being very careful not to let it boil. This is where your candy thermometer really comes in handy!
- Add Acid: Pour in the lemon juice (or vinegar), stir, and turn off the heat.
- Wait: Let the mixture sit for 5 minutes, WITHOUT STIRRING, to rest and separate into curds.
- Strain: Add a fine mesh sieve to a mixing bowl, and line the sieve with cheesecloth. Add the ricotta cheese mixture and let it sit, undisturbed. It will take 20 minutes for the cheese to strain to a light, creamy texture, or an hour for a dryer, firmer texture.
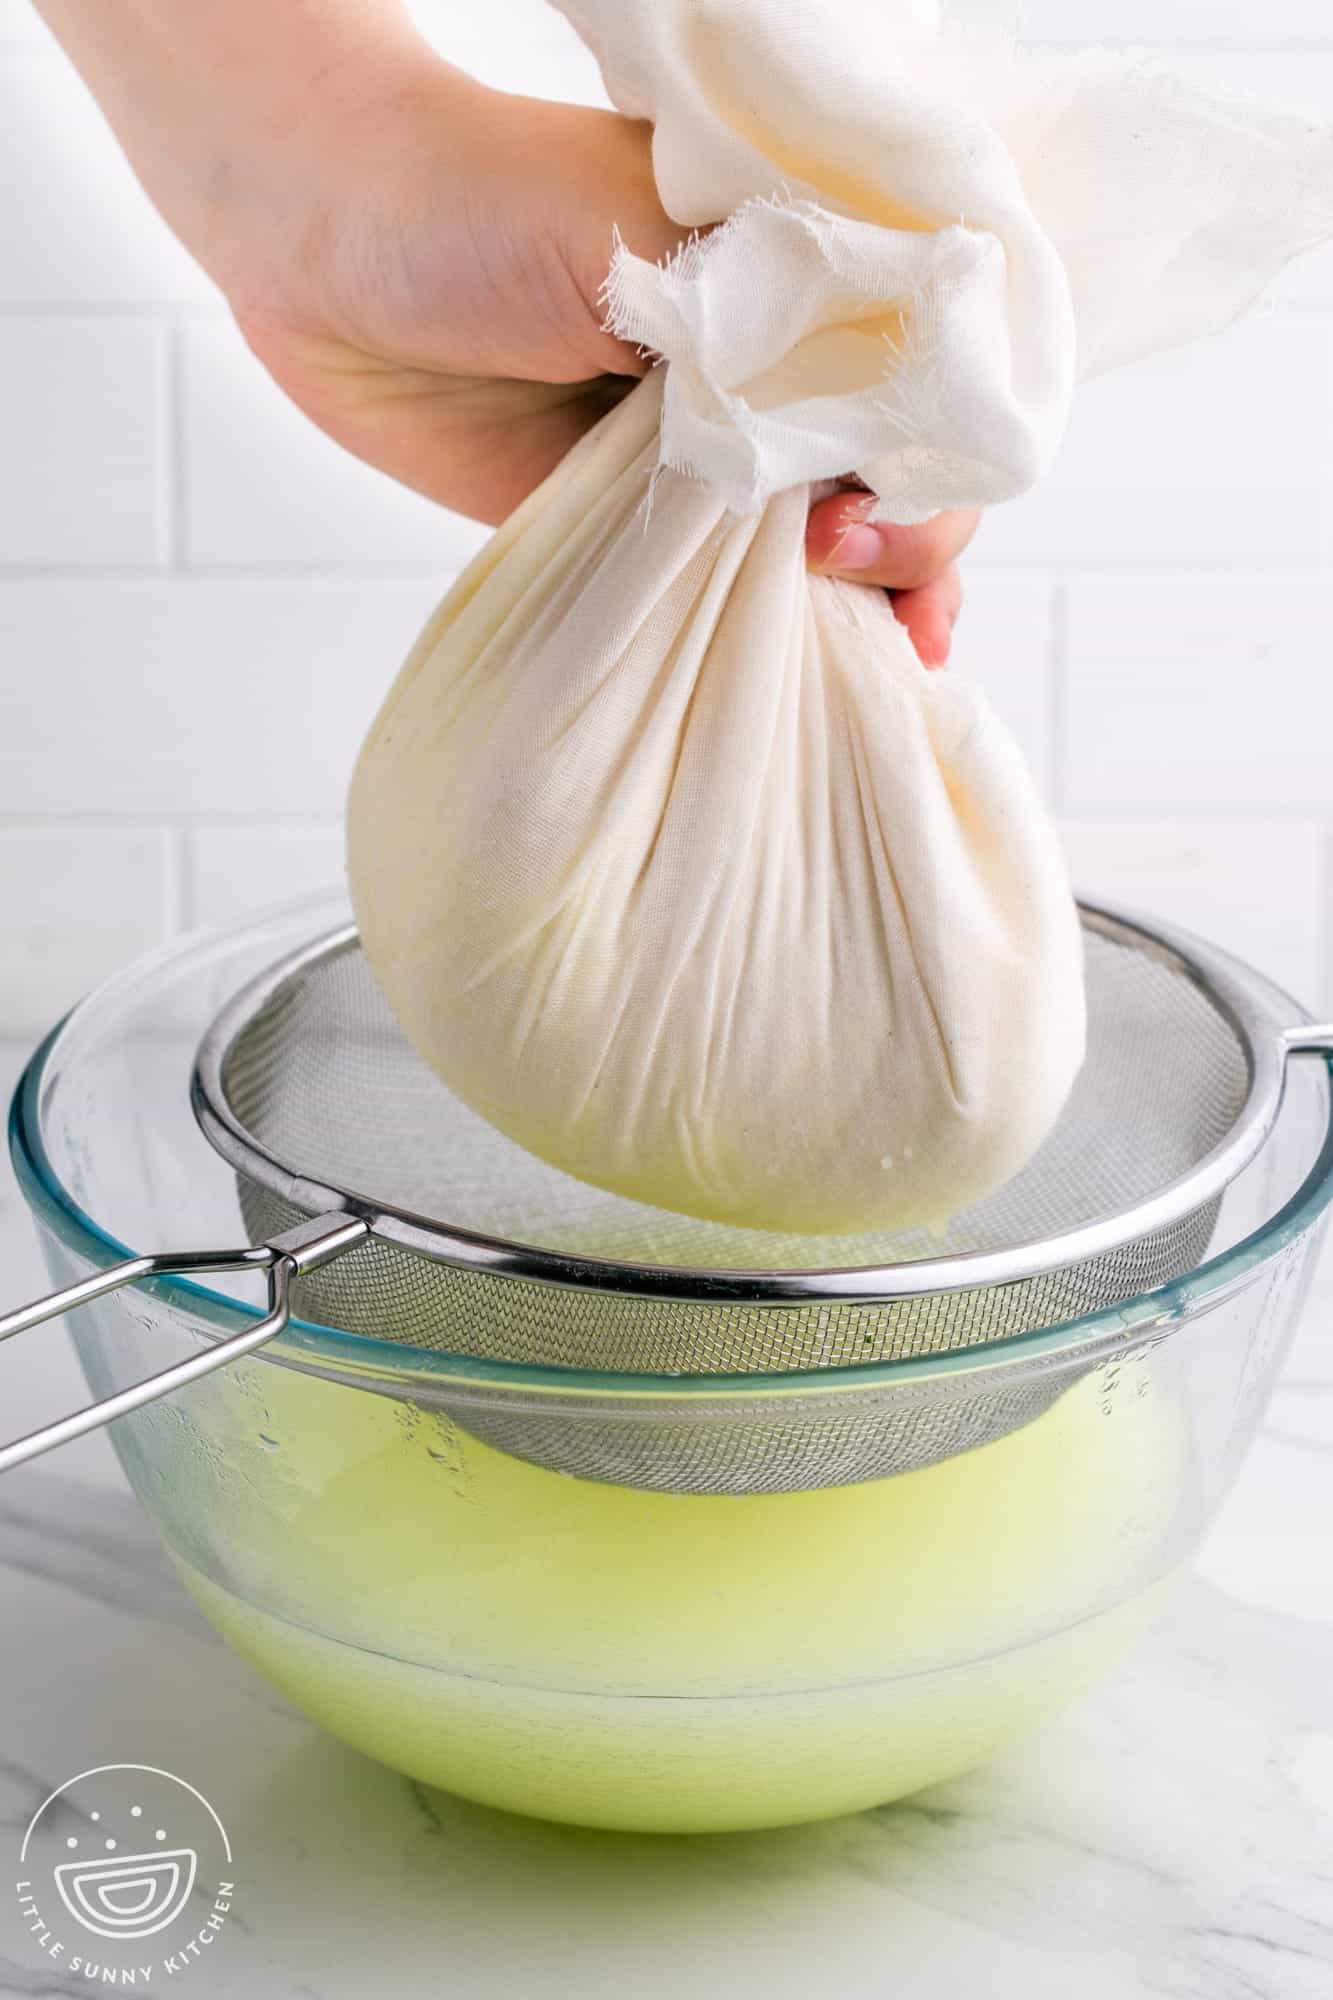
- Remove the ricotta cheese and transfer it from the cheesecloth to an airtight container for storage.
Tip!
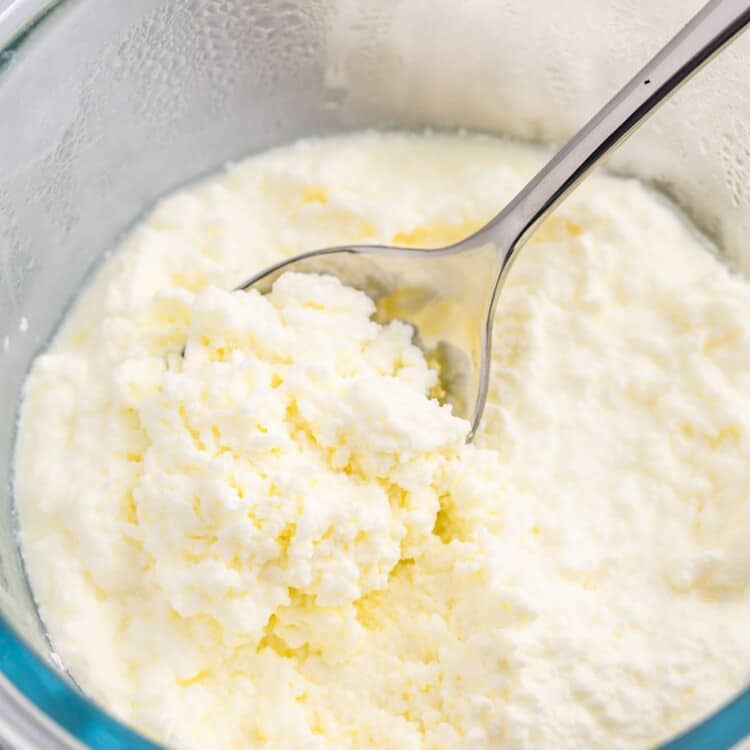
You can decide what type of texture you want for your ricotta cheese! Let it strain for 20 minutes if you want it to be spreadable (perfect for crusty bread or crackers), or for up to an hour for a firmer texture that’s more suitable for filling ravioli or making lasagna.
Recipe Tips
- Use nonreactive cookware. You don’t want your tools or equipment to react to acidity, so avoid cooking with aluminum, uncoated cast iron, or copper when making cheese. Stainless steel is always a good non-reactive choice, as is an enameled dutch oven like I’m using in the photos. I also like glass mixing bowls.
- Use full-fat milk and cream. Your milk should be “whole”, or at least 3.25% fat, and cream should be at least 35% milk fat. Choose “heavy cream” over whipping cream.
- Check your dairy products. Heavy cream and whole milk can sometimes be treated to be ultra-pasteurized. These products won’t set into cheese.
- Don’t stir while the curds are forming. This is very important! Stir in the lemon juice, then walk away for 5 minutes and let the ingredients do their magic.
- For an even creamier ricotta spread, stir in an additional ¼ cup of heavy whipping cream after the cheese has been strained.
- If you plan to cook with this ricotta or use it as a filling for pasta, lasagna, or cannoli, you’ll want to be sure that you let it drain for at least an hour. Watery ricotta will not work well in these recipes.
Storing Tips
You can keep fresh ricotta for up to 1 week in the refrigerator in a well-sealed container.
Ricotta can also be frozen for up to 1 month.
How to Use Fresh Ricotta Cheese
Now that you’ve made homemade cheese, you can enjoy it in any number of delicious ways!
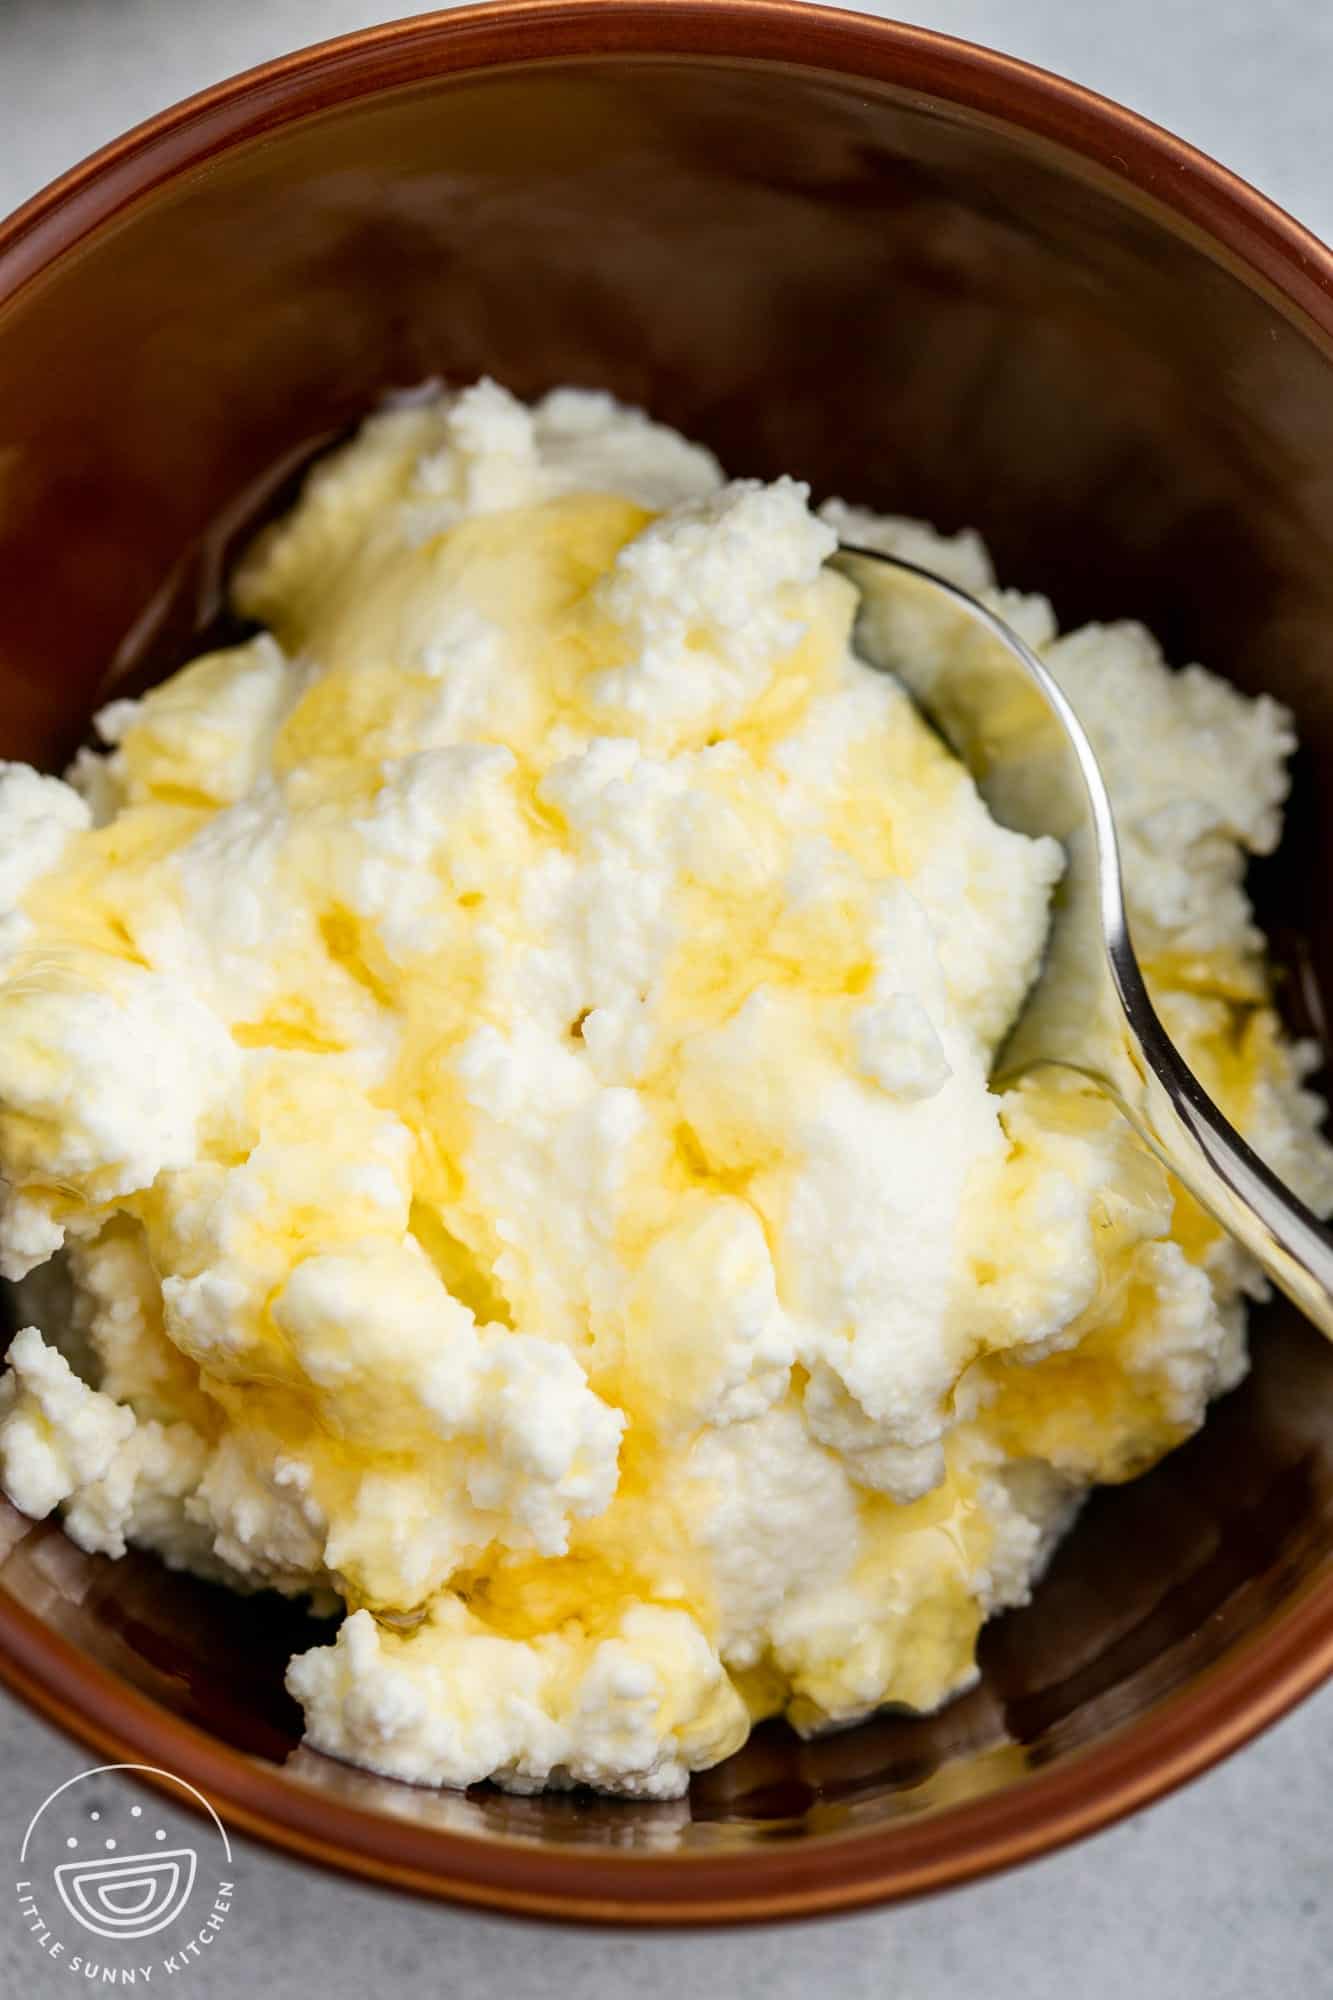
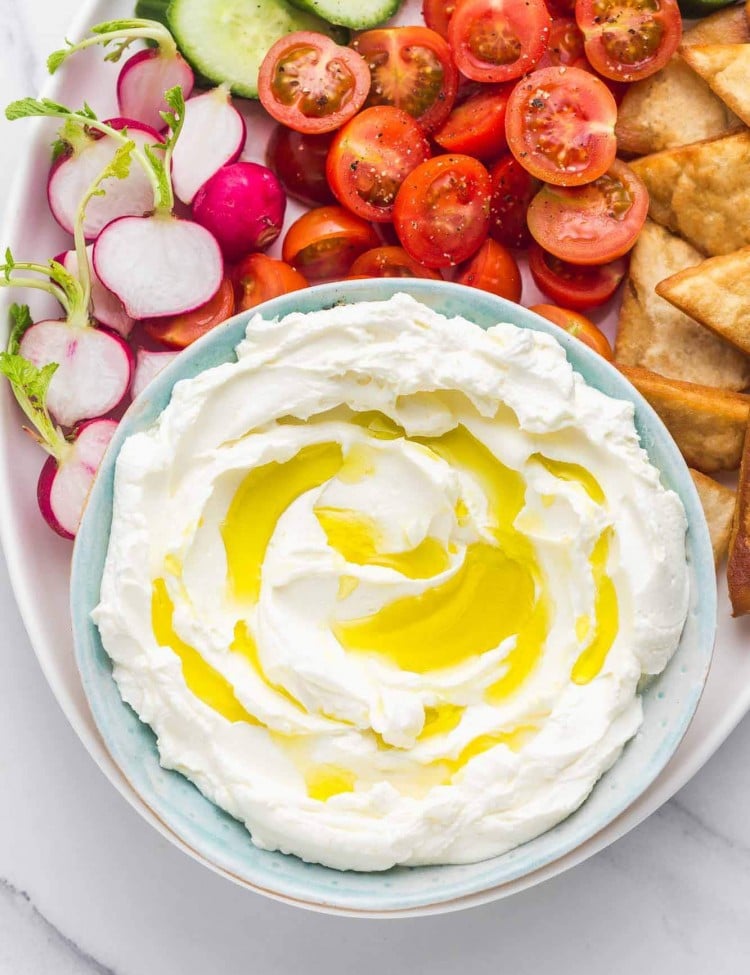
One of my favorites is to enjoy soft ricotta spread onto crusty homemade bread or crackers. A drizzle of olive oil and salt and pepper makes it especially tasty.
You can also enjoy a sweeter application, and drizzle fresh ricotta with honey and lemon before digging in.
More firm ricotta (that you’ve strained for at least an hour) is perfect for recipes. Try using it to make the most delicious Ravioli Lasagna, Spaghetti Pie, or Ricotta Cookies with icing.
Recipe FAQs
You’ll end up with a big bowl of whey after making cheese! Use it as a substitute for water in bread recipes to give them extra tanginess. You can also soak beans or whole grains in whey to make them more digestible. You can also give a little bit to your pets for a boost of protein, or add it to the garden to add nutrition to your plants.
with a half gallon of milk, you can make approximately 2 cups of ricotta or 1 ¼ pounds. This will vary depending on how long you let the cheese strain for.
Yes, you can freeze this homemade ricotta for up to 1 month. Allow it to thaw overnight in the fridge before using.
Yes, technically the heavy cream is optional for making ricotta, but it does increase the yield of the recipe and make the final product especially luscious.
Homemade Ricotta Cheese is such an amazing flavor experience, and so much tastier and healthier than anything you’ll find in the store! Trust me, it’s so worth it to make fresh cheese at home. Don’t forget to Pin the recipe!
Did you make this? Be sure to leave a review below and tag me on Facebook, Instagram, or Pinterest!
Homemade Ricotta Cheese
Ingredients
- 8 cups (2 liters) whole milk pasteurized, but not ultra-pasteurized/UHT
- ½ cup (120 ml) heavy cream
- ½ teaspoon kosher salt
- ¼ cup (60 ml) lemon juice or distilled vinegar
Instructions
- To a large pot or dutch oven over medium-high heat, add the milk, heavy cream, and salt.
- Make sure that you keep stirring once every minute to prevent scorching, and allow the mixture to reach 195°F/90°C, (a candy thermometer is very helpful here) but it’s very important that it does not boil. This takes about 25 minutes in an enameled dutch oven.
- Add the lemon juice or vinegar, give it a stir, and turn off the heat. Now leave the mixture to rest and separate into curds and whey for 5 minutes WITHOUT stirring.
- Then prepare a bowl with a fine mesh sieve lined with cheesecloth. Strain the mixture and let it sit undisturbed for 20 minutes for a light creamy texture (great for serving on crusty bread or crackers), or an hour for a firmer texture (this is suitable if you want to use the ricotta as a filling in ravioli, lasagna, or cooking in general).
Notes:
- Yield: This recipe will yield approximately 1 ¼ lb, or 2 cups of ricotta cheese.
- Use nonreactive cookware. You don’t want your tools or equipment to react to acidity, so avoid cooking with aluminum, uncoated cast iron, or copper when making cheese. Stainless steel is always a good non-reactive choice, as is an enameled dutch oven.I also like glass mixing bowls.
- Use full-fat milk and cream. Your milk should be “whole”, or at least 3.25% fat, and cream should be at least 35% milkfat. Choose “heavy cream” over whipping cream.
- Check your dairy products. Heavy cream and whole milk can sometimes be treated to be ultra-pasteurized. These products won’t set into cheese.
- Don’t stir while the curds are forming. This is very important! Stir in the lemon juice, then walk away for 5 minutes and let the ingredients do their magic.
- For an even creamier ricotta spread, stir in an additional ¼ cup of heavy whipping cream after the cheese has been strained.
- If you plan to cook with this cheese or use it as a filling for pasta, lasagna, or cannoli, you’ll want to be sure that you let it drain for at least an hour. Watery ricotta will not work well in these recipes.
- To Store: You can keep fresh ricotta for up to 1 week in the refrigerator in a well-sealed container. Ricotta can also be frozen for up to 1 month.
Nutrition Information
This website provides approximate nutrition information for convenience and as a courtesy only. Nutrition data is gathered primarily from the USDA Food Composition Database, whenever available, or otherwise other online calculators.
© Little Sunny Kitchen


Michelle says
All of the milks in the grocery stores are ultra pasteurized. Except for the raw milk which is extremely pricey.
If I were to use the ultra pasteurized milk what would happen?
Diana says
Hi Michelle, using ultra-pasteurized milk for homemade ricotta can be a bit tricky. Ultra-pasteurized milk has been heated to a higher temperature than regular pasteurized milk, which changes the protein structure in a way that can interfere with the curdling process necessary for making ricotta. As a result, the milk may not curdle as well or produce as much cheese.
Lupe says
Excellent
Rae T says
I had no idea how easy this was to make! My girlfriends are coming over this weekend to make it again!
Little Sunny Kitchen says
Thank you for the kind review, Rae! I’m so glad to hear that!
wilhelmina says
Homemade ricotta is a total game changer! I love to make it to use in lasagna or just to snack on. Fabulous recipe!!
Little Sunny Kitchen says
Thank you, Wilhelmina! I’m so happy to hear you love this homemade version!
Julia says
This is one of my all time favorite recipes! The instructions were so simple to follow! Thank you for sharing this recipe with us!
Little Sunny Kitchen says
You’re welcome, Julia! That is so wonderful to hear!