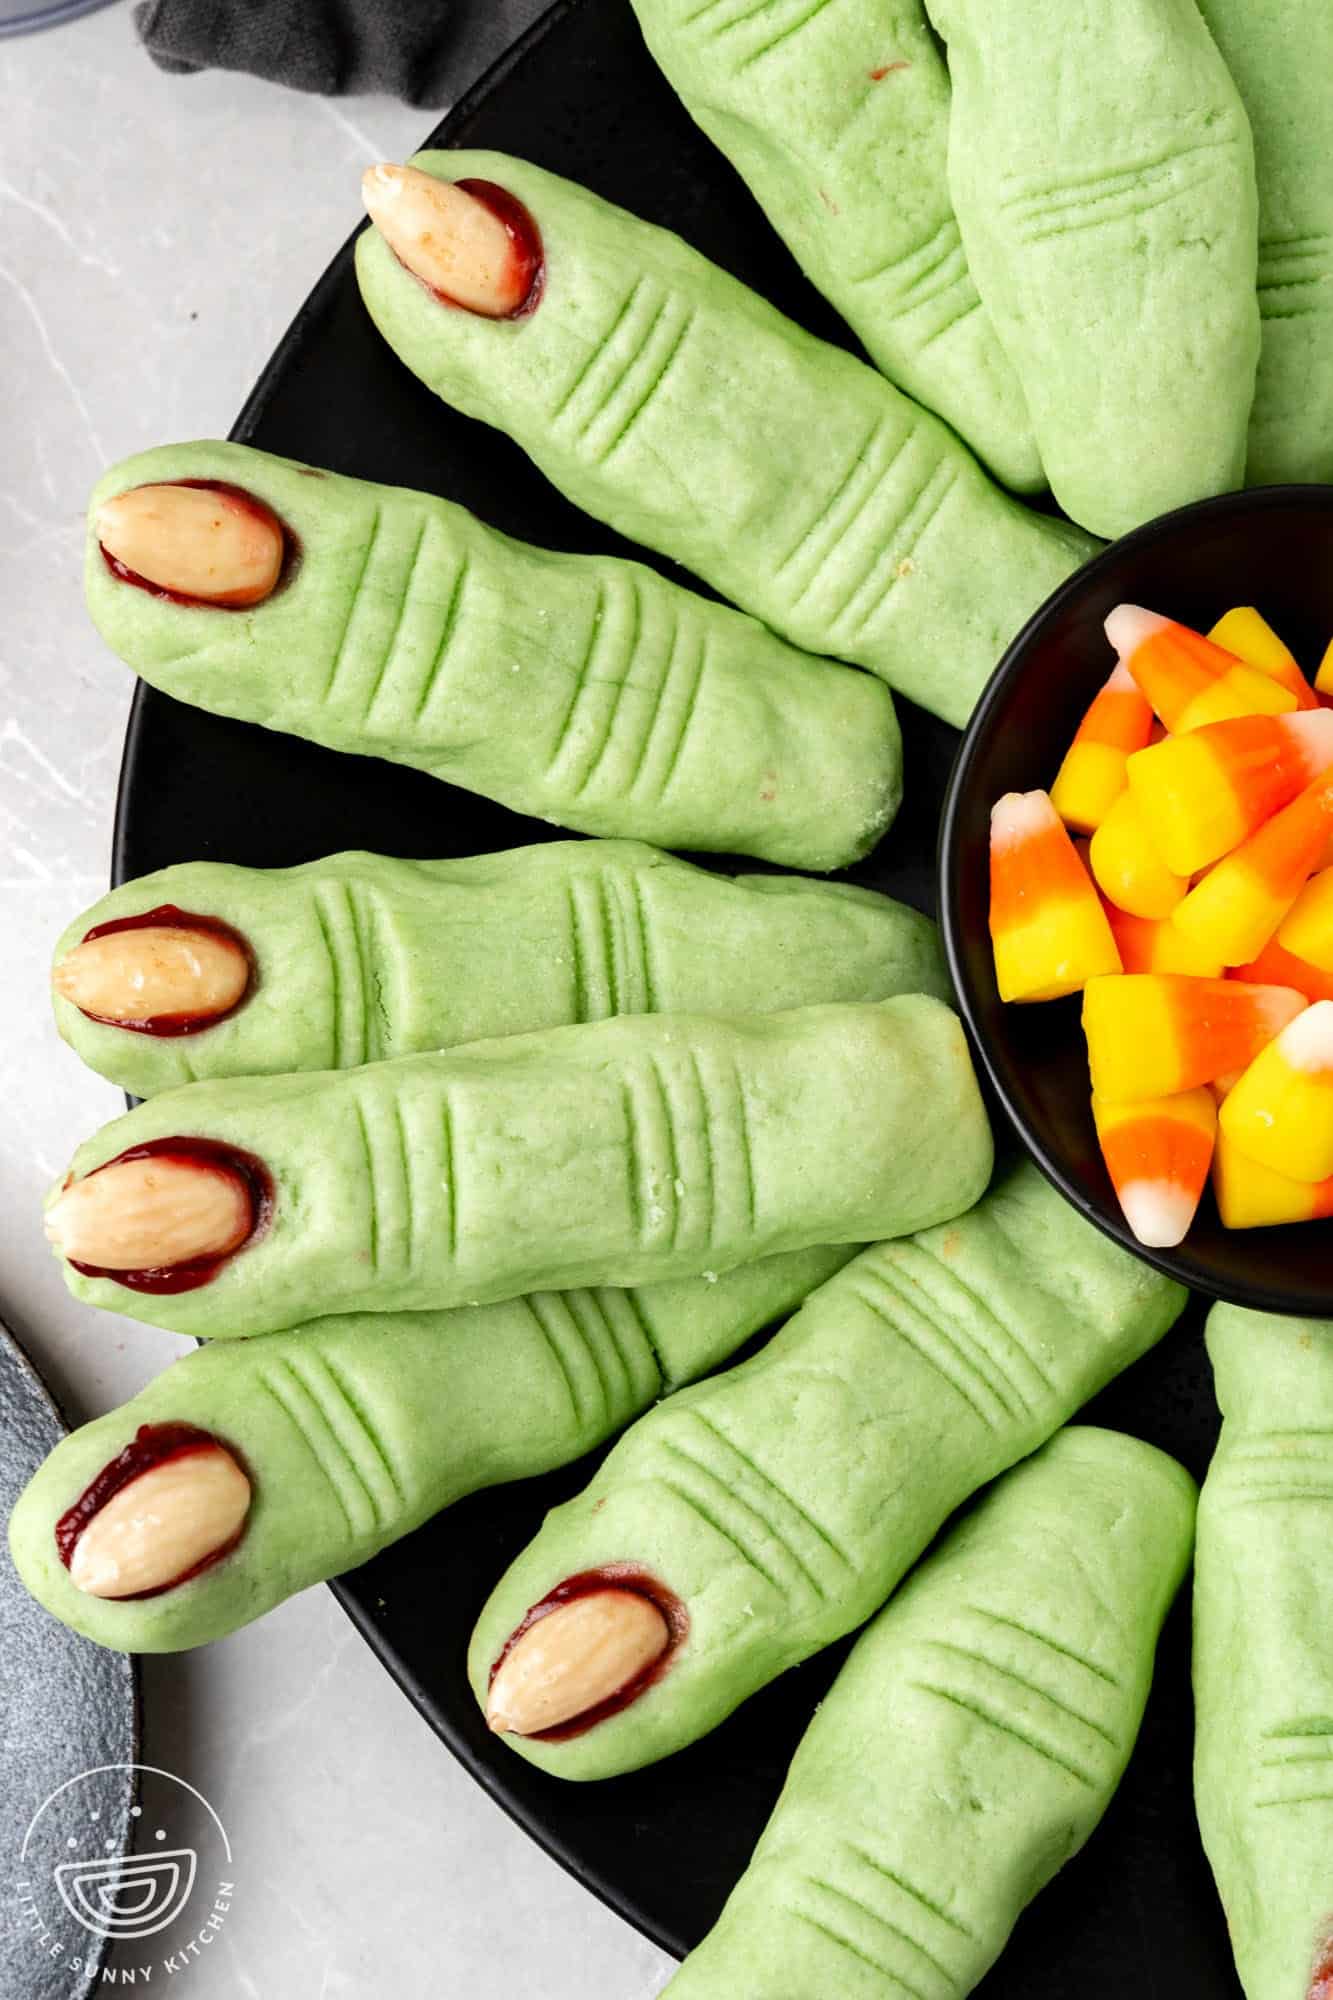
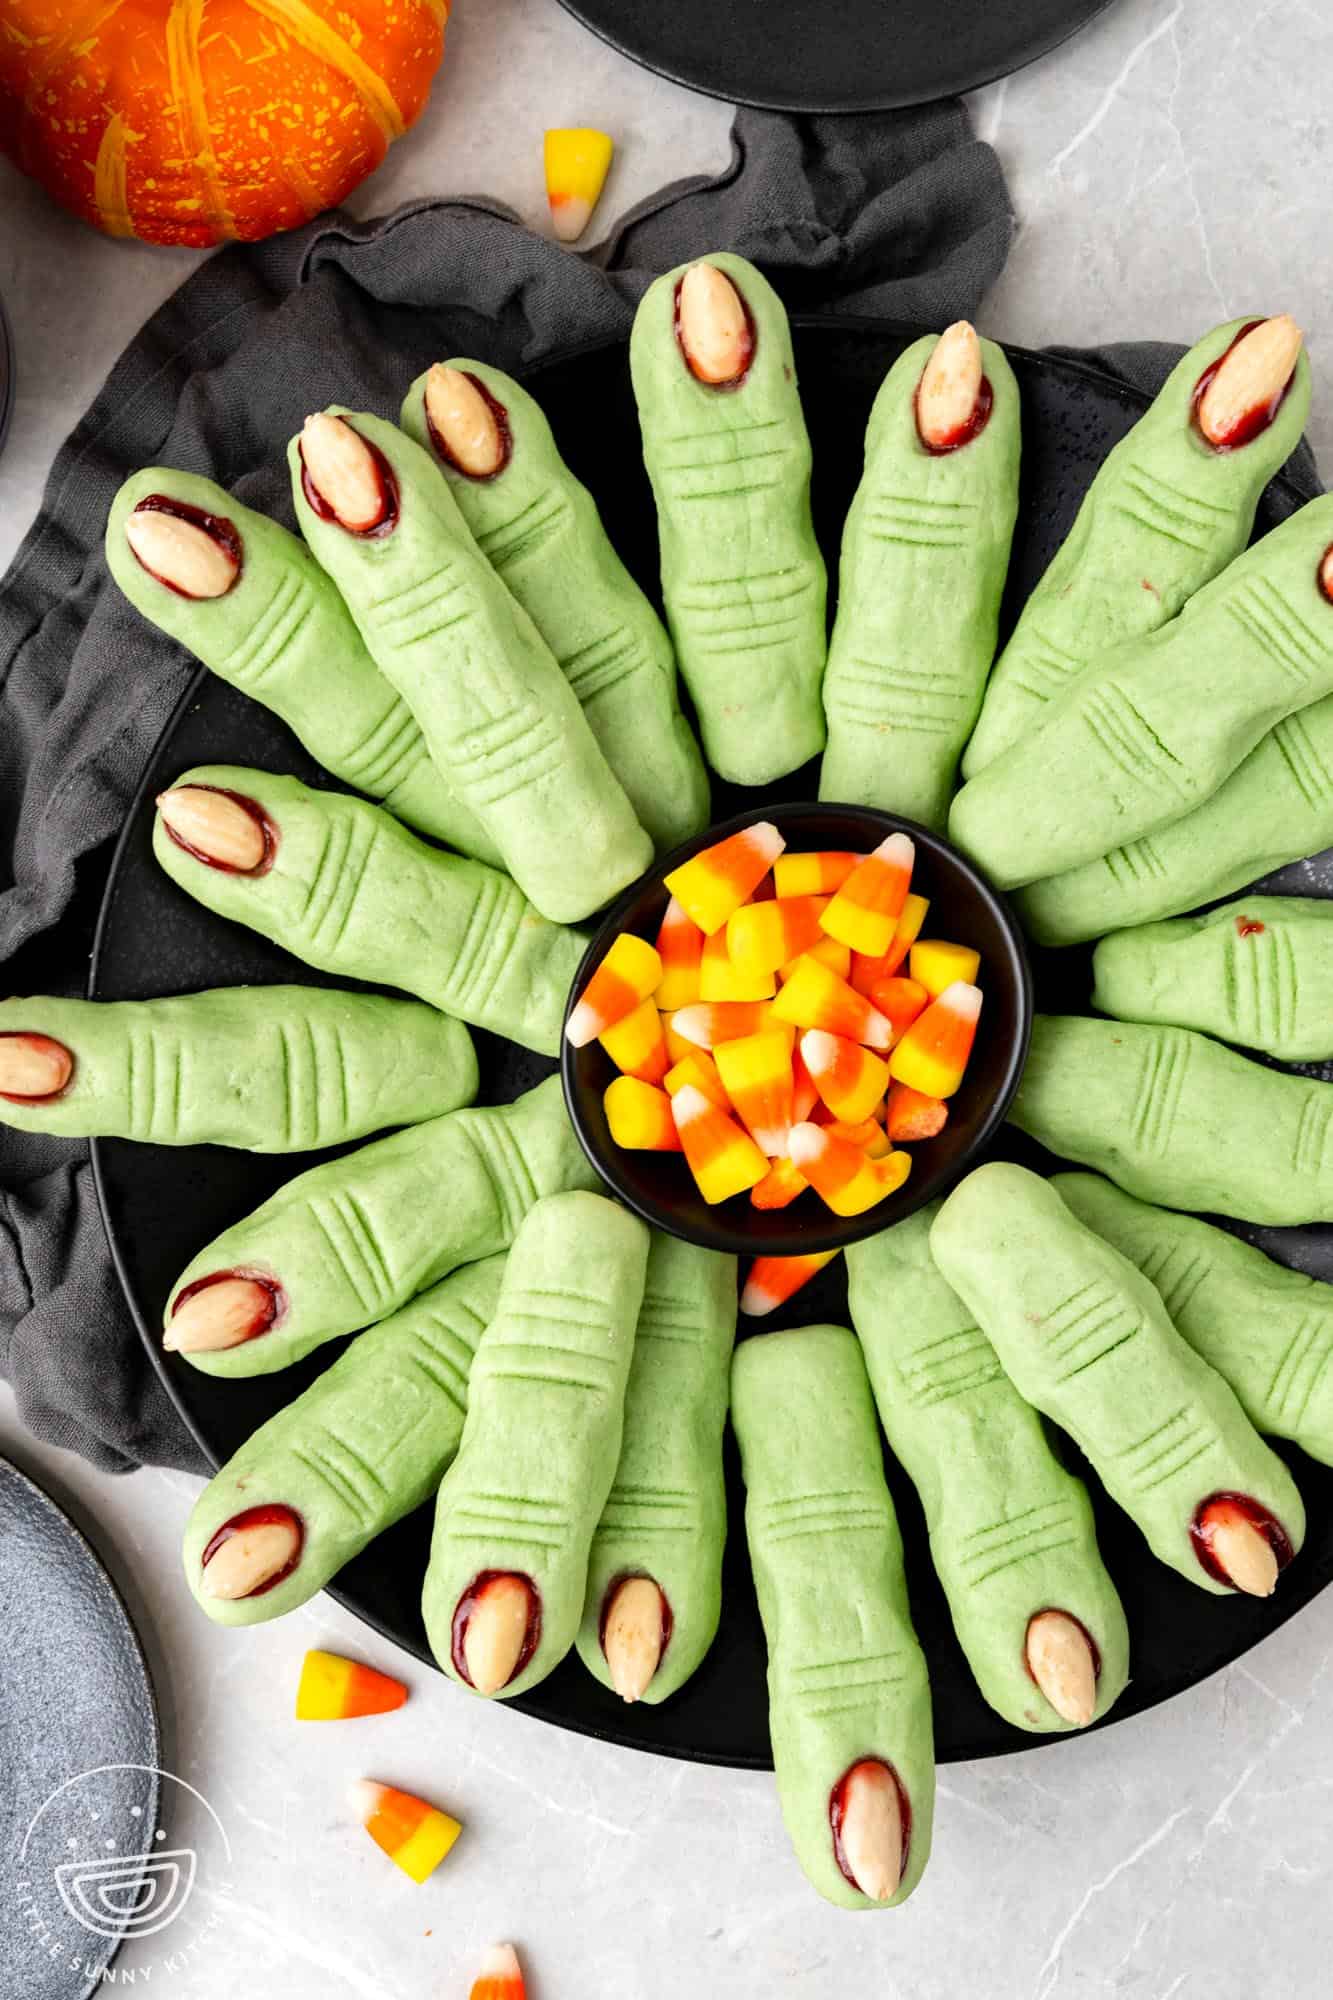
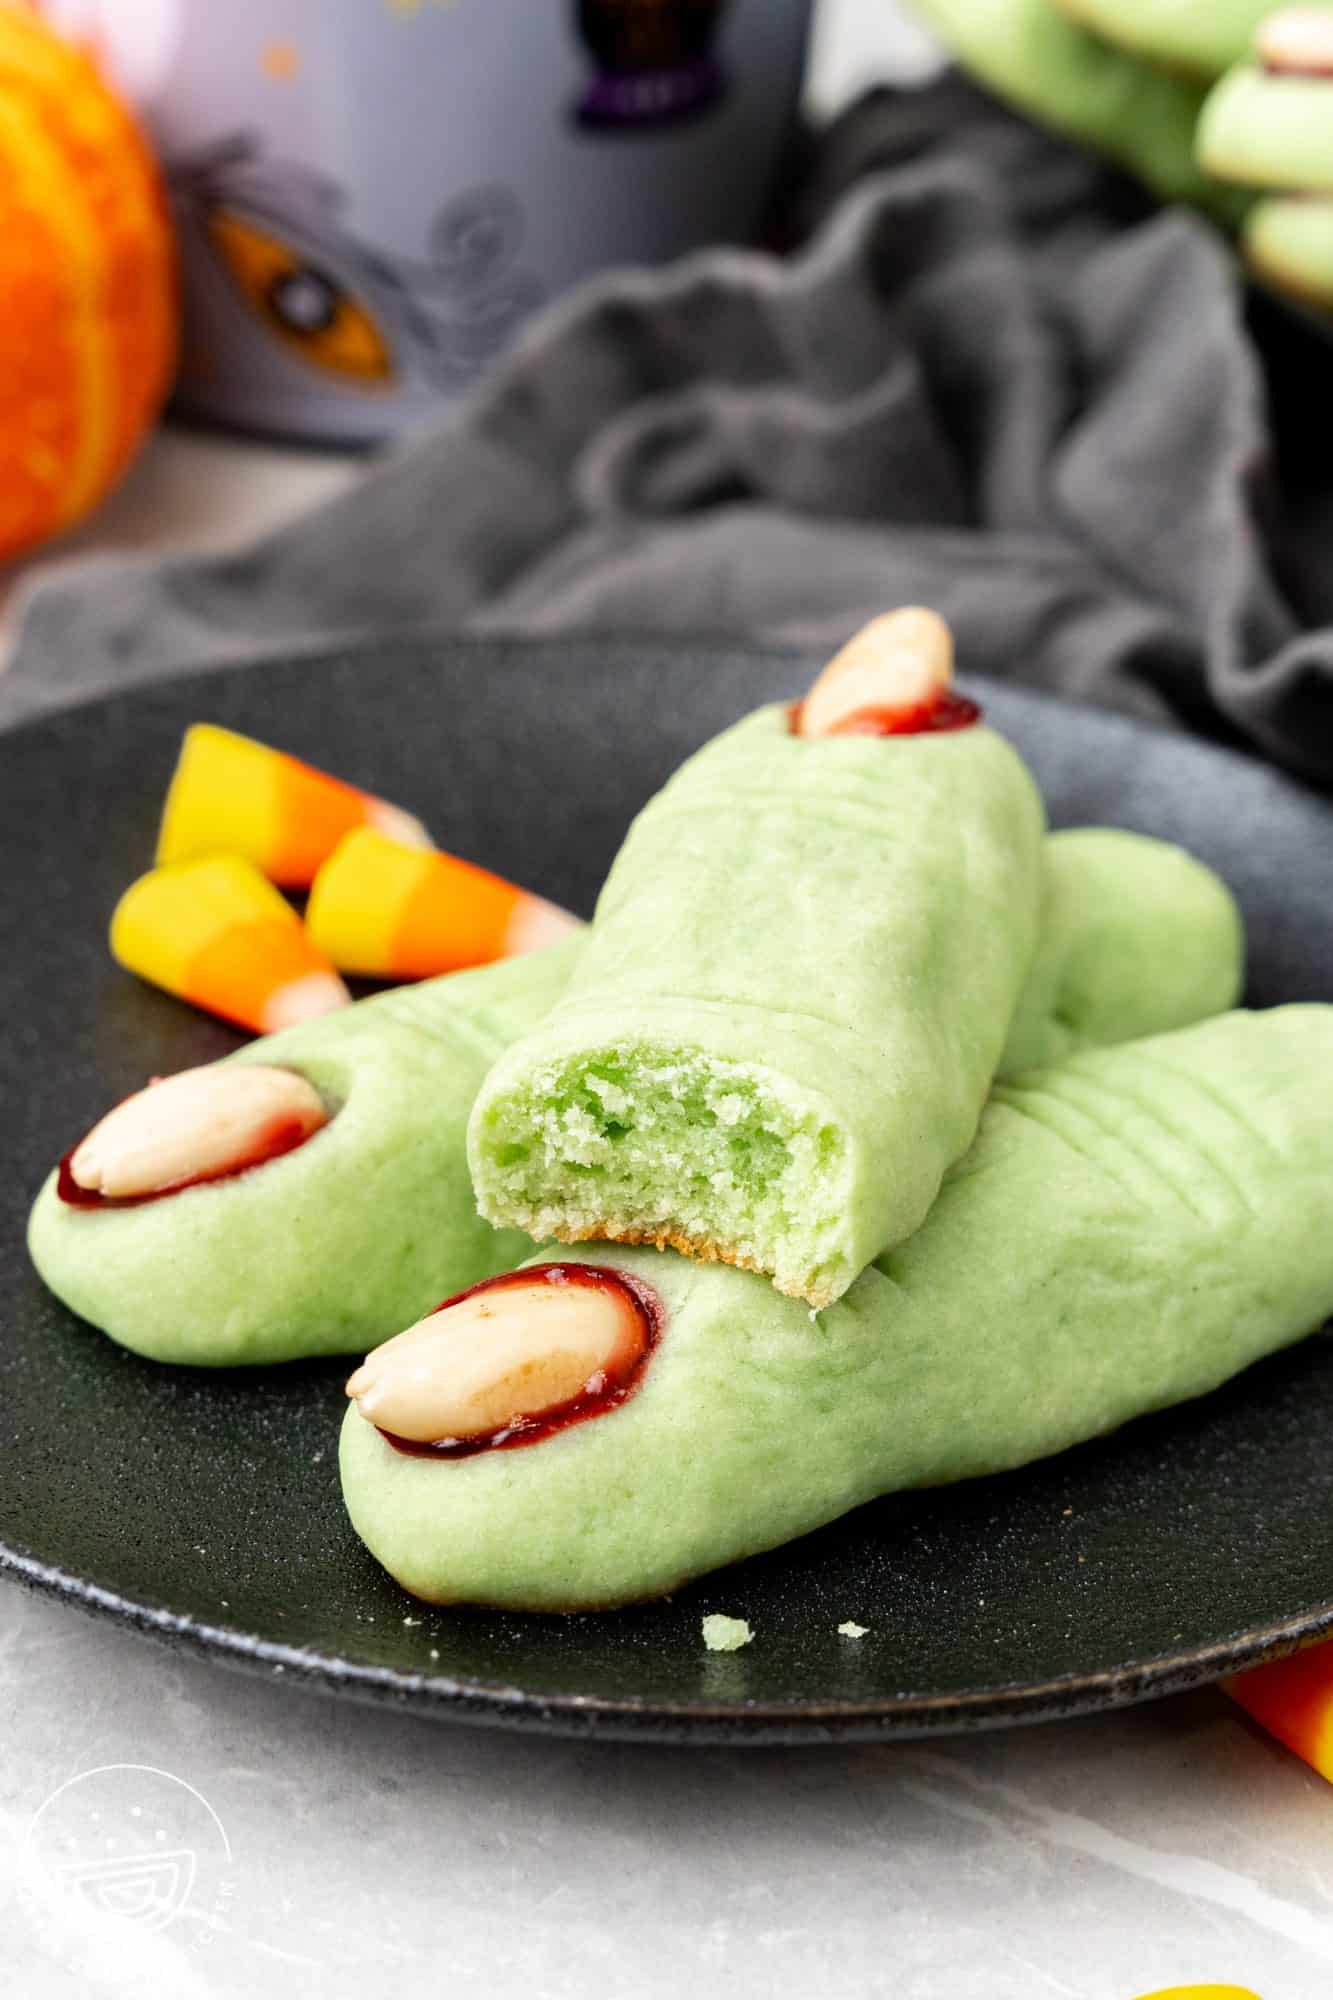
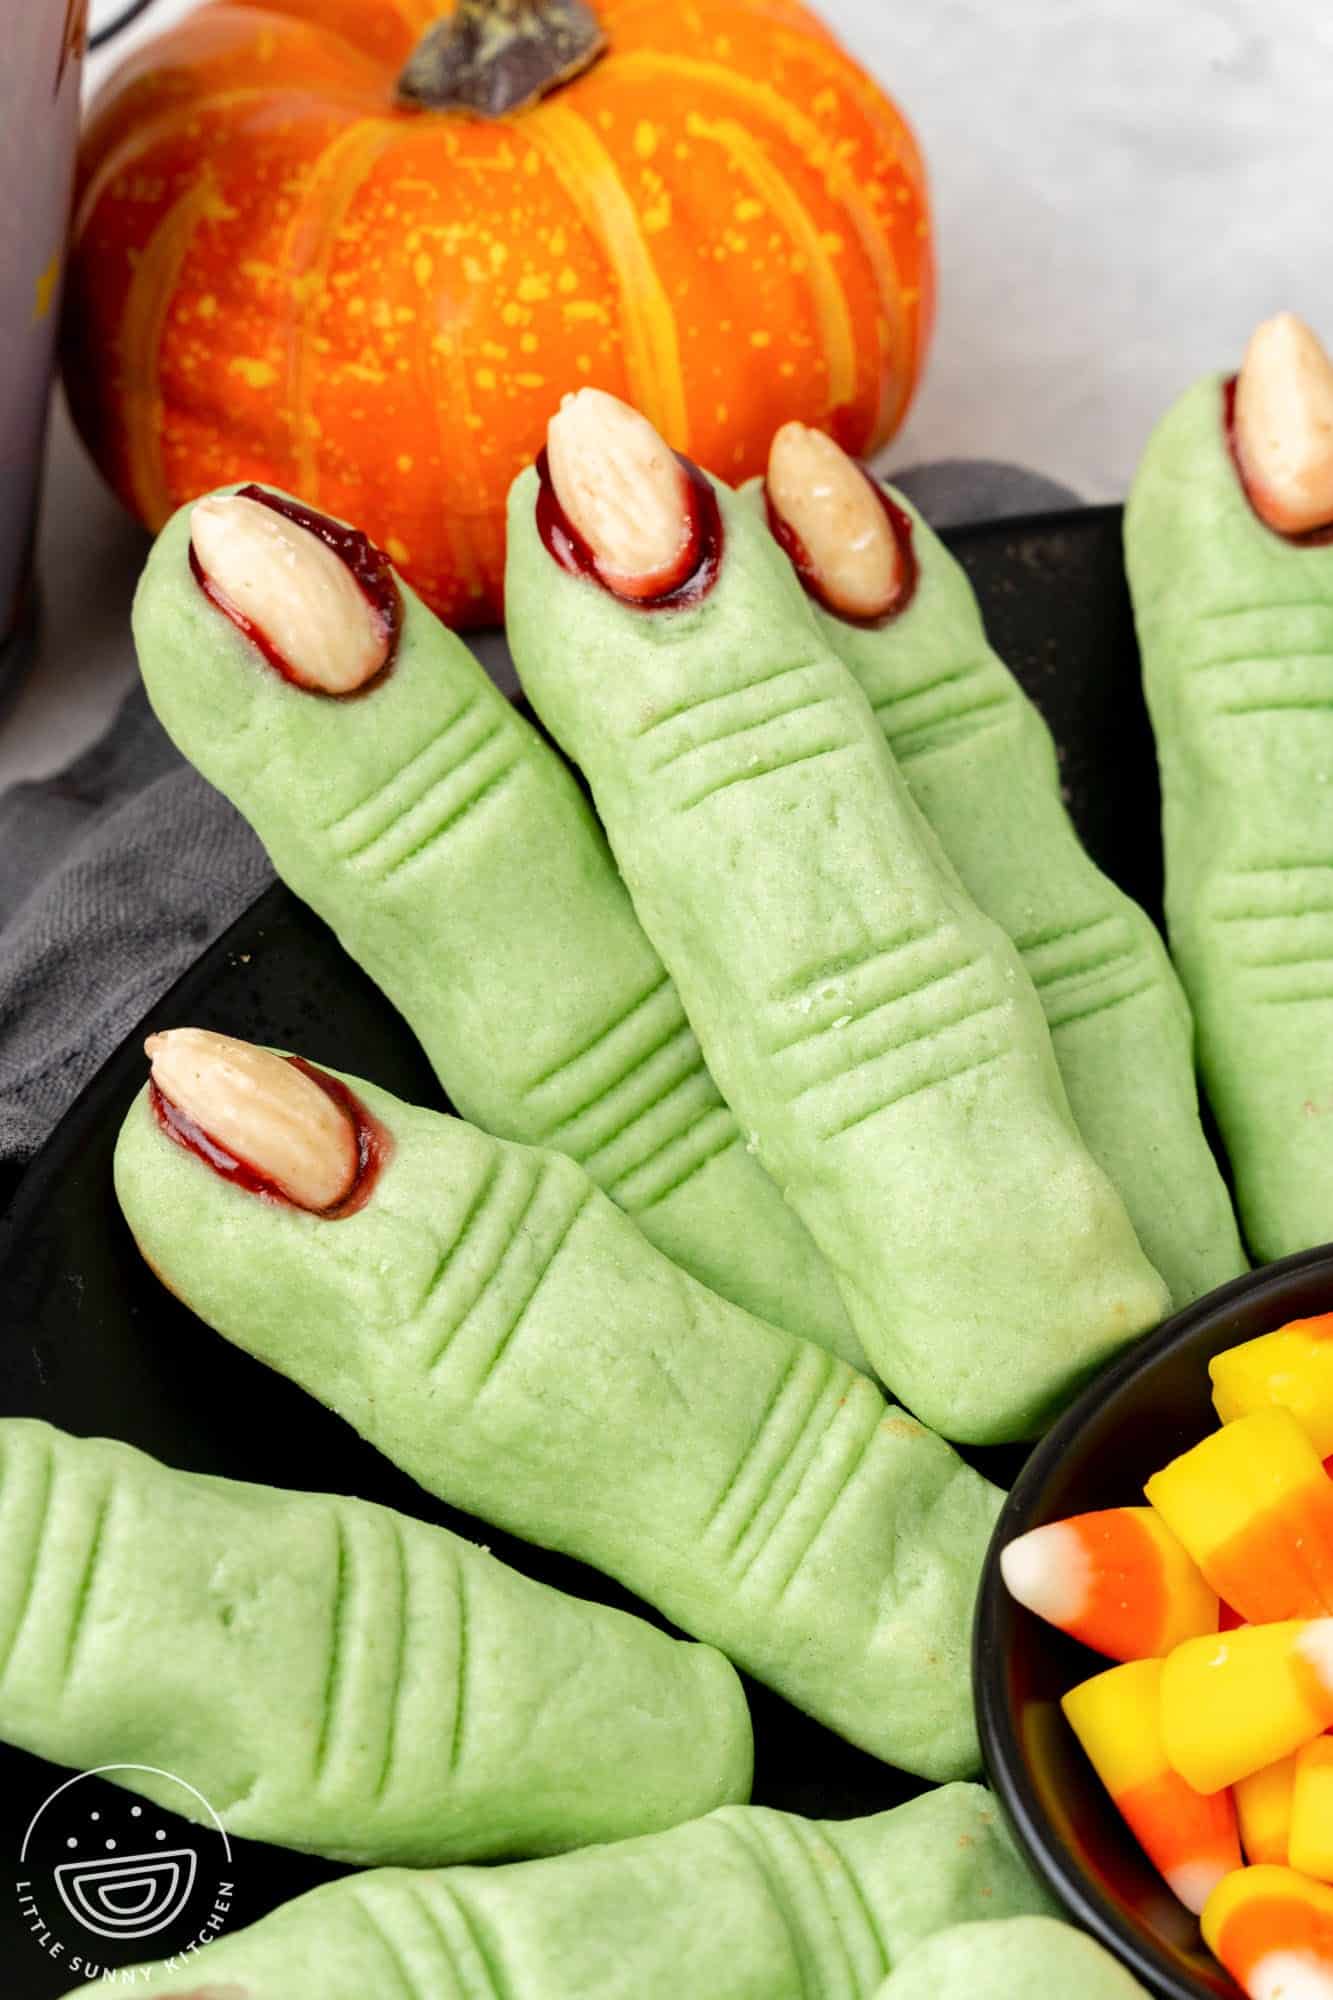
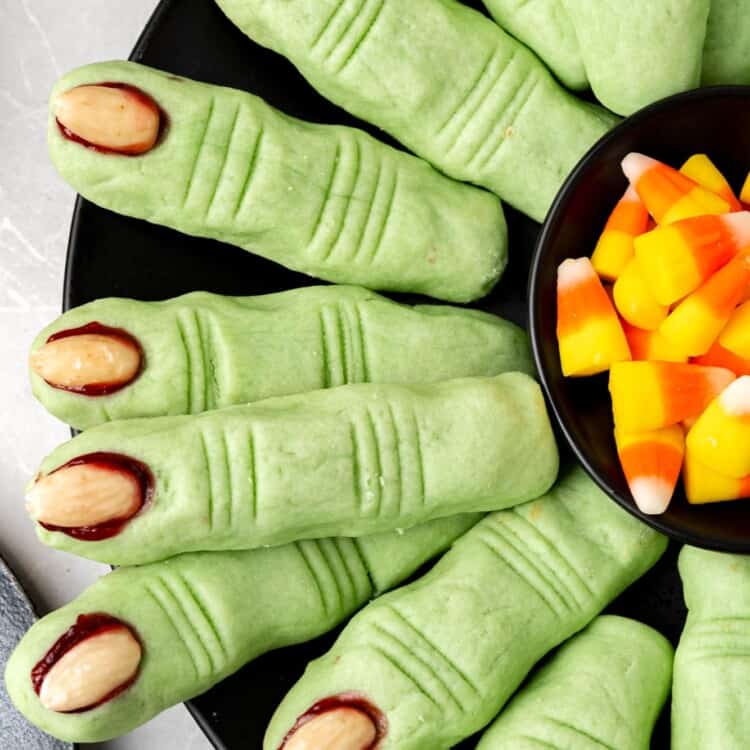
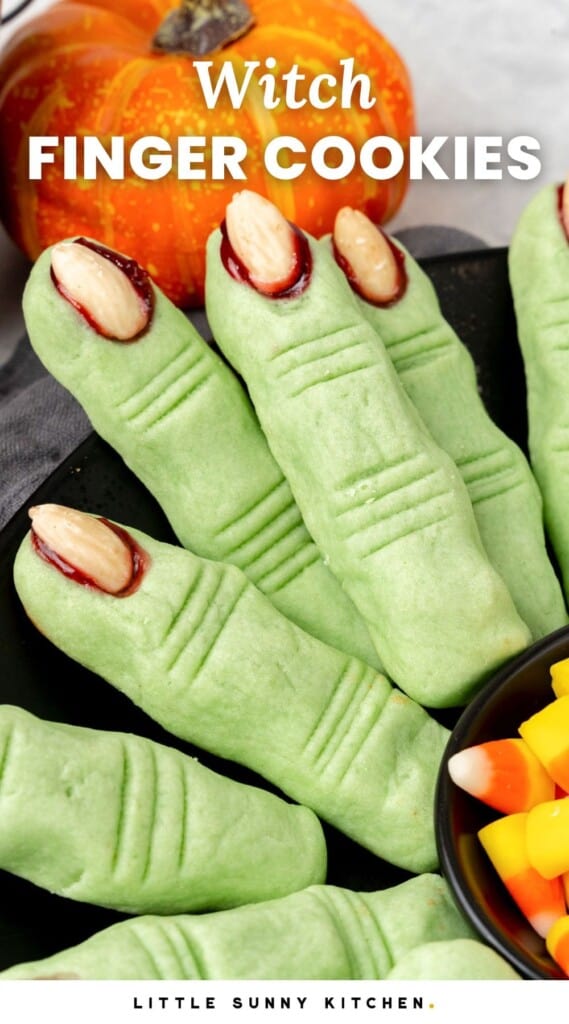
Spooky Halloween Witch Finger Cookies are a classic Halloween party treat! Delicious buttery cookies are topped with almond fingernails that are dripping with raspberry jam blood.
These witches’ fingers are scary good, and so fun to make!
Halloween is one of my favorite holidays to host because the recipes for this spooky holiday are just so fun!
Here, we’re making cookies that look like green fingers severed from witches hands. Think about it – when else would it be appropriate to make such a gruesome dessert? Only on Halloween!
These buttery, witchy Halloween cookies pair perfectly with an apple cider margarita or some warm apple cider.
If you’re looking for a Halloween cookie recipe that’s a bit less bloody, try my bright and colorful Hocus Pocus Cookies. Or try cupcakes topped with worms and dirt.
Or visit my Halloween Recipe Collection for more easy and tasty snack and dessert ideas for this scary occasion.
Why You’ll Love This Recipe
- Kids Love These: Making witch finger cookies is a lot like playing with clay. Your kids will love to help you form the cookie dough into finger shapes and stick on the almond fingernails just as much as they enjoy eating the cookies.
- Easy Cookie Recipe: These might look difficult, but I promise that it is not hard to make Halloween finger cookies from scratch! The cookie dough comes together with simple ingredients in just a few minutes with no chilling required.
- They’re Delicious! These witch fingers are buttery and rich like shortbread, but also light and soft because we’re adding eggs and baking powder. Don’t be surprised if you end up enjoying an entire witch’s hand!
The Ingredients
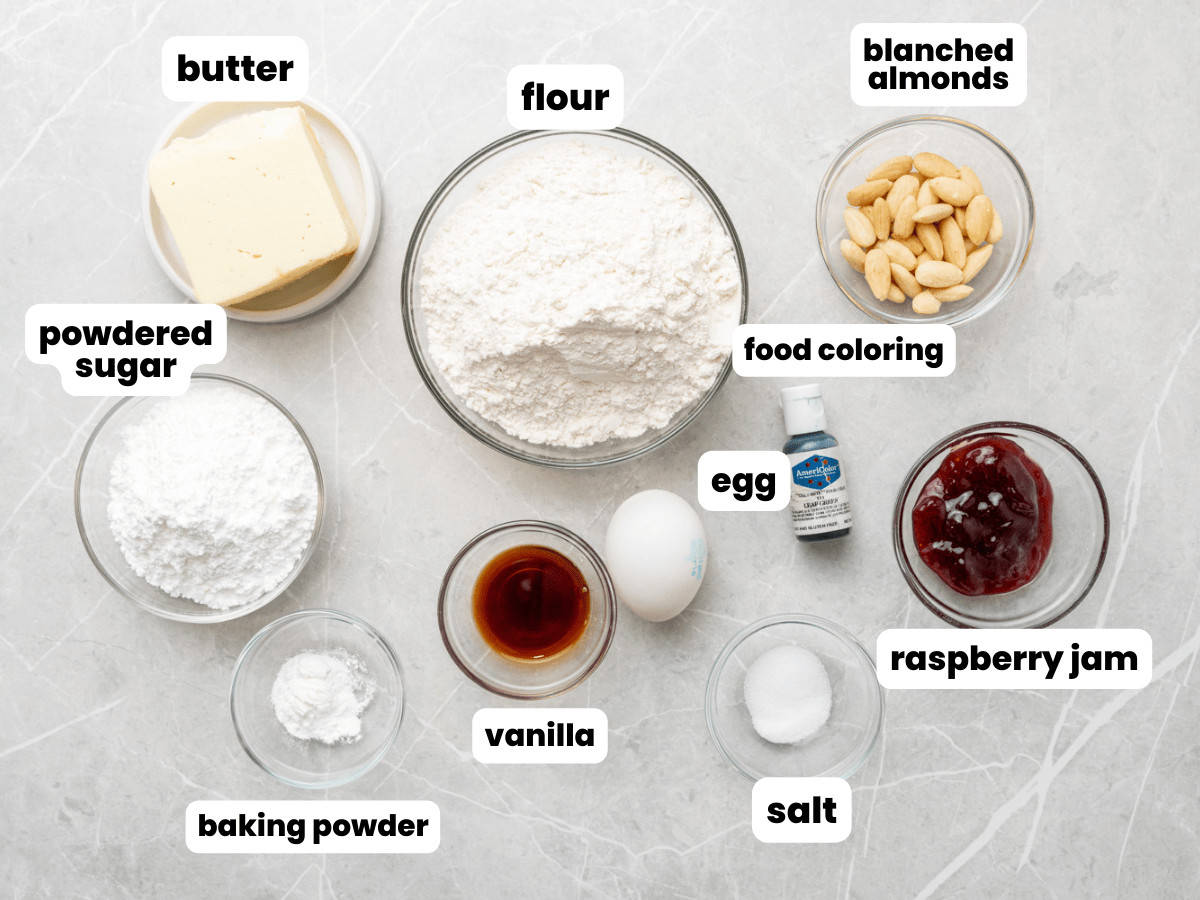
Complete list of ingredients and amounts can be found in the recipe card below.
- Flour, Baking Powder, and Salt
- Butter and Powdered Sugar: Use unsalted butter, and be sure that it’s softened to room temperature before you start.
- Powdered Sugar: Using powdered sugar rather than granulated sugar gives these cookies an extra tender texture.
- Egg: Allow your egg to sit out at room temperature for about 20 minutes so that it will incorporate in the cookie dough easily and smoothly.
- Vanilla Extract and Almond Extract: Use a good quality pure vanilla extract for the best-tasting cookies.
- Food Coloring: A bit of green gel food coloring turns these finger cookies into witches’ fingers!
- Blanched Almonds: Almonds that have had their outer skin removed are the perfect size, shape, and color to resemble the witches’ fingernails!
- Raspberry Jam: This is the bloody glue that will stick the almonds to the cookies. It’s best to use seedless jam for this purpose. Any dark red jam will work, so choose your favorite flavor.
How to Make Witch Finger Cookies
Get ready to bake by preheating the oven to 350F° (180°C). For a fan oven, set it to 160°C. Line two baking sheets with parchment paper or silicone baking mats and set them aside for now while you make the cookie dough.
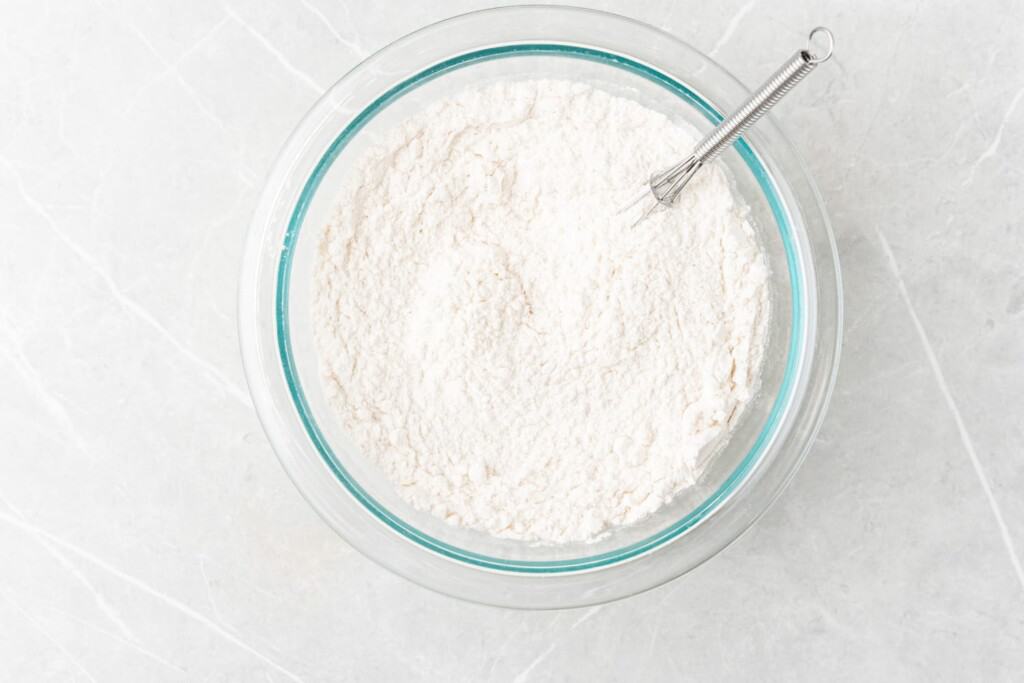
- Mix the Dry Ingredients: In a small bowl, whisk together the flour, baking soda, and salt. Set this bowl aside for a bit.
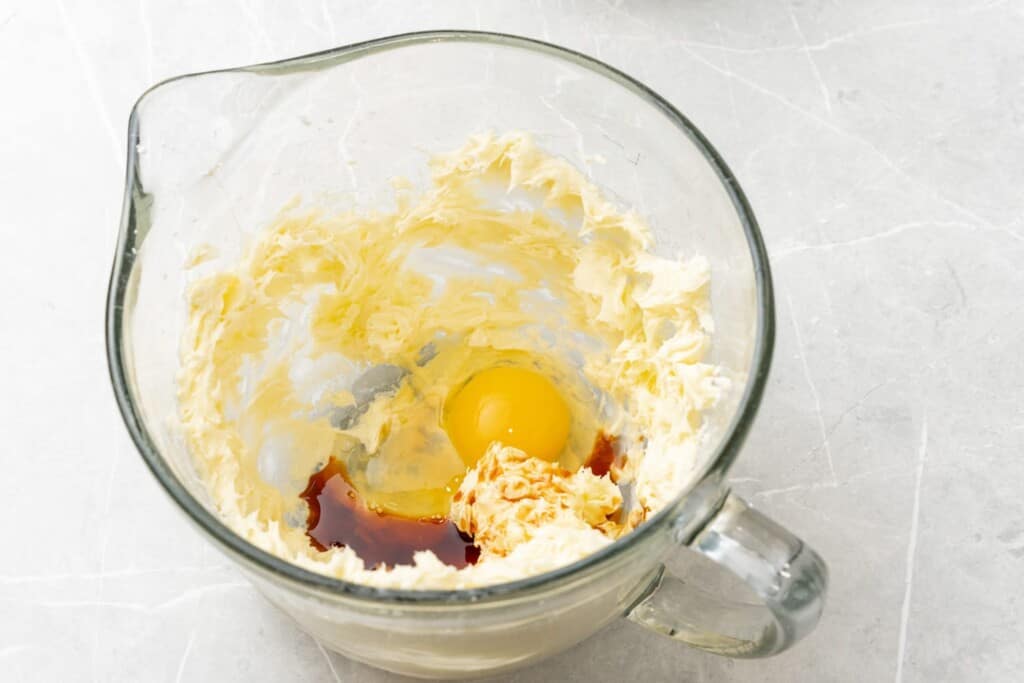
- Mix the Wet Ingredients: In a separate, larger bowl, cream together the butter and powdered sugar with a mixer. Then add the egg, vanilla extract, and almond extract, and beat again to combine. Add food coloring and mix that in well.
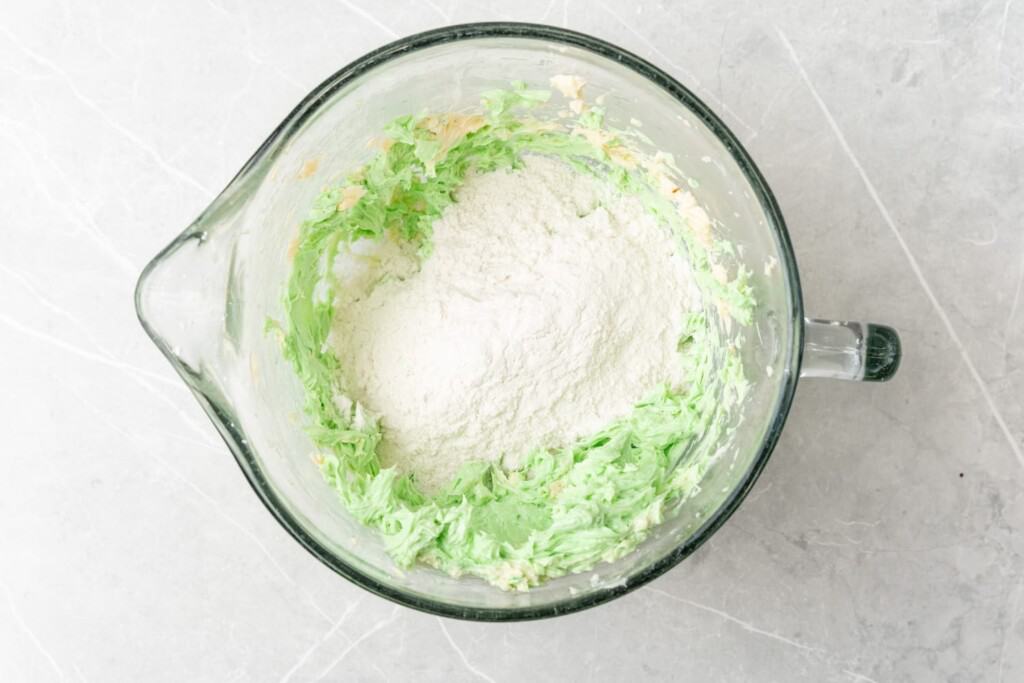
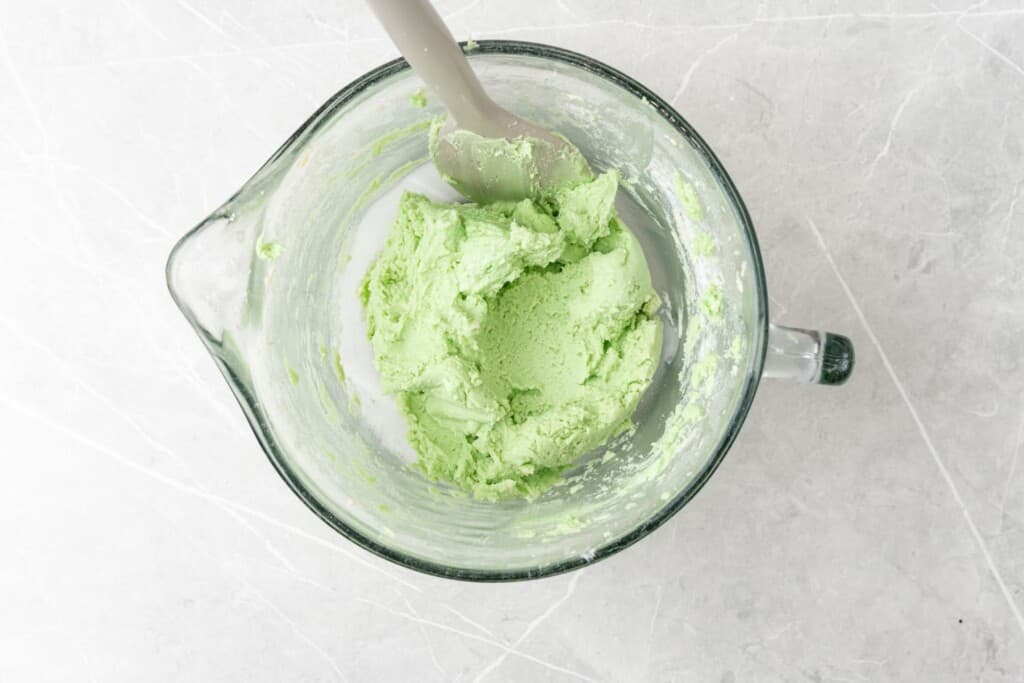
- Combine: Add the dry ingredients to the wet ingredients in 2 or 3 stages, mixing well after each.
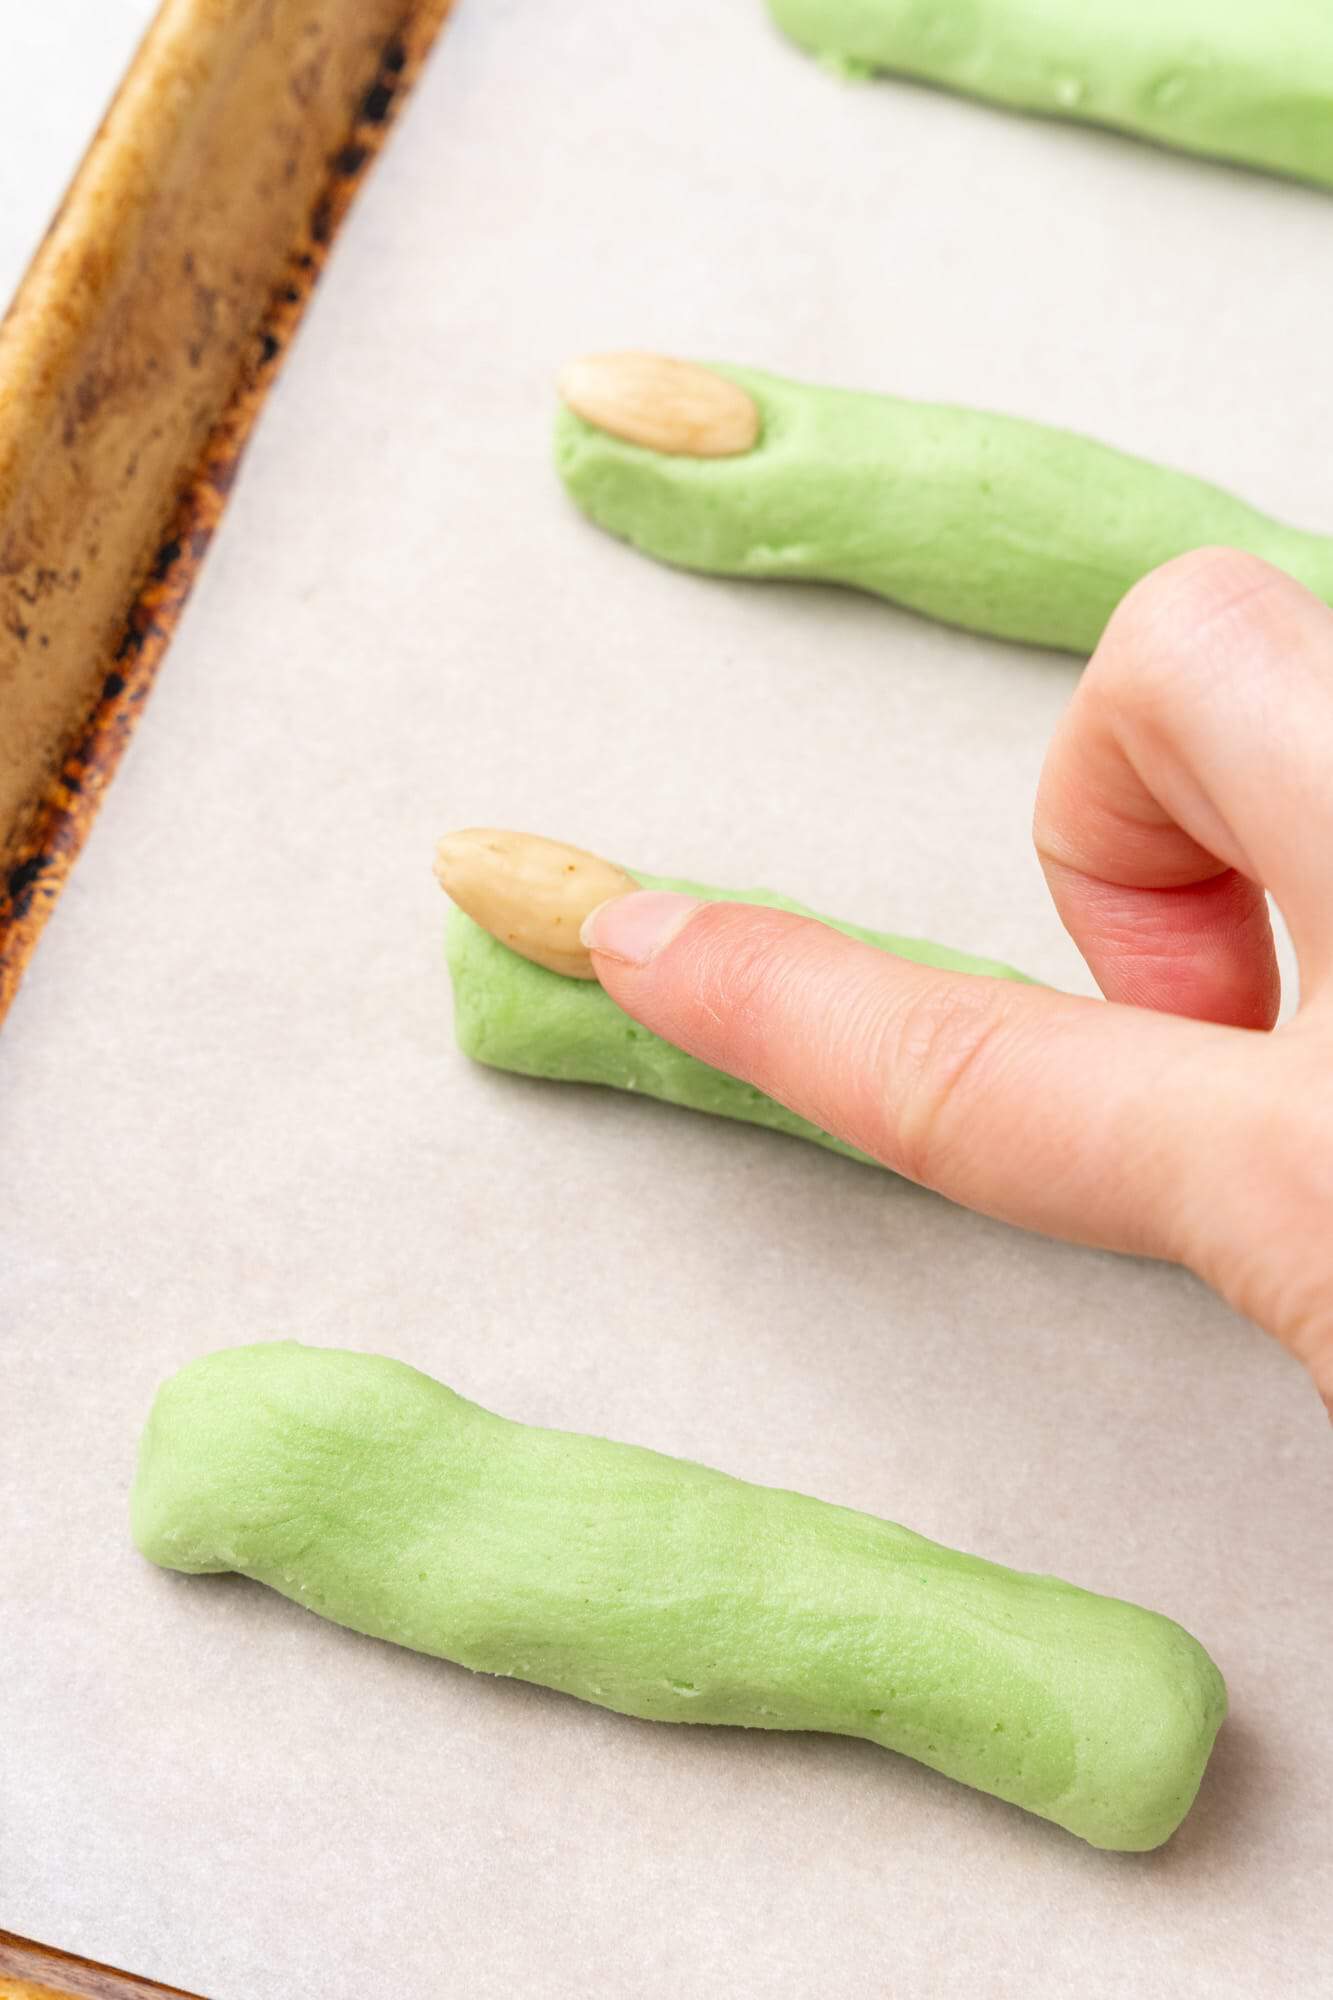
- Create Fingers: Portion the dough into 20 balls using a small cookie scoop. Roll each dough ball with your hands to create long, skinny finger shapes. Place the dough fingers on the baking sheets 2 inches apart.
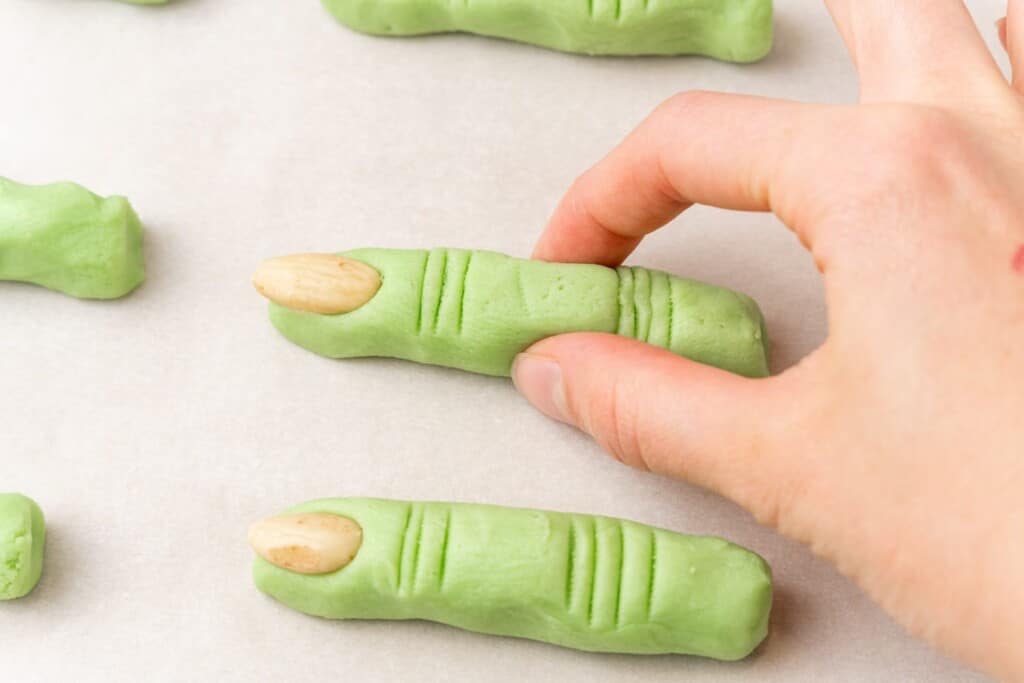
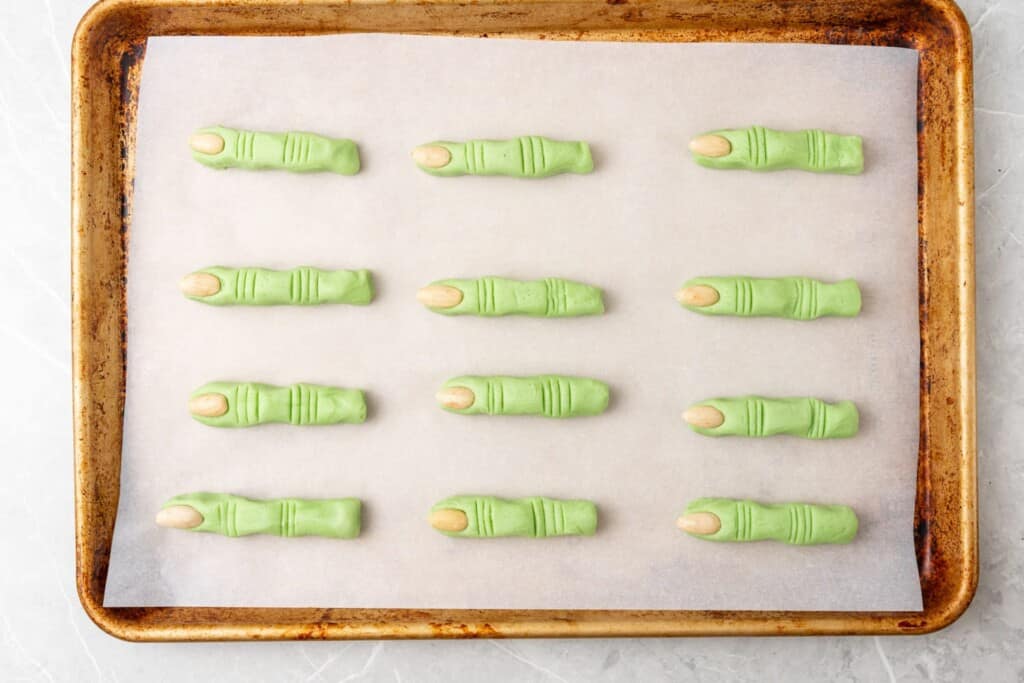
- Add Details: Press an almond into the end of each cookie with the pointy end facing out. Use a butter knife to create knuckle lines, and use your fingers to pinch the dough to give it a more realistic finger shape.
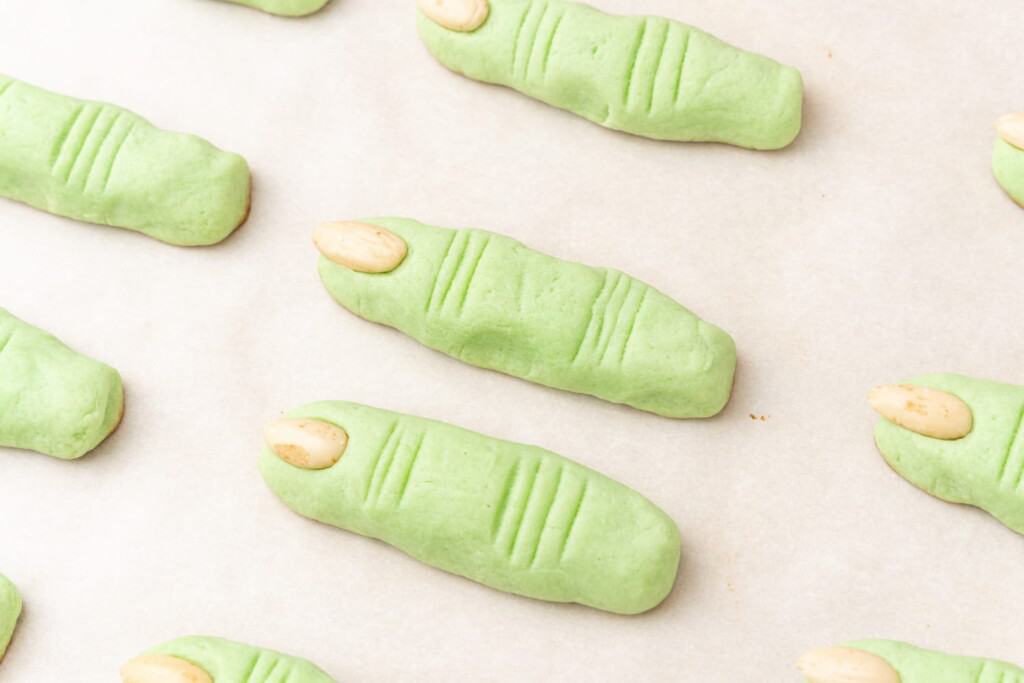
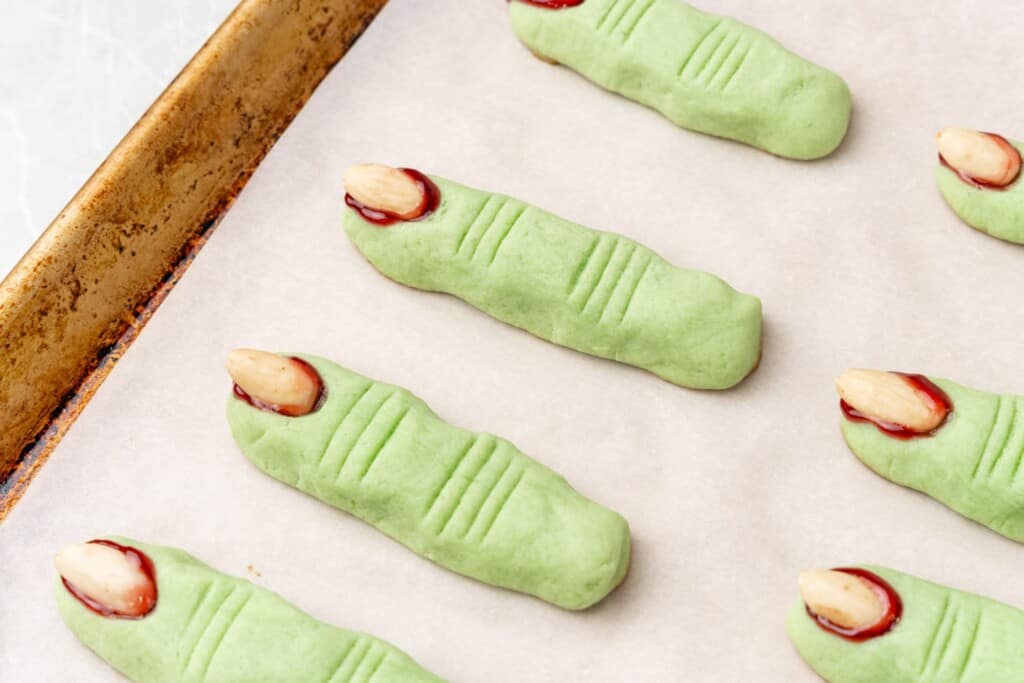
- Bake: Bake the cookies in the preheated oven for 8-10 minutes, or until the cookies have puffed up and are lightly golden brown on the bottom. Allow them to cool for 2 minutes while you heat the raspberry jam in the microwave for 10 seconds or so.
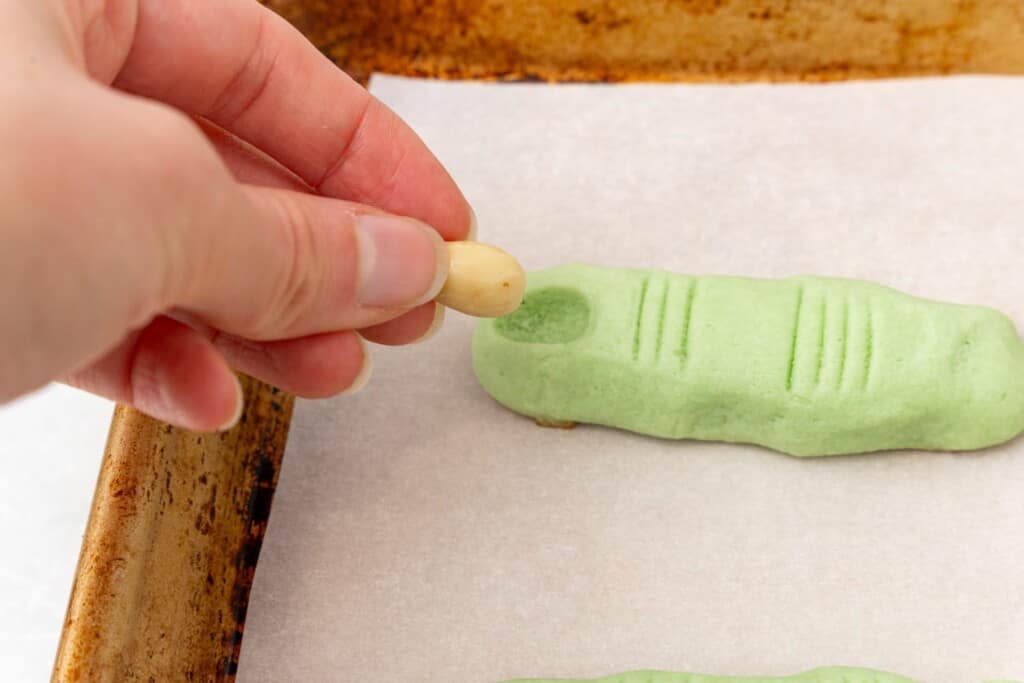
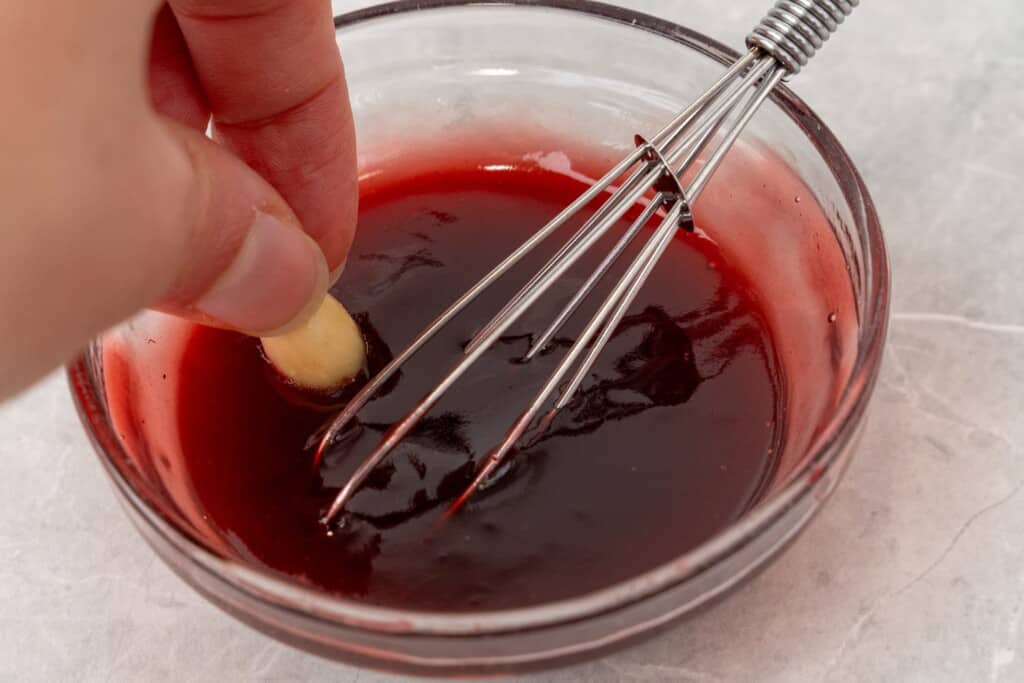
- Add Jam: Carefully remove the almonds from the ends of the fingers, then dip them into the warmed raspberry jam. Press the almonds back into the witch finger cookies and let the blood ooze out around them!
- Cool: Transfer your witchy cookies to a cooling rack to cool completely.
Tip!
You can make these cookies extra “bloody” by messily drizzling or dripping any remaining jam over them. It’s gross, but super fun for Halloween!
Recipe Tips
- Avoid Overbaking – The green cookie dough will brown where it’s touching the pan, and if baked too long, it will also turn brown on the outside. Remove your finger cookies from the oven just after they start to brown on the bottom.
- Instead of Jam – you can use red gel icing. For a less bloody effect, a bit of corn syrup will do the trick too.
- Serving Tip – It’s fun and delicious to serve witch fingers with more raspberry jam for dipping!
Storage Tips
Witch finger cookies should be stored at room temperature in an airtight container. They’ll stay fresh for up to 3 days.
These spooky Witch Finger Cookies are a must for Halloween this year. They’re the perfect mix of creepy and delicious for the season. Be sure to pin the recipe for later!
Did you make this? Be sure to leave a review below and tag me on Facebook, Instagram, or Pinterest!
Witch Finger Cookies
Equipment
- Hand mixer
- Small cookie scoop
- Cookie sheet
- Butter knife
Ingredients
- 3 ¼ cups (300 g) all purpose flour
- ½ teaspoon baking powder
- ½ teaspoon table salt or 1 tsp kosher salt
- ¾ cup (180 g) unsalted butter softened to room temperature
- 1 cup powdered sugar
- 1 large egg at room temperature
- 1 ½ teaspoon pure vanilla extract
- 1 teaspoon almond extract
- Green food coloring optional
- 20 blanched almonds
- 2-3 tablespoons seedless raspberry jam
Instructions
- Preheat the oven to 350F° (180°C), or 160°C if you have a fan oven. Line two baking sheets with parchment paper or silicone baking mats and set aside.
- In a small bowl, whisk together the flour, baking powder and salt; set aside
- In a separate bowl, cream the butter and powdered sugar until smooth
- Add the egg, vanilla extract, and almond extract, and beat again. Add desired amount of green food coloring and mix well.
- Mix the dry ingredients into the butter mixture in 2-3 smaller additions, stirring well after each addition.
- Portion the dough into 20 dough balls using a small (1 tablespoon) cookie scoop. If you have a scale, each ball should be about 22 grams. Roll each dough ball between your hands to create a long skinny finger shape, then place on the prepared baking sheets 2” apart.
- Press an almond into the end of each cookie, with the pointy side of the almond facing away from the cookie. Use a butter knife to create lines to resemble knuckles, then pinch the dough around the almond and in between the lines to make it finger shaped.
- Bake in the preheated oven for 8-10 minutes, or until the cookies are puffed and lightly golden on the bottom.
- Heat the jam in the microwave for 10-15 seconds and stir to make it easier for dipping.
- Allow the cookies to cool 2 minutes before carefully removing the almonds from the cookies and dipping them in the jam, then press them back into the same spot on the cookies.
- Transfer the cookies to a cooling rack to cool completely.
Notes:
- The cookies will spread a bit. Roll the fingers a bit thinner than you want them to be to account for spreading.
- Avoid Overbaking: The green cookie dough will brown where it’s touching the pan, and if baked too long, will also turn brown on the outside. Remove your finger cookies from the oven just after they start to brown on the bottom.
- Instead of Jam: you can use red gel icing. For a less bloody effect, a bit of corn syrup will do the trick too.
- Serving Tip: It’s fun and delicious to serve witch fingers with more raspberry jam for dipping!
- Storing: Witch finger cookies can be stored in an airtight container at room temperature for up to 3 days. If you need to store them for longer than that, wait to add the jam.
- Freezing: Freeze the cookies after they’re baked and decorated for up to 2 months.
Nutrition Information
This website provides approximate nutrition information for convenience and as a courtesy only. Nutrition data is gathered primarily from the USDA Food Composition Database, whenever available, or otherwise other online calculators.
© Little Sunny Kitchen
How do you Blanch Almonds?
It’s usually easy to buy almonds at the grocery store already blanched, but you can also blanch raw almonds yourself to remove the skins.
Place your almonds in a bowl, and cover them with boiling water. Allow to sit for a minute, then rise the nuts under cold running water. Spread the almonds out on towels to dry and cool.
When the blanched almonds are cool enough to handle, the skins should slide right off!
Can I make witch finger cookies without almonds?
While blanched almonds are the perfect shape for fingernails, you can certainly make these cookies without them. For a nut free version, you can use melted white chocolate or icing to paint on the nails after the cookies have cooled.
Can I Make This Recipe Without food coloring?
Definitely! You can leave out the food coloring entirely! Call them zombie fingers instead of wicked witch finger cookies! You can also make these any color you like using your favorite gel food colors.





Tammy says
I LOVED this recipe!! They came out exactly how I wanted! I would say to maybe add some sugar to the dry mix if you want them a bit sweeter, but, if not, definitely use the dipping jam to add some sweetness. I love that they are cake like , fluffy cookies. Remember to follow the tips and roll them into skinny little fingers so they can spread out and look like natural fingers!
Diana says
So happy they turned out just how you wanted, Tammy! Great tip about adding sugar for extra sweetness. Thanks for baking along and sharing your notes!
Chris says
Followed the recipe exactly but the finished cookie spread far too much – perhaps the recipe should have suggested chilling the cookie dough prior to baking to avoid excessive spreading and/or decrease the baking soda. Found the cookie far too cake like in texture and lacked a typical level of cookie sweetness. Will try a different recipe next time.