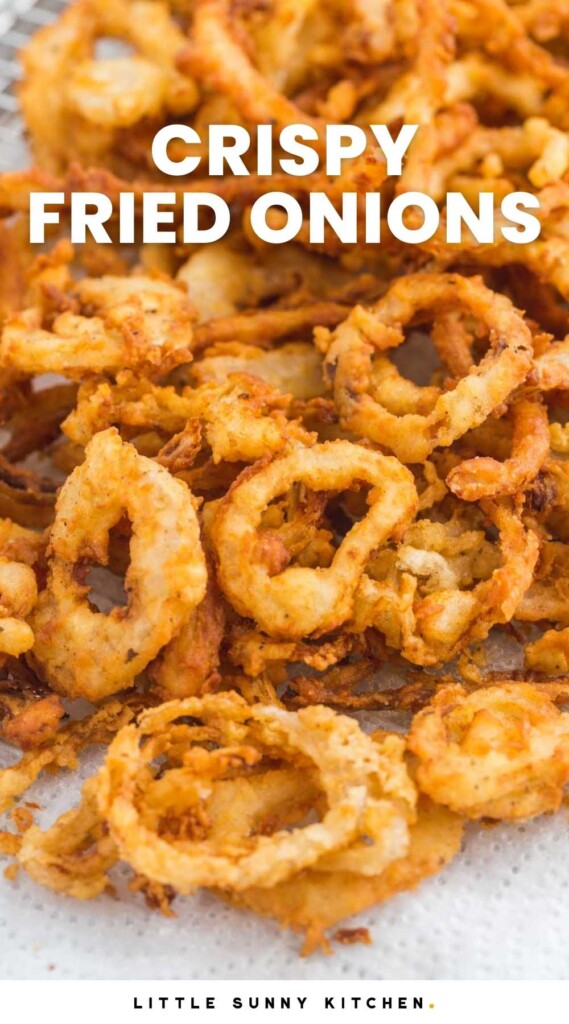
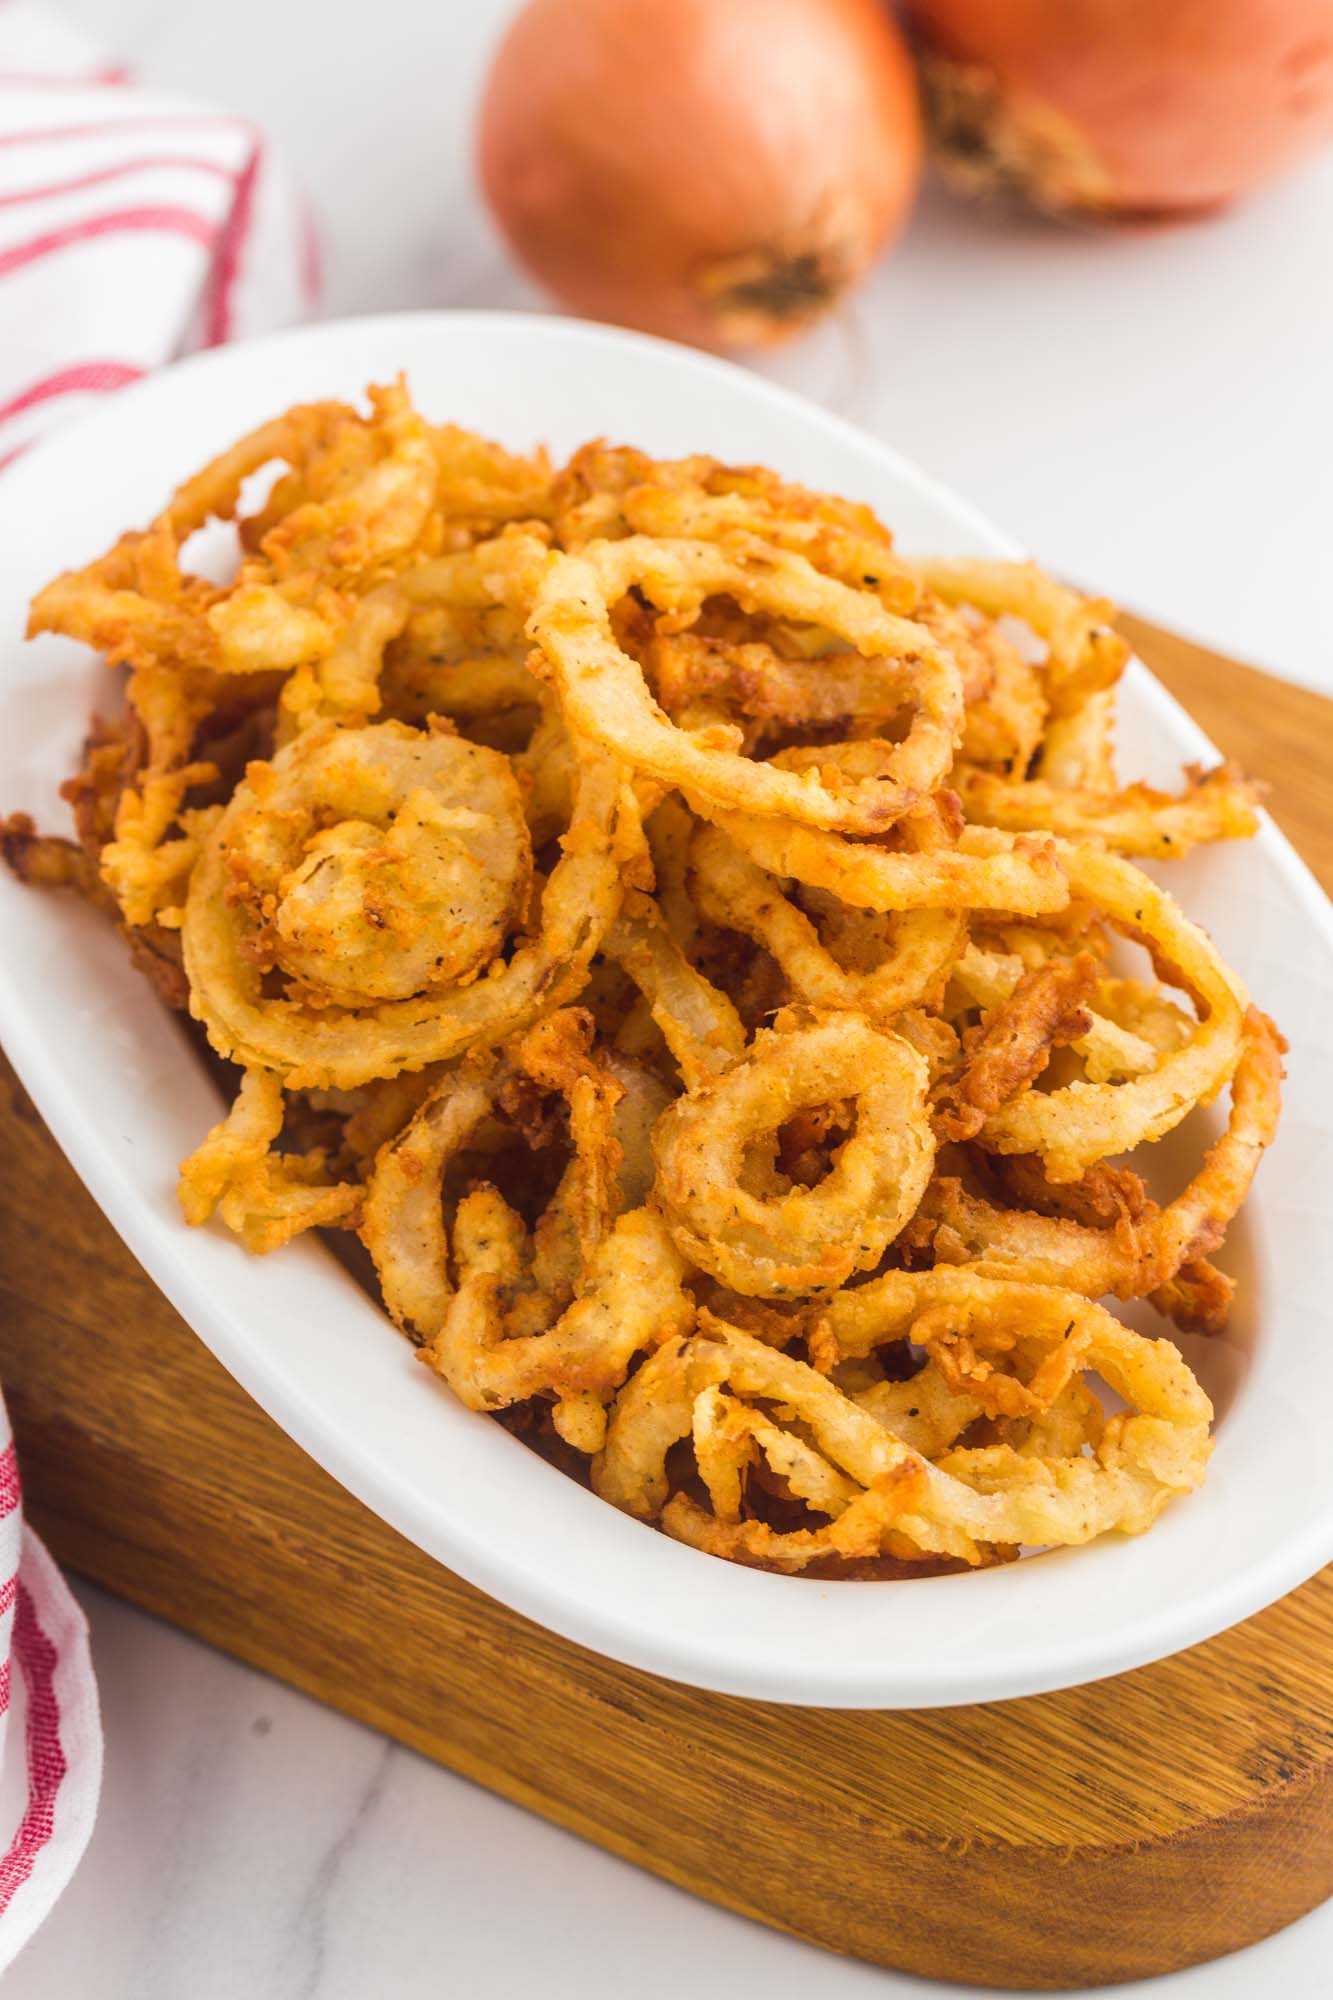
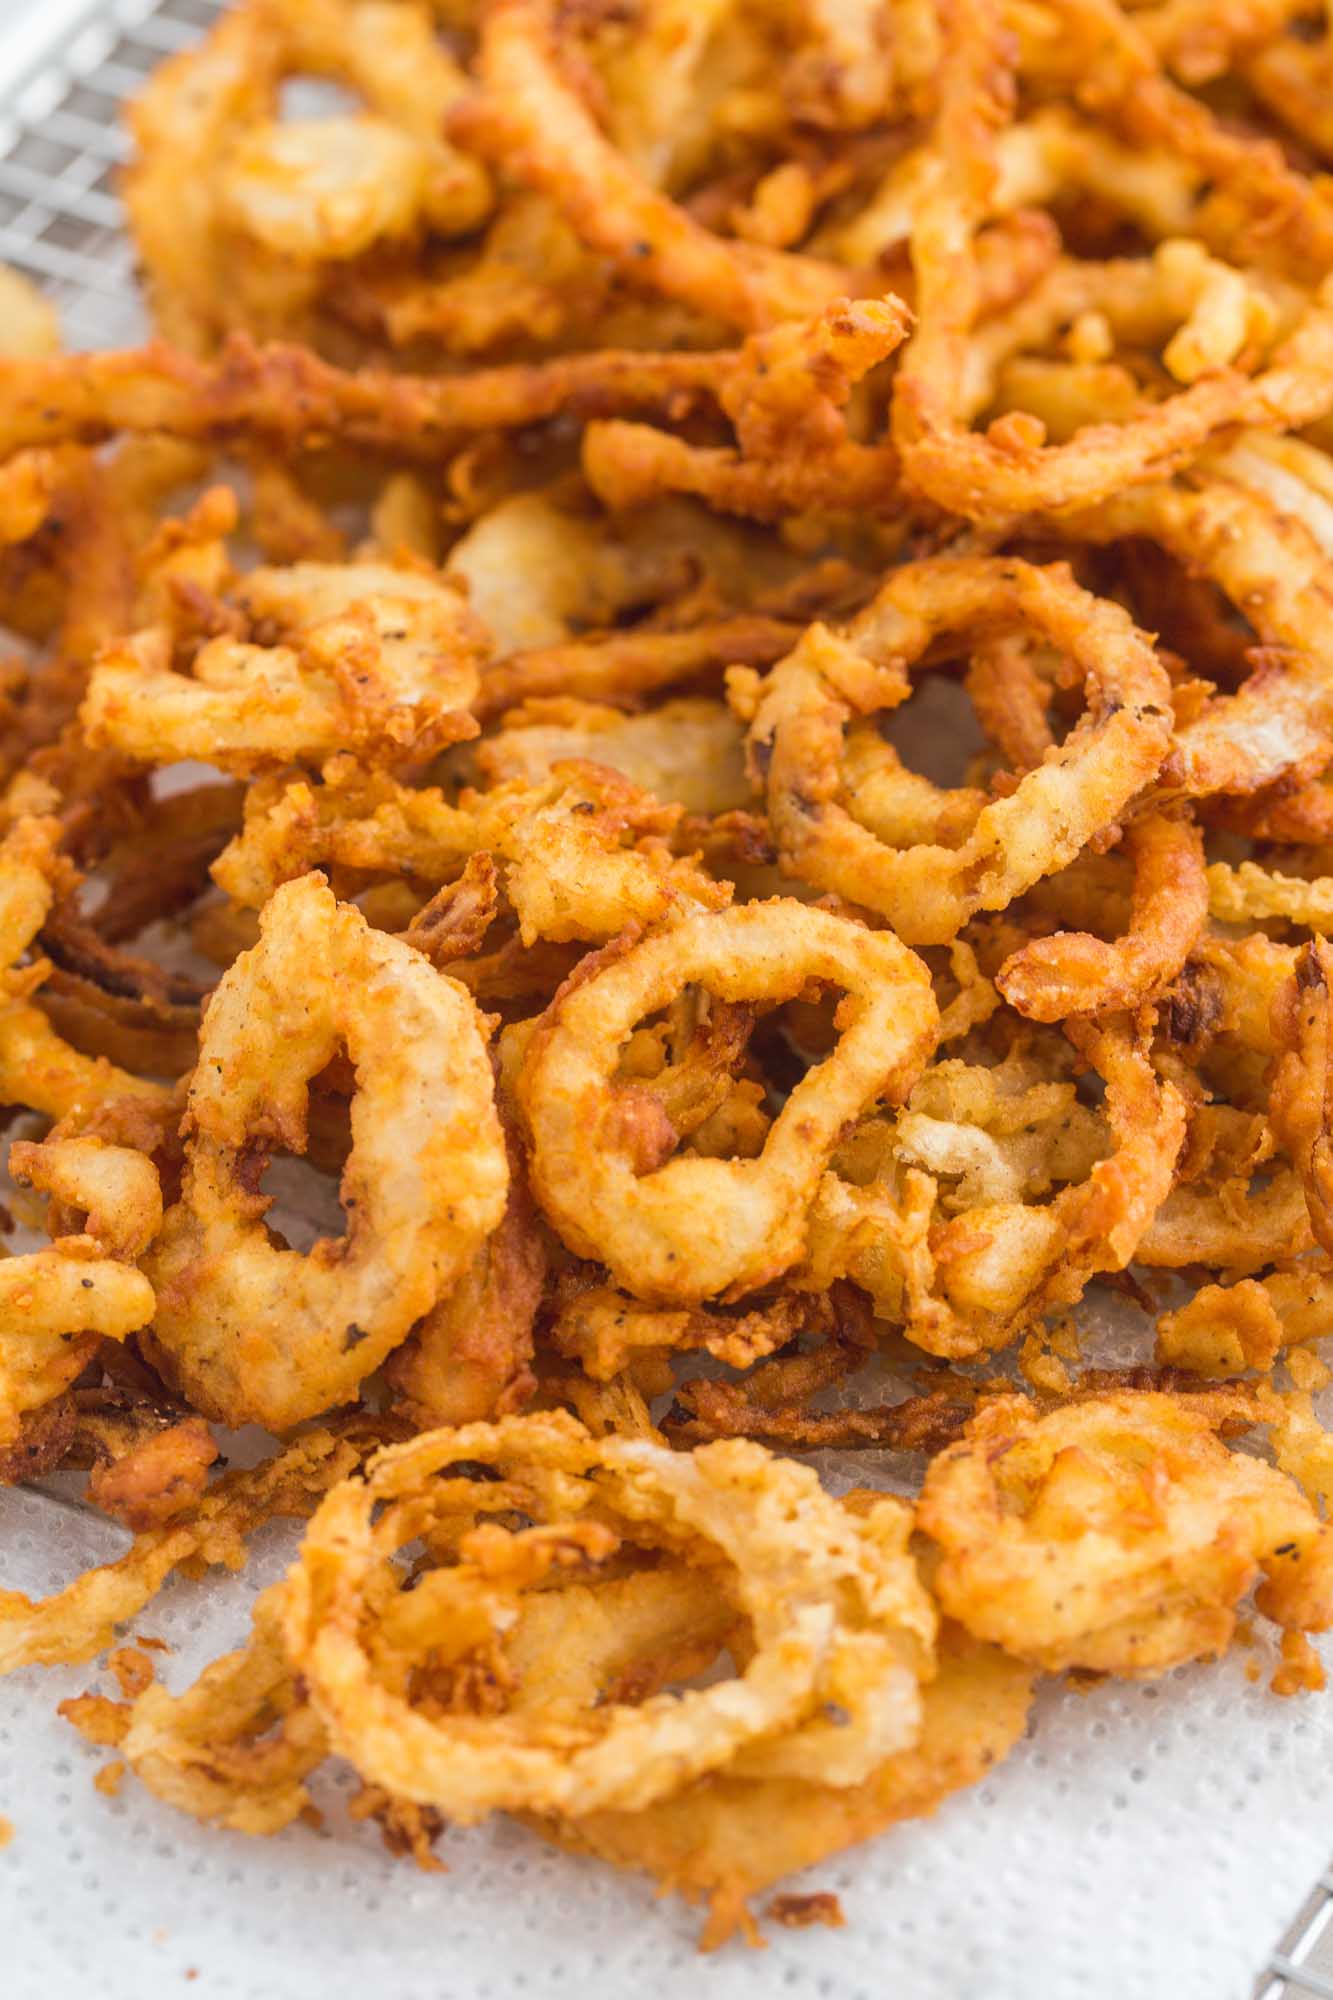
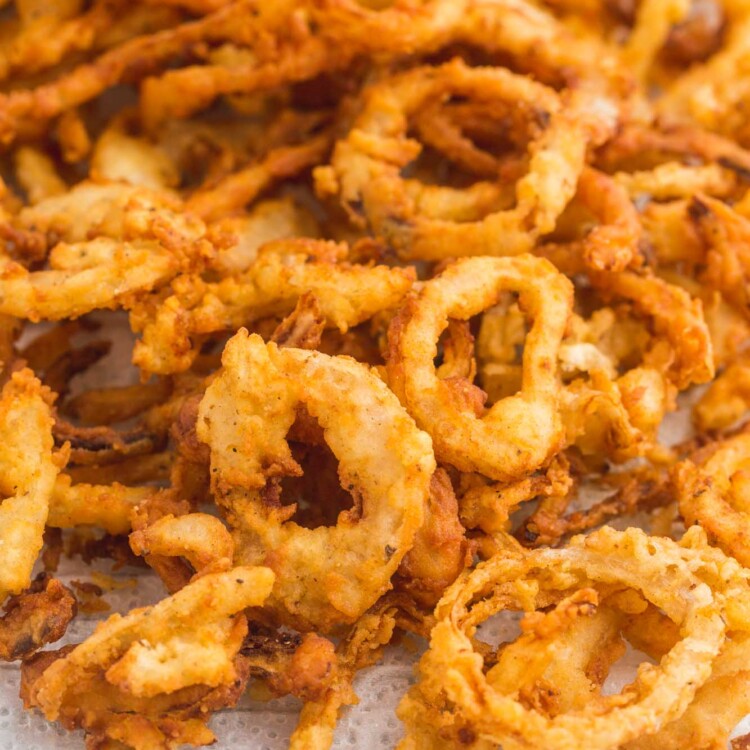
These homemade crispy fried onions are thin, golden, and seriously crunchy, with a light flour coating that fries up crisp without feeling heavy. The sliced yellow onions get a quick soak in buttermilk before frying, which helps the coating cling and adds a subtle tangy flavor. Use them anywhere you’d reach for French fried onions, especially on green bean casserole, soups, burgers, and salads.

Diana’s Notes
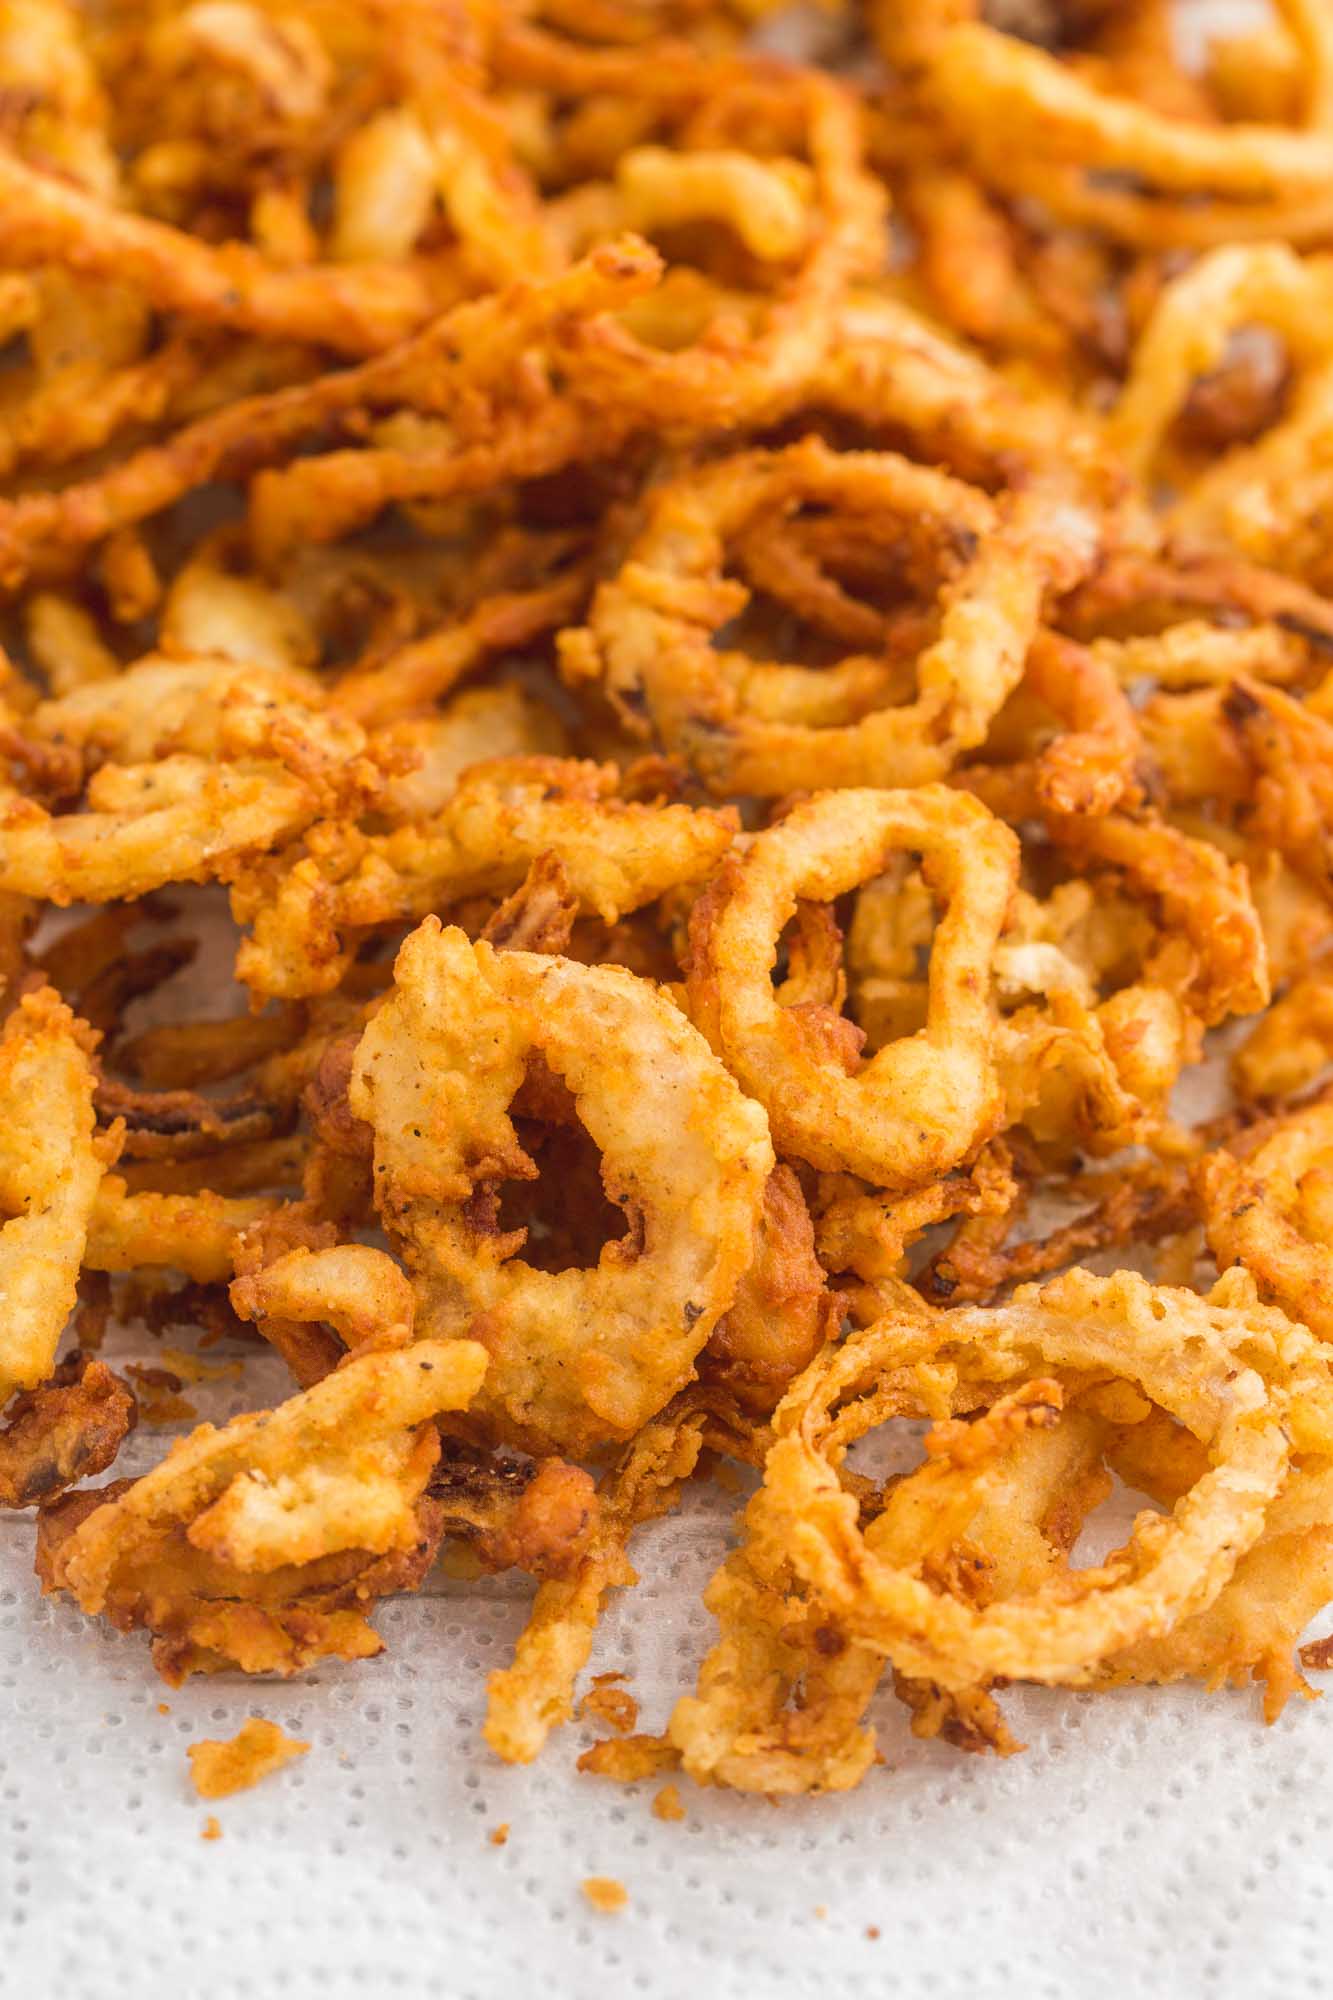
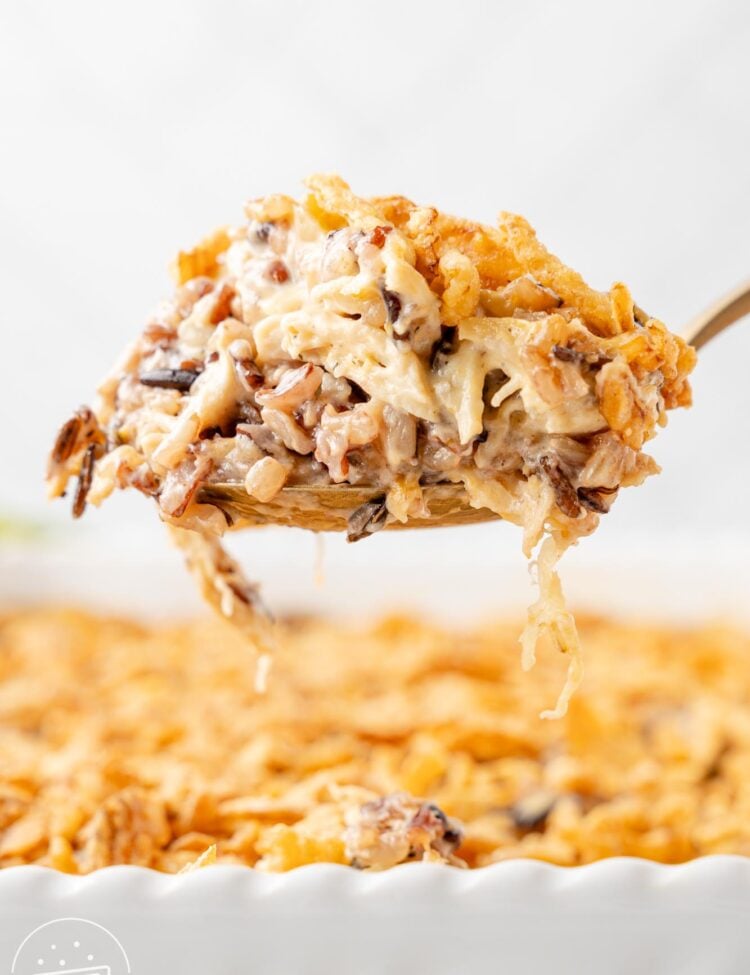
These are one of those toppings I have a hard time not snacking on while I’m frying them! I tested this recipe in the air fryer too, but I much prefer the deep-fried version because the onions get lighter and more evenly crisp. Slice them very thinly, keep the oil close to 350°F (180°C), and save a few for my Chicken and Wild Rice Casserole or a Wedge Salad.
Key Ingredients
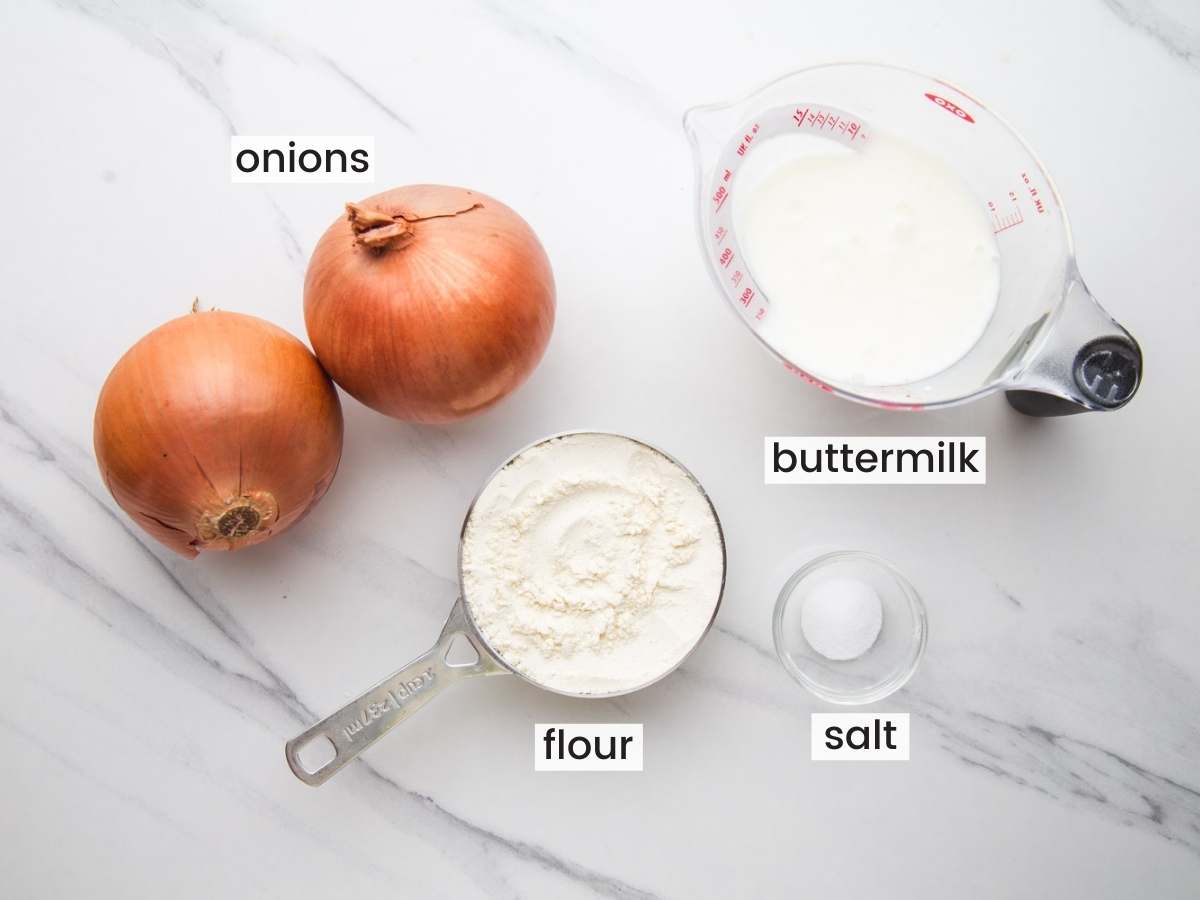
Complete list of ingredients and amounts can be found in the recipe card below.
- Yellow onions: Slice them into very thin, even rings so they cook quickly and crisp at the same rate.
- Buttermilk: The onions soak in buttermilk before coating, which helps the flour cling evenly and adds a subtle flavor.
- All-purpose flour: This forms the simple outer coating. Let the excess buttermilk drip off first, then shake off any excess flour so the coating stays light rather than thick.
- Oil: Use a neutral oil suitable for high-heat frying, such as vegetable or canola oil. Keep it close to 350°F (180°C) and fry in small batches so the onions crisp evenly.
How to Make Crispy Fried Onions
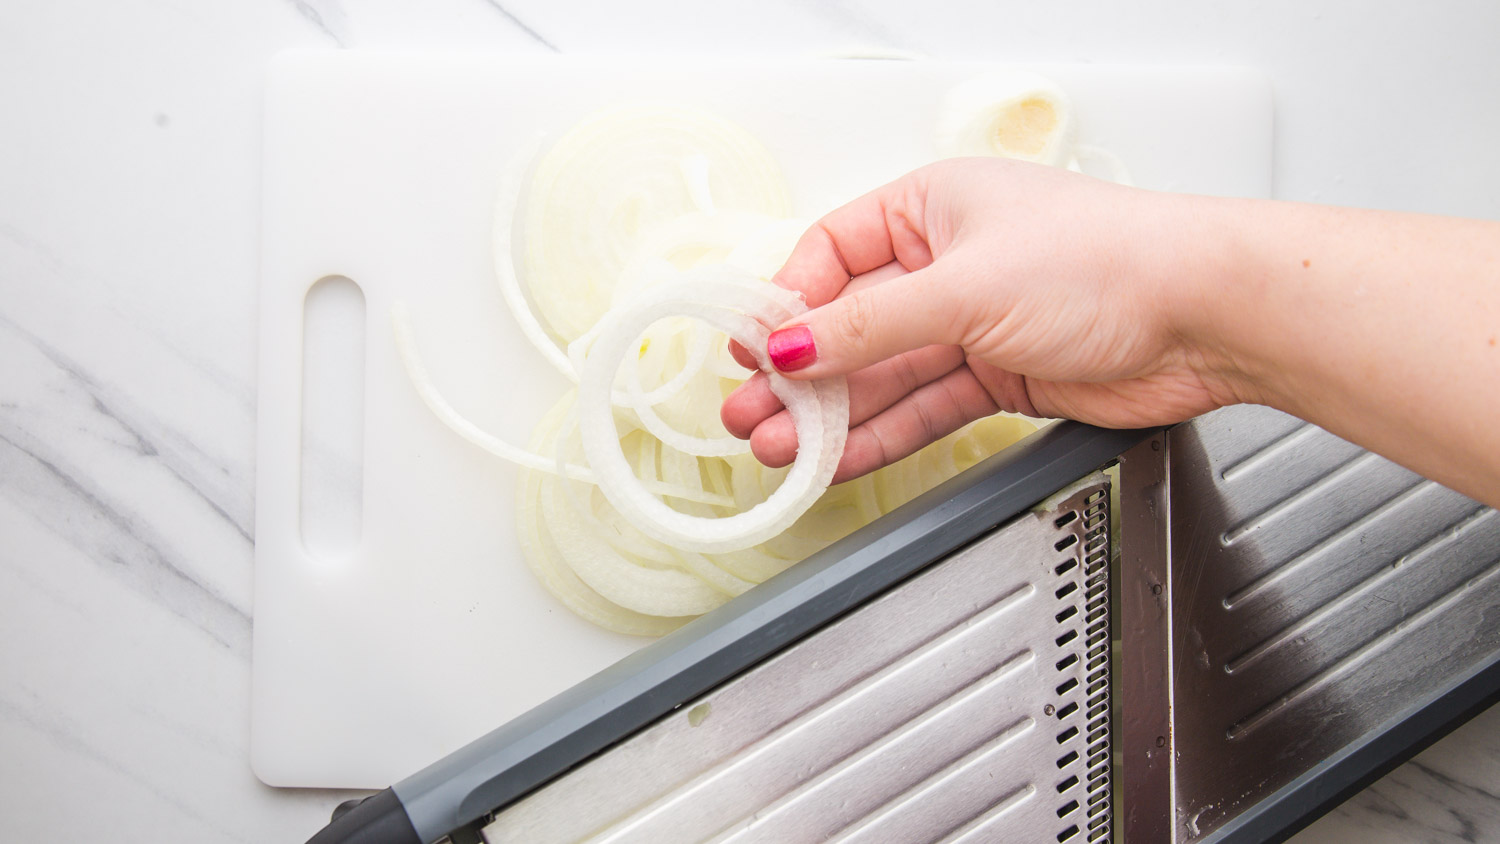
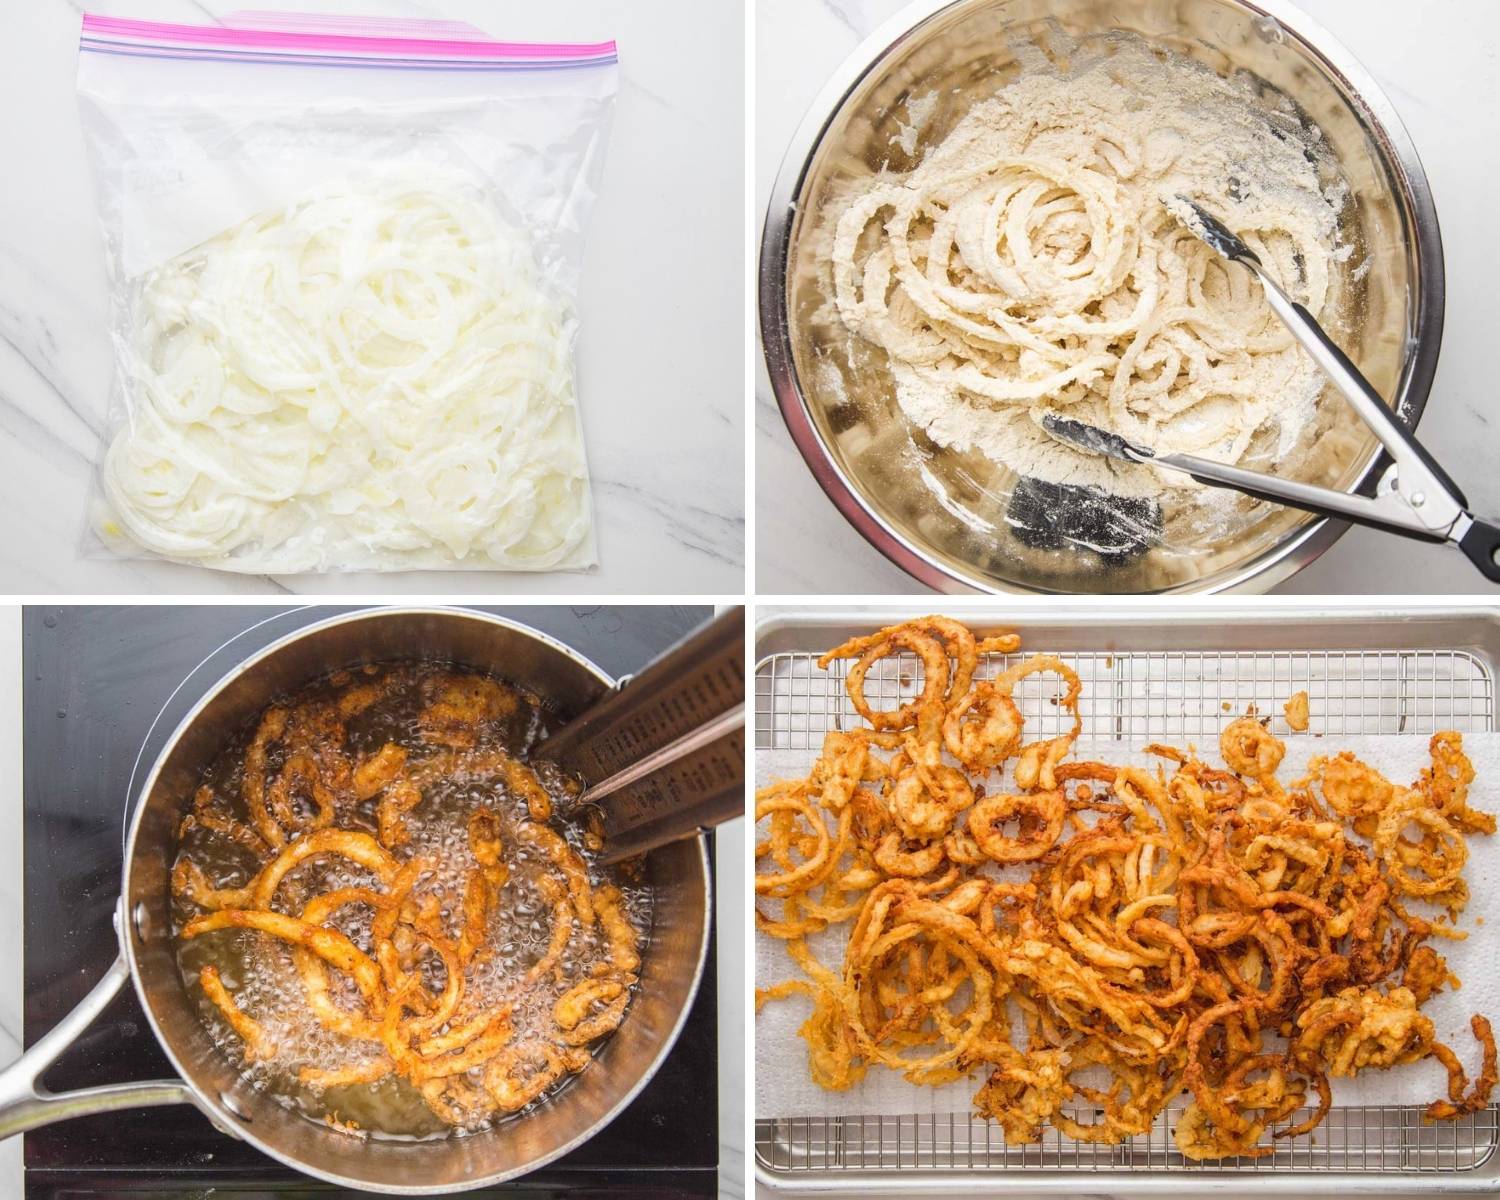
- Slice and soak. Slice the yellow onions very thinly, separate the rings, and soak them in the buttermilk mixture for 30 minutes.
- Coat. Drain off the excess buttermilk, then toss the onions with flour until lightly coated. I like to use a zip top bag for this.
- Fry. Heat the oil to 350°F (180°C) and fry the onions in small batches for 2 to 3 minutes, or until golden brown and crisp.
- Drain and season. Transfer to the prepared rack or paper towels and season while warm.
Recipe Tips
- Keep the coating light. Let excess buttermilk drip off before adding the flour, then gently shake off any extra flour before frying. Too much of either can give the onions a heavy coating.
- Have your draining setup ready before you start frying. Line a tray with paper towels or set a wire rack over a sheet pan so you can transfer each batch immediately.
- Fry in small batches. Adding too many onions at once will lower the oil temperature and can make them greasy instead of crisp. Let the oil return to 350°F (180°C) between batches if needed.
- Watch the color closely. Thin onion rings cook quickly. Remove them when they are golden brown and crisp, since they can go from golden to too dark very quickly.
- Use a thermometer if you have one. A deep fry or candy thermometer makes it much easier to keep the oil at the right temperature throughout frying.
- Cool completely before storing. Once cooled, keep the fried onions in an airtight container in the refrigerator for up to 3 days. Reheat them in the oven or air fryer to help bring back their crunch.
Recipes to Make with Crispy Fried Onions
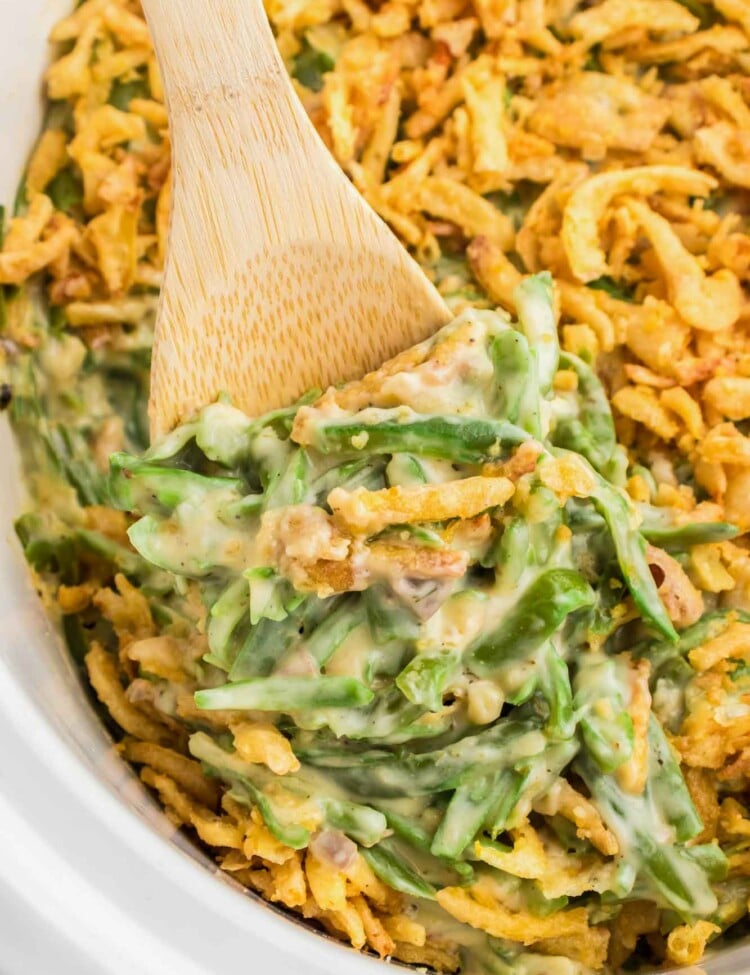
Crispy fried onions are a classic topping for Green Bean Casserole, and they work just as well on my Crockpot Green Bean Casserole when you want an easy holiday side.
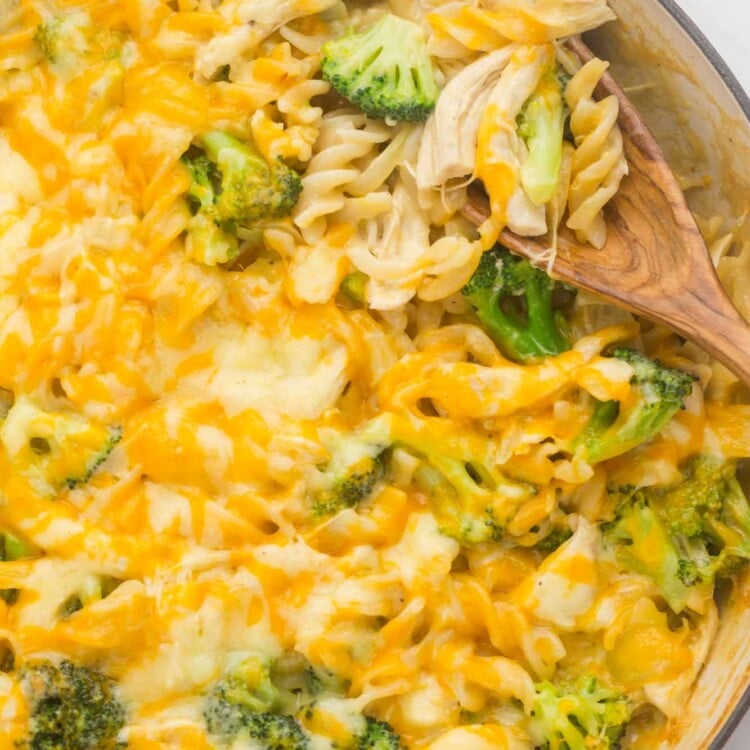
They’re also delicious on creamy casseroles. Try them on Broccoli Casserole, or Creamy Turkey Casserole for a crisp, savory finish.
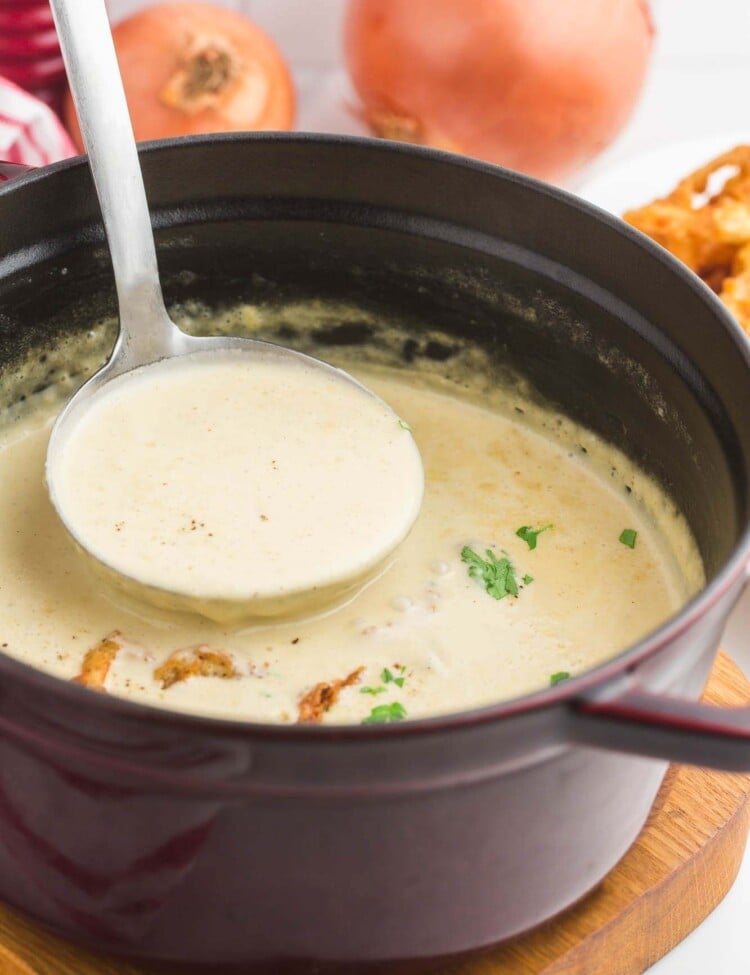
For soups, sprinkle them over Cream of Onion Soup or Broccoli Cheddar Soup just before serving so they stay crunchy.
FAQs
I tried making this recipe in the air fryer, and while they did cook, they didn’t turn out nearly as well as the fried version. I don’t suggest making crispy fried onions in the air fryer.
Yes. Let the fried onions cool completely, then store them in an airtight container in the refrigerator for up to 3 days. Before serving, reheat them briefly in the oven or air fryer to help bring back their crunch
Did you make this? Be sure to leave a review below and tag me on Facebook, Instagram, or Pinterest!
Crispy Fried Onions
Equipment
Ingredients
- 2 large yellow onions
- 1 cup (240 ml) buttermilk
- ½ teaspoon kosher salt or to taste
- 1 cup (120 g) all-purpose flour
- neutral oil for frying
Instructions
- Slice the onions very thinly into rings using a mandoline or sharp knife, then separate the rings with your hands.
- Combine the onions, buttermilk, and ¼ teaspoon of kosher salt in a large bowl or gallon size zip top bag. Let sit for 30 minutes. If soaking for longer than 30 minutes, cover and refrigerate for up to 24 hours.
- Remove the onions from the buttermilk and let the excess liquid drain off. Add the onions to the flour and toss until lightly coated, then shake off any excess flour.
- Pour about 2 inches of neutral oil into a heavy-bottomed saucepan or Dutch oven. Heat over medium to medium-high heat to 350°F (180°C). Set a wire rack over a sheet pan for draining.
- Fry the onions in small batches for 2 to 3 minutes, or until golden brown and crisp. Let the oil return to 350°F (180°C) between batches as needed.
- Transfer the fried onions to the wire rack and season with additional kosher salt while warm, if desired. Cool before serving or storing.
Notes:
Nutrition Information
This website provides approximate nutrition information for convenience and as a courtesy only. Nutrition data is gathered primarily from the USDA Food Composition Database, whenever available, or otherwise other online calculators.
© Little Sunny Kitchen

Jane says
This recipe looks spot on! Can I use homemade buttermilk with equal results?
Little Sunny Kitchen says
Yes, you can!