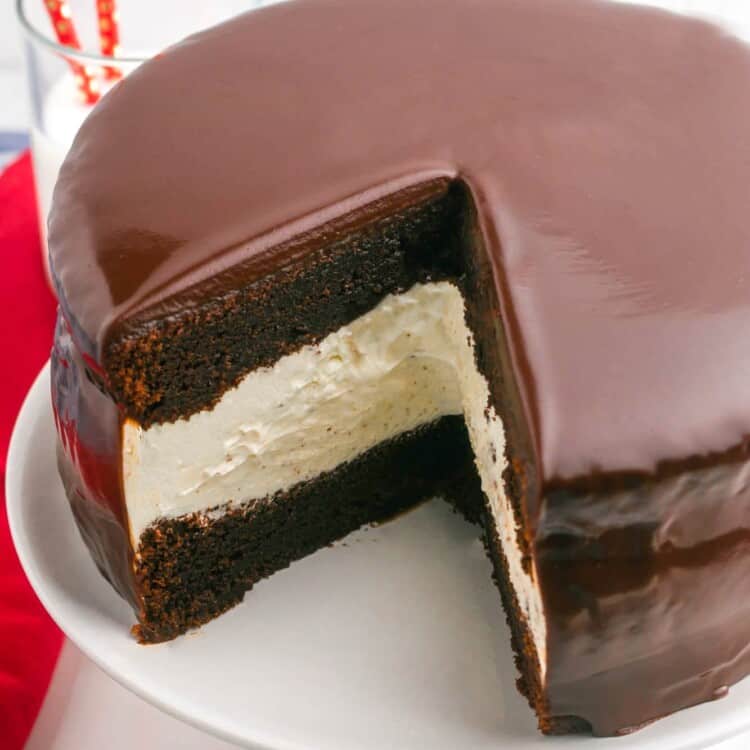
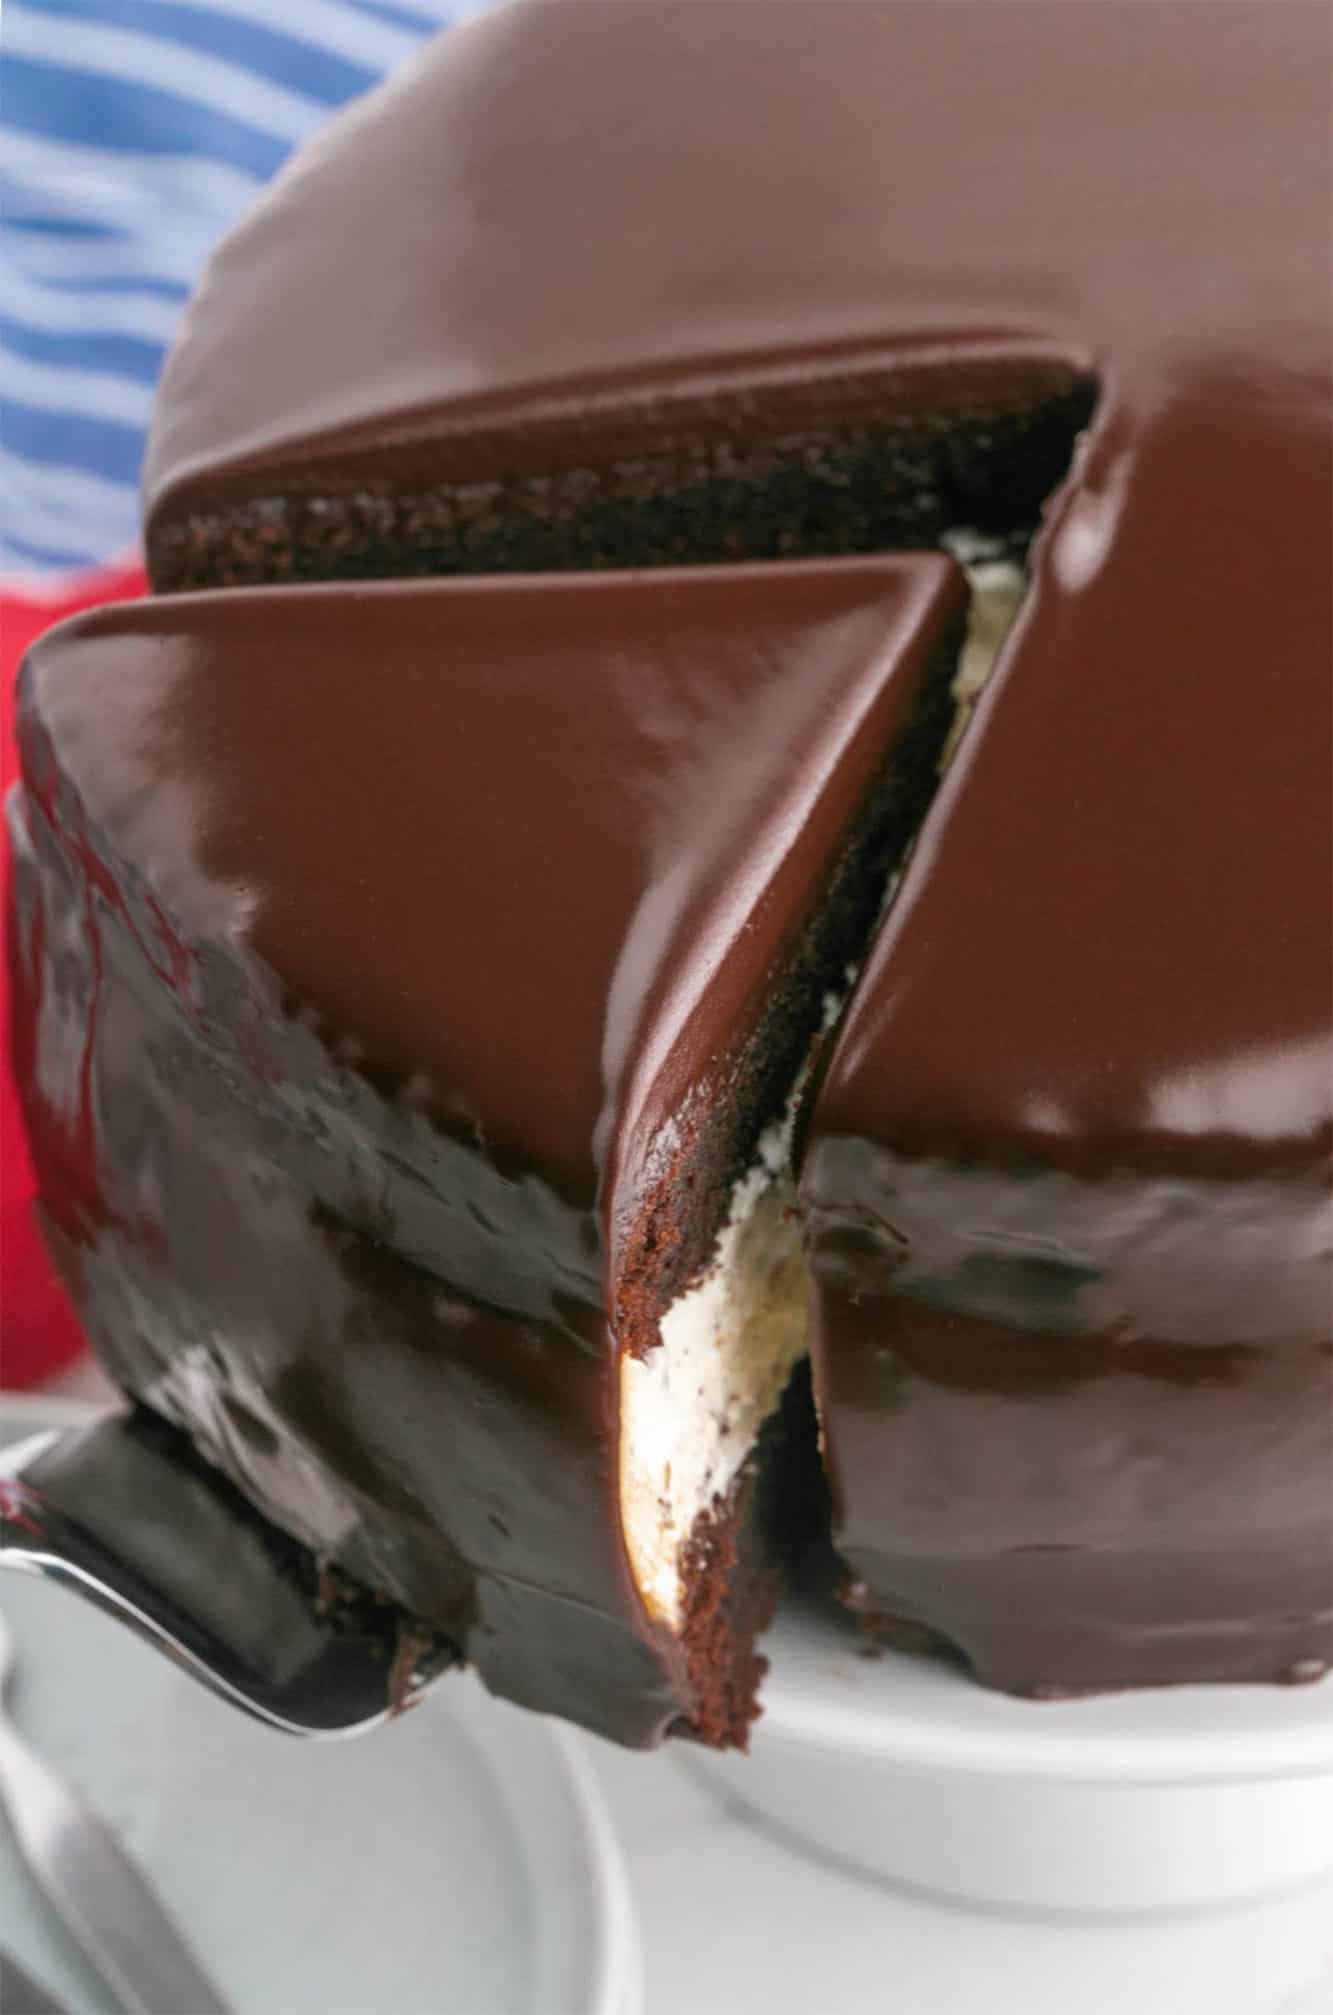
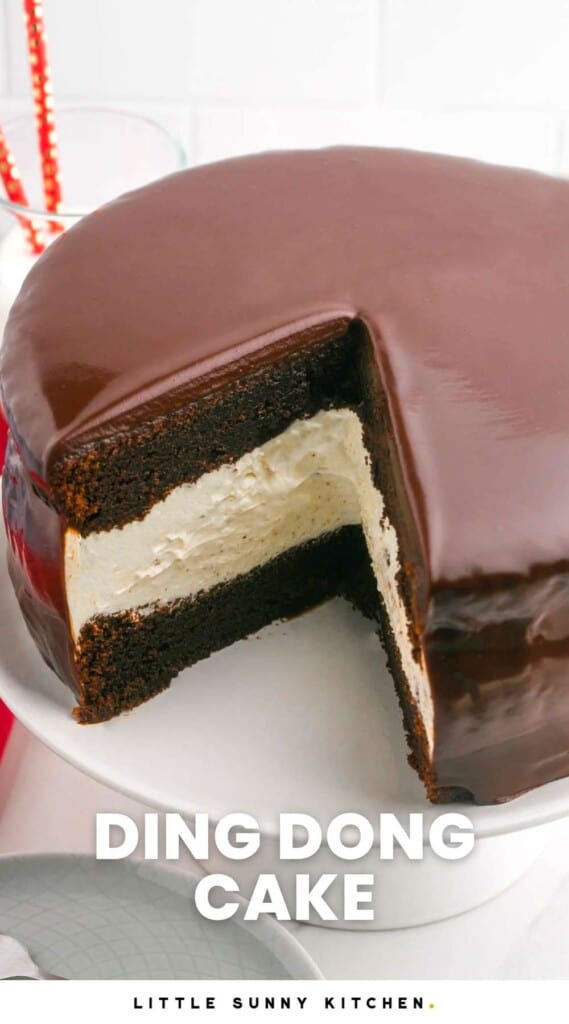
A dense, rich, moist chocolate cake with a thick layer of fluffy cream filling and chocolate ganache icing creates a Ding Dong Cake that’s so much like your favorite snack cake, but also a million times better!
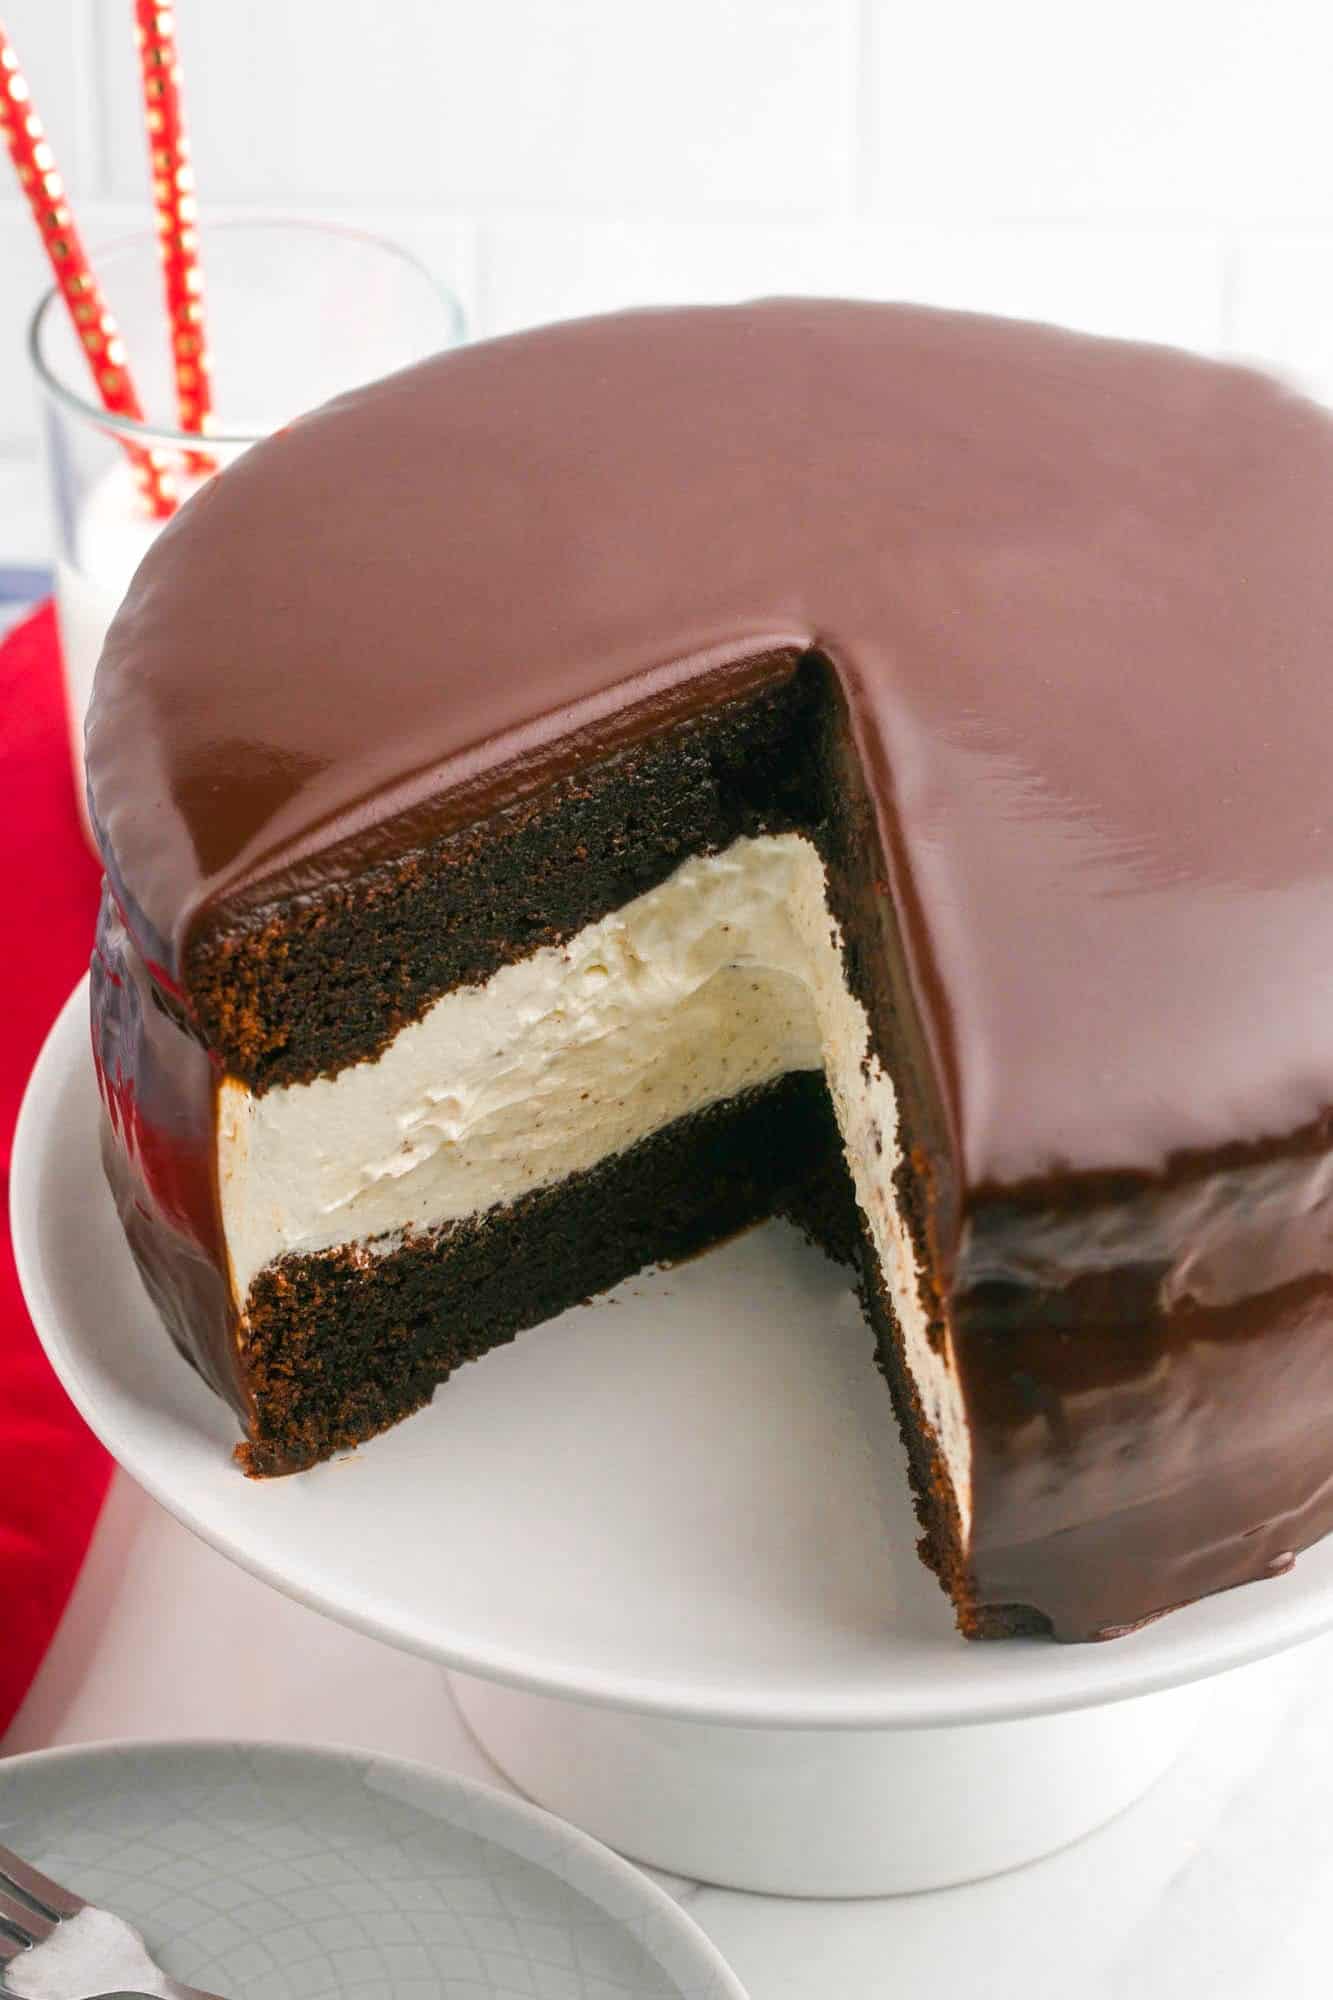
Remember how exciting it was to find a Hostess Ding Dong cake in your lunch box as a kid? A tiny, snack-sized dessert filled with the most delicious vanilla cream and covered in chocolate glaze was the perfect lunchtime dessert!
Ding Dongs, Ring Dings, Big Wheels, these tasty cakes have been known by a few names. The flavors and elements are also similar to Hostess cupcakes, Ho-Ho’s, or the Little Debbie varieties.
Well now, you can enjoy that same excitement after your meal, with this homemade Ding Dong Cake recipe.
Forget about pre-packaged cakes for now! We’re making this cake from scratch starting with the most decadent layers of chocolate cake. A handmade ermine frosting is our sweet and fluffy ding dong cake filling, and a shiny chocolate ganache glaze is the perfect final touch.
You will also love my Honey Bun Cake! It’s another snack cake makeover, and super simple to make.
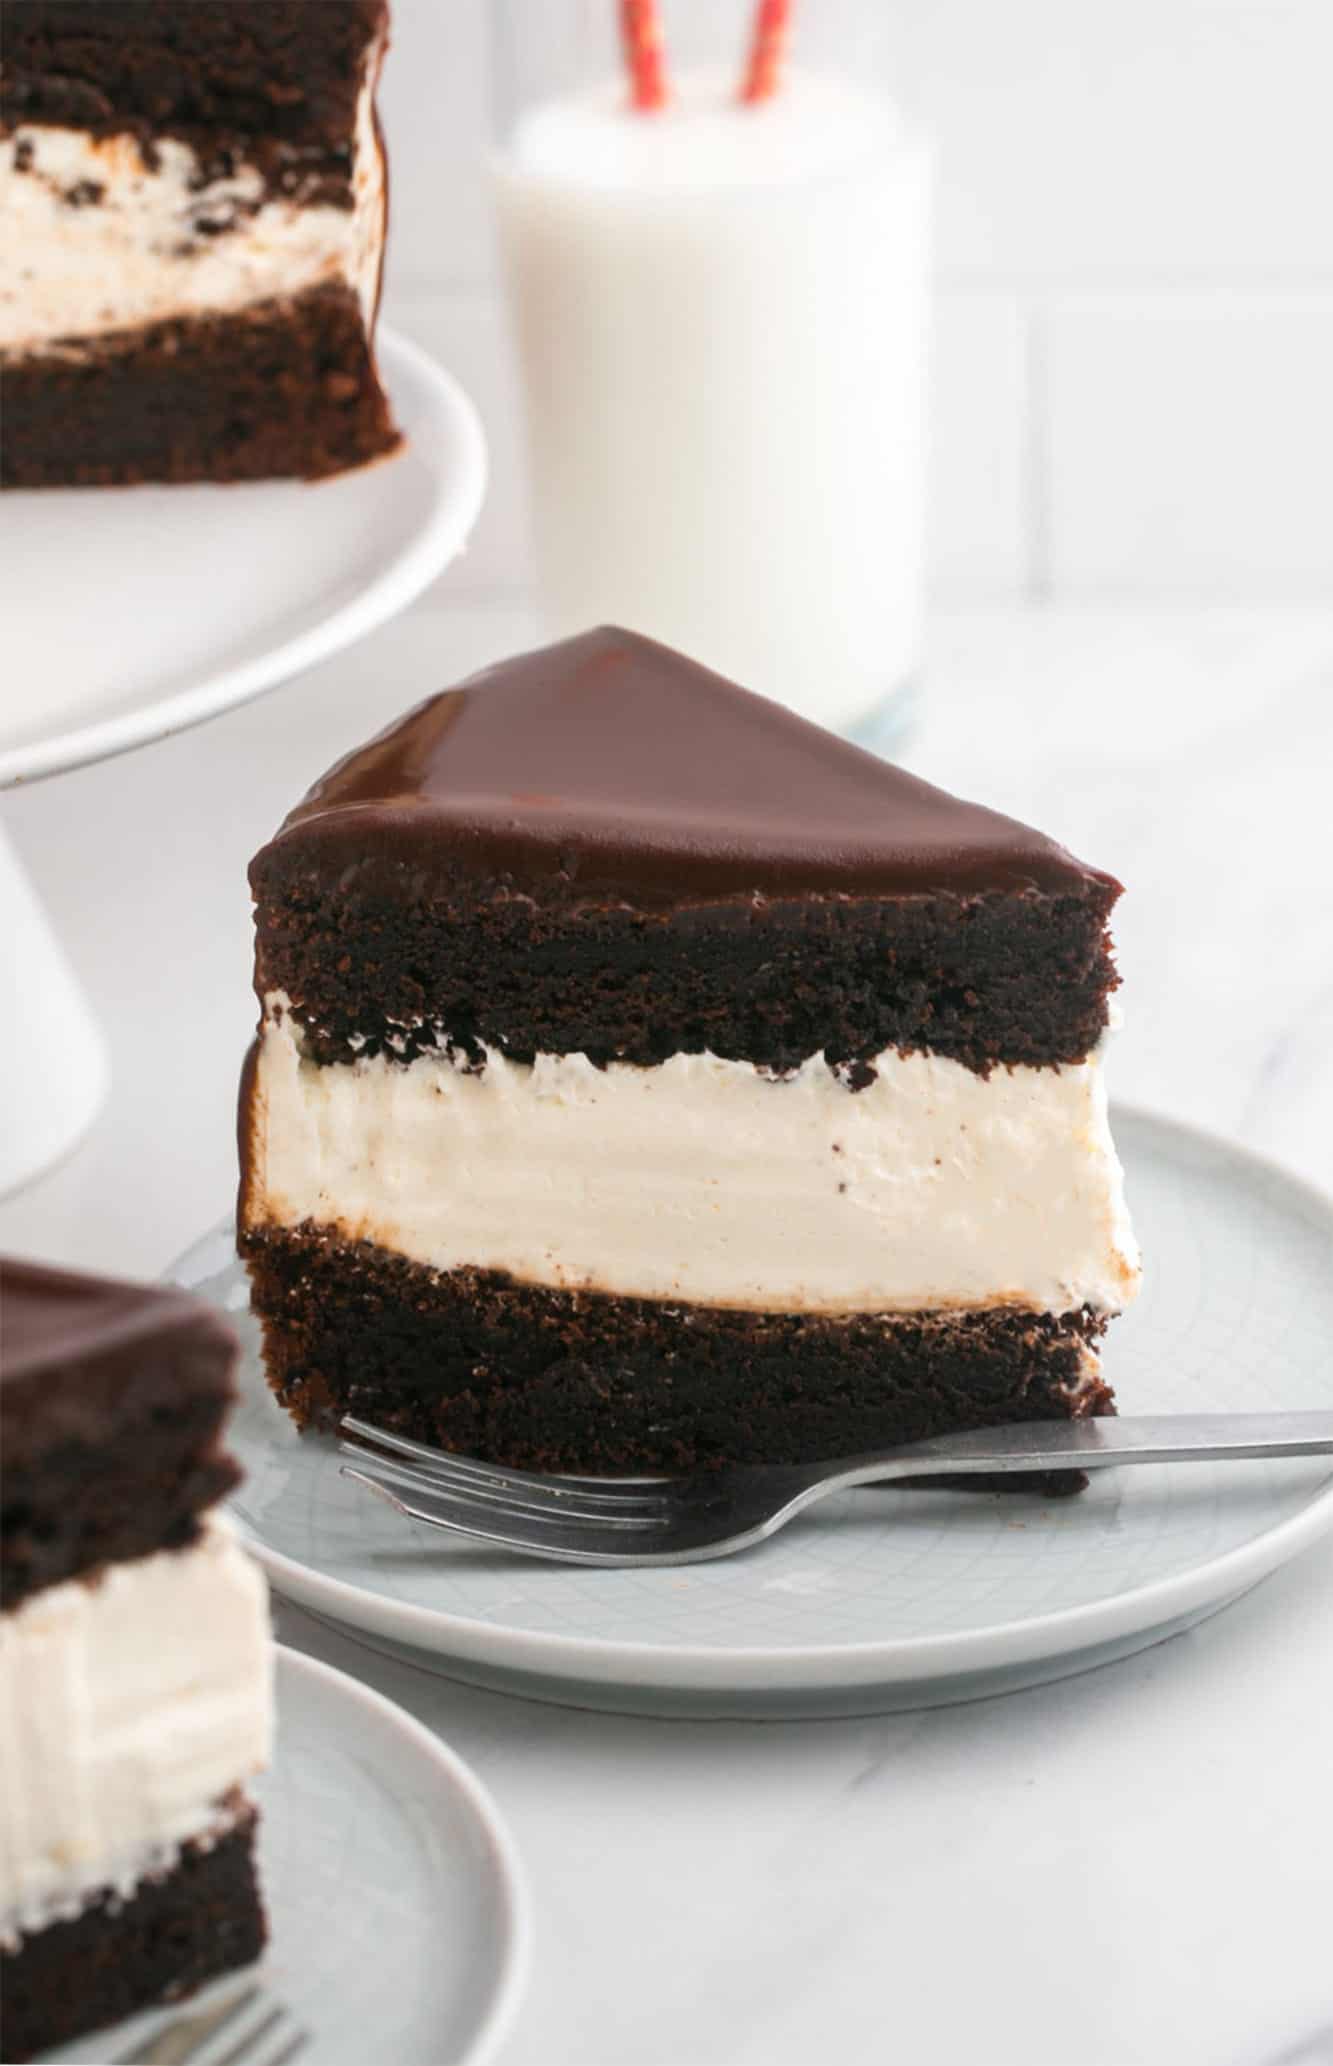
Ingredients In this Ding Dong Cake Recipe
Here’s what you need to make this decadent cream-filled chocolate cake! I’ve split the recipe into three distinct parts: The Cake, the Filling, and the Frosting.
Complete list of ingredients and amounts can be found in the recipe card below.
For the Cake:
- Flour, Cocoa Powder, Baking Soda, Baking Powder, and Salt: The dry ingredients for this cake are pretty standard cake-making necessities.
- Unsalted Butter: This cake uses softened butter rather than oil. Butter makes a chocolate cake that is rich and moist.
- Eggs: Let the eggs come to room temperature. This might not seem important, but it truly does help to make a smooth, well-mixed cake batter.
- Vanilla Extract, Buttermilk, and Hot Coffee: These add moisture to the cake batter, but also lots of flavor. Coffee enhances the flavor of chocolate so well, and using it hot will help to dissolve the cocoa powder in the batter.
For the Filling:
- Flour and Milk: This fluffy filling starts with a roux! These two ingredients are cooked together on the stove.
- Butter, Vanilla Extract, and Granulated Sugar: Cream these together in your mixer. Then we’ll add the flour and milk mixture to combine it all into the best ermine frosting ever.
For The Chocolate Ganache Topping:
- Semi-Sweet Chocolate: You don’t want the ganache to be overly sweet, so semisweet is perfect. Chop up an 8-ounce bar of chocolate so that it melts easily.
- Heavy Cream: We’ll heat the cream before combining it with the chocolate to make the ganache.
- Corn Syrup: This makes the ganache shiny and smooth.
How To Make Ding Dong Cake
Bake the Cake
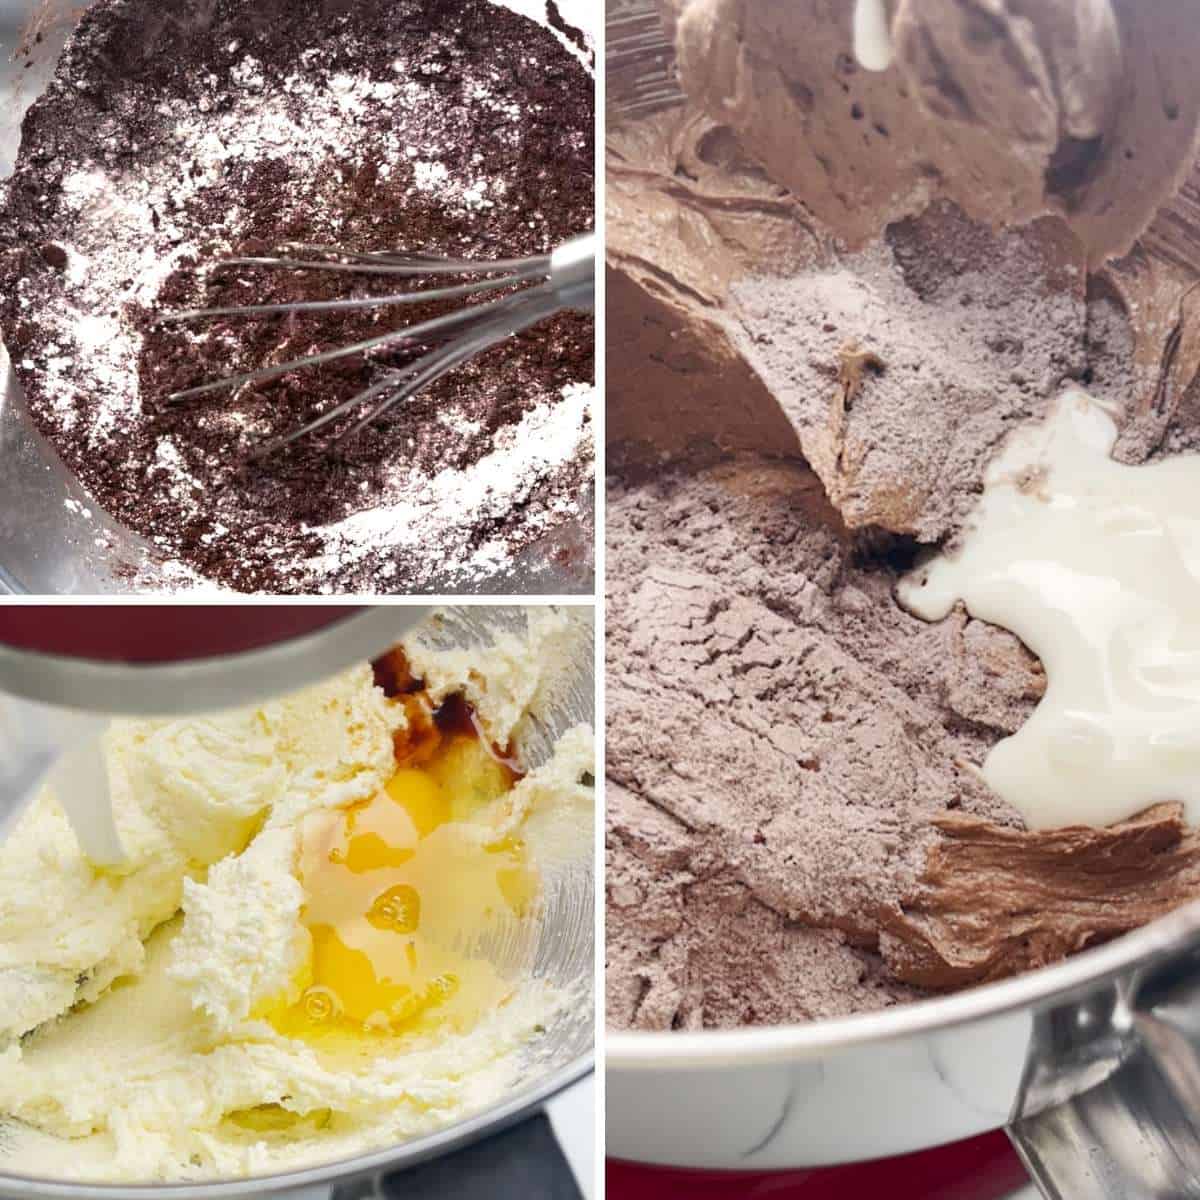
- Get Ready to Bake: Preheat oven to 350°F/180°C (160°C fan oven), grease and line two 8” round baking pans with parchment paper (I like these pre-cut parchment circles) and set aside.
- Mix Dry Ingredients: Combine flour, cocoa powder, baking powder, baking soda, and salt in a medium bowl, and set aside.
- Cream Butter and Sugar: Start by beating the butter and sugar together until smooth and creamy (use a stand mixer or an electric hand mixer in a large mixing bowl). Then add eggs and vanilla and beat for 2-3 minutes until pale and fluffy.
- Alternate Flour and Buttermilk: Add half of the dry ingredient mixture and half of the buttermilk to the bowl, and beat until combined. Then add the remaining flour and buttermilk and mix again.
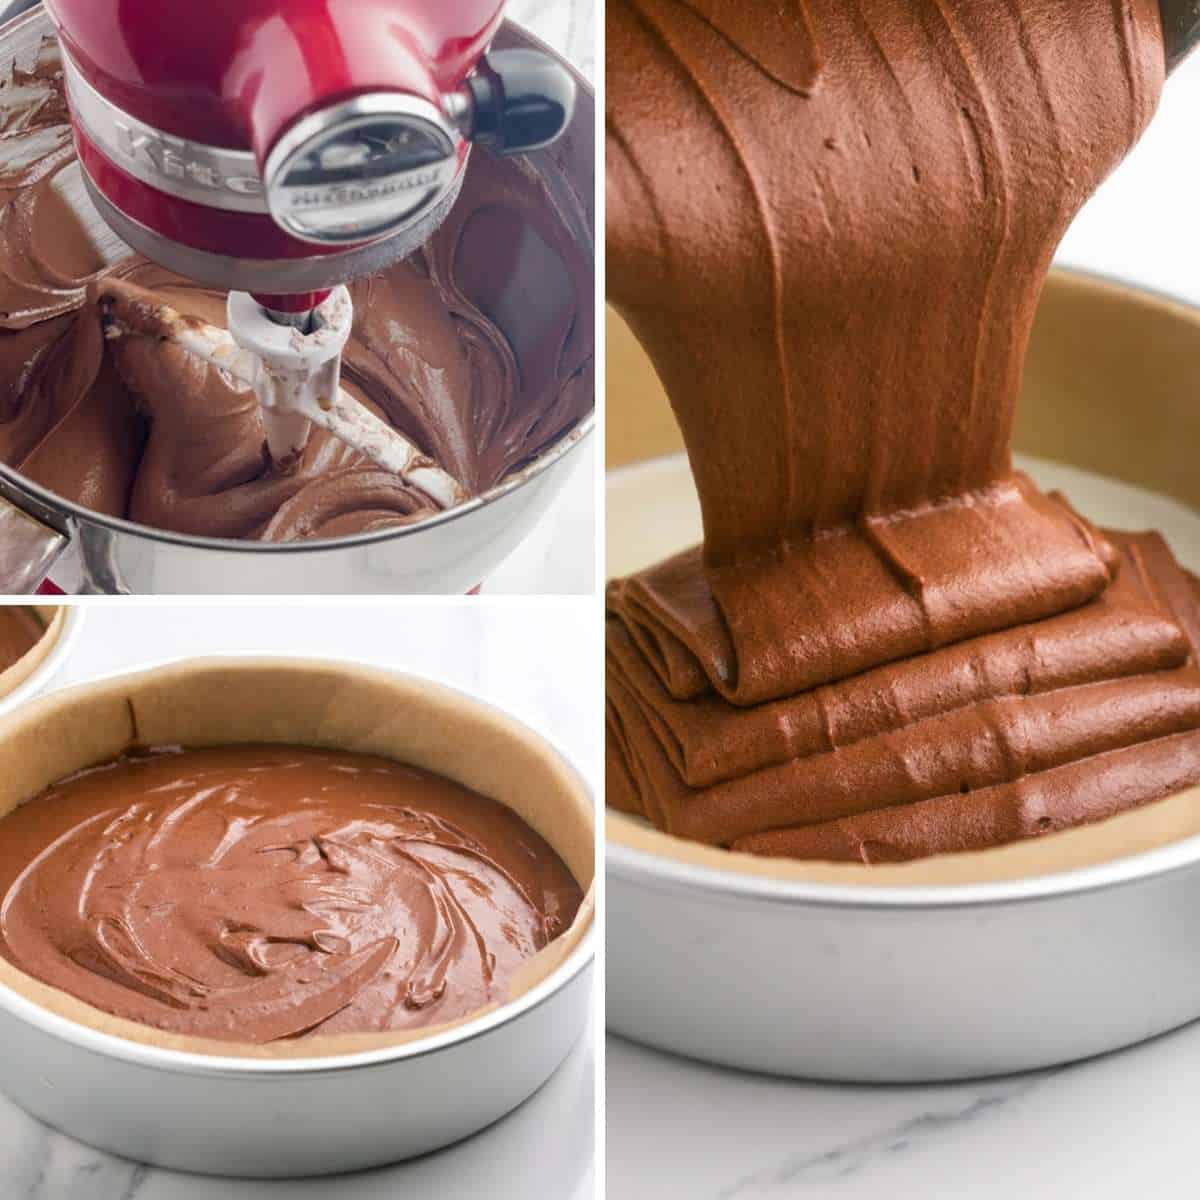
- Add Hot Coffee: Pour in the hot coffee and mix again until the batter is smooth.
- Bake: Divide the batter between two prepared pans and bake for 35 minutes, or until a toothpick inserted in the center comes out clean. Allow to cool for 5 minutes in the pan, then turn out onto a wire rack to cool completely.
Make the Cream Filling
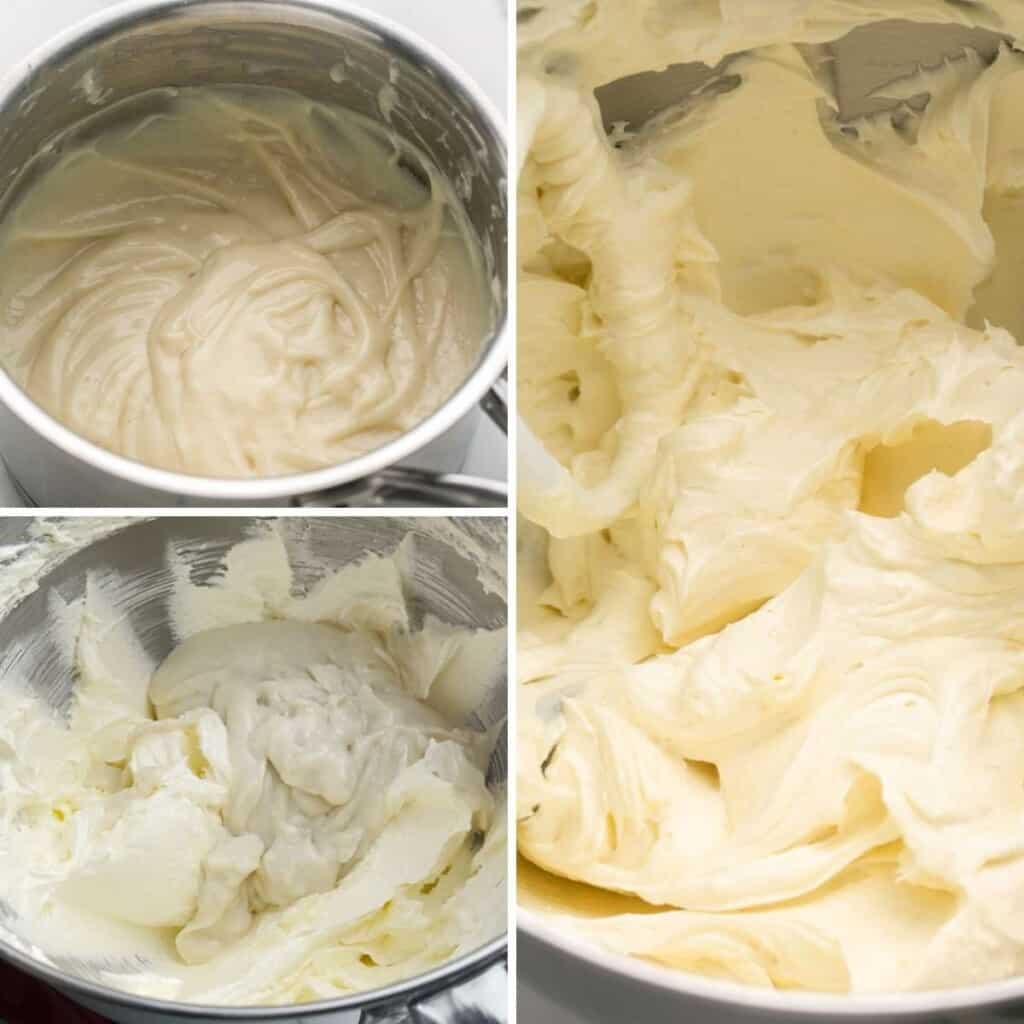
- Cook Flour and Milk: Whisk the milk and flour together in a saucepan over medium heat. Bring to a simmer, stirring constantly until it’s thick like a roux. Remove from the heat, and stir in the vanilla extract. Allow the mixture to cool completely, stirring every few minutes.
- Whip Butter and Sugar: Add softened butter and granulated sugar to a stand mixer and whip until pale and fluffy. This should take about 5 minutes.
- Combine: Add the cooled milk mixture to the butter mixture and whip again until white and fluffy, about 3-4 minutes. Set the filling aside.
Tip!
The technical term for this fluffy white cream filling is Ermine Frosting. It’s also sometimes called roux frosting or boiled milk frosting, and it’s the perfect thing to replicate the airy sweetness of Ding Dong filling.
Fill the Cake
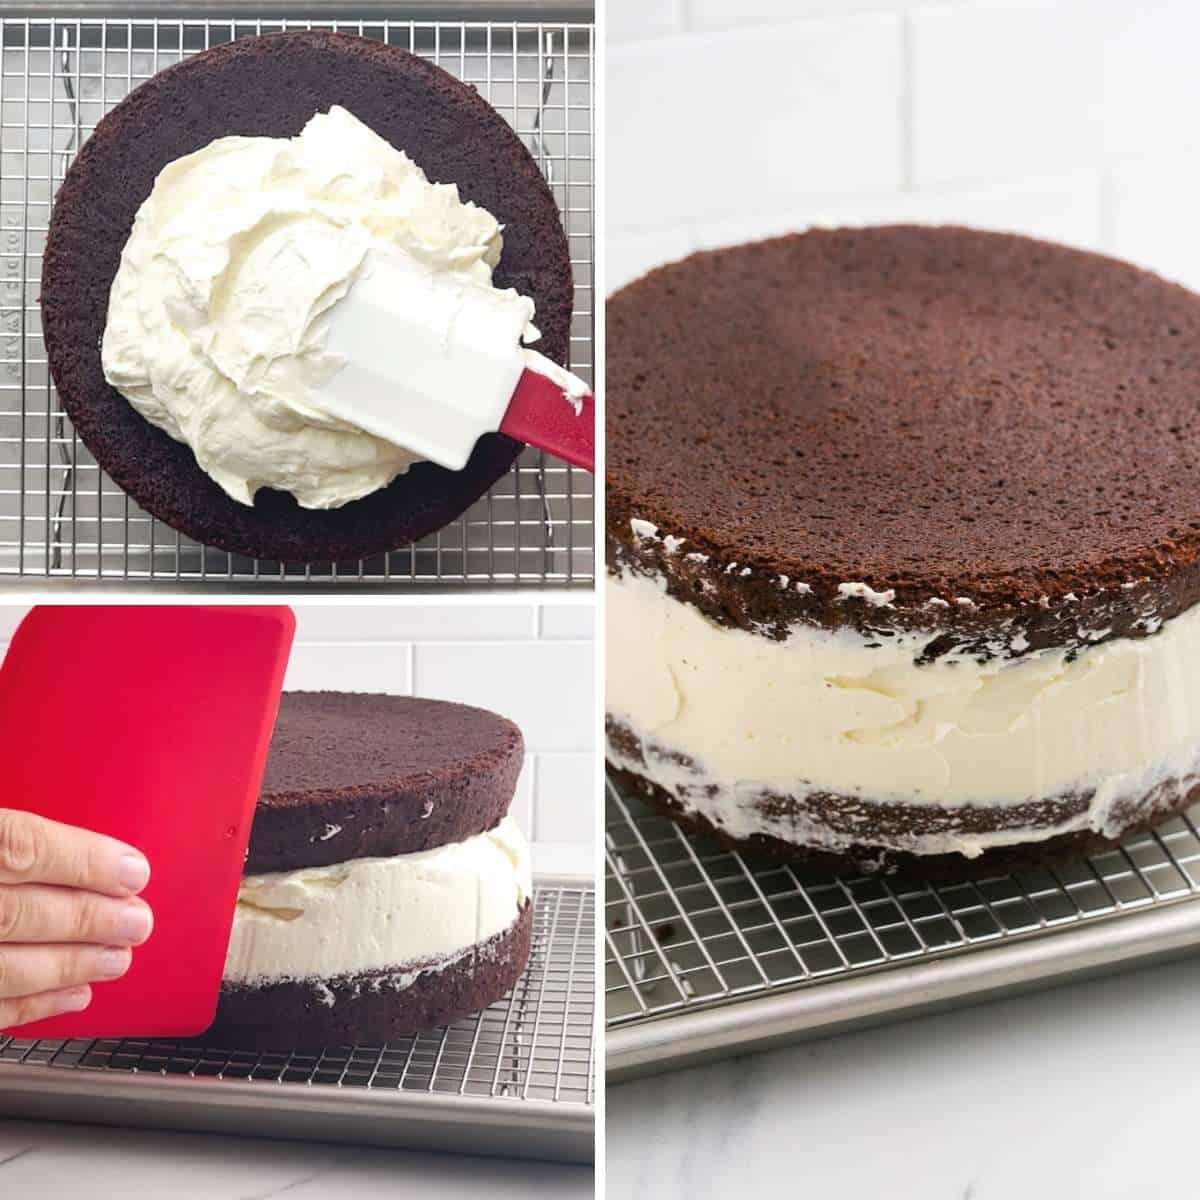
- Get Set: Leave the cakes on the wire rack, and place the wire rack on a baking sheet (this will catch any ganache drips later!). If needed, level the cakes.
- Add the Filling: Add all of the cream filling to one of the cakes and smooth it into a thick, even layer. Top with the other cake layer, and then level off the cream from the sides to create a smooth surface for the ganache.
- Chill: Allow the cake to chill in the fridge for at least 30 minutes before adding the topping.
Make the Ganache
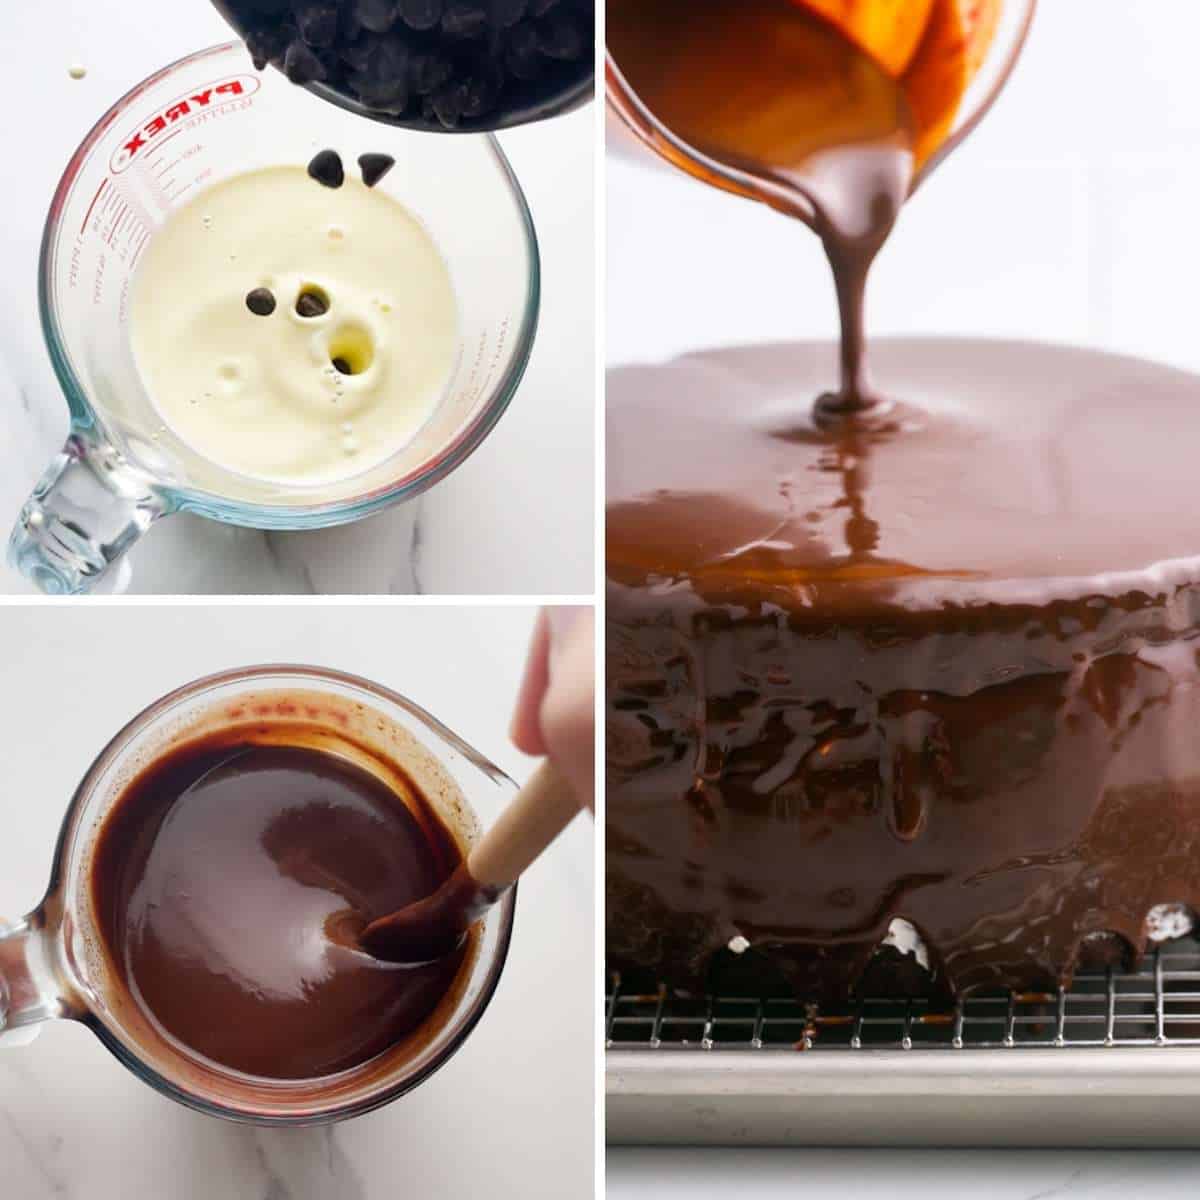
- Heat the Cream: Heat the cream in a small saucepan until steaming, but not boiling. Then add the chocolate to the cream and allow it to sit for 2 minutes. I like to do this in a glass measuring cup so it’s easy to pour later.
- Stir: Stir carefully until the mixture is smooth and no lumps remain. Stir in the corn syrup, and allow the ganache to cool to room temperature for at least 30 minutes.
- Cover: When the cake and ganache are both properly cooled, pour the ganache over the cake, using an offset spatula to slightly smooth the sides.
- Chill: Place the cake into the fridge for at least one hour to set the ganache. Slice while the cake is cold, and allow slices to sit at room temperature for 5-10 minutes before serving.
Recipe Tips
- Slice After Chilling: If you try to slice this cake when it’s not chilled, the cream filling will run out! Slice it after it’s been chilled.
- Serve at Room Temp: While you should store this cake in the refrigerator, and slice it while it’s cold, wait to serve the slices until they have sat at room temperature for 10-15 minutes.
- Measure Correctly: When following a cake recipe, it’s important to properly measure all of the ingredients. See all of my measuring tips and tricks if you need a reminder.
- Avoid Overmixing: An overmixed cake batter will turn into a tough cake after baking. Mix ingredients just until combined.
- Use a scale: To be sure that your layers are all the same size, use a kitchen scale to weigh the three bowls of batter.
- Level if needed: If your cakes come out domed you may need to level them using a serrated knife.
- The Best Cake Pans: The best cake pans for layer cakes are straight sided round pans. They will make removing the cakes easier, and the layers will rise evenly when baking. I use these non-stick pans and get great results every time.
- When Making Ganache, be sure not to stir it too vigorously. This can create air bubbles and keep you from getting the super smooth coating you’re looking to create. It’s also important to let the ganache cool to room temperature. It’s too liquidy when it’s hot.
- An Offset Spatula will help you to evenly spread the cream filling and the ganache for this delicious filled chocolate cake.
Did you make this? Be sure to leave a review below and tag me on Facebook, Instagram, or Pinterest!
Ding Dong Cake
Recipe Video
Equipment
- 8" inch cake pans
- Electric Hand mixer or Stand mixer
- Parchment paper circles
Ingredients
Cake:
- 1 ¾ cups (220 g) all purpose flour
- ½ cup (50 g) unsweetend cocoa powder
- 1 teaspoon baking soda
- 1 teaspoon baking powder
- ½ teaspoon salt
- ⅔ cup (11 tablespoons) (150 g) unsalted butter softened to room temperature
- 1 ¾ cup (350 g) granulated sugar
- 2 large eggs at room temperature
- 1 teaspoon (5 ml) pure vanilla extract
- 1 cup (240 ml) buttermilk at room temperature
- ½ cup (120 ml) hot coffee
Cream filling (ermine frosting):
- 1 ¼ cups (300 ml) milk
- ⅓ cup (30 g) all purpose flour
- 1 cup (250 g) unsalted butter softened to room temperature
- 1 cup (200 g) granulated sugar
- 1 teaspoon pure vanilla extract Use clear vanilla for a whiter filling
Ganache:
- 8 ounces (225 g) semi sweet chocolate bar chopped
- 1 cup (8 ounces) (240 ml) heavy cream
- 2 tablespoons (30 ml) light corn syrup
Instructions
Cake:
- Preheat oven to 350°F/180°C (160°C fan oven), grease and line two 8” baking pans with parchment paper and set aside. I like to use the pre cut parchment circles for convenience.
- In a medium bowl, combine flour, cocoa powder, baking powder, baking soda, salt and set aside.
- In a large bowl, beat butter and sugar until smooth and creamy (3 minutes), then add eggs and vanilla and beat on high speed for 2-3 minutes, until pale and fluffy
- Add half the flour mixture and half the buttermilk and beat, and repeat until flour and buttermilk has been used up
- Add the coffee and mix again until smooth.
- Divide the batter between the two prepared pans and bake for 35 minutes, or until a toothpick inserted in the center comes out clean
- Allow to cool 5 minutes in the pan, then turn out onto a wire rack to cool completely.
Cream filling:
- In a medium saucepan, whisk together the flour and milk over medium heat and bring to a simmer, stirring constantly until it’s thick like roux. Remove from heat and stir in the vanilla.
- Allow the mixture to cool completely, stirring every few minutes.
- In the bowl of a stand mixer, whip the butter and sugar until pale and fluffy, about 5 minutes.
- Add the cooled milk mixture and whip again until white and fluffy, about 3-4 minutes; set aside
Ganache:
- Heat heavy cream until steaming (not boiling! As it might separate), add the chocolate to the cream and allow to sit for 2 minutes. I like to use a little jug to easily pour the ganache over the cake.
- Carefully stir until the mixture is smooth and no lumps remain.
- Stir in the corn syrup and allow to cool to room temperature (at least 30 minutes)
Assembly:
- Level the cooled cakes if necessary (but this chocolate recipe makes even cakes, maybe if the temp of the oven is too high, people can get domed cakes), keeping them on the wire rack, place wire rack overtop of a baking sheet
- Add all the cream filling to the top of one cake and smooth it into an even layer, top with the second cake layer, then level off the cream from the sides (this will make the ganache sit nicely and the cake will have smooth edges). and place into fridge to chill for at least 30 minutes.
- Pour the cooled ganache over the cake, you can use as offset spatula to gently guide the chocolate to all sides of the cake, and to smooth the sides slightly
- Place cake into the fridge to set the ganache, about one hour. Slice and serve.
Notes:
- Slice After Chilling: If you try to slice this cake when it’s not chilled, the cream filling will run out! Slice it after it’s been chilled.
- Serve at Room Temp: While you should store this cake in the refrigerator, and slice it while it’s cold, wait to serve the slices until they have sat at room temperature for 10-15 minutes.
- Avoid Overmixing: an overmixed cake batter will turn into a tough cake after baking. Mix ingredients just until combined.
- Use a scale: To be sure that your layers are all the same size, use a kitchen scale to weigh the three bowls of batter.
- Level if needed: If your cakes come out domed you may need to level them using a serrated knife. This recipe shouldn’t dome too much though!
- When Making Ganache, be sure not to stir it too vigorously. This can create air bubbles and keep you from getting the super smooth coating you’re looking to create. It’s also important to let the ganache cool to room temperature. It’s too liquidy when it’s hot.
- To Store: Keep Ding Dong cake covered in the refrigerator for up to 3 days. You can also store individually wrapped slices of cake for up to 3 months.
Nutrition Information
This website provides approximate nutrition information for convenience and as a courtesy only. Nutrition data is gathered primarily from the USDA Food Composition Database, whenever available, or otherwise other online calculators.
© Little Sunny Kitchen
Storing Tips
Store homemade Ding Dong Cake in the fridge. It should stay fresh this way for at least 3 days if stored in an airtight container.
You can freeze ding dong cake as well! I suggest freezing individual slices, wrapped with plastic wrap, and then placed into a zip-top bag. When ready for a slice of cake, pull one out and let it come to room temperature on the counter.
FAQs
I love my classic chocolate cake recipe – It’s the one I use for this Sunflower Peep cake, and my Halloween Graveyard Cake. I’m not using that recipe here though! This recipe for Ding Dong Cake is a bit different, made more moist and rich to better mimic the flavor and texture of a Hostess Ding Dong.
No, you won’t taste the coffee in this cake. The coffee works to make the flavor of cocoa powder extra rich though, so don’t skip it!
This recipe makes a perfect 8-inch cake. While you could make it in a different size, you would need to scale the recipe to fit. I haven’t tested this as a sheet cake or any other sizes.
Ding Dong Cake is SO good, you should definitely make this recipe right away! If you can’t make it right away, be sure to Pin it so you can find it later.


Rachael Messmer says
Made this today and my family absolutely loved it!!!! This will go on our rotation! You do have to be willing to devote some time but it was totally worth it!!
Pj says
The cream is addictive
Chad Dore says
Made this yesterday, love the results. I had trouble spreading the Ganache in the beginning even when cooled off it was still very thin. I let it run off the sides and then after 30 min in the fridge I could spread it better. Overall the cake is really good after its been chilling in the fridge for like 4-6 hours. It holds together really well and all flavors fit nicely together, much better than it was after just an hour or two. First recipe I’ve ever done to this much detail, I enjoyed it, it was a lot of work but worth it. Looking forward to trying some more.
Valerie says
Disappointed in results. I am an experienced baker and followed directions exactly. The instructions for Step 4 on the cream filling say to “whip” roux mixture and the butter mixture together, but in this process it curdled and got lumpy/grainy. I was hoping that the mixture would thicken, but it was not thick enough to hold its shape. I chilled and then spread it on and had to freeze it before proceeding. I wish I had used clear vanilla so that it retained its super white color. Will not make again. Too temperature sensitive to take anywhere.
Diana says
Thank you for trying the recipe and for your honest feedback. I’m sorry to hear that the cake didn’t turn out as expected. This recipe has been a favorite among many readers, and I receive a lot of positive comments about it. However, I understand that every baking experience is unique, and I appreciate you bringing your experience to my attention. If the cream filling became curdled and grainy, it might be due to temperature differences between the roux and the butter mixture. They should both be at room temperature to combine smoothly. The color can vary depending on the type of vanilla used, and I’ll note that in the recipe for others who prefer a whiter cream filling. I’m here to help troubleshoot if you’re ever willing to give it another try, or I have many other recipes that might suit your tastes and expectations better.
Jes says
This was delicious. My only thing I changed was that I added a little extra vanilla in the filling.