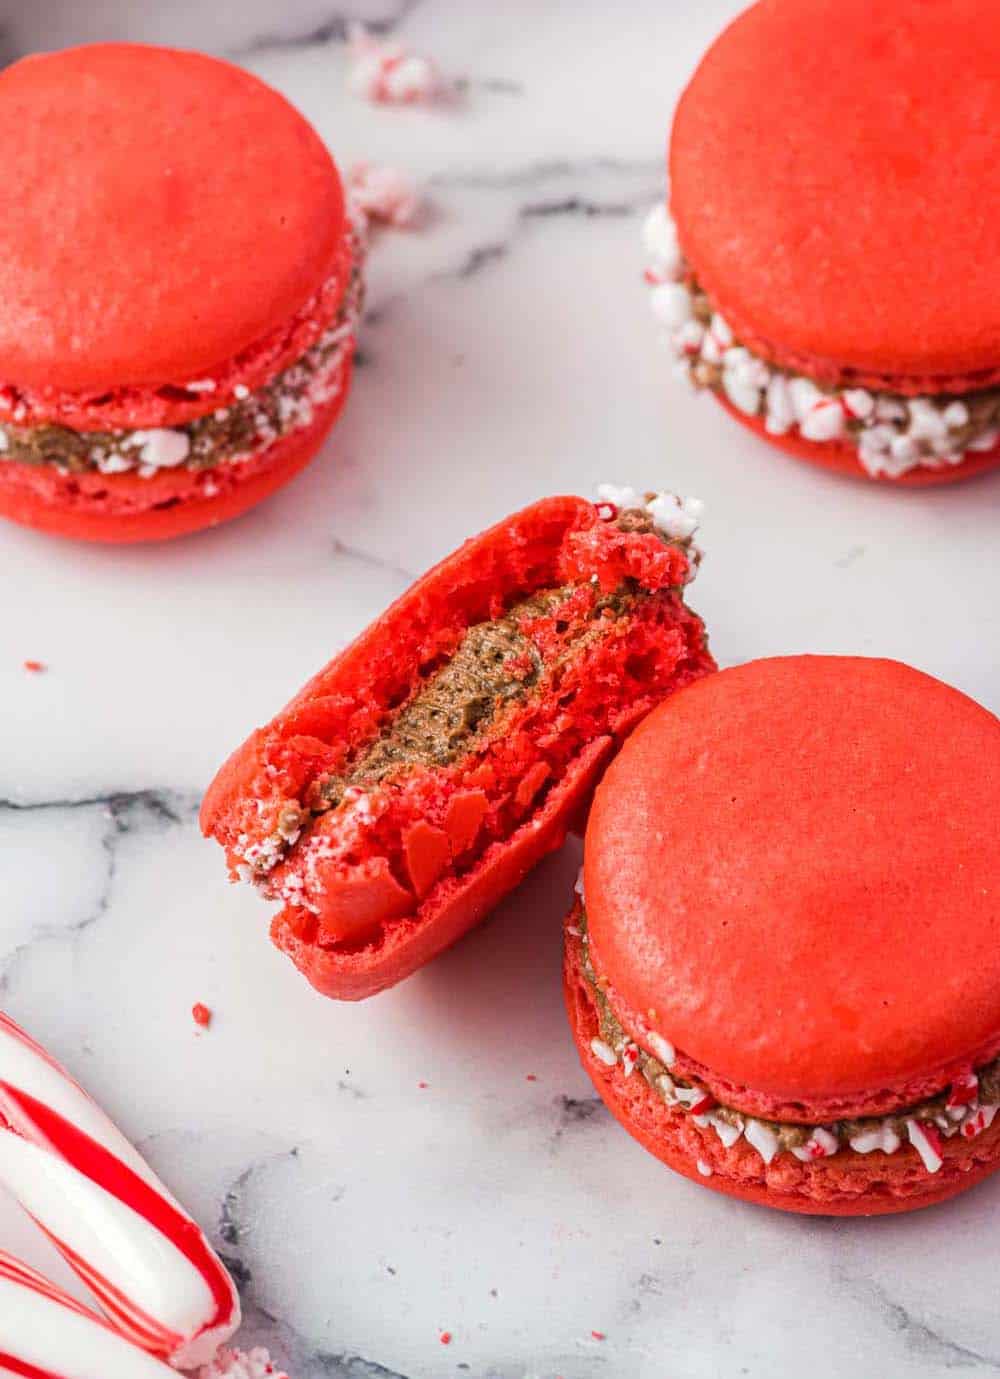
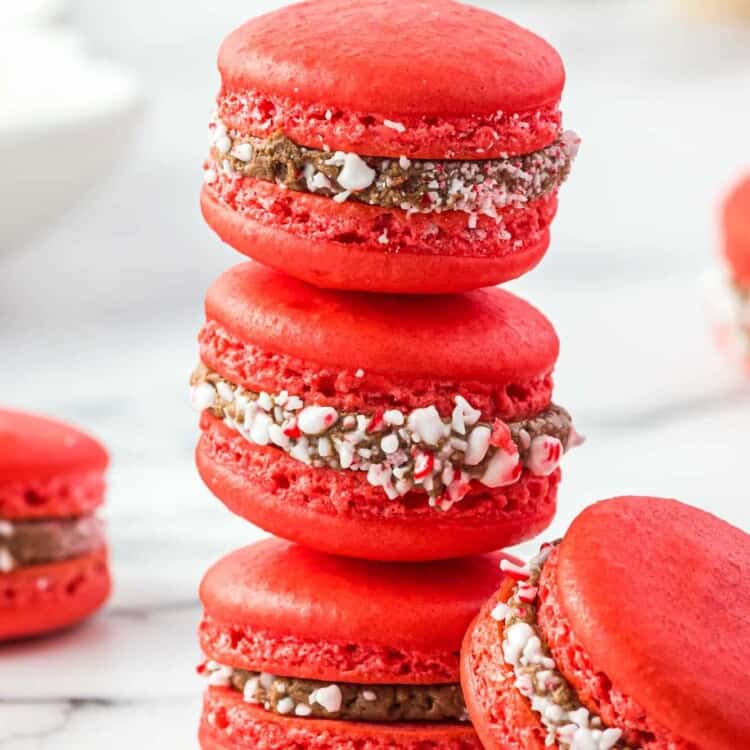
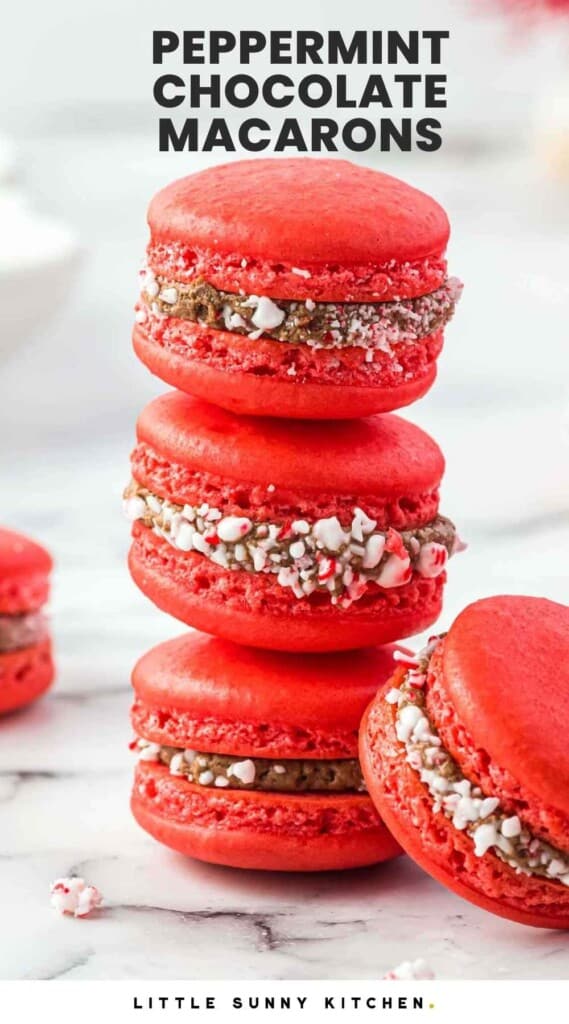
If you want to serve the most impressive holiday cookie, you need to make these delicious Christmas Macarons! These classic French Macarons are festively flavored with chocolate and peppermint. Use my step-by-step tutorial to get perfect peppermint chocolate macarons with full shells, smooth tops, and perfect feet!
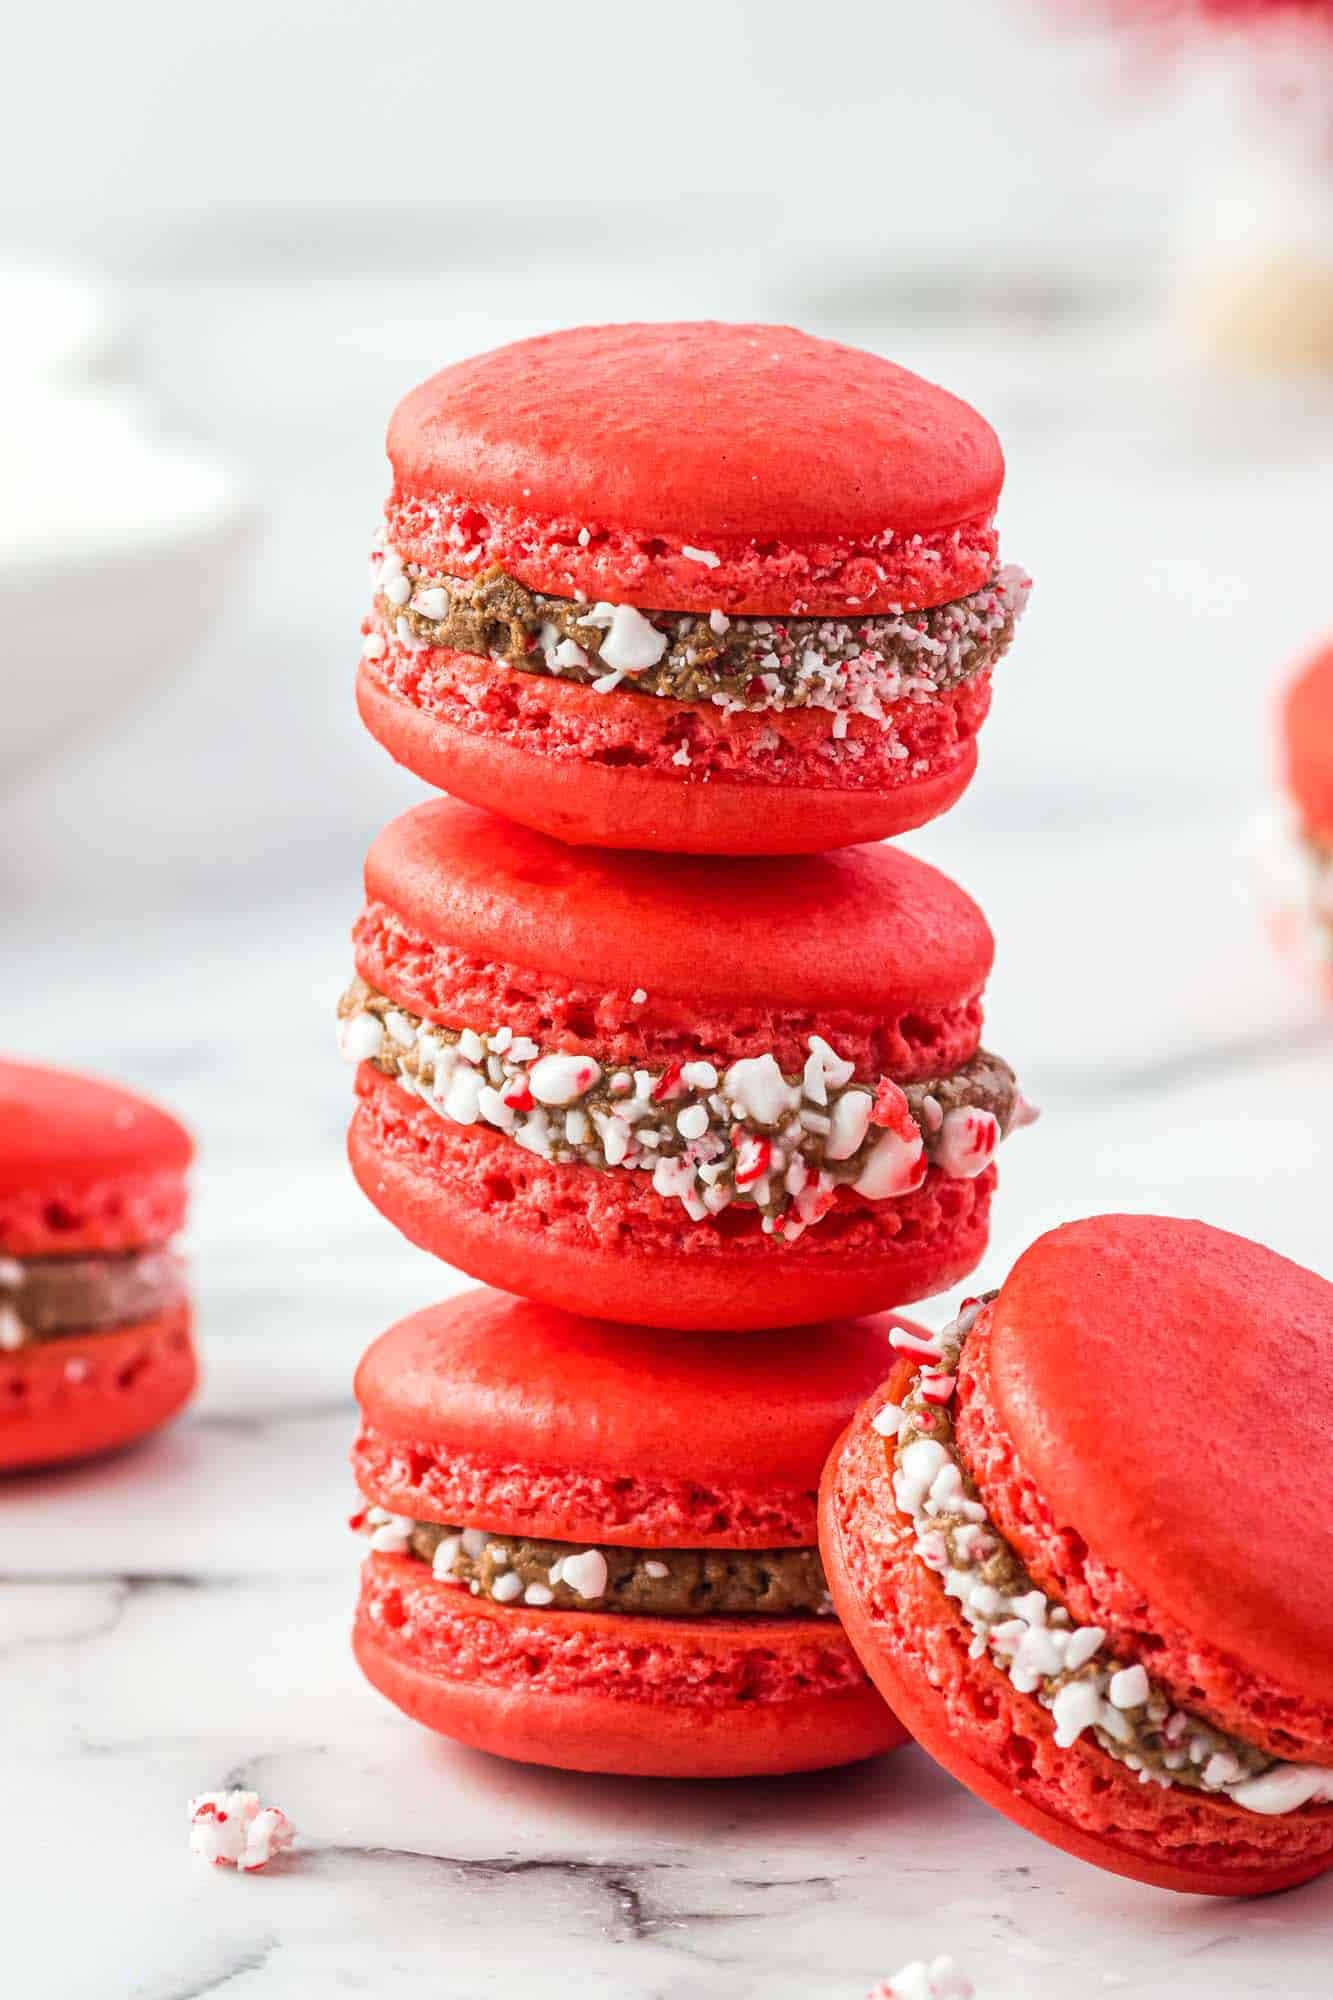
Baking French Christmas Macarons takes time, patience, and attention to detail. All of that is worth it when you take the first bite of your perfect chewy yet lightly crunchy macarons that you made yourself.
Read through the recipe here a few times, and follow each step exactly in order to get the best results.
I have another amazing macaron recipe! These Chocolate Macarons are filled with Nutella buttercream.
Why You’ll Love This Recipe
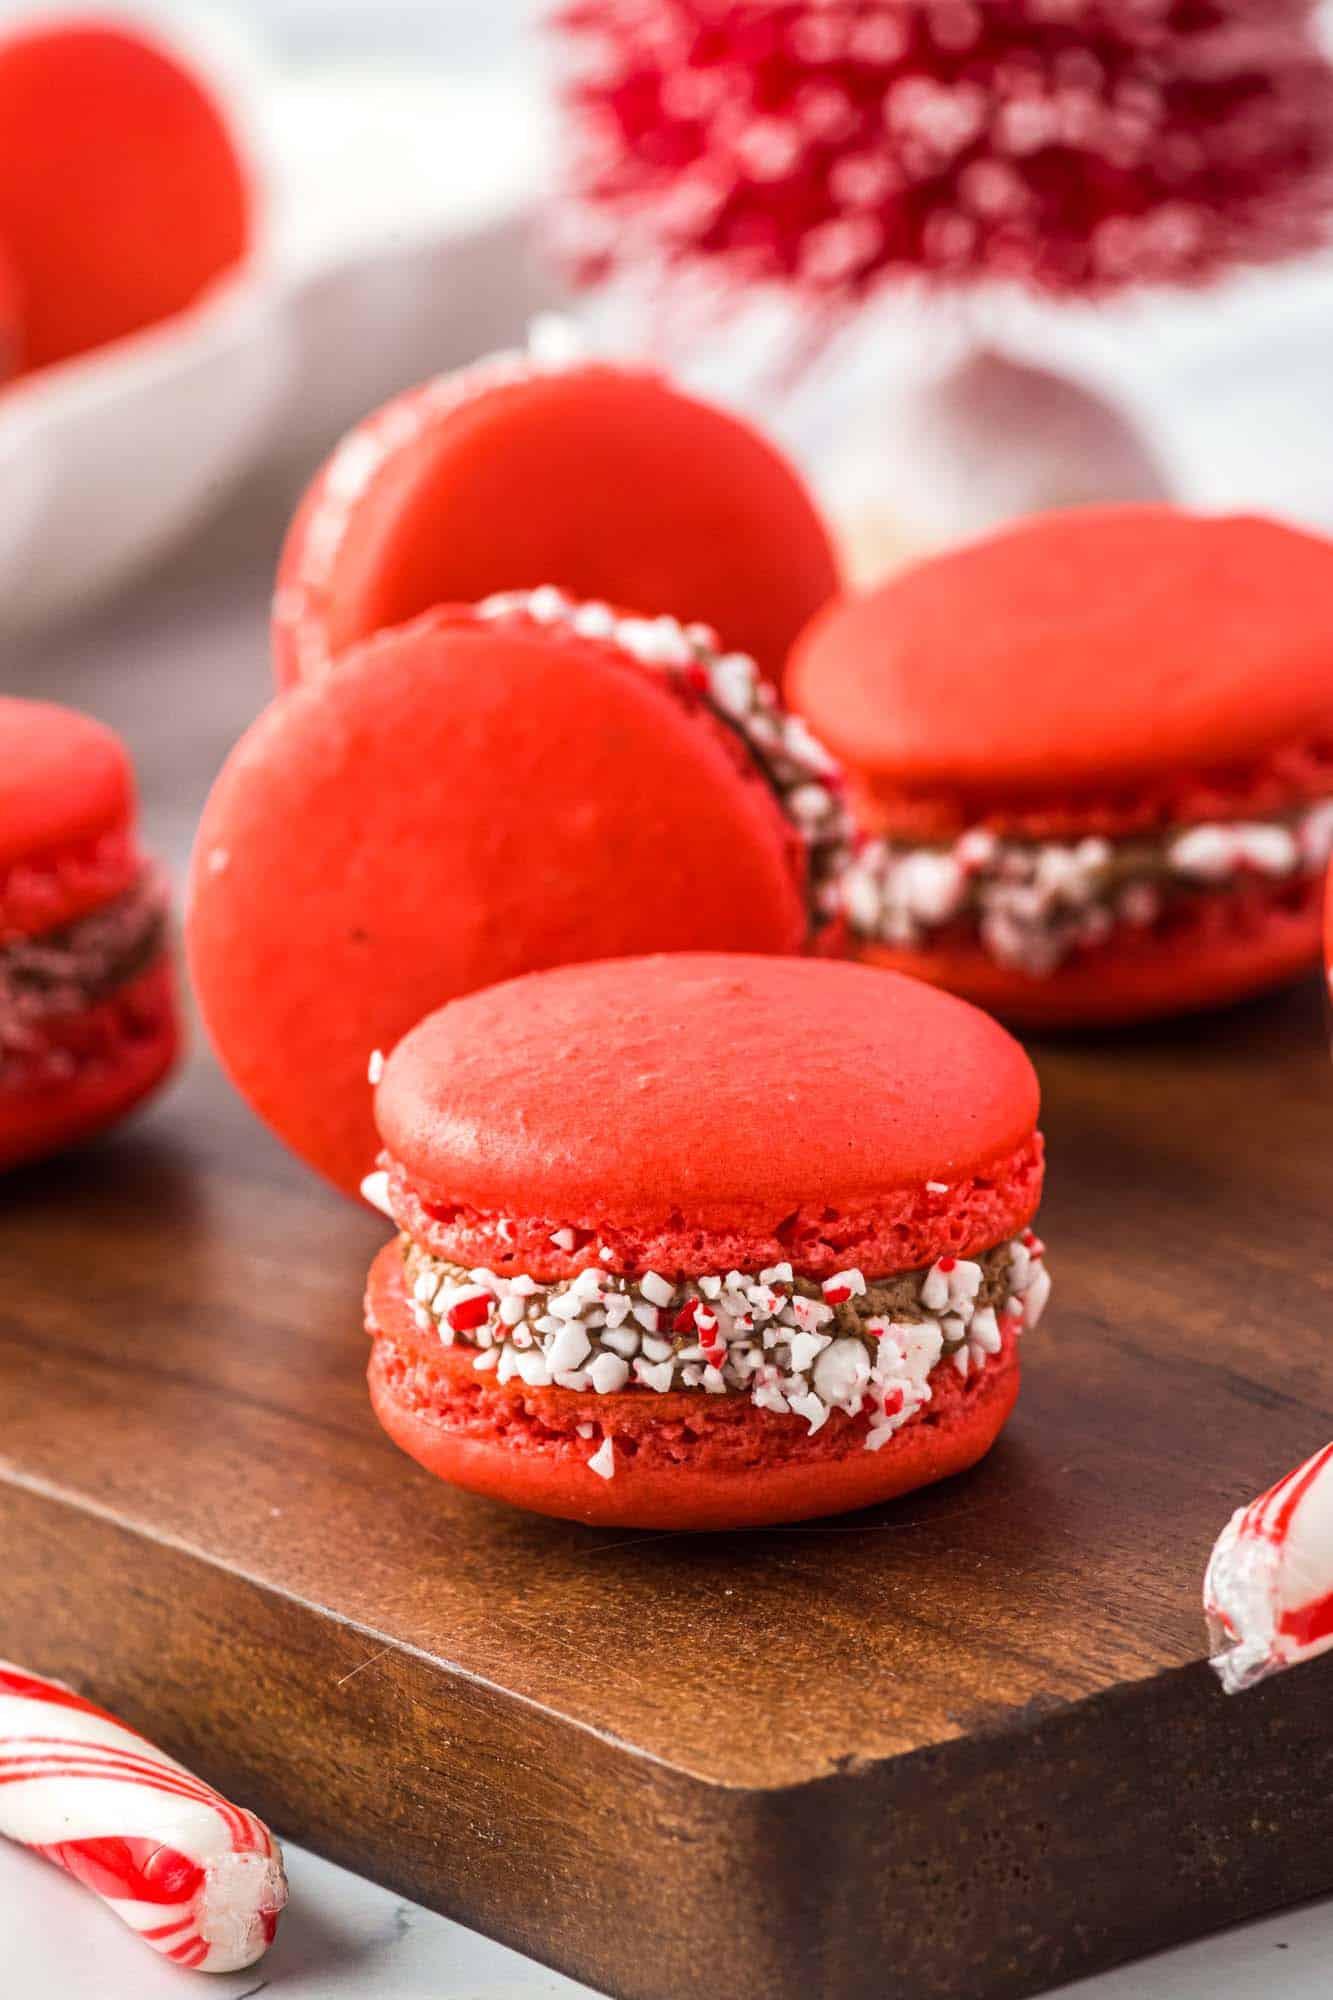
- High-End Bakery Results: These macarons that you make yourself will be just as good as anything you buy in a fancy bake shop. Why pay for Christmas macarons when you can make them yourself?
- Holiday Themed: Peppermint chocolate buttercream and candy cane pieces go wonderfully with the season, and a bit of food coloring makes these red macarons the centerpiece of your holiday dessert table.
- Easy Instructions: I’ve perfected my macaron game, and I will share all of my tips and tricks with you so that you can make the perfect macarons too.
Key Ingredients
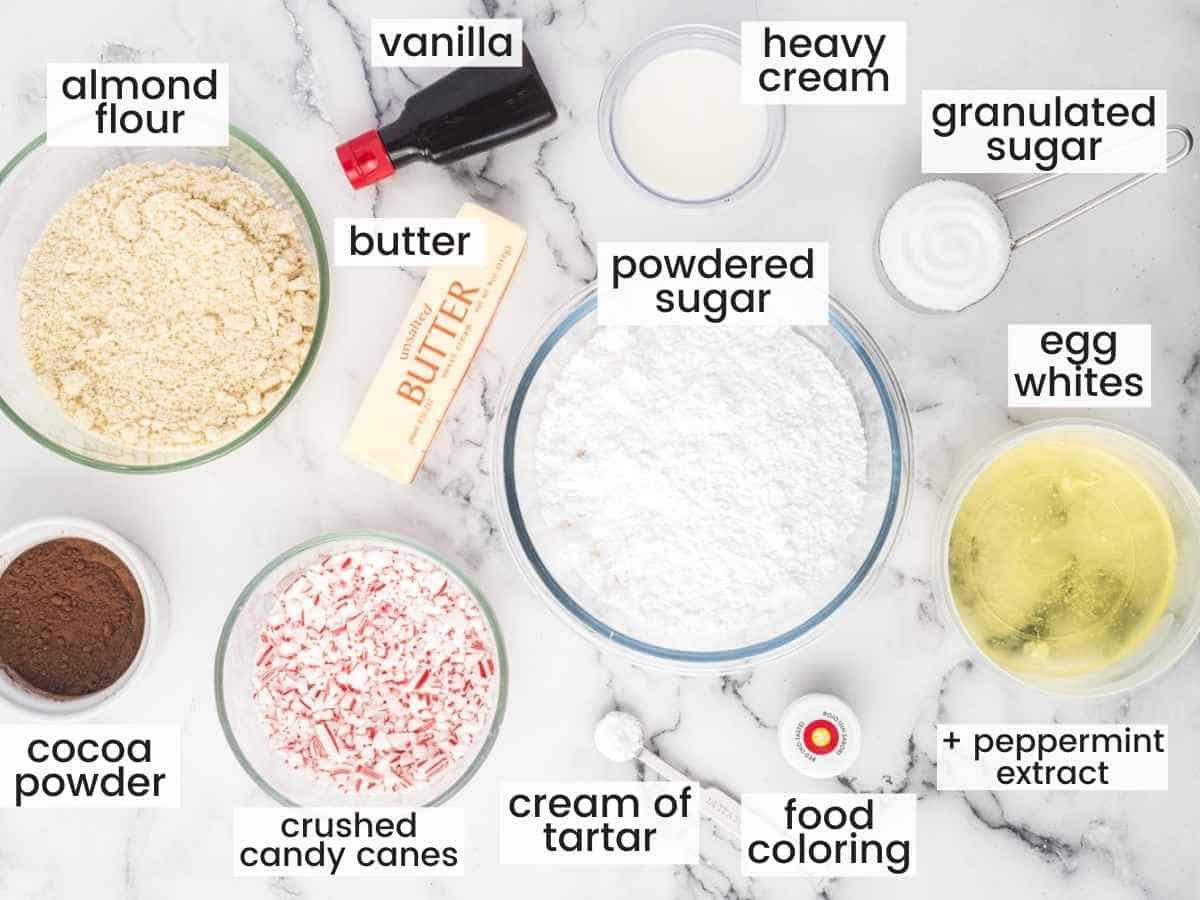
Complete list of ingredients and amounts can be found in the recipe card below.
- Almond Flour: For making the perfect macarons, it is important that you use FINE almond flour, and that you sift it very well after measuring. Measure your flour and sugars by weight rather than volume for the best results.
- Powdered Sugar: This finely milled sugar is sifted in with the almond flour and keeps our macarons nice and light.
- Egg Whites: You’ll need the whites only from 3 large eggs. Allow your egg whites to come to room temperature before mixing.
- Cream of Tartar: This helps to stabilize the egg mixture.
- White Sugar: Yes, there are two types of sugar in this macarons recipe. Both are used differently, and both are important.
- Peppermint Extract and Red Gel Food Coloring: These items take our macarons from plain and typical to tasty and festive! You can leave the food coloring out if you prefer.
- Peppermint Chocolate Buttercream Filling: You can’t have a macaron without a creamy and delicious filling! Butter, sugar, cocoa powder, and more peppermint extract create the most decadent Christmas macaron filling ever.
- Crushed Candy Canes: Crunchy bits of peppermint candy surround the edges of these peppermint macarons.
Macaron Preparation Tips
Often I share recipe tips after I explain the recipe, but for macarons, there are some things you’ll want to know upfront and ahead of time.
- Avoid Grease and Oil at all costs. One speck of egg yolk, cooking oil, or even oils from your skin can disrupt the whipping of the eggs. Be very certain that your hands, tools, and bowls are washed well, and avoid using plastic mixing bowls. Carefully separate your eggs to be sure that you’ve removed the yolks cleanly.
- Don’t Make Macarons if It’s Raining. Humidity in the air will make it difficult to get really perfect macarons.
- Measure by Weight. I’ll give you approximate volume measurements for the ingredients in the recipe card below, but for perfect macarons, the ingredients should be measured by weight using a kitchen scale. You have much more control of the amount of ingredients this way.
- Age the Egg Whites. This is a recommendation, but it’s not required. I do find that aging the egg whites helps to ensure better results overall, as it reduces the amount of water in the eggs. Do age egg whites, simply measure them out, cover them with plastic wrap, and place them in the fridge for at least a day. Allow the egg whites to come to room temperature before mixing.
How to Make Peppermint Macarons
Stay with me here! There are a lot of steps, and each is important to achieving macaron success. Follow along and your Christmas macarons will be amazing.
- Sift: Using a large sieve, sift the almond flour and powdered sugar together into a large bowl. Then sift the mixture a second time into another large bowl. Set aside.
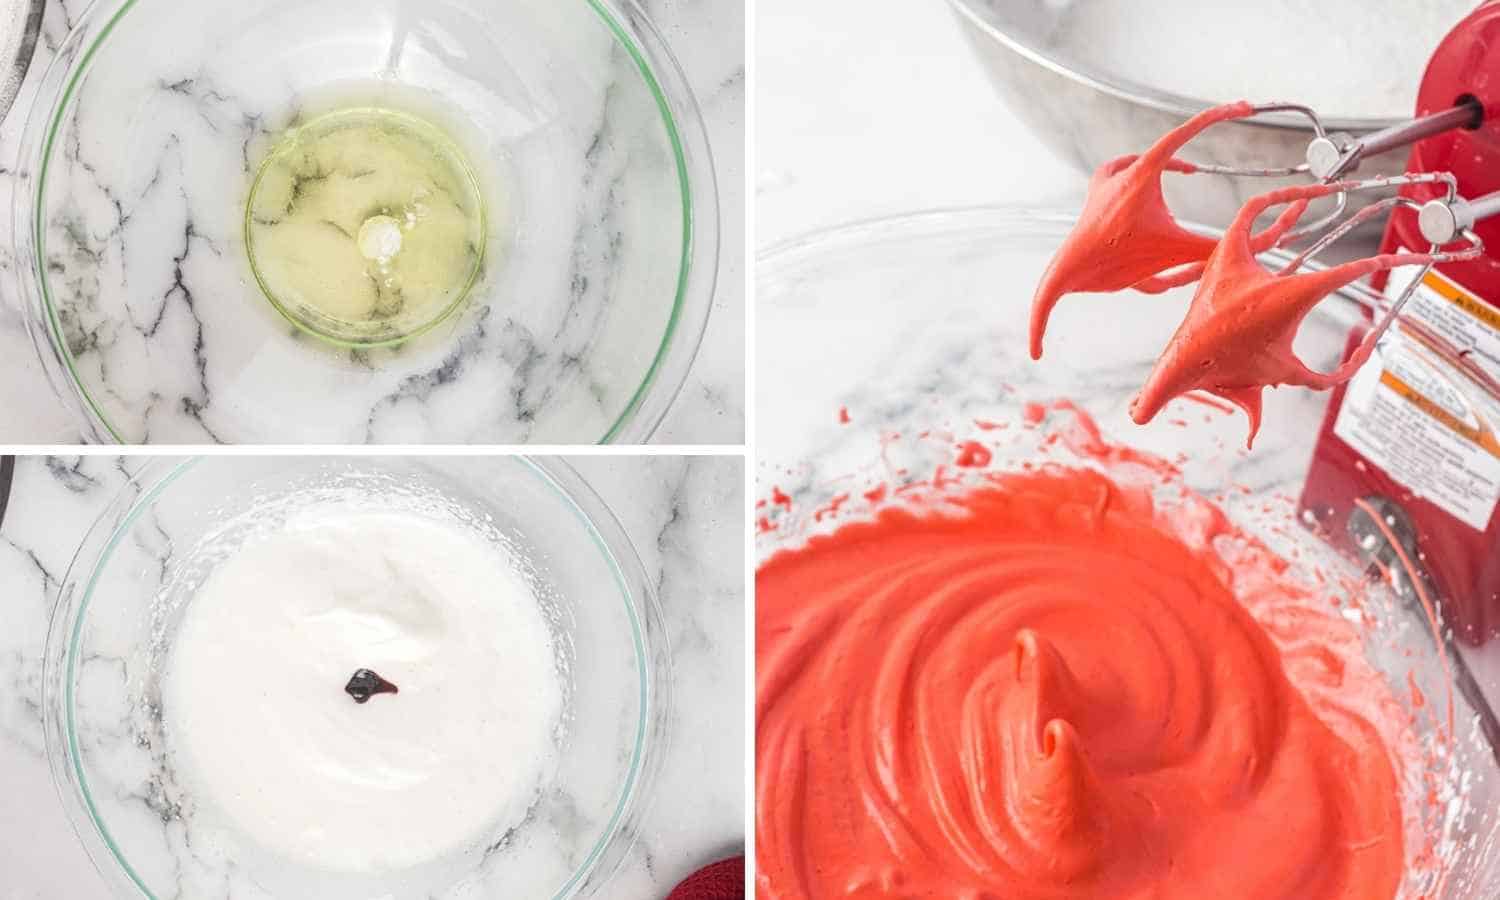
- Beat Egg Whites: In a large bowl, pour in the egg whites and cream of tartar. Beat the egg whites on medium-low speed until soft peaks form.
- Add Sugar: Add the granulated sugar to the eggs. Continue beating until the mixture almost reaches stiff peaks.
- Add flavor and color: Add the red gel food coloring and peppermint extract and beat until stiff peaks form, and you can tip the bowl upside down and nothing falls out.
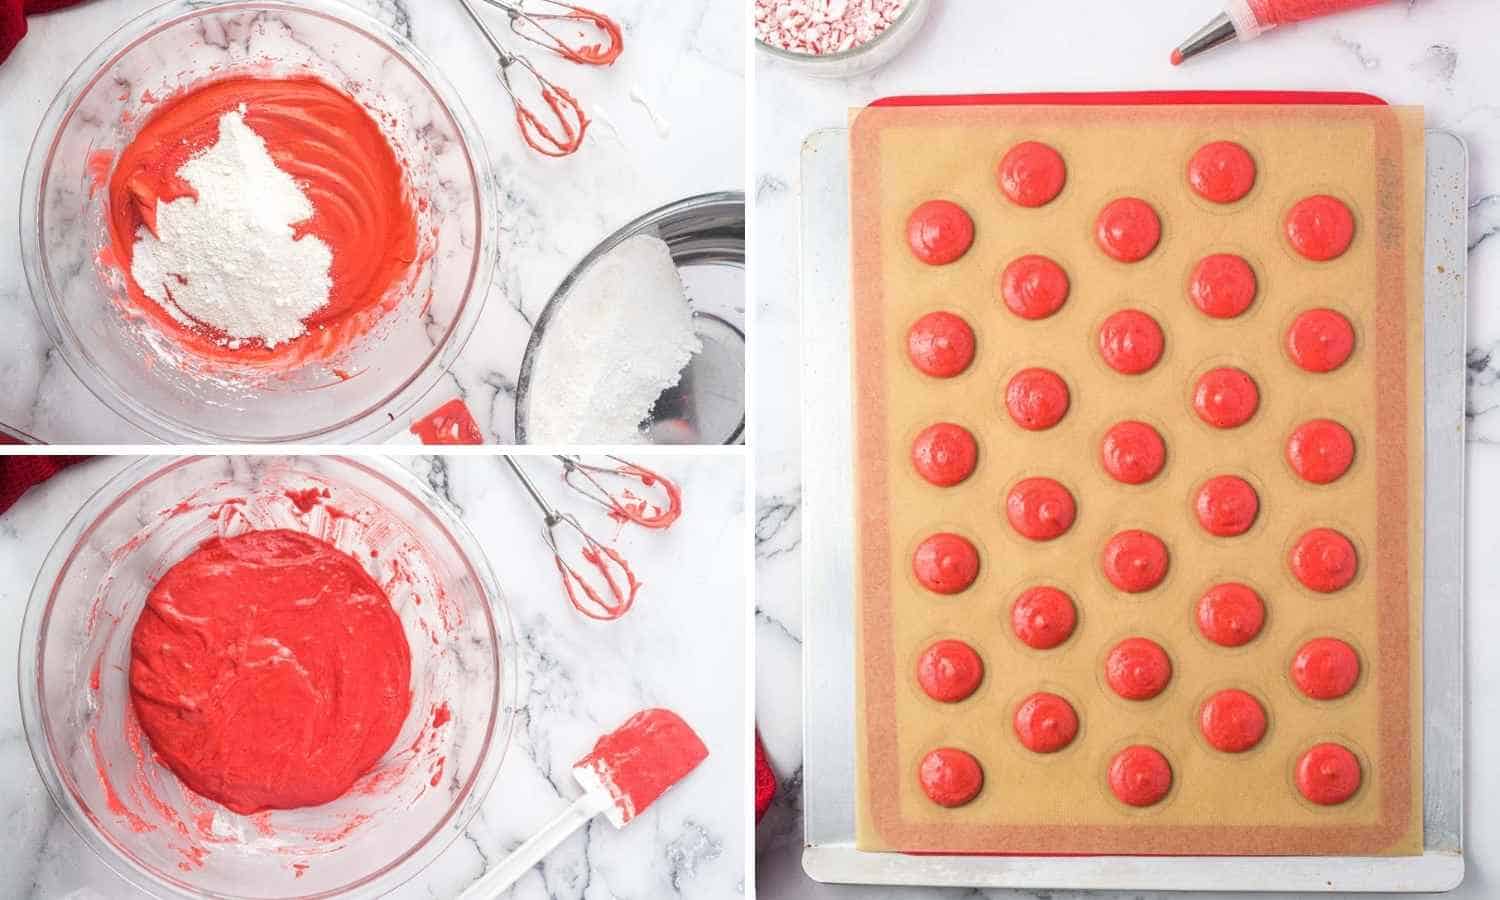
- Fold: Fold in a third of the dry ingredients to the egg white mixture with a spatula until completely mixed. Fold in the rest of the ingredients until the batter can run off the spatula forming a “figure-8” without breaking. Be careful not to overmix the batter or you will lose air bubbles from the egg whites.
- Pipe: Scoop the batter into a large piping bag fitted with a large round tip (I used a Wilton 2A tip). Pipe 1 – 1 ½ inch circles onto parchment-lined baking sheets, leaving about 1 – 2 inches between each macaron. You can also use a silicone macaron mat.
- Tap: Tap the pan on the counter at least 5 times to release air bubbles to the top of the macarons. Use a toothpick to pop any bubbles on the surface.
- Rest: THIS IS IMPORTANT! Allow the macarons to rest in a dry area for 30 minutes to an hour until the tops of the macarons are no longer tacky to the touch.
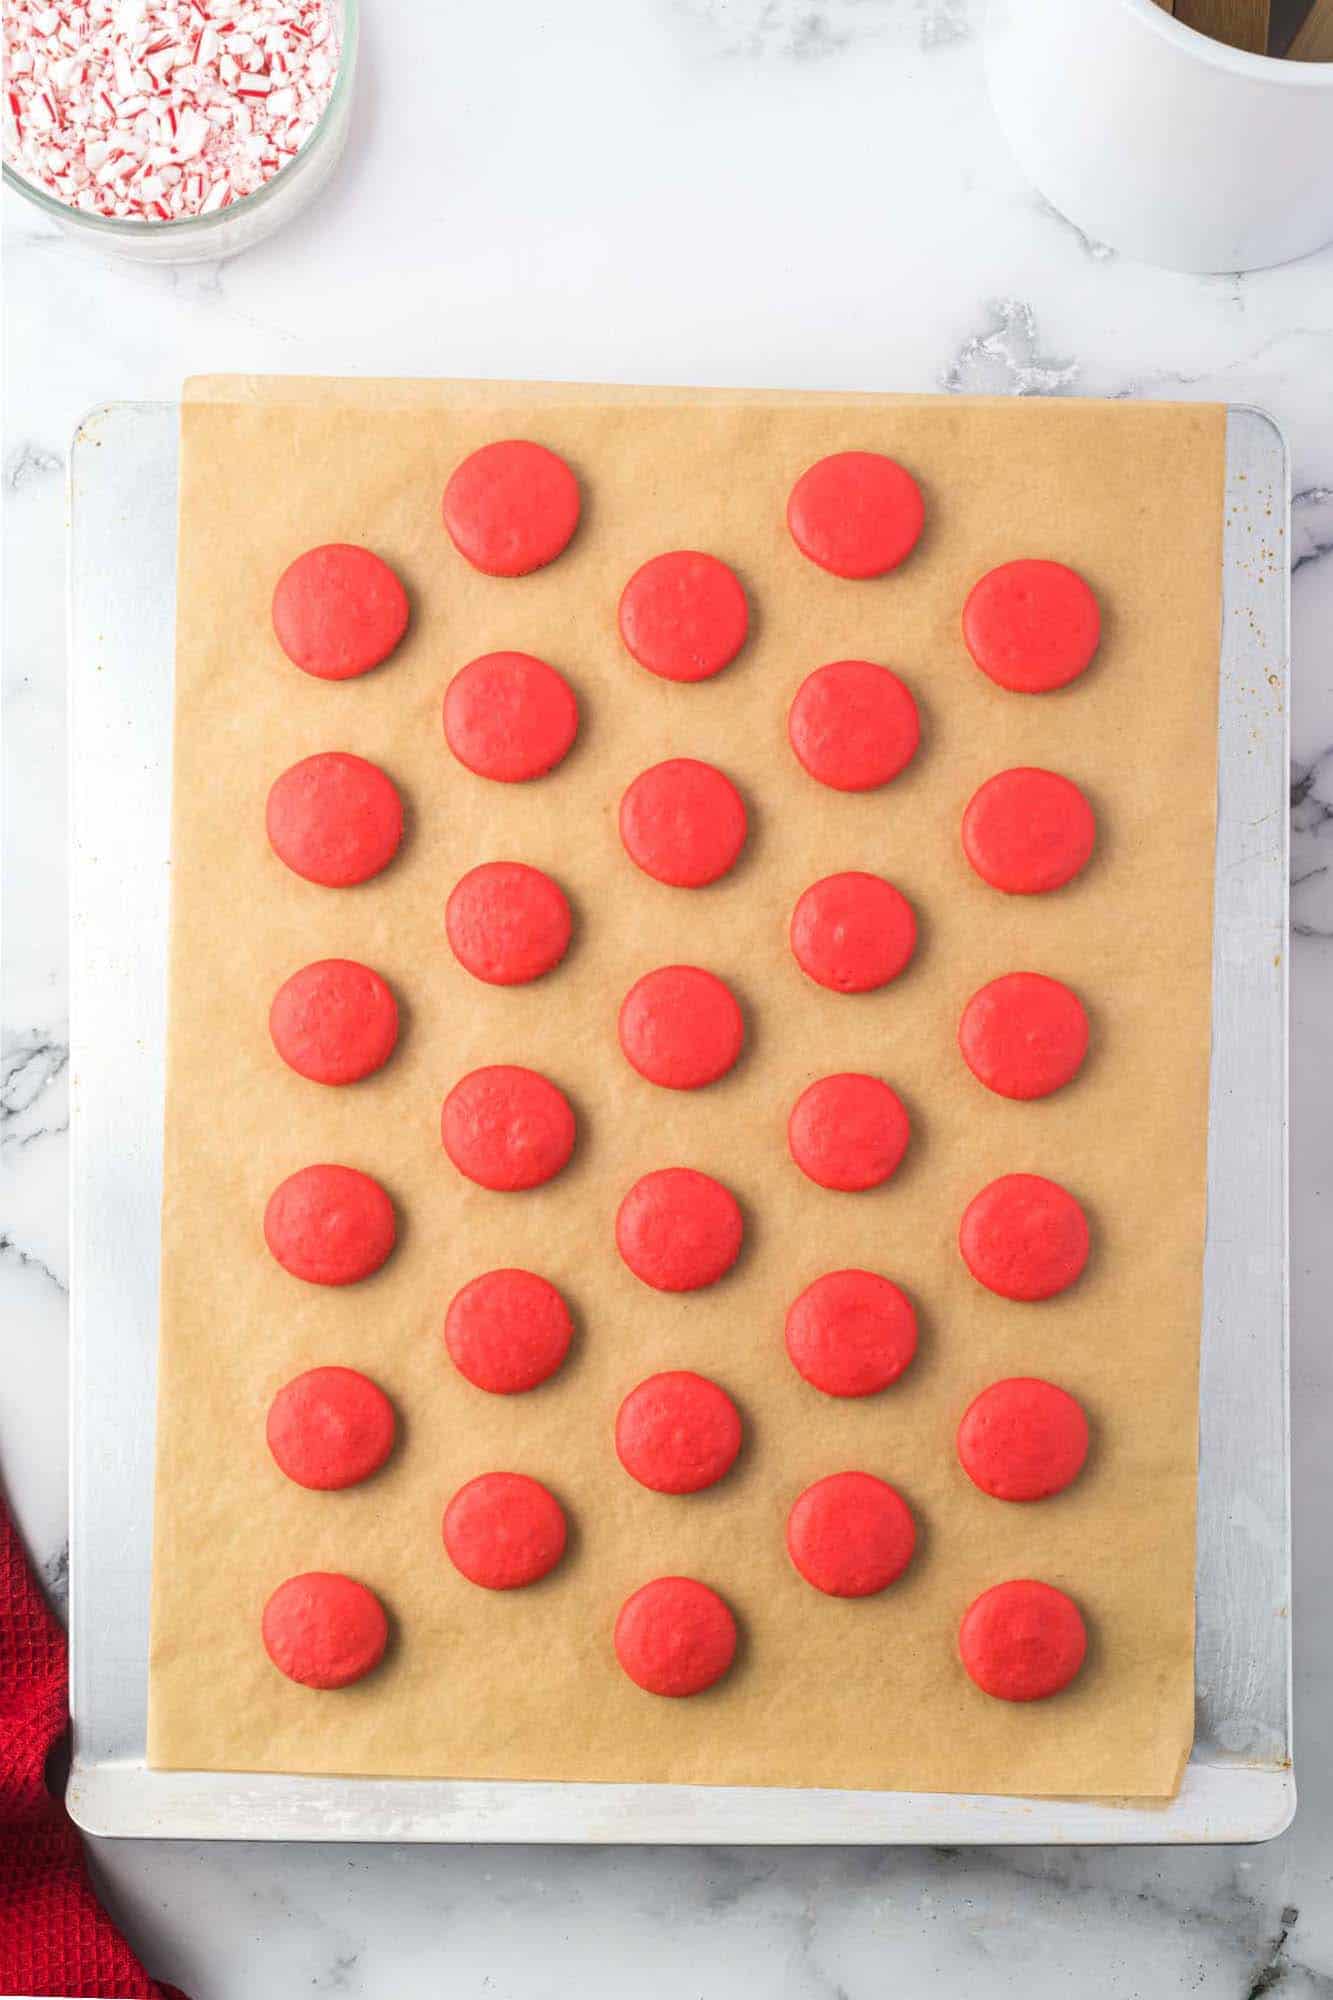
- Preheat: Preheat the oven to 315°F/157°C.
- Bake: Bake the macarons, one cookie sheet at a time, for 17 minutes. The cookies should rise and form “feet” as they bake.
- Cool: Let the macarons cool on the pan set on top of a cooling rack for 10 minutes. Then remove the pan, keeping the macarons on the parchment paper, and leave on the cooling rack until completely cool, at least 10 more minutes. The macarons should peel off of the parchment paper leaving little to no cookie residue on the parchment paper.
Tip!
A stand mixer makes macaron making a lot easier, but you can make this recipe using a handheld mixer too!
Are you still with me? That was a lot! But you did it. Next, we will make a delicious chocolate peppermint buttercream macaron filling. Then we will sandwich our macarons to finish them.
Peppermint Chocolate Buttercream Macaron Filling
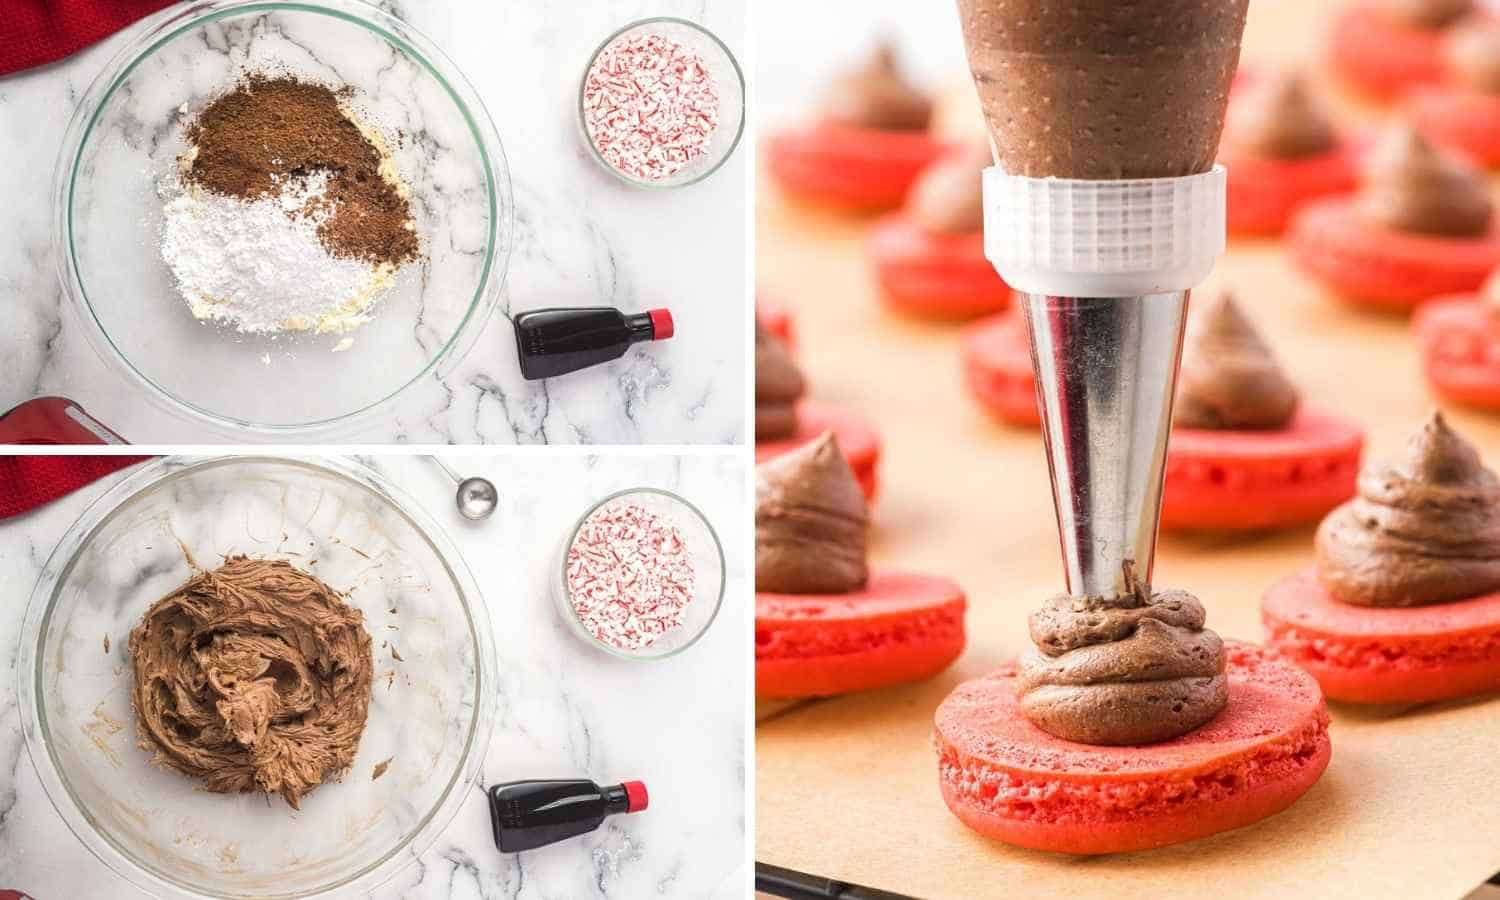
- Cream: In a large mixing bowl, cream the softened butter with a handheld mixer on medium speed. Gradually add the powdered sugar until it is well mixed with no lumps.
- Mix: Add the cocoa powder, and mix until completely incorporated. Then add the peppermint extract and 1 tablespoon of heavy whipping cream. Mix well on medium speed. If the buttercream is still thick or clumpy, add in a second tablespoon of cream. Mix until the texture is smooth and creamy.
- Fill Shells: Add the buttercream to a piping bag and pipe the buttercream on the flat side of half of the macaron cookies. Then place the other half of the macarons on top of the buttercream to form a macaron sandwich.
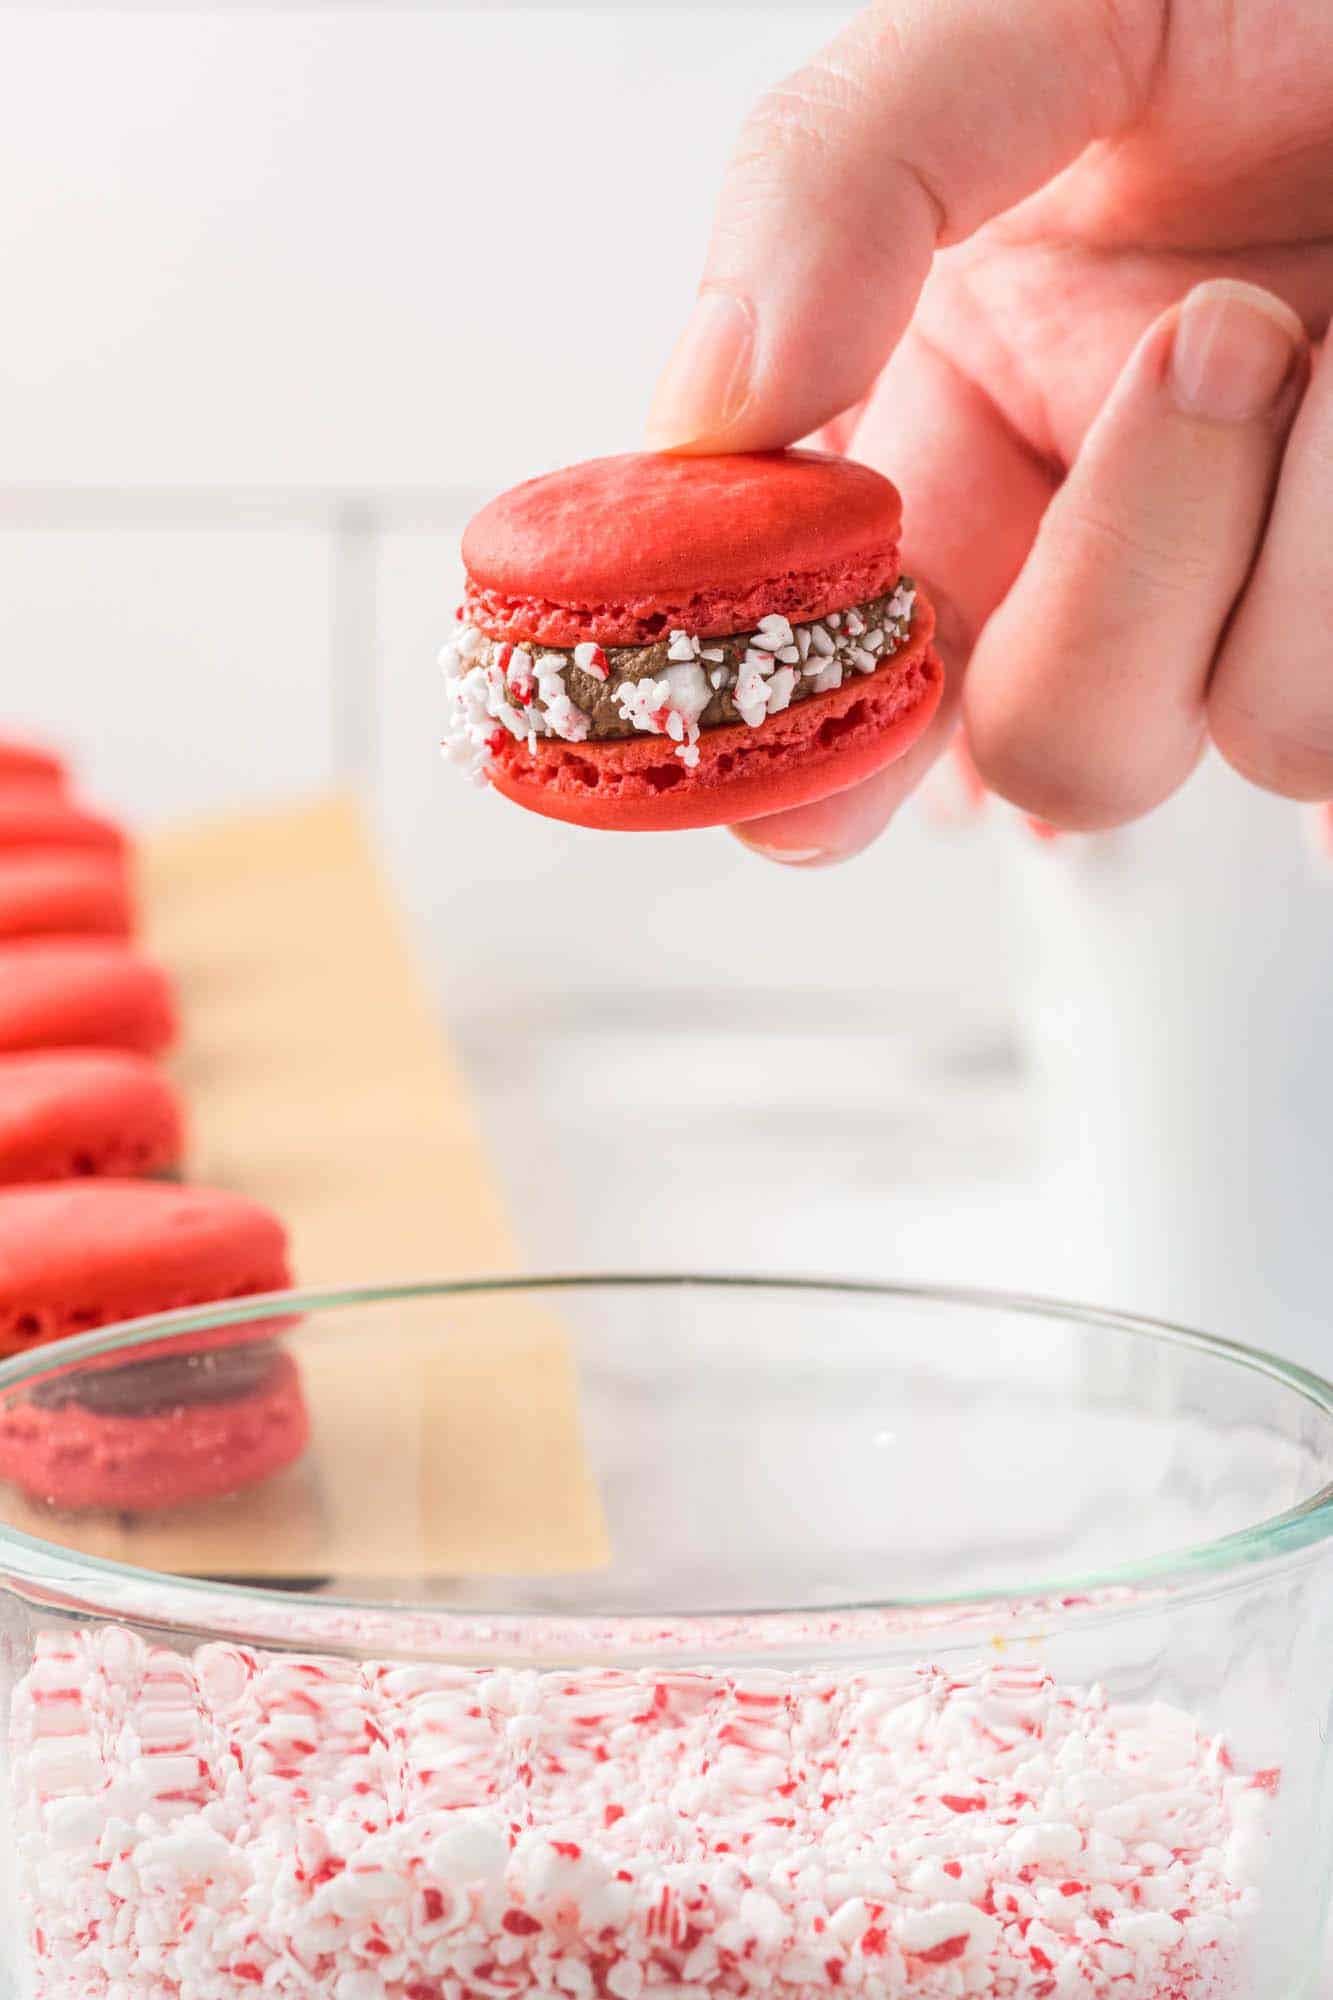
- Candy canes! Roll the macarons in the crushed candy canes to coat the edges.
Tip!
Don’t want to roll the cookies into the candy canes? Use a spoon to press the crushed candy into the edges of the cookies instead.
More Macaron Recipe Tips
Use Gel Food Coloring: Liquid food coloring is not ideal for macarons, as any extra liquid can affect how the eggs whip up.
Be Sure to Let them Rest: The step of letting the piped macarons rest before baking them is very important. This allows the tops to dry, which will make them smooth after baking. I usually set mine under my oven hood to help with drying them out.
Check the oven temperature: You can’t always trust that your oven is the temperature it says it is. For me, my oven often takes much longer than the preheating time to actually get up to temp. An oven thermometer will take all the guesswork out of that.
Don’t Open the Oven: This is true of any type of meringue. Opening the oven can cause forceful airflow and a change in temperature that can interrupt and mess up everything! You can start checking by gently opening the oven after 15 minutes.
Macaron Cookie Troubleshooting
Have a problem with your macarons? No worries, you can learn what happened and do it differently next time!
- Hollow shells – egg whites are over whipped, or batter is overmixed.
- Deflated shells – didn’t use kitchen scales, or the oven door was opened too early.
- Soft collapsing shells – oven temperature is too low, or not baked for long enough.
- Uneven or lumpy shell tops – ingredients not sifted well, too many coarse bits in the almond flour.
- Shells with no feet – the batter was too wet, or shells didn’t have enough time to set and dry out before baking.
- Shells are too high – oven temperature is too high.
- Brown shells – oven temperature is too high, or macarons are too close to the heat source.
- Pointed shells – the batter is not mixed properly.
- Shells are not round – the piping technique is not correct. Hold a sturdy piping bag vertically and squeeze out the right amount without moving your hand.
- Cracked macarons – too much air in the batter caused by overwhipping the egg whites, or the tray wasn’t tapped before drying the piped batter to remove any extra air bubbles.
Helpful Macaron Tools
- Stand Mixer – Using a stand mixer frees your hands so you can multitask!
- Silicone Macaron Mat – Instead of parchment paper, this reusable non-stick mat helps you to get consistently sized and shaped cookies.
- Digital Food Scale – It’s important to measure the ingredients for macarons by weight.
- Oven Thermometer – You might be surprised at how inaccurate your oven is!
More Delicious Christmas Desserts!
- Eggnog Fudge is super creamy with the perfect amount of holiday spice.
- While you’re being a pro in the kitchen, why not whip up a funfetti-style Christmas Layer Cake too?
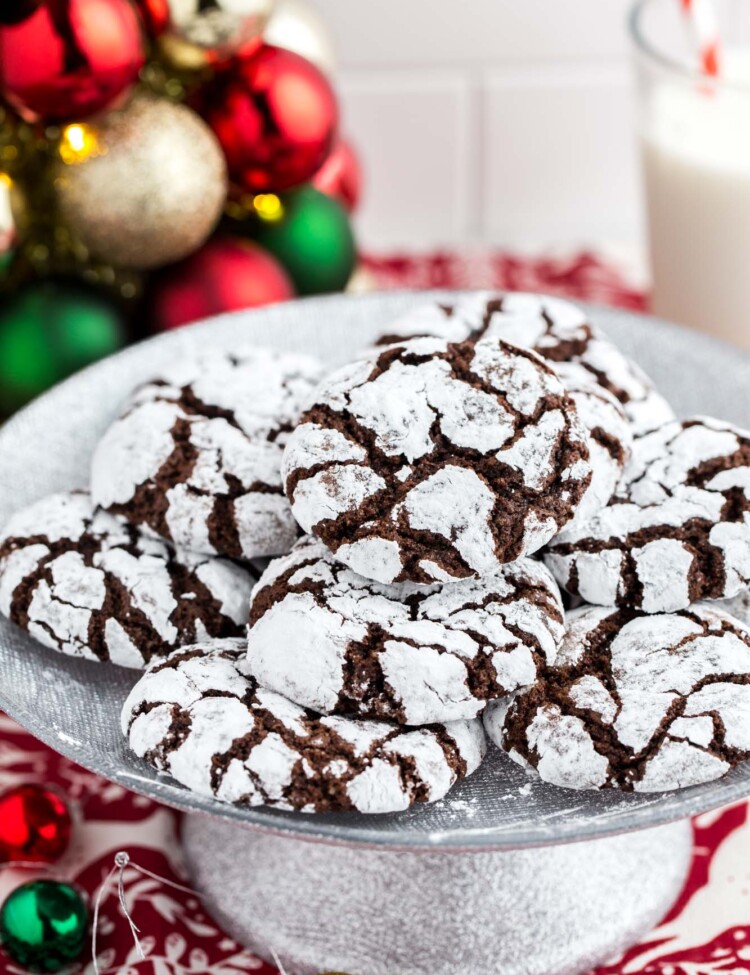
- Go classic with traditional cookies like Chocolate Crinkles or Snickerdoodles.
FAQs
Place the macarons in an airtight container. They will stay fresh at room temperature for 3 days, in the refrigerator for 7 days, or in the freezer for up to two months.
Assembled macarons or just the macaron shells freeze very well. Allow the finished macarons to sit at room temperature for 8-12 hours, then freeze them in an airtight container. You can layer them. To thaw, place the container in the fridge for a few hours. Avoid opening the container until ready to enjoy.
You cannot make macarons with wheat flour. Traditionally, finely milled, blanched almond flour is the flour of choice for perfect macarons. It is possible to use other nut flours or even milled seeds to make macarons, but I’ve never tried it personally.
You can see that there are a lot of steps to this macaron recipe, and I’ve given you a few warnings and things to make sure of along with those steps. So, yes, macarons are complicated cookies to make, but making Christmas macarons doesn’t have to be hard. Go slow, take your time, and try to have fun!
The difference between these two very similar words is that a macaron like we’re making today is an almond flour based sandwich cookie, and a macaroon is a coconut cookie.
I’m so excited to hear about how your Christmas Chocolate Peppermint Macarons turned out! Remember, if they aren’t perfect, it’s totally fine. Just try again another time. With practice, anyone can be a professional macaron maker.
Did you make this? Be sure to leave a review below and tag me on Facebook, Instagram, or Pinterest!
Peppermint Chocolate Macarons
Equipment
- Stand-mixer
- Silicone Macaron Mat
- Oven Thermometer
Ingredients
Macarons:
- 100 grams almond flour* ≈ 1 cup
- 180 grams powdered sugar* ≈ 1½ cups
- 3 large egg whites around 90 grams, room temperature*
- ¼ teaspoon cream of tartar
- ¼ cup granulated sugar
- ½ teaspoon red gel food coloring*
- ½ teaspoon peppermint extract
Peppermint Chocolate Buttercream Filling:
- ½ cup unsalted butter room temperature
- 2 cups powdered sugar
- 2 tablespoons unsweetened cocoa powder
- 1 to 2 tablespoons heavy whipping cream
- 1 teaspoon peppermint extract
- 12 crushed candy canes for Decoration
Instructions
- Using a large sieve, sift the almond flour and powdered sugar together into a large bowl. Then sift the mixture a second time into another large bowl. Set aside.
- In a large bowl, pour in the egg whites and cream of tartar. Beat the egg whites on medium-low speed until soft peaks form.
- Add the granulated sugar to the eggs. Continue beating until the mixture almost reaches stiff peaks.
- Add the red gel food coloring and peppermint extract and beat until stiff peaks form, and you can tip the bowl upside down and nothing falls out.
- Fold in a third of the dry ingredients to the egg white mixture with a spatula until completely mixed. Fold in the rest of the ingredients until the batter can run off the spatula forming a “figure-8” without breaking. Be careful not to overmix the batter or you will lose air bubbles from the egg whites.
- Scoop the batter into a large piping bag fitted with a large round tip (I used a Wilton 2A tip). Pipe 1 – 1 ½ inch circles onto parchment-lined baking sheets, leaving about 1 – 2 inches between each macaron. You can also use a silicone macaron mat.
- Tap the pan on the counter at least 5 times to release air bubbles to the top of the macarons. Use a toothpick to pop any bubbles on the surface.
- THIS IS IMPORTANT! Allow the macarons to rest in a dry area for 30 minutes to an hour until the tops of the macarons are no longer tacky to the touch.
- Preheat the oven to 315°F/157°C.
- Bake the macarons, one cookie sheet at a time, for 17 minutes. The cookies should rise and form “feet” as they bake.
- Let the macarons cool on the pan set on top of a cooling rack for 10 minutes. Then remove the pan, keeping the macarons on the parchment paper, and leave on the cooling rack until completely cool, at least 10 more minutes. The macarons should peel off of the parchment paper leaving little to no cookie residue on the parchment paper.
To Make The Filling:
- In a large mixing bowl, cream the softened butter with a handheld mixer on medium speed. Gradually add the powdered sugar until it is well mixed with no lumps.
- Add the cocoa powder, and mix until completely incorporated. Then add the peppermint extract and 1 tablespoon of heavy whipping cream. Mix well on medium speed. If the buttercream is still thick or clumpy, add in a second tablespoon of cream. Mix until the texture is smooth and creamy.
- Add the buttercream to a piping bag and pipe the buttercream on the flat side of half of the macaron cookies. Then place the other half of the macarons on top of the buttercream to form a macaron sandwich.
- Roll the macarons in the crushed candy canes to coat the edges.
Notes:
- Use Gel Food Coloring: Liquid food coloring is not ideal for macarons, as any extra liquid can affect how the eggs whip up.
- Be Sure to Let them Rest: The step of letting the piped macarons rest before baking them is very important. This allows the tops to dry, which will make them smooth after baking. I usually set mine under my oven hood to help with drying them out.
- Check the oven temperature: You can’t always trust that your oven is the temperature it says it is. For me, my oven often takes much longer than the preheating time to actually get up to temp. An oven thermometer will take all the guesswork out of that.
- Don’t Open the Oven: This is true of any type of meringue. Opening the oven can cause forceful airflow and a change in temperature that can interrupt and mess up everything! You can start checking by gently opening the oven after 15 minutes.
- Storing. Place the macarons in an airtight container. They will stay fresh at room temperature for 3 days, in the refrigerator for 7 days, or in the freezer for up to two months.
- Freezing. Assembled macarons or just the macaron shells freeze very well. Allow the finished macarons to sit at room temperature for 8-12 hours, then freeze them in an airtight container. You can layer them. To thaw, place the container in the fridge for a few hours. Avoid opening the container until ready to enjoy.
Nutrition Information
This website provides approximate nutrition information for convenience and as a courtesy only. Nutrition data is gathered primarily from the USDA Food Composition Database, whenever available, or otherwise other online calculators.
© Little Sunny Kitchen

Emily says
What temperature is the oven for this recipe?
Diana says
315°F/157°C. Enjoy!