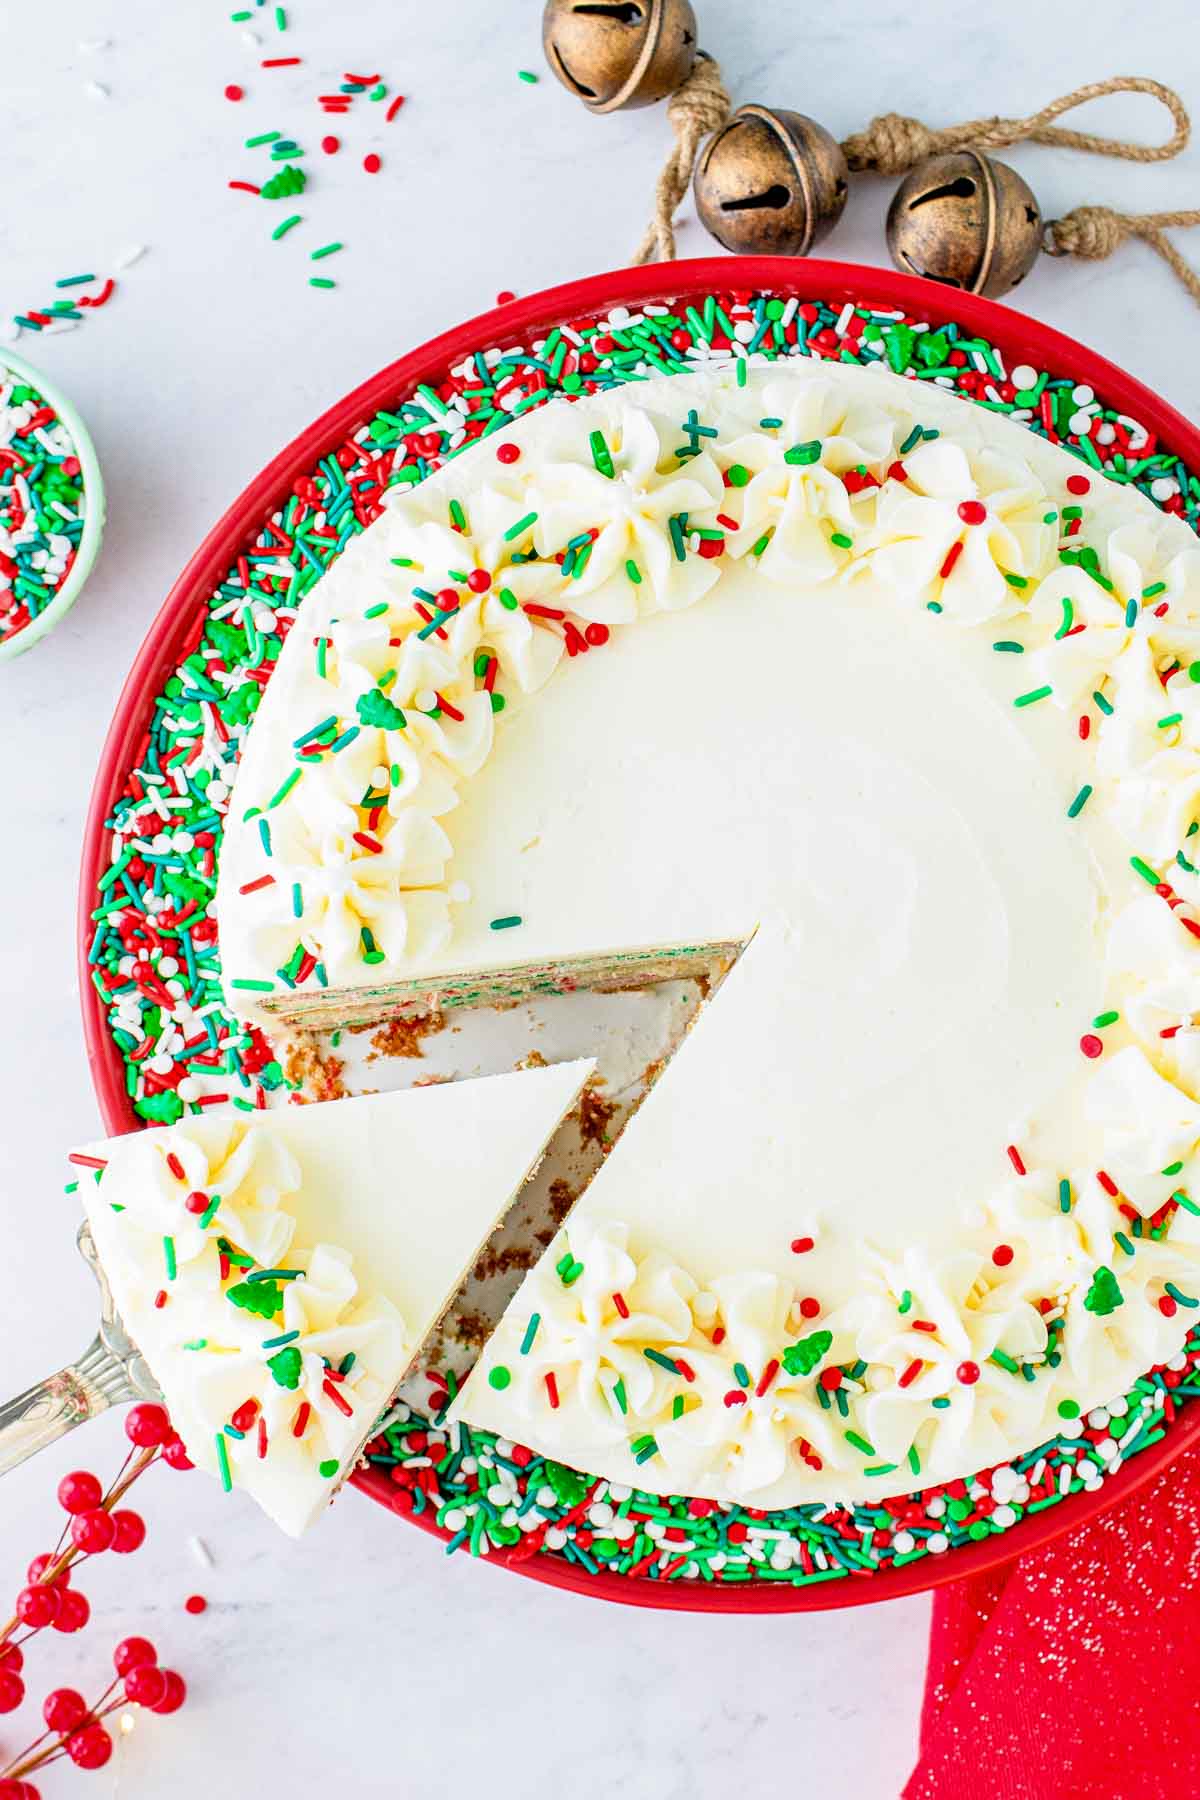
Celebrate the most wonderful time of the year with this showstopping Christmas funfetti layer cake! Two layers of moist, fluffy, and flavorful cake sandwiched with the most amazing vanilla buttercream, and it’s all made from scratch. This cake truly is the best way to celebrate the holidays this year!
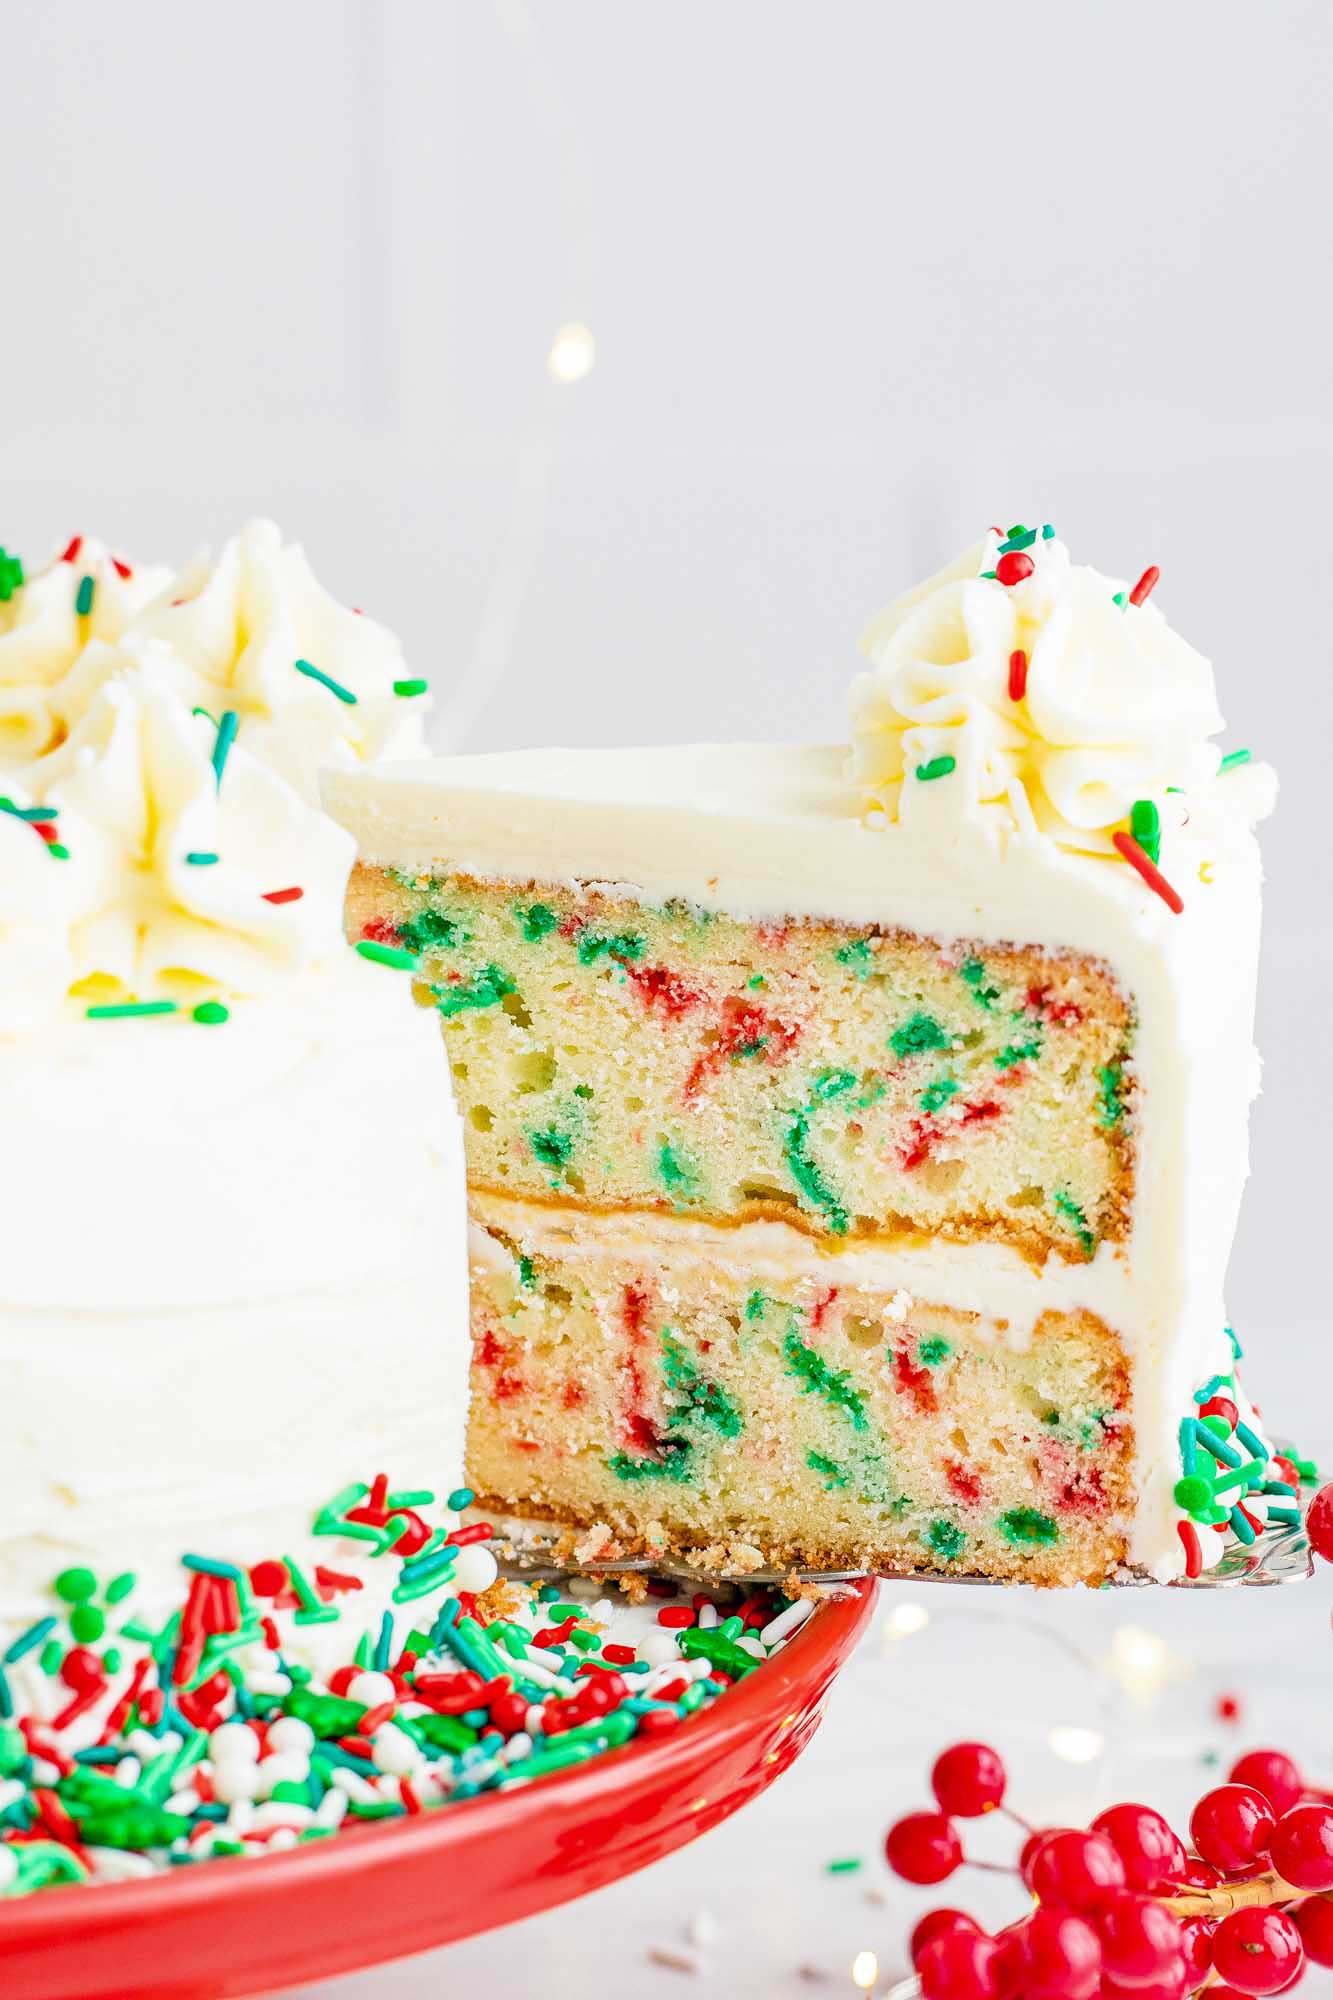
I always felt intimidated by beautiful layer cakes, and thought they were too complicated to make until I gave it a try! This cake is not at all difficult to make, as with clear instructions and a great recipe, you can easily make this impressive cake all by yourself.
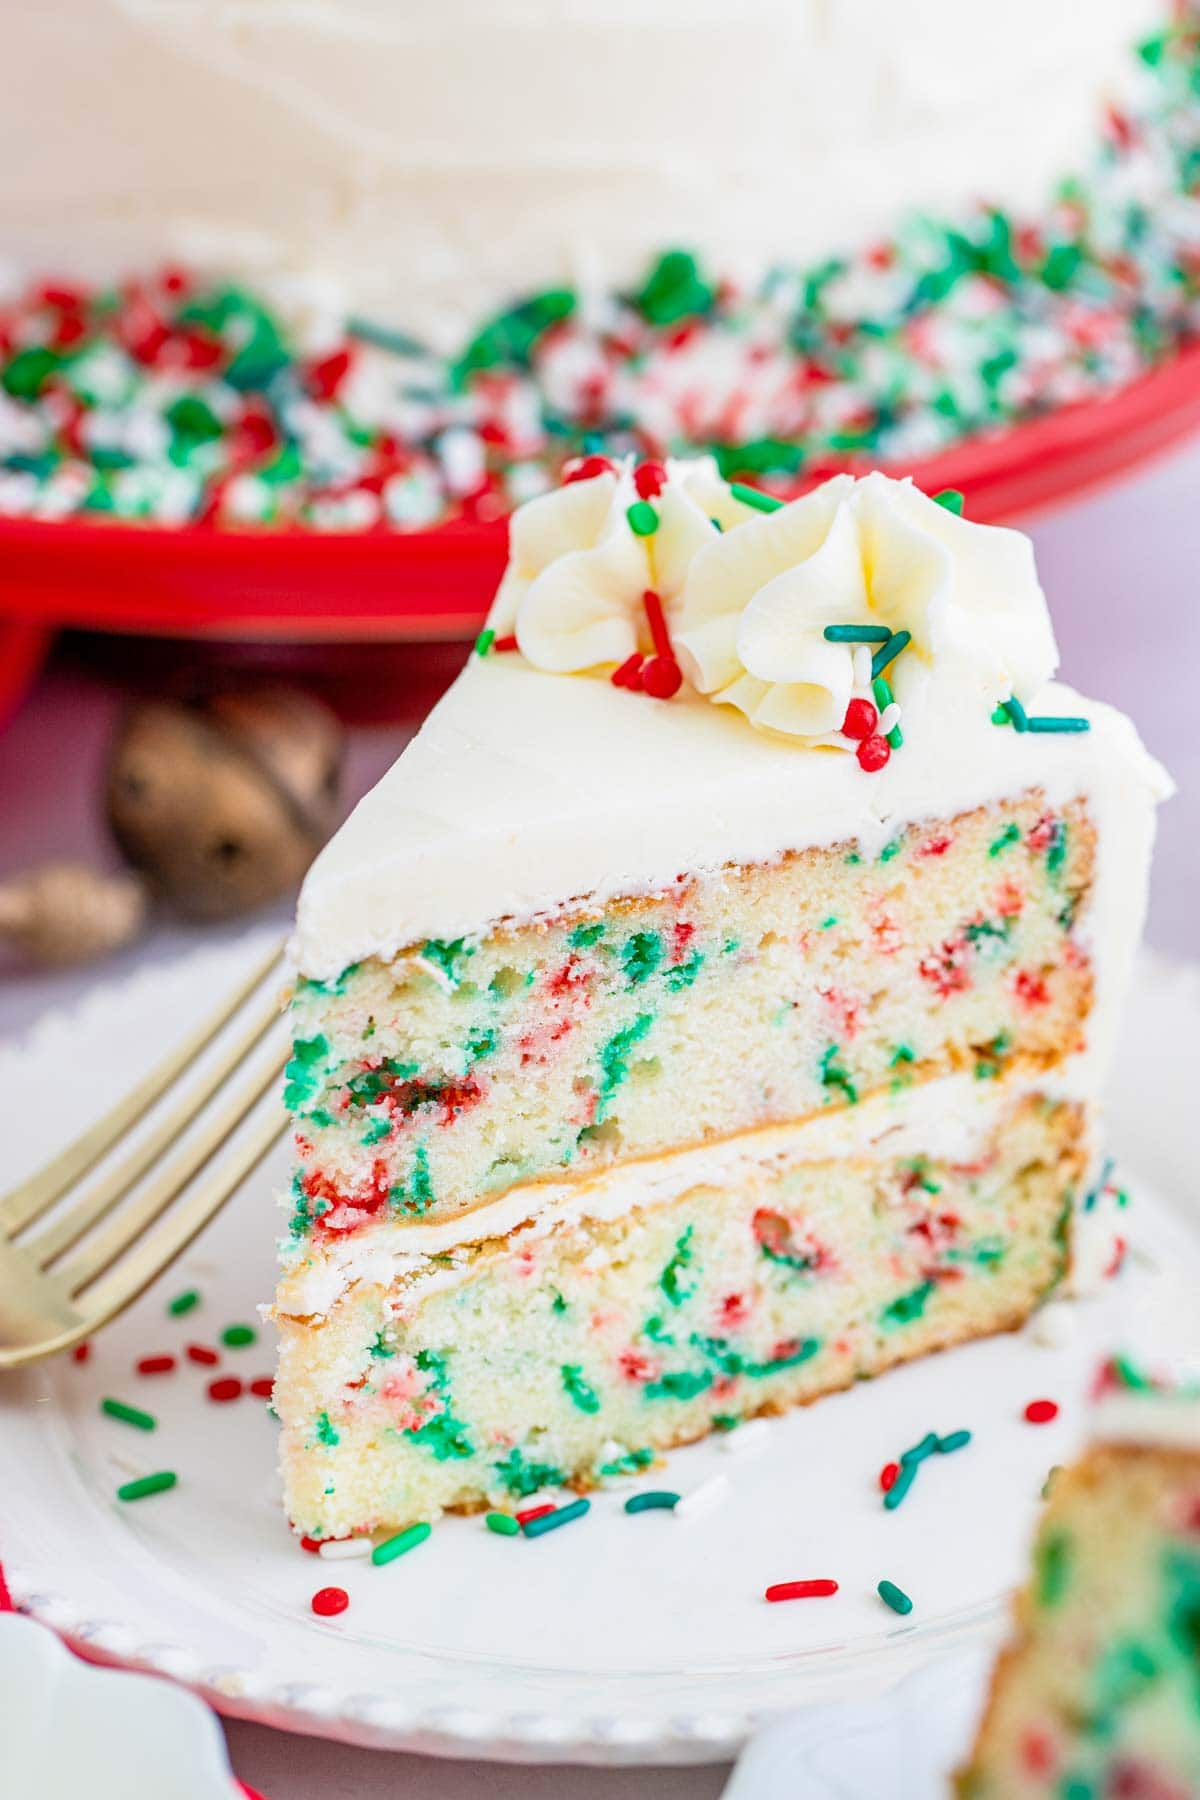
This cake is not your standard cake, it’s made so moist, tender, and rich with the addition of sour cream and heavy cream whipped into the cake batter. This Christmas layer cake is spongy but also moist at the same time. Everyone is going to love it.
Need another dessert idea? Try my easy No Bake Cheesecake too!
Looking for a dessert recipe shaped like a Christmas tree? I have you covered with my pull-apart chocolate chip Christmas dessert!
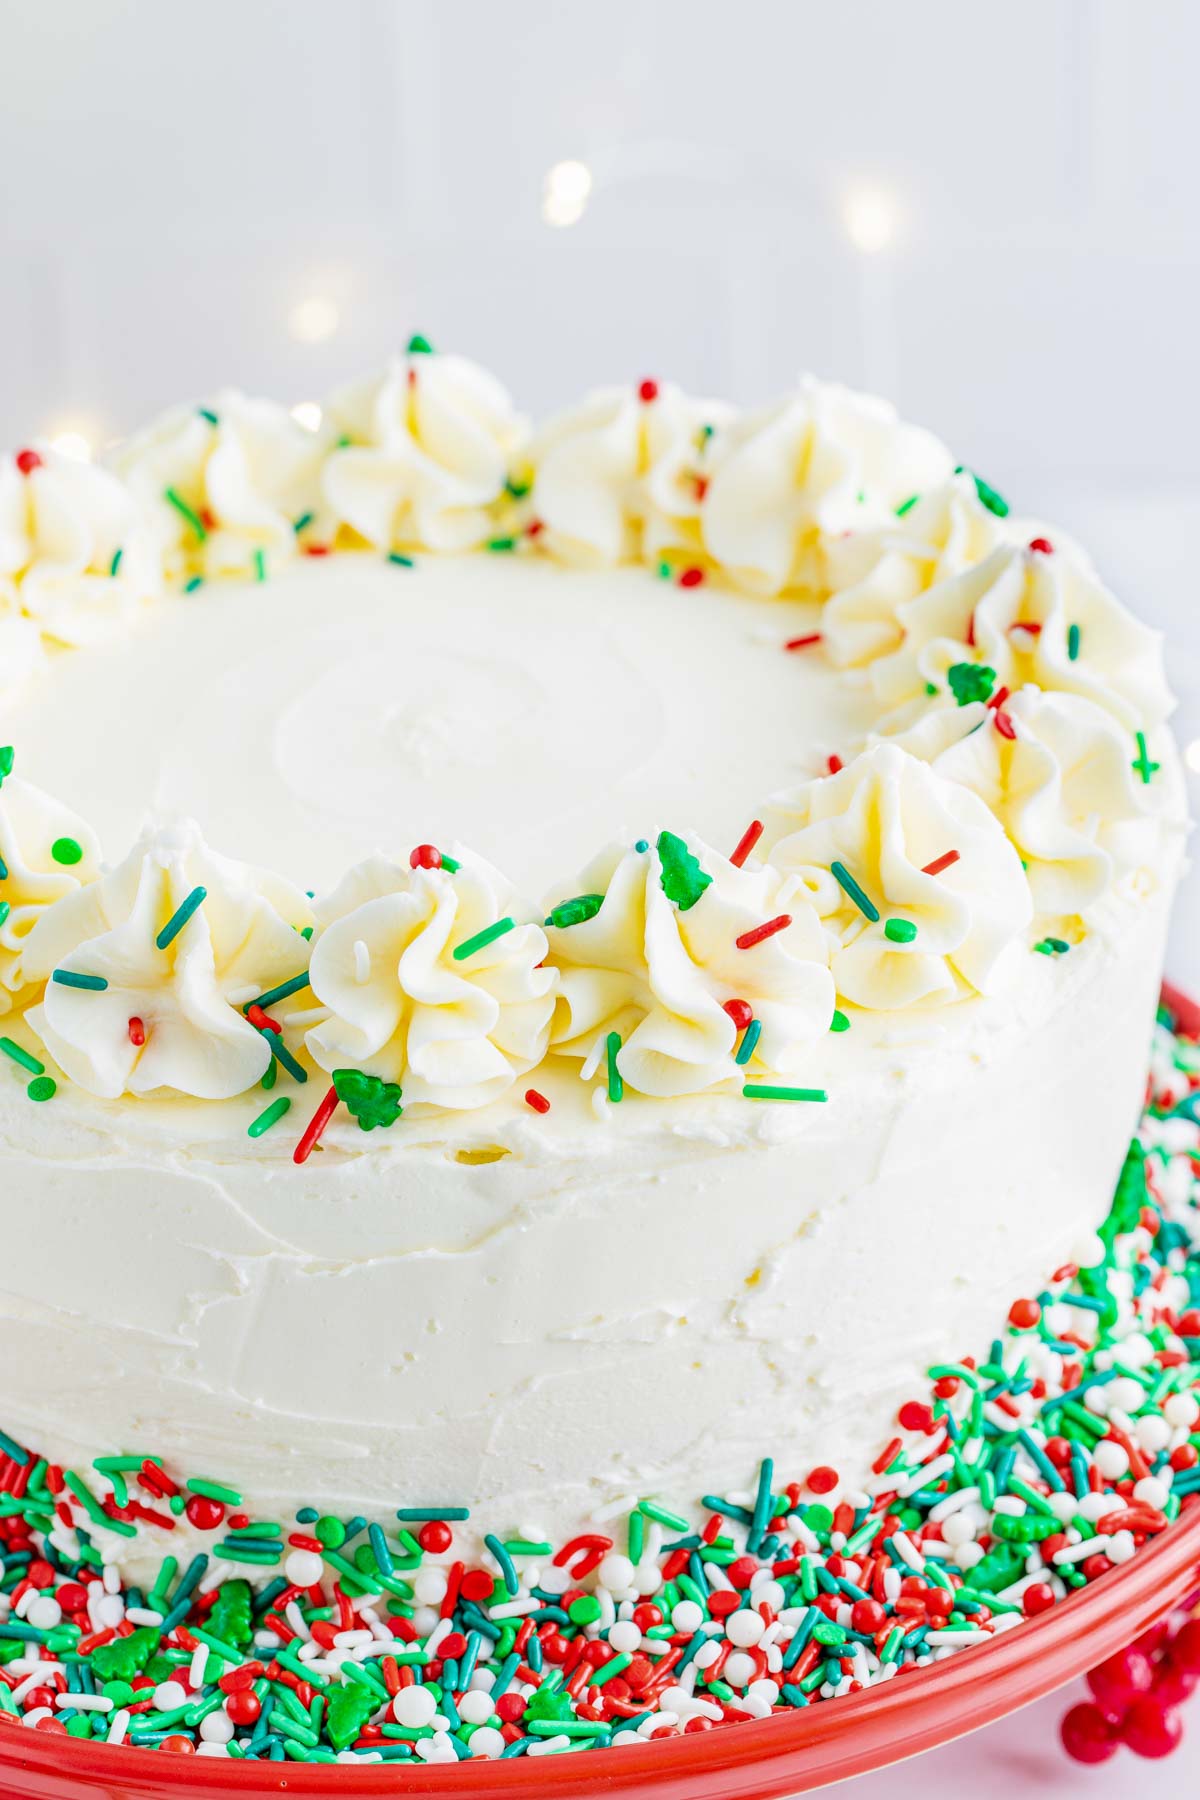
Why You’ll Love This Recipe
- Impressive Presentation. A layer cake is always impressive, especially if you’re not usually the cake baker in the family. Everyone will ooh and ahh over your baking skills when you bring this cake to the holiday party. Just don’t tell everyone how simple it really was!
- Delicious Scratch Made Cake. This vanilla cake recipe is my new favorite for funfetti. It’s dense and moist from the added dairy ingredients, but also spongy and fluffy with the perfect crumb. The sprinkles for the funfetti are easily held up in this thick batter too.
- Step by Step Instructions. Even if you’ve never made and decorated a layer cake before, you will be able to make this recipe. I’m sharing each step, including photos and tips to help you do it the right way the first time.
Key Ingredients
To make this Christmas Layer Cake, you’ll need the following ingredients:
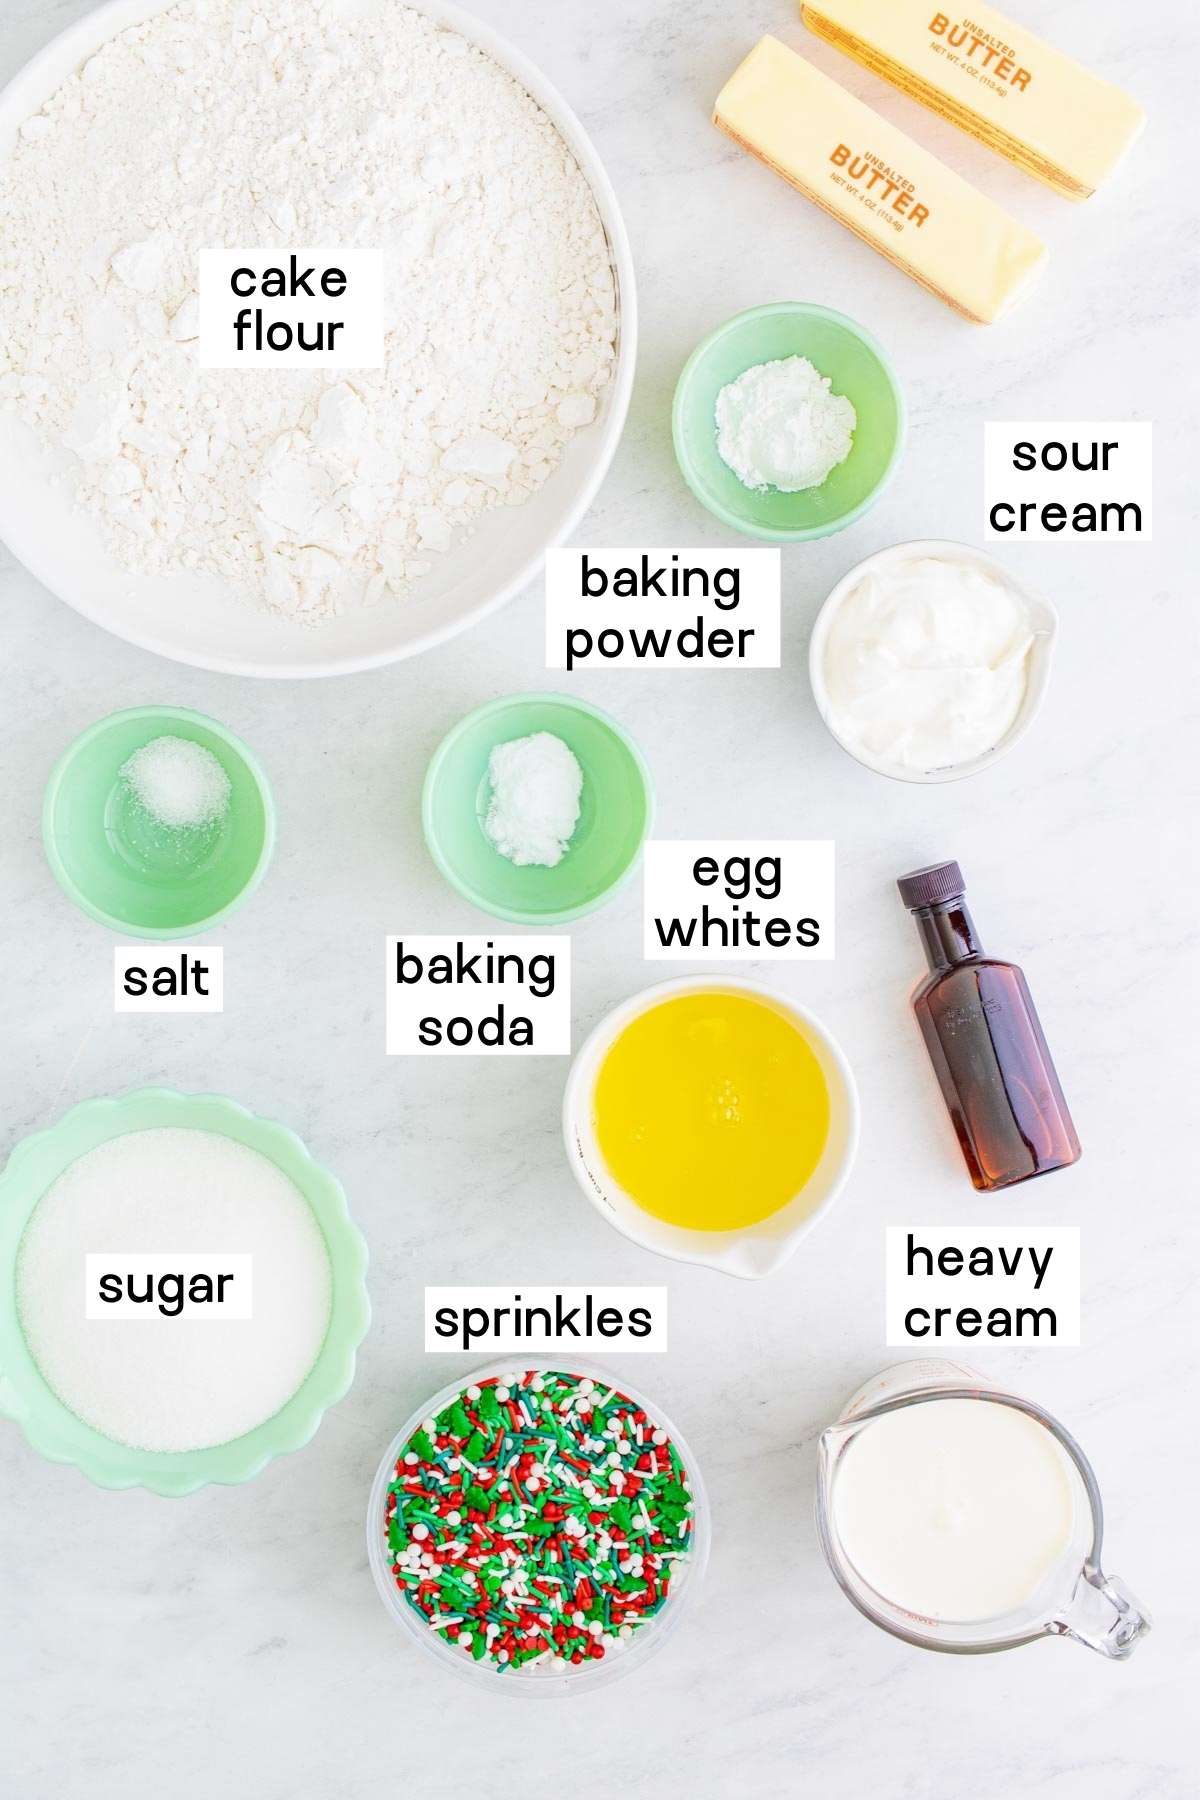
Complete list of ingredients and amounts can be found in the recipe card below.
- Cake flour: If you don’t have cake flour, you can easily make it! For every 1 cup of all-purpose flour, remove 2 tablespoons, and replace with 2 tablespoons of cornstarch.
- Baking powder, baking soda, and salt: These ingredients are found in almost every cake recipe. They are added to the flour to make up our dry ingredient mixture.
- Egg whites: the secret behind a fluffy cake.
- Butter: Use unsalted butter for baking cakes. Salted butter can have varying amounts of salt in it, and I prefer to be able to control the amount in my baked goods.
- Granulated sugar: This is the sweetener for our cake batter.
- Sour cream and heavy cream: The two cake batter additions that make this the best funfetti cake you’ve ever had. If you don’t have sour cream, you can substitute with Greek yogurt, it works well.
- Pure vanilla extract: I always buy the best one that I can afford, as it makes a huge difference.
- Buttercream: This recipe for Vanilla Buttercream is my go to.
- Holiday sprinkles: I used Wilton’s Christmas jimmies for the cake layers, and decorated the cake from the outside with just holiday sprinkles that I found at Walmart. You can use your favorites, but avoid using nonpareils as they bleed into the batter.
How to Make This Christmas Layer Cake
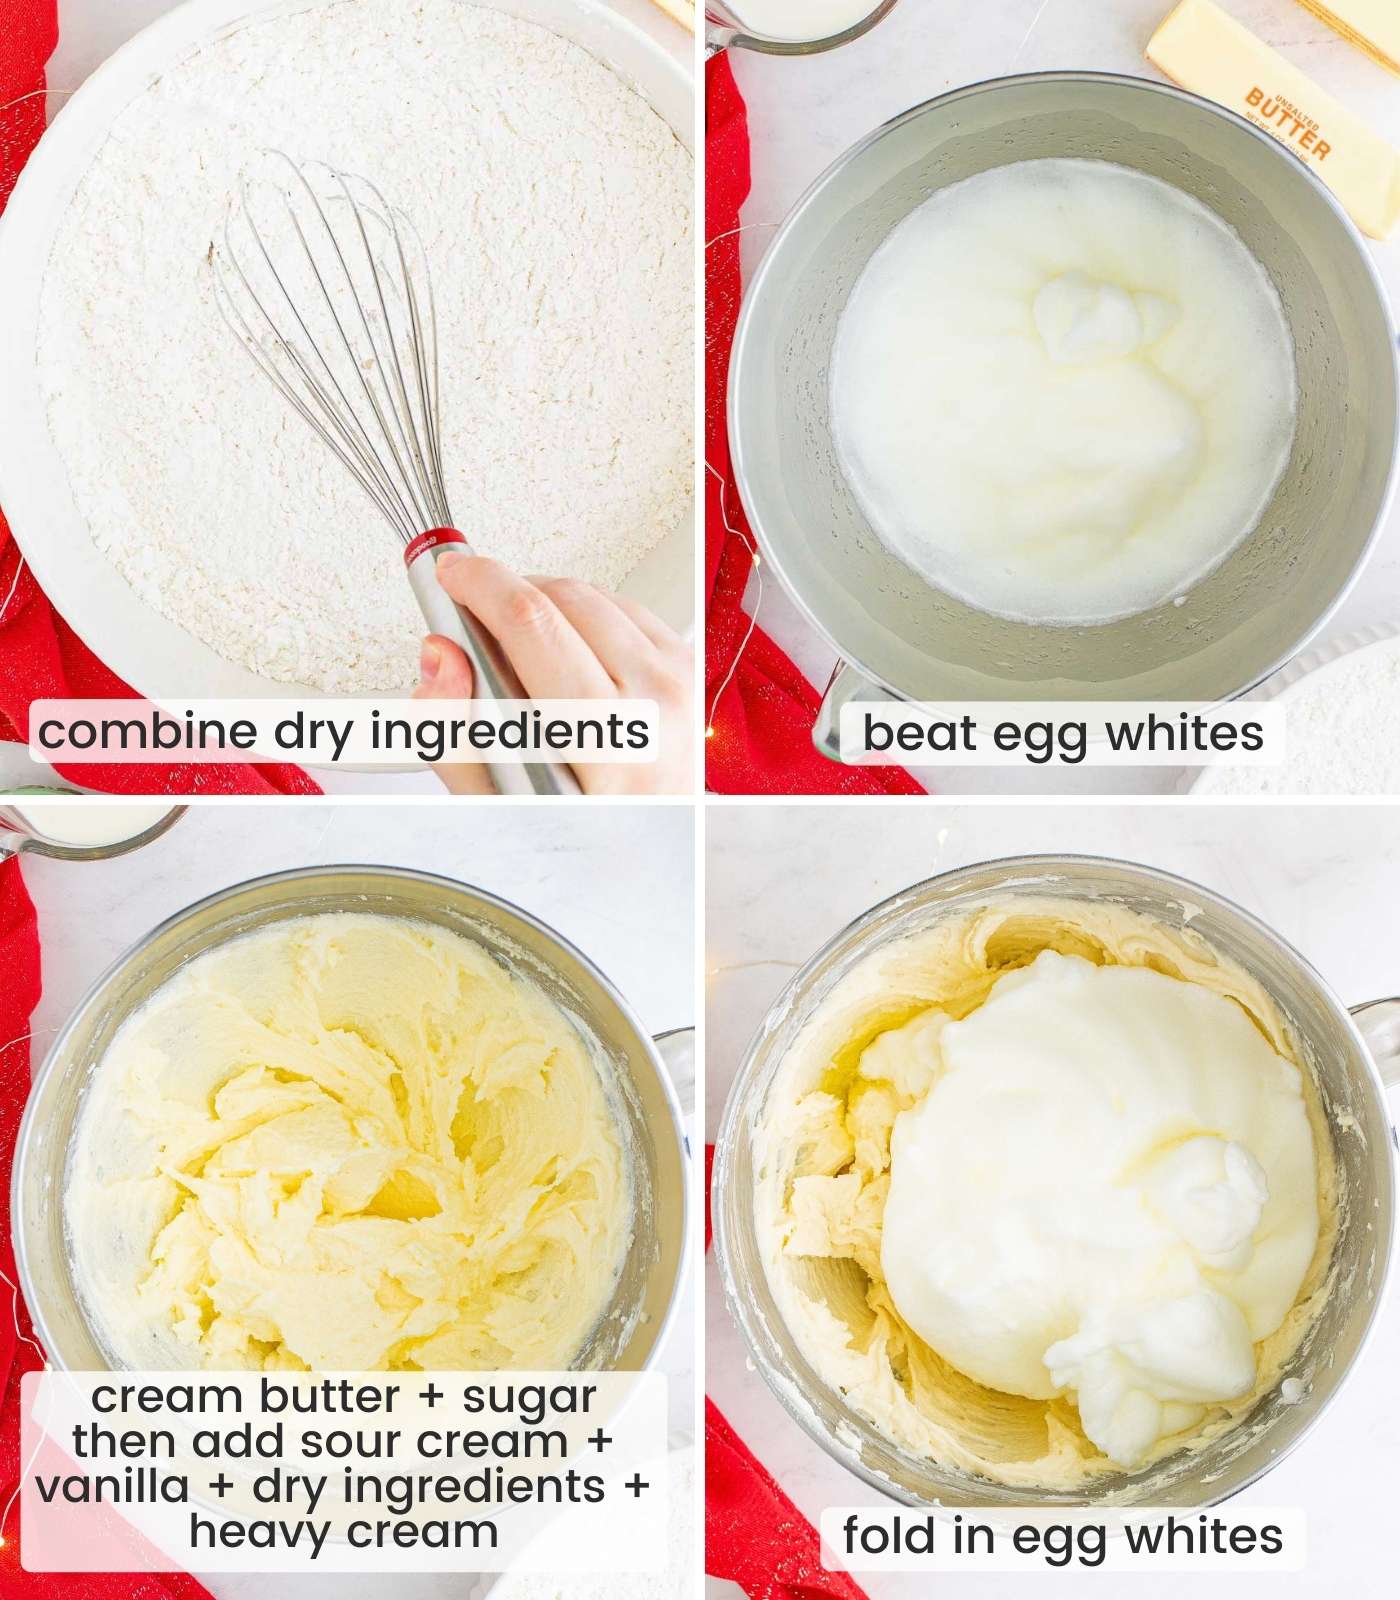
- Prepare: Preheat the oven to 350°F/150°C. Spray two 9-inch round cake pans with baking spray, and set aside. In a large bowl, whisk together the cake flour, baking powder, baking soda, and salt, and set aside.
- Whip Egg Whites: In the bowl of a stand mixer, add the egg whites. Using the whisk attachment, beat until light and fluffy and medium peaks form. Transfer the whipped egg whites to another bowl and set aside.
- Cream Butter: Add the softened butter and granulated sugar to the mixer bowl (no need to clean it), and cream until light pale yellow and fluffy. This takes about 3 minutes with the paddle attachment.
- Mix Batter: Add the sour cream and vanilla to the butter mixture, and mix until combined. Next add the flour mixture and stir in until combined.Then add the heavy cream. Continue mixing, scraping the sides of the bowl until well combined. Gently fold in the egg whites.
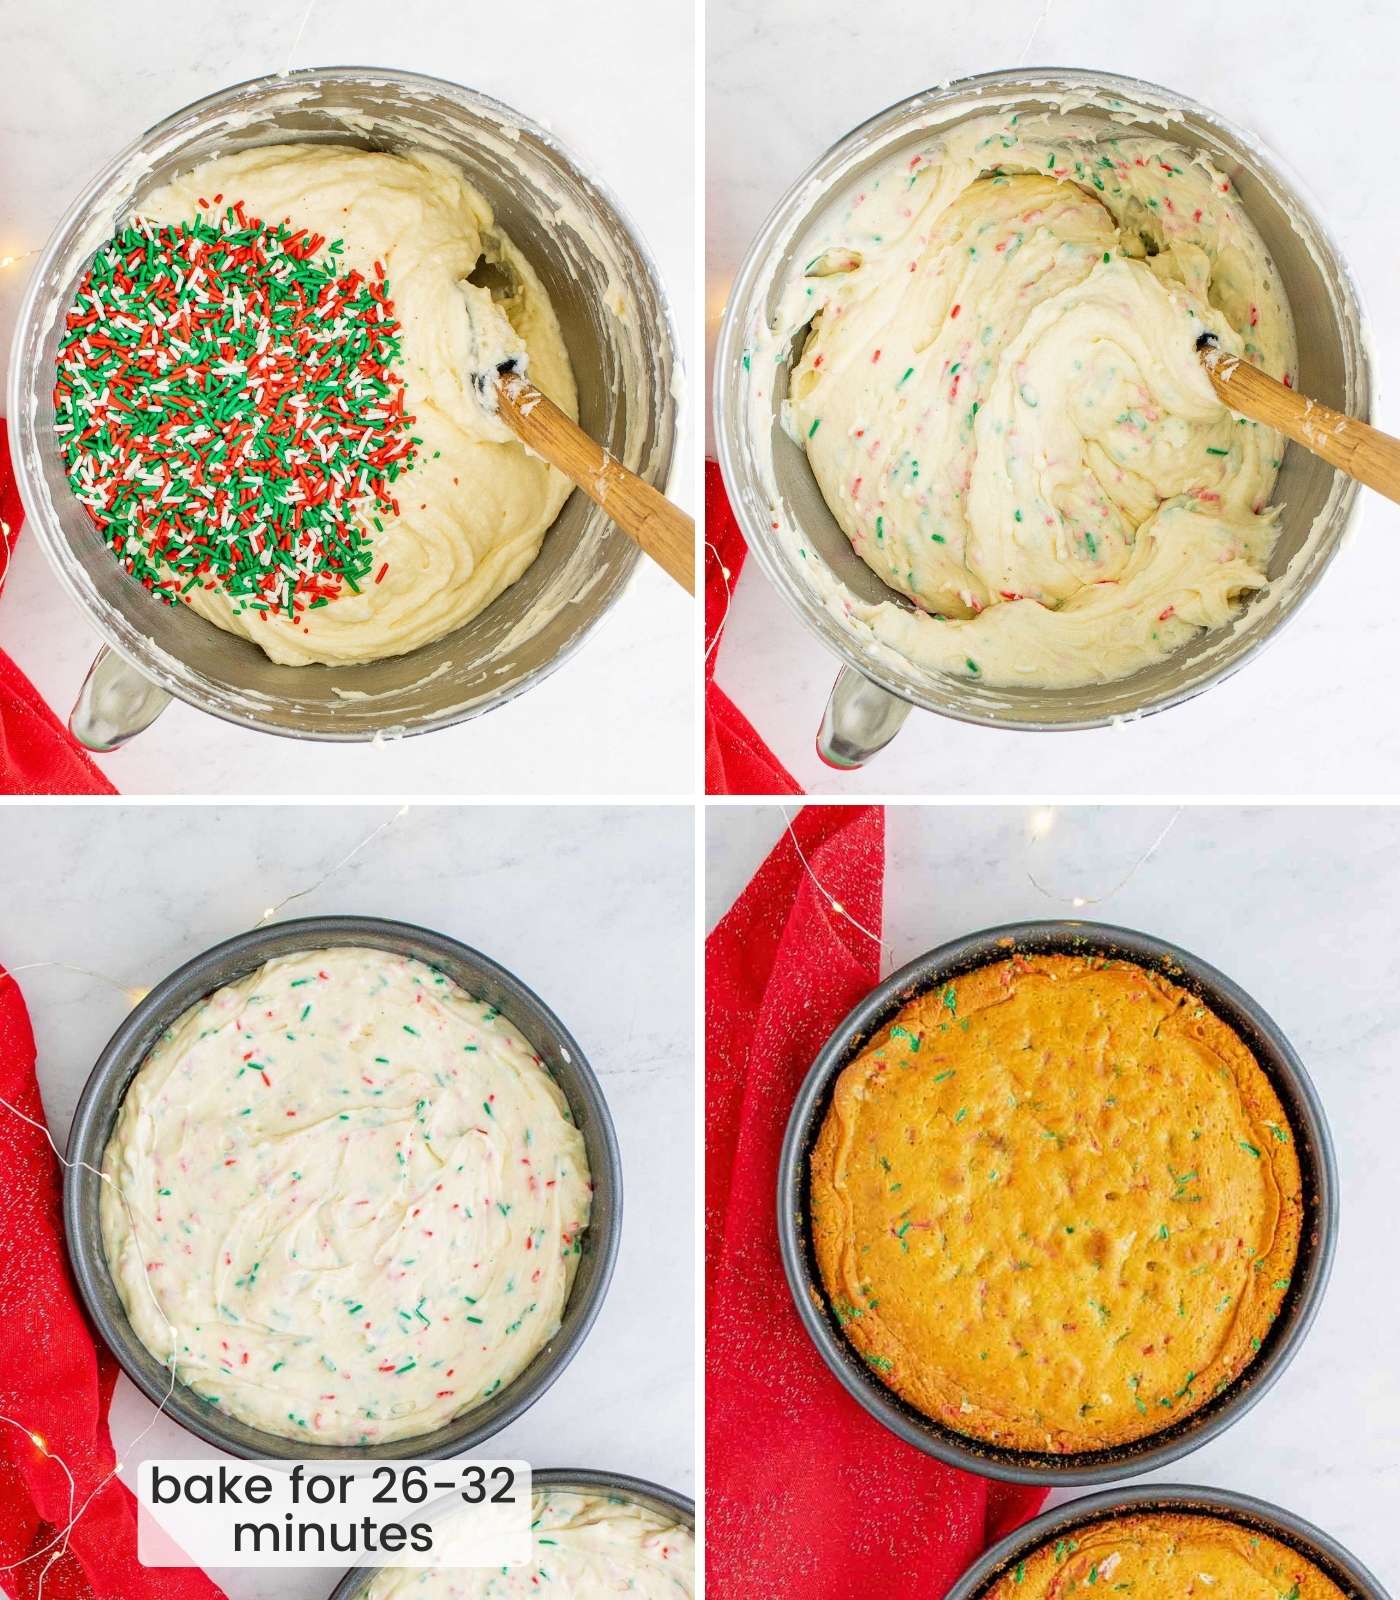
- Add the Sprinkles: To finish the cake batter, fold in the sprinkles.
- Bake: Pour the batter evenly into the two cake pans, smoothing out the tops. Bake for 26-32 minutes, until a toothpick inserted into the center comes out clean. Let the cakes cool completely on a wire rack.
How to Decorate a Christmas Layer Cake
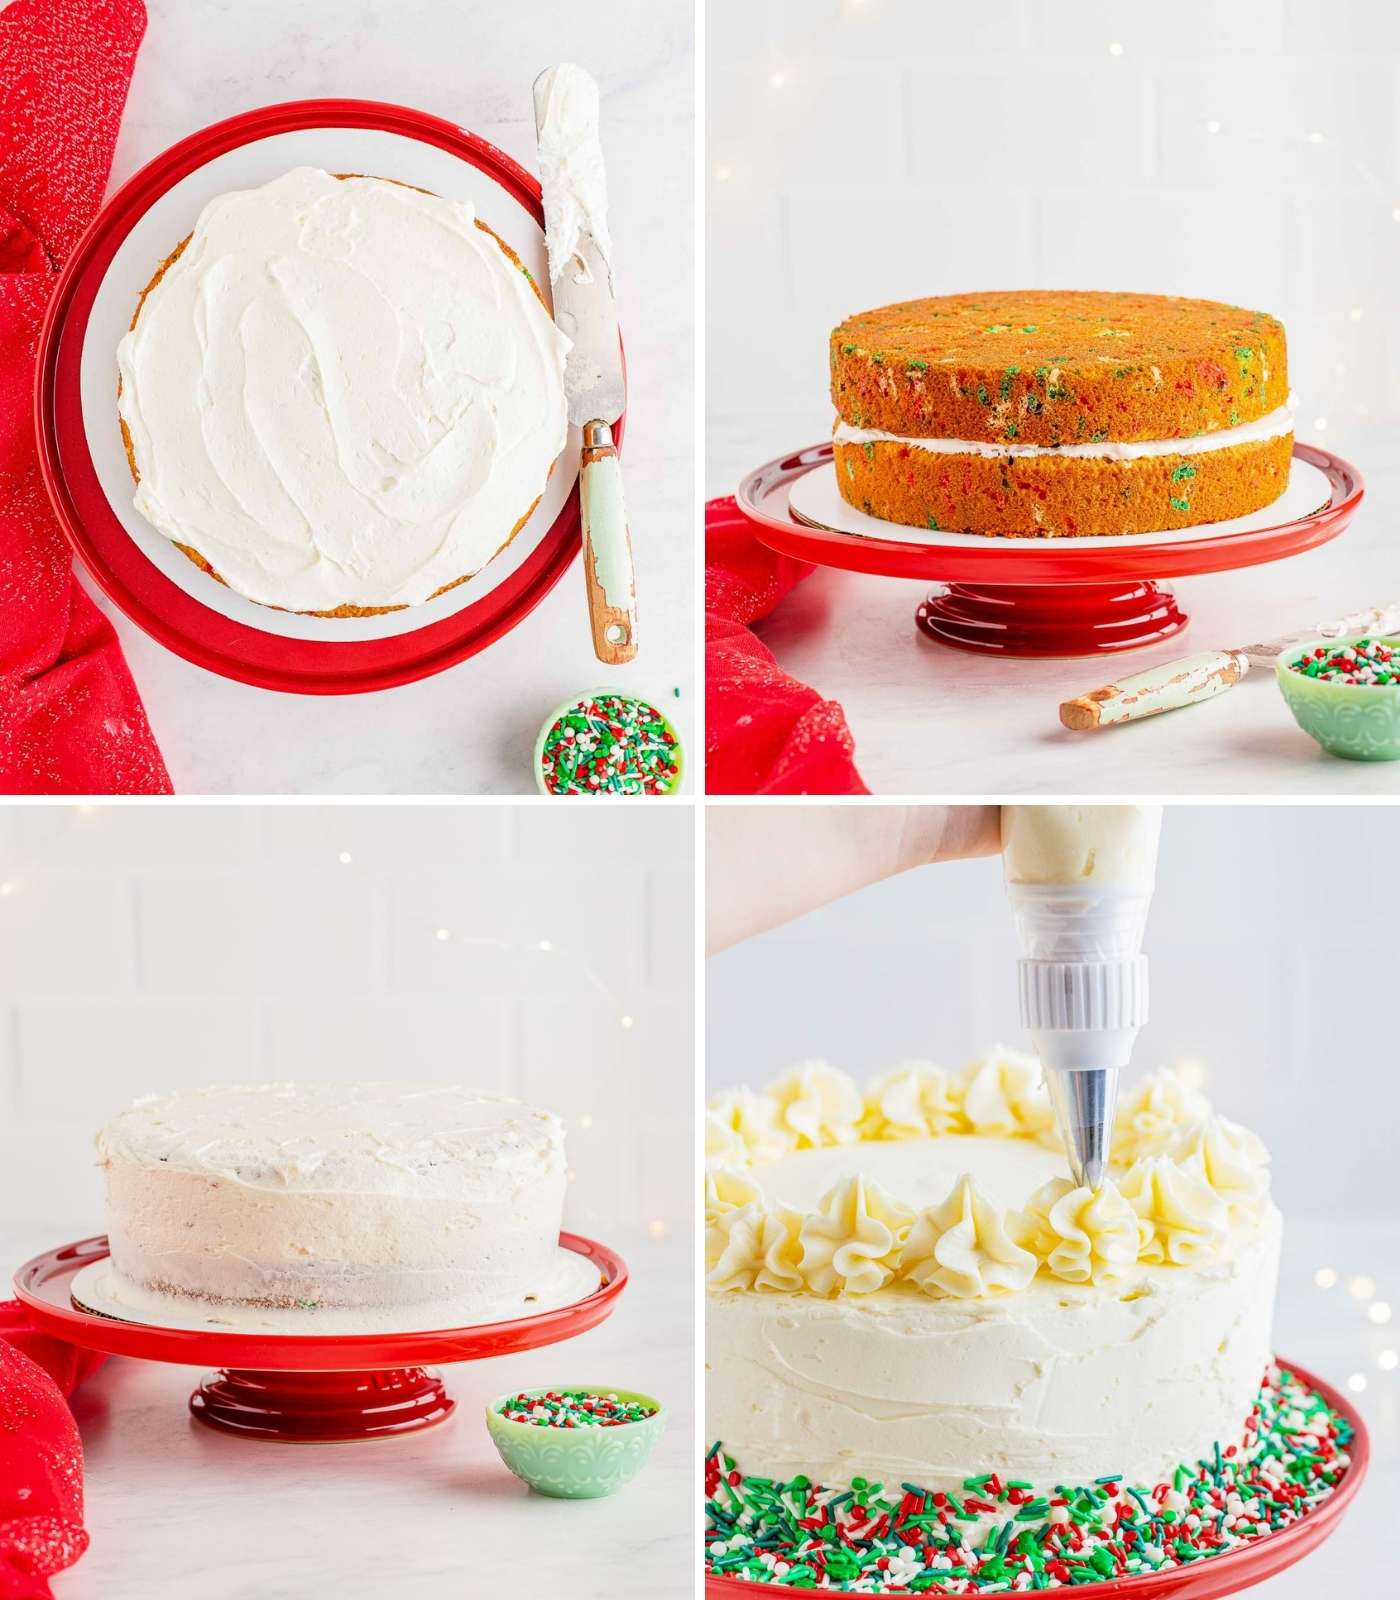
- Stack: Once the cakes are completely cooled, remove them from the pans. Place one cake on your serving platter or cake board. Add 1 cup of buttercream and smooth it out. Place the other cake on top of the frosting, upside down so that the bottom is the top of the cake.
- Crumb Coat: Coat the entire cake with a light layer of buttercream (called a crumb coat). Place the cake in the fridge for at least two hours so that the frosting sets.
- Frost: When ready to decorate, add a thick layer of buttercream around the sides and top of the cake. Make it as even as possible and smooth it out as best as you can. Don’t stress too much about making it perfect.
- Add Sprinkles: Gently press sprinkles all around the bottom of the cake, bringing them up the sides if you like.
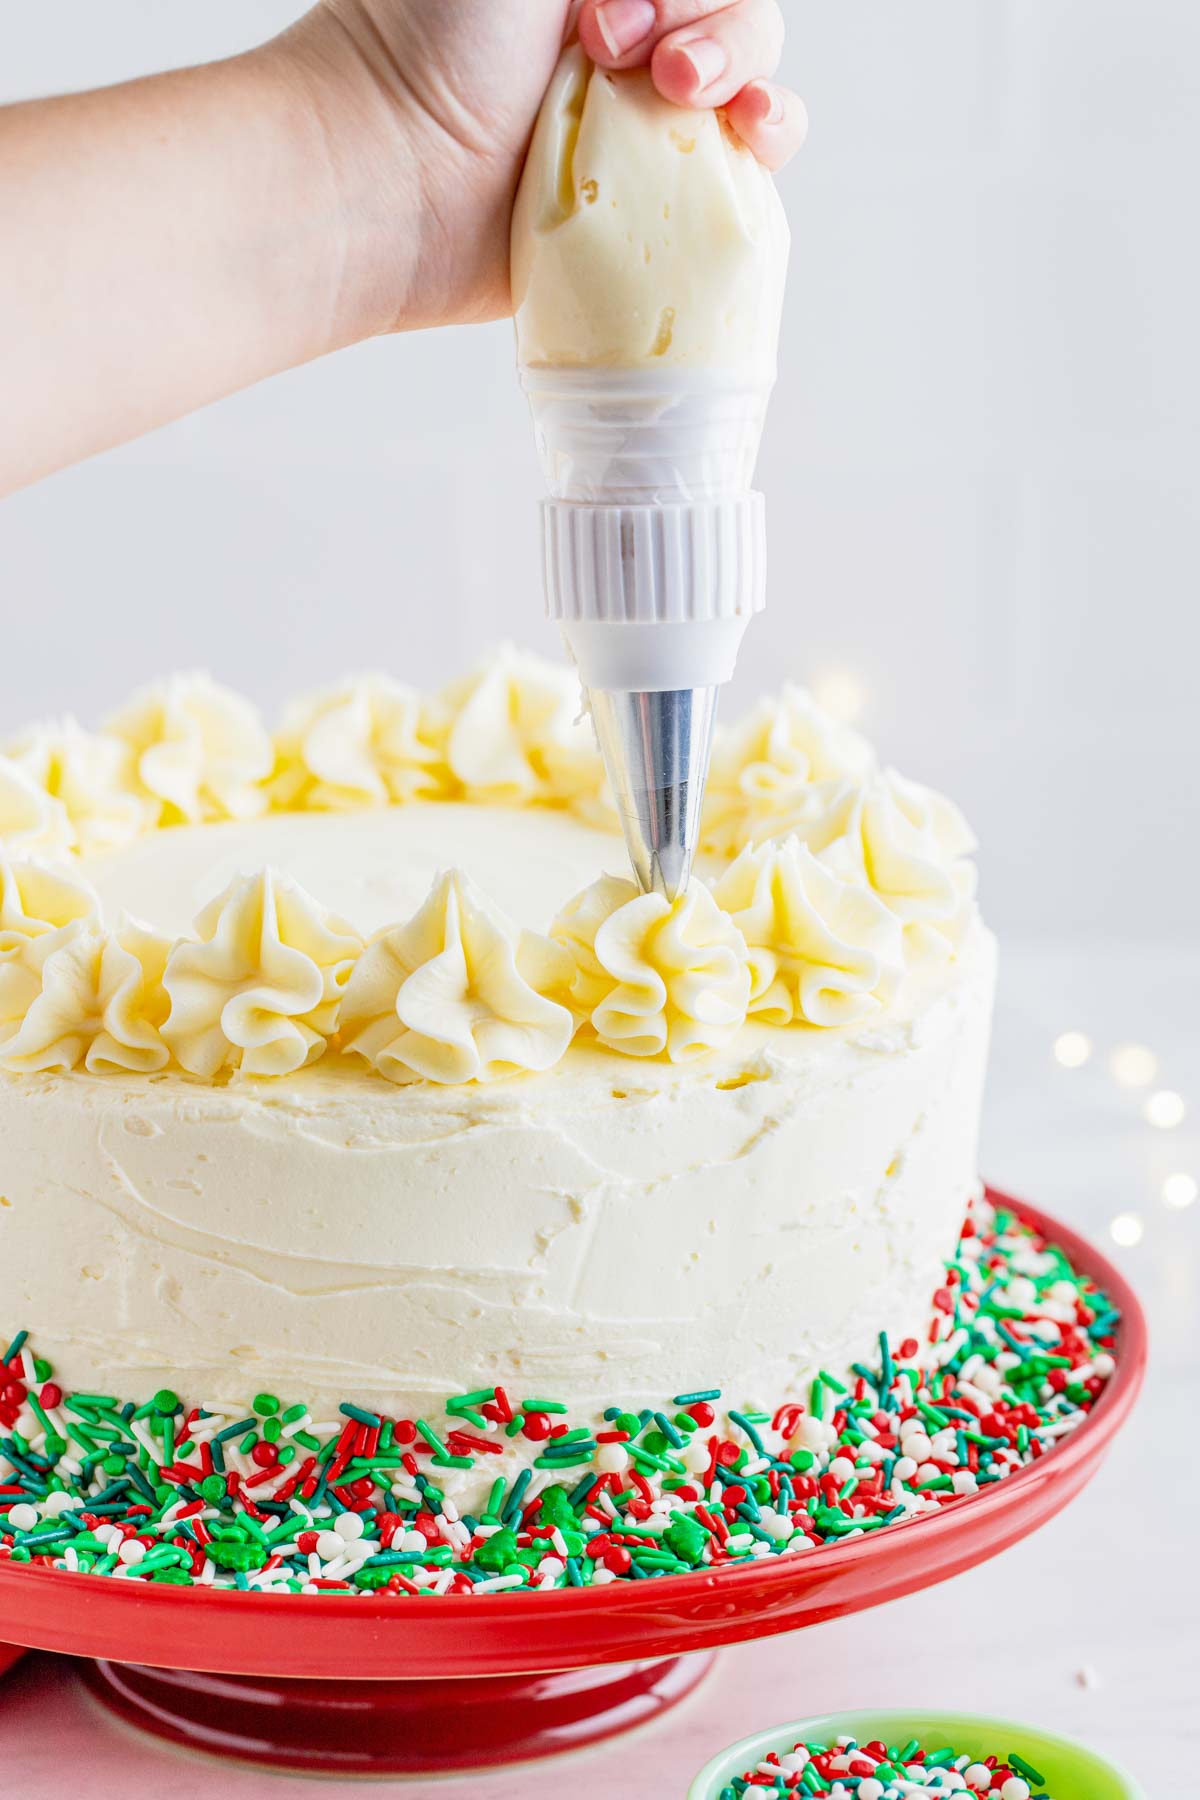
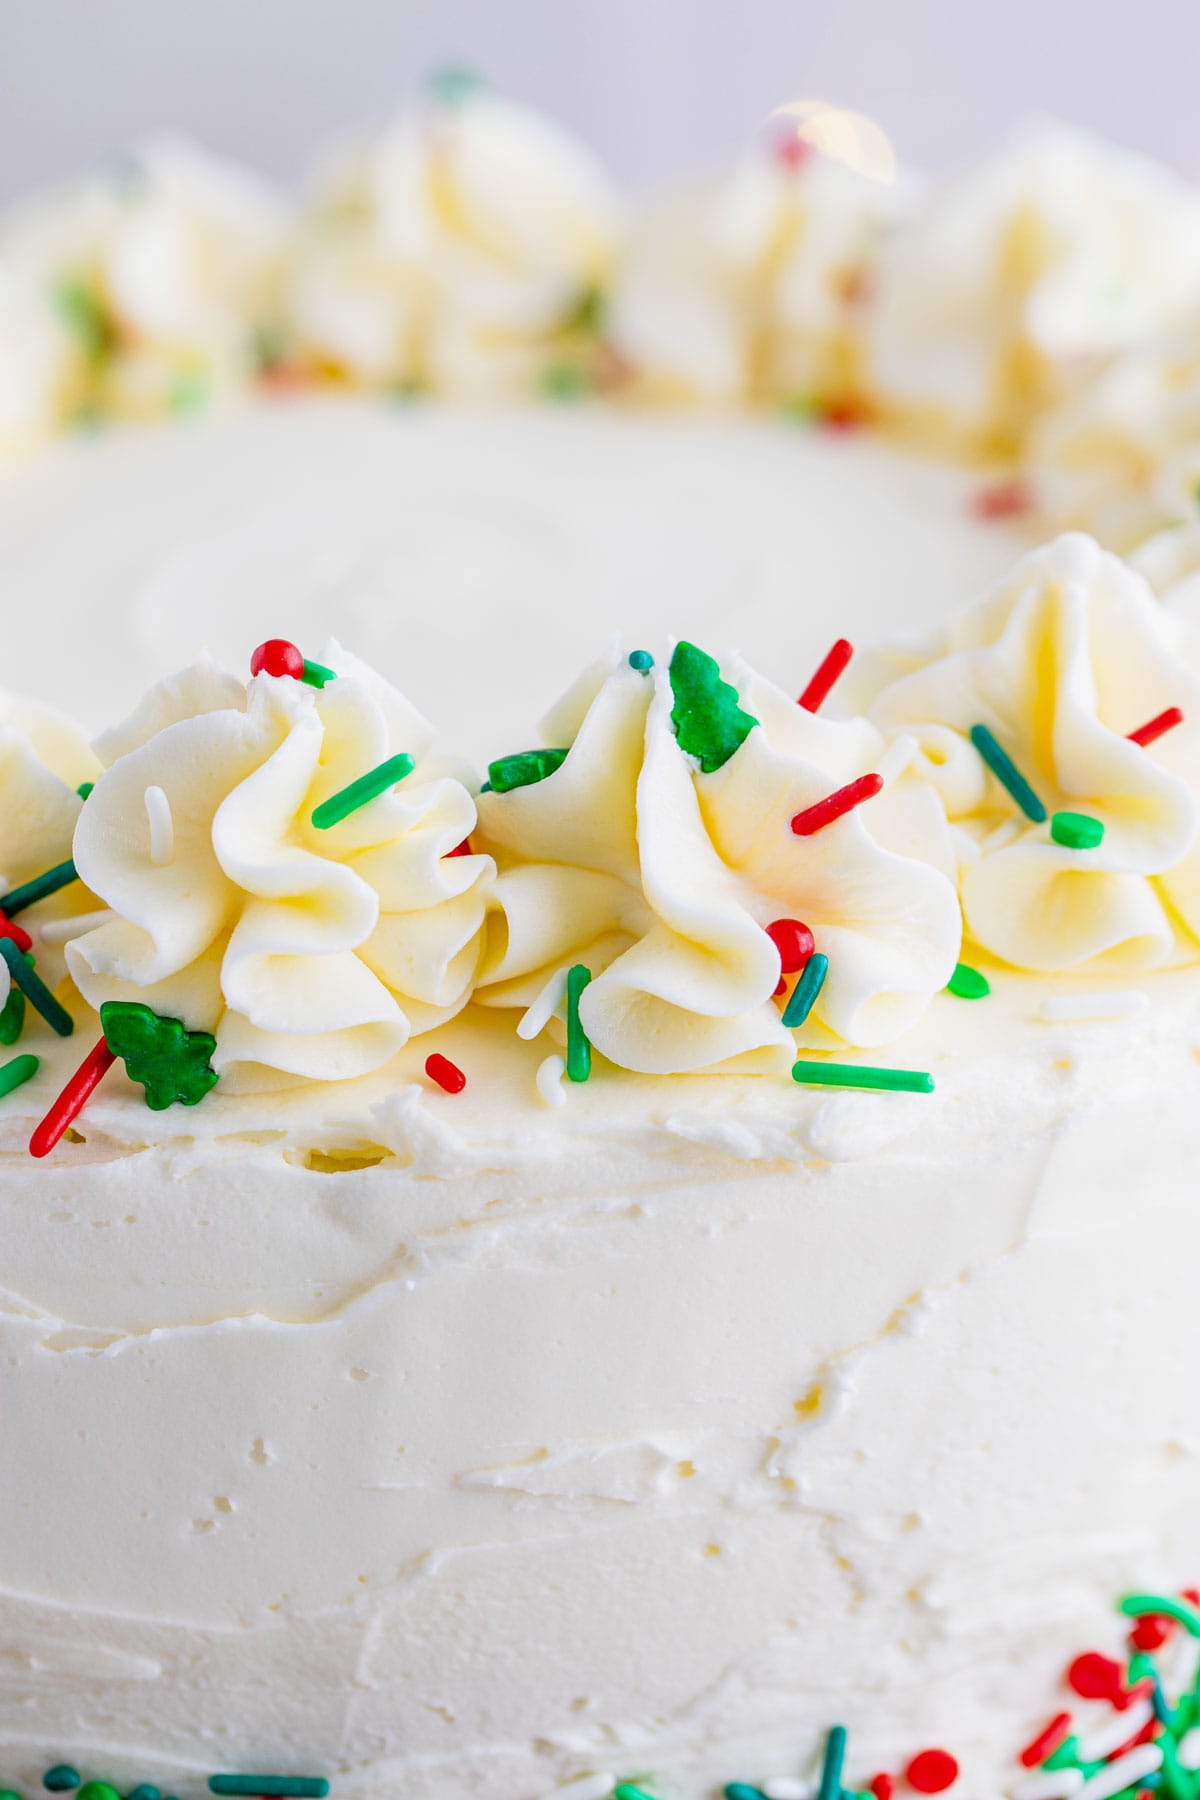
- Decorate: Use a piping bag to decorate the top of the cake however you like and decorate with more sprinkles.
Recipe Success Tips
Avoid Overmixing: An overmixed cake can become tough after baking. Mix ingredients until just combined.
Sift the Flour after Measuring: Measure the cake flour first by spooning it into a measuring cup and then leveling the top of the cup with the flat side of a butter knife. Then sift using a flour sifter or a mesh sieve.
The Best Pans: For beautiful layer cakes, straight-sided cake pans will give you the best results. I use these 9-inch nonstick pans and get amazing results every time.
For Neat Layering: To get a neat-looking cake, add a tiny bit of frosting to your cake stand or cake turntable, to stop the cake from moving as you frost. Then place the first layer of cake upside down. Add your icing, making it a bit thicker around the outside edge. Then place the second layer upside down, so that the flat part is the top of the cake. Doing it this way means that you won’t need to cut off any cake to get it flat.
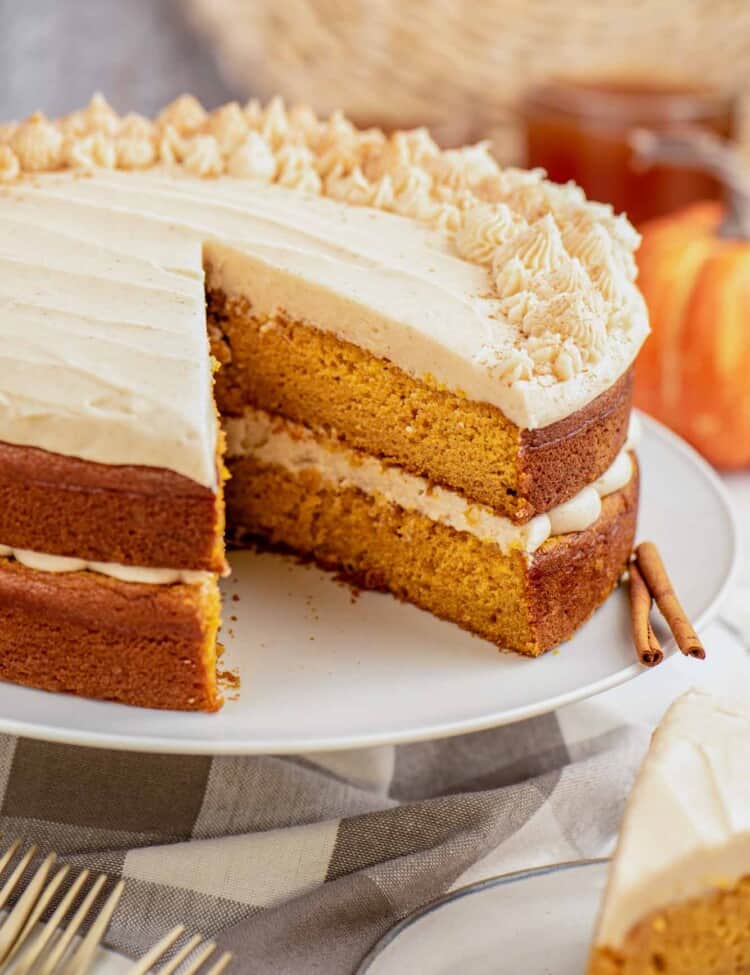
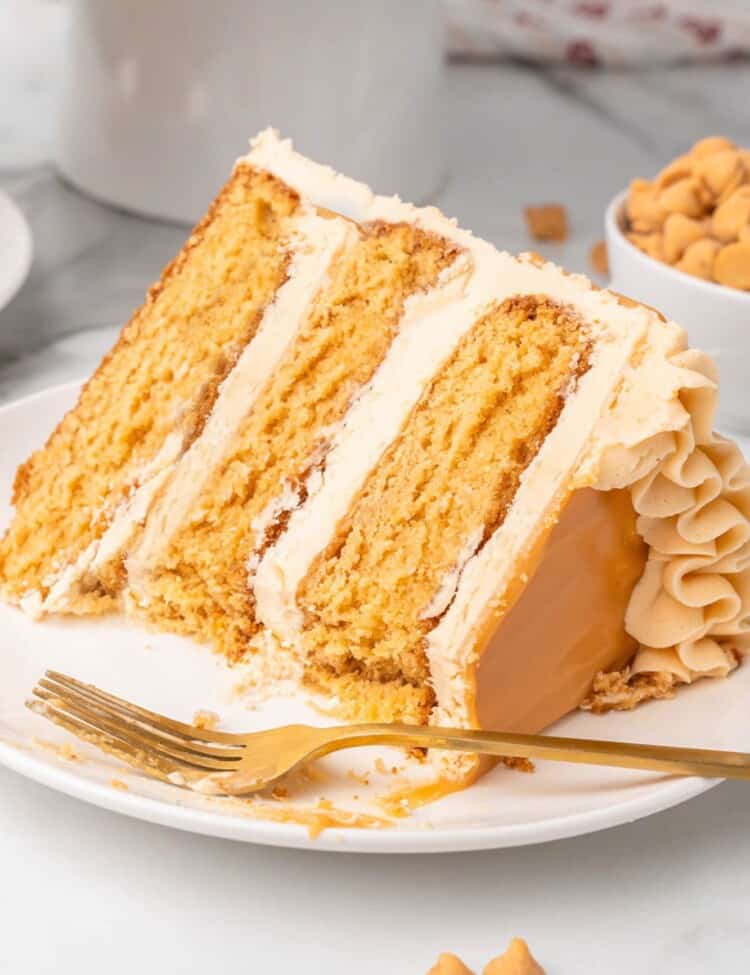
Love layer cakes? Try making this amazing (and gluten-free!) Carrot Cake, an Easy Banana Cake, Strawberry Layer Cake, this delicious Butterscotch Cake, or my Pumpkin Cake with cream cheese frosting.
Making Ahead and Storing Tips for Layer Cakes
Make ahead: You can bake the cake layers 1-2 days in advance, and store them at room temperature wrapped in parchment paper then in plastic wrap. The buttercream can also be made 1-2 days in advance and stored in the fridge. The frosted cake can be made 2-3 days in advance and again, stored in the fridge.
Leftovers: Leftover cake can be kept in the fridge for up to 7 days. You can also freeze slices of cake in airtight containers for up to three months. Thaw in the fridge before serving.
How to cut clean, perfect cake slices
You’ve spent time making a beautiful Christmas cake, so you’ll want to be sure it’s beautiful when you slice it too! Try one of these methods to make flawless cake slices
- Use Fishing Line. A strong, thin mono-filament string like a fishing line can be used to cut cakes, cheesecakes, or breads without smearing the frosting. Hold the line with two hands, spreading it out between them tightly, and wide enough to cut across the cake. Slice in a smooth, firm, downward motion. When you reach the bottom of the cake, let go of one side of the line and pull it out with the other hand. Wipe the fishing line if needed and repeat.
- Using a Knife. The best knife for cutting a cake is a large serrated knife, like a bread knife. Warm the knife under hot running water, dry it off, and cut into the cake using slight sawing motion. Remove the knife, clean it, and repeat the process for the remaining slices needed.
FAQs
This will probably depend on where you live. In France, it’s tradition to enjoy a Bouche de Noel, which is a rolled cake that is shaped and decorated like a log. In the U.S., you might say that Fruitcake is the most traditional Christmas Cake, and in Italy people enjoy Panettone. You can create your own traditional Christmas cake using this recipe.
The perfect type of sprinkles for adding to cake batter are jimmies. These long, thin sprinkles are not likely to bleed color into your cake layers. Nonpareils are not a good choice for funfetti cakes, as they are colored with dyes that will bleed and discolor your cake batter.
While I’m not giving you a specific filling recipe, you certainly could add your own. Something simple like raspberry jam in between the two layers would be delicious.
Sifted flour makes a better cake. Separating the flour particles by sifting allows them to mix into the cake batter evenly, so there is no chance of dense or dry spots in your finished cake.
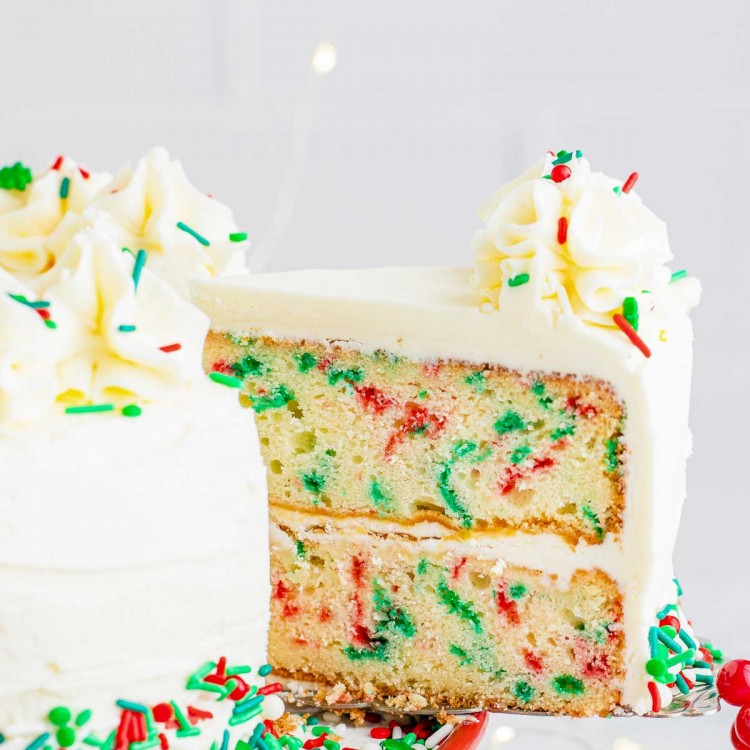
I can’t wait to hear about how much everyone loved this beautiful Christmas layer cake! Serve it with a big bowl of Christmas Punch, and Happy Holidays!
Did you make this? Be sure to leave a review below and tag me on Facebook, Instagram, or Pinterest!
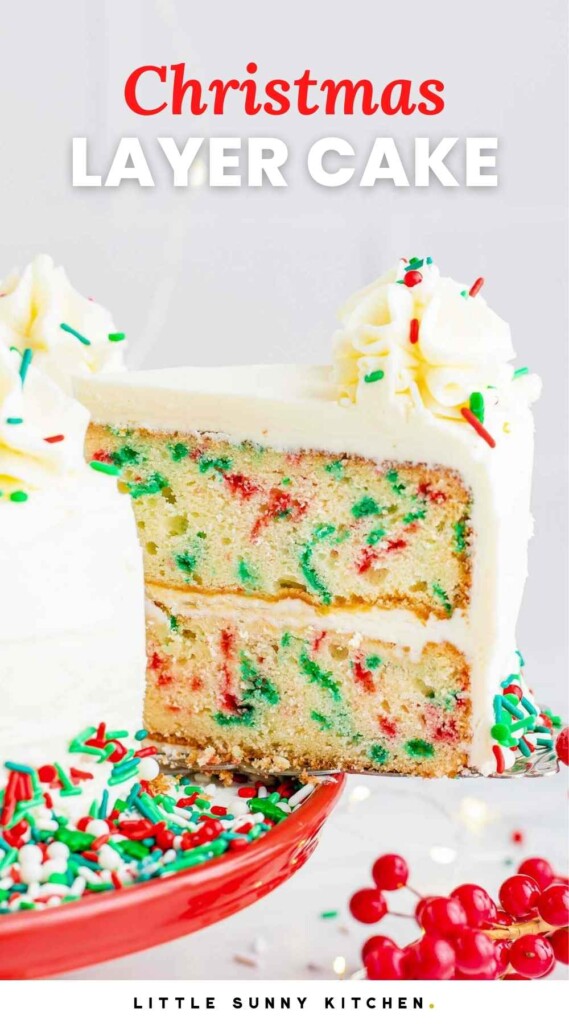
Christmas Funfetti Layer Cake
Equipment
- Electric Hand mixer or Stand mixer
- Star Tip
Ingredients
For the Cake:
- 2 and ¾ cups cake flour sifted
- 1 and ½ teaspoon baking powder
- ½ teaspoon baking soda
- ½ teaspoon salt
- 4 egg whites at room temperature
- 1 cup unsalted butter at room temperature
- 1 and ½ cup granulated sugar
- ½ cup sour cream at room temperature
- 2 teaspoons pure vanilla extract
- 1 cup heavy whipping cream
- 1 cup holiday sprinkles divided
For the Vanilla Buttercream
- 1 ¼ cups unsalted butter softened to room temperature
- 5 cups powdered sugar sift if lumpy
- ⅓ cup heavy cream at room temperature, can be subbed with half and half or whole milk
- 1 ½ teaspoons pure vanilla extract
- ¼ teaspoon salt
Instructions
- Preheat the oven to 350°F/180°C. Spray two 9-inch round cake pans with baking spray and line with parchment cake rounds, set aside.
- In a large bowl, whisk together the cake flour, baking powder, baking soda, and salt, set aside.
- In the body of a stand mixer, add the egg whites with the whisk attachment, beat until light and fluffy and medium peaks are formed about 3 minutes. Take the egg whites out and set aside.
- No need to clean out the bowl, cream the butter with the sugar until light pale yellow, light and fluffy, about 3 minutes with the paddle attachment. Add the sour cream and vanilla, mix until combined.
- Add the flour mixture and stir in until combined, scrape down the sides. Add in the heavy cream and stir in until combined, scrape the sides. Fold in the egg whites. Add in ¾ cup of the sprinkles and fold them in.
- Pour the batter evenly into the two cake pans, smooth out the tops. Bake for 26-32 minutes, until a toothpick inserted into the center, comes out mostly clean (To make sure the cakes are done, you can take an internal temperature, if the cakes are between 205°-210°F (96-99°C), they are done.). Let the cakes cool completely in the pans on a wire rack.
- Make the buttercream frosting: In a large bowl using a hand mixer, or using a stand mixer that's fitted with the paddle attachment. Beat the butter at medium speed for 2 minutes until creamy. Decrease the speed to low, and add the powdered sugar, cream, vanilla extract, and salt and mix again. When the sugar is mixed in, increase the speed to high and beat for 3 minutes. If the frosting is too thick, add cream and beat again. If it's too thin, add powdered sugar and beat again.
- Crumb Coat: Once the cakes are completely cool, take them out of the pans. Place one of the cakes bottom side down on your serving platter or cardboard cake board. Add 1 cup of buttercream frosting on top and smooth it out. Invert the other cake so the bottom side is up, add it on top of the frosting. Crumb coat the cake all over. Place in the fridge for at least two hours so the outside layer of frosting sets. I like to do this step then let it chill overnight.
- Decorate: When ready to decorate, add a thick layer of buttercream around the sides and the top of the cake, make it as even as possible and smooth it out as best you can. Don’t worry if the sides are messy, we are about to cover that up! Taking the remaining sprinkles, gently press them in all around the bottom edge of the cake. Decorate the top of the cake however you wish and decorate with more sprinkles if desired. I like to use an open star tip to pipe my decoration on top.
Notes:
- This cake serves 10-12.
- Avoid Overmixing: An overmixed cake can become tough after baking. Mix ingredients until just combined.
- Sift the Flour after Measuring: Measure the cake flour first by spooning it into a measuring cup and then leveling the top of the cup with the flat side of a butter knife. Then sift using a flour sifter or a mesh sieve.
- The Best Pans: For beautiful layer cakes, straight-sided cake pans will give you the best results. I use these 9-inch nonstick pans and get amazing results every time.
- For Neat Layering: To get a neat-looking cake, add a tiny bit of frosting to your cake stand or cake turntable, to stop the cake from moving as you frost. Then place the first layer of cake upside down. Add your icing, making it a bit thicker around the outside edge. Then place the second layer upside down, so that the flat part is the top of the cake. Doing it this way means that you won’t need to cut off any cake to get it flat.
Making Ahead and Storing Tips for Layer Cakes
- Make ahead: You can bake the cake layers 1-2 days in advance, and store them at room temperature wrapped in parchment paper then in plastic wrap. The buttercream can also be made 1-2 days in advance and stored in the fridge. The frosted cake can be made 2-3 days in advance and again, stored in the fridge.
- Leftovers: Leftover cake can be kept in the fridge for up to 7 days. You can also freeze slices of cake in airtight containers for up to three months. Thaw in the fridge before serving.
Nutrition Information
This website provides approximate nutrition information for convenience and as a courtesy only. Nutrition data is gathered primarily from the USDA Food Composition Database, whenever available, or otherwise other online calculators.
© Little Sunny Kitchen

RT says
My kid wanted a vanilla cake for Christmas so decided to give this a try. The recipe is easy to make, but the cake did not turn out as expected, it seems there is something missing, perhaps the egg yolks need to be added to the cake not just the white. The texture was not right. Also, not sure if baking in a glass bowl would affect the way the cake turns out.
Little Sunny Kitchen says
Baking layer cakes in glass pans is not ideal, as cakes will take longer to cook and can get overcooked on the edges in glass pans compared to metal pans. Using glass definitely could have affected the texture of the recipe. I hope you’ll try again sometime, this cake is really quite good!