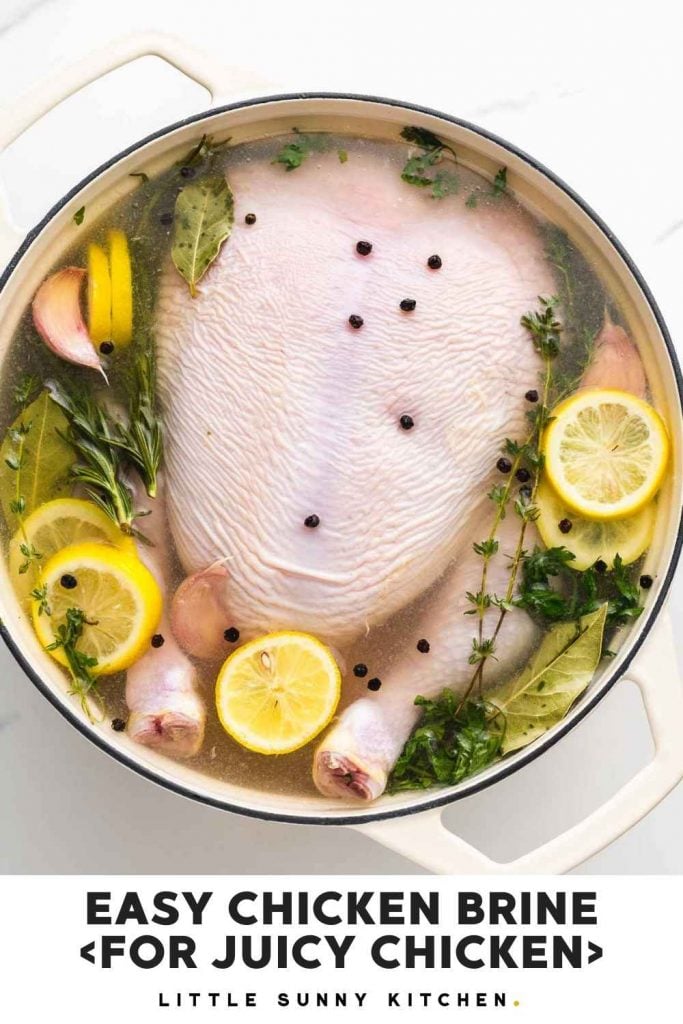
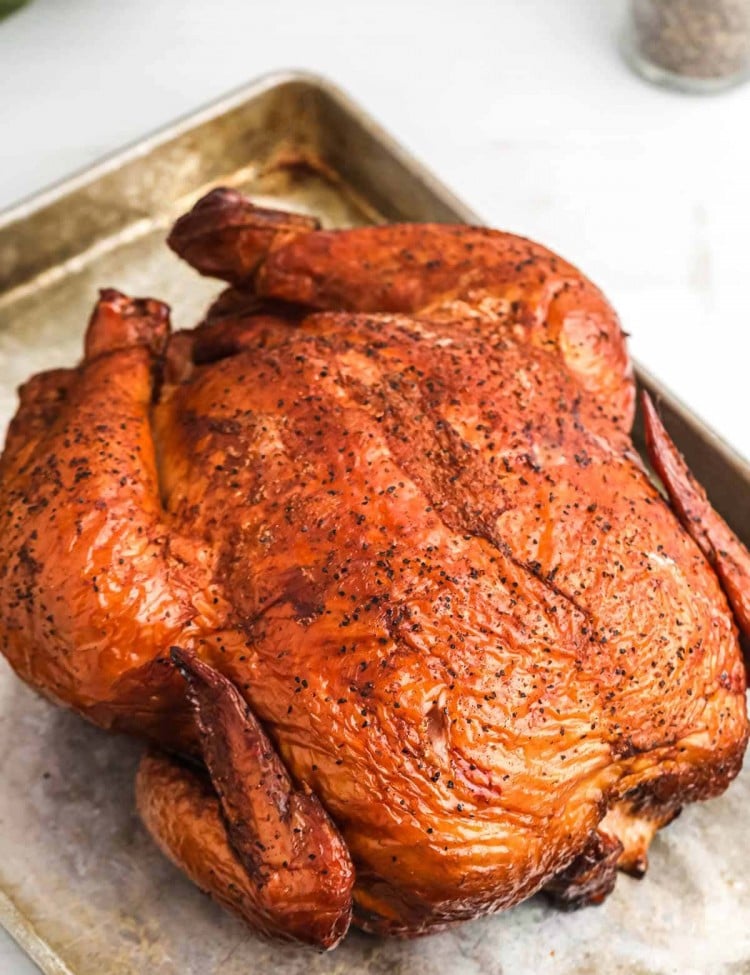
This chicken brine recipe is the easiest way to make chicken juicy, tender, and flavorful before roasting, grilling, smoking, or air frying. It uses a simple saltwater base with lemon, garlic, herbs, peppercorns, and honey for extra flavor. Use it for a whole chicken, chicken breasts, thighs, drumsticks, or wings. The key is adjusting the brining time to the cut of chicken, so I’ve included a quick timing chart below.
Why Brine Chicken?
Brining seasons chicken more deeply than sprinkling salt on the surface. The saltwater helps the meat retain moisture as it cooks, which is especially helpful for lean cuts like chicken breasts and for dry-heat methods like roasting, grilling, frying, and smoking.
The flavorings in the brine are subtle. The chicken will not taste strongly of lemon, honey, or herbs, but it will taste better seasoned and much juicier. Also keep in mind that brined chicken takes less time to roast.
How Long to Brine Chicken
| Chicken | Brining Time | Notes |
|---|---|---|
| Whole chicken, 4–5 pounds | 12–24 hours | Best for roasting or smoking. Do not brine longer than 24 hours. |
| Bone-in chicken pieces | 2–8 hours | Good for thighs, drumsticks, and bone-in breasts. |
| Boneless chicken breasts | 30 minutes–2 hours | Use a shorter time so they do not get too salty. |
| Wings | 1–2 hours | Pat very dry before baking, frying, or grilling. |
A whole chicken needs the longest brining time, while boneless chicken breasts and wings only need a short soak. If you are brining smaller pieces, do not leave them in the brine overnight.
Difference Between Chicken Brine and Marinade
The main purpose of brine is to tenderize the meat, while the primary purpose of a marinade is to inject flavor. In a brine, meat is submerged in water and salt solution, but in a marinade, the meat is coated with flavorings often containing some type of acid, spices, and herbs.
Chicken Brine Ingredients
You can totally make a basic chicken brine with just water and salt. But to take your chicken to the next level, you will need these optional ingredients that are used to enhance the flavor:
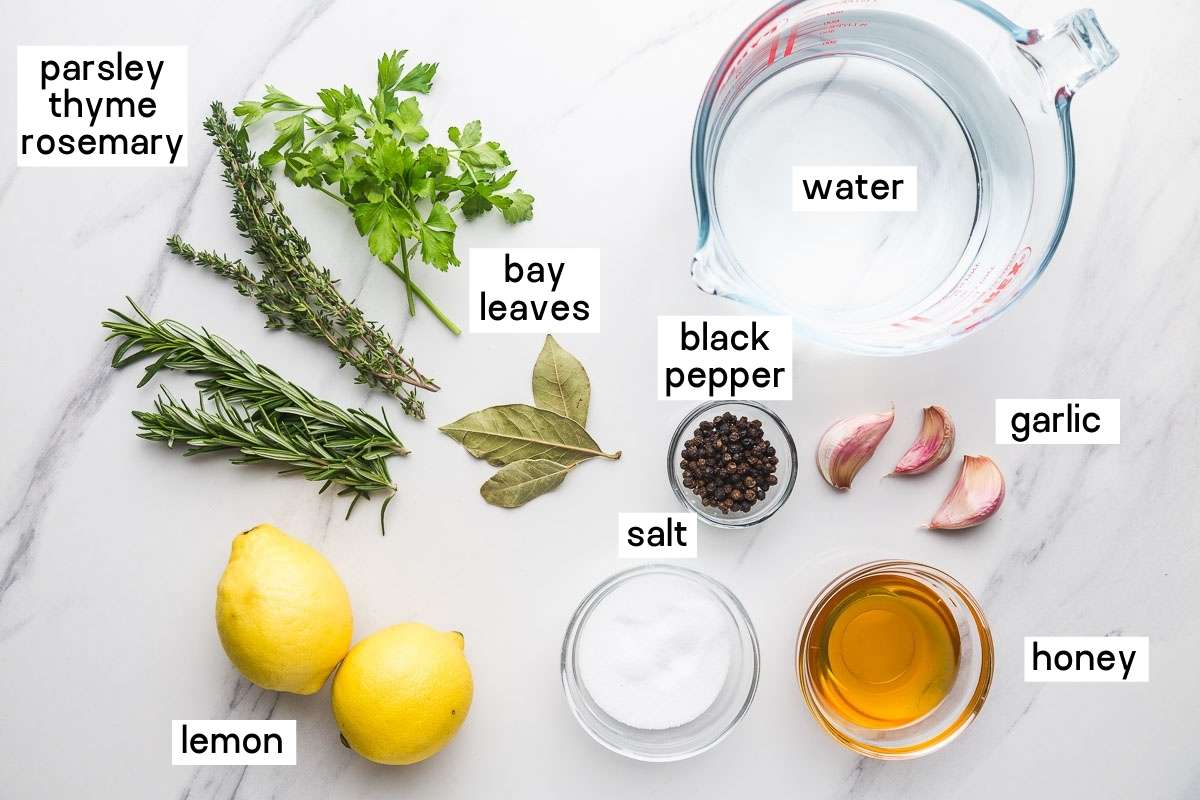
- Fresh herbs – I use whatever I have available. Use parsley, cilantro thyme, rosemary, etc.
- Bay leaves – dry or fresh.
- Black peppercorns – whole or ground black pepper.
- Garlic and lemon.
- Honey – to add some sweetness, you can substitute it with maple syrup, granulated sugar, or brown sugar.
How to Brine Chicken
First, think about the vessel that you will be brining chicken in. You will need a container that will be able to hold the chicken, I used a cast iron pot (which is not ideal as it takes a while to cool down after it’s heated), but it’s the biggest that I have that can hold my 5-pound chicken.
It is important to use kosher salt for brining NOT table salt. The reason behind this is that table salt has very fine grains, it measures differently and will make your chicken too salty.
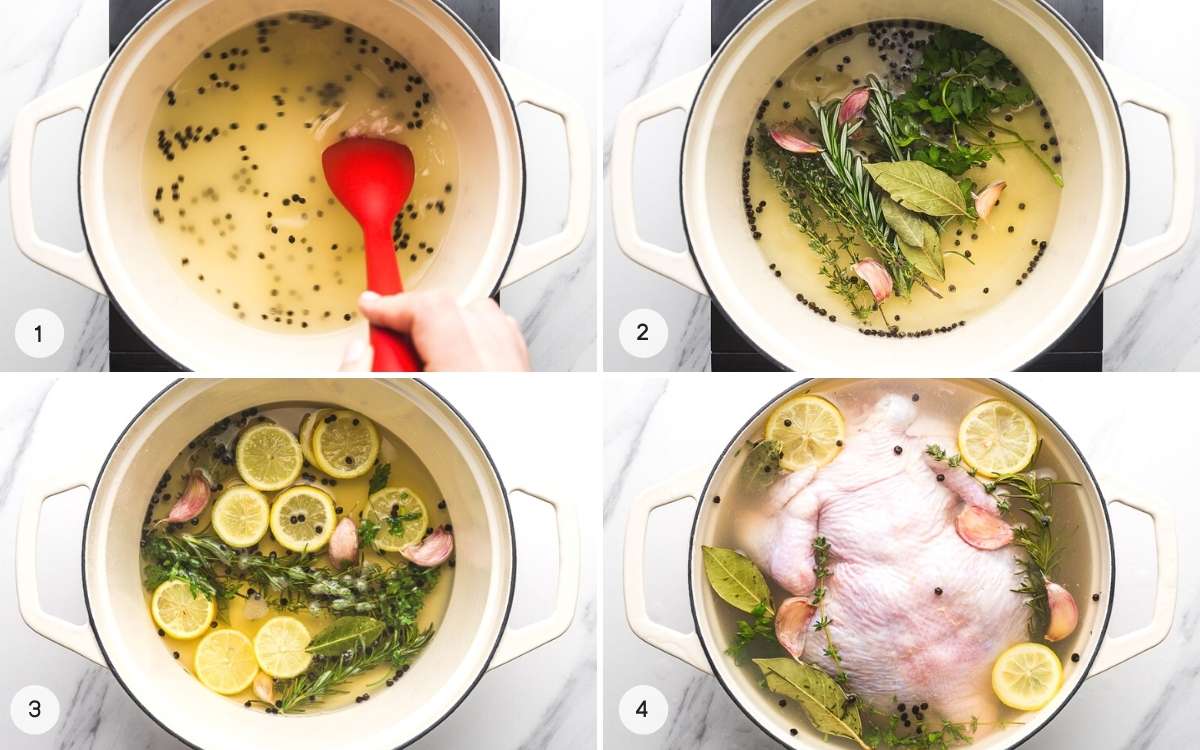
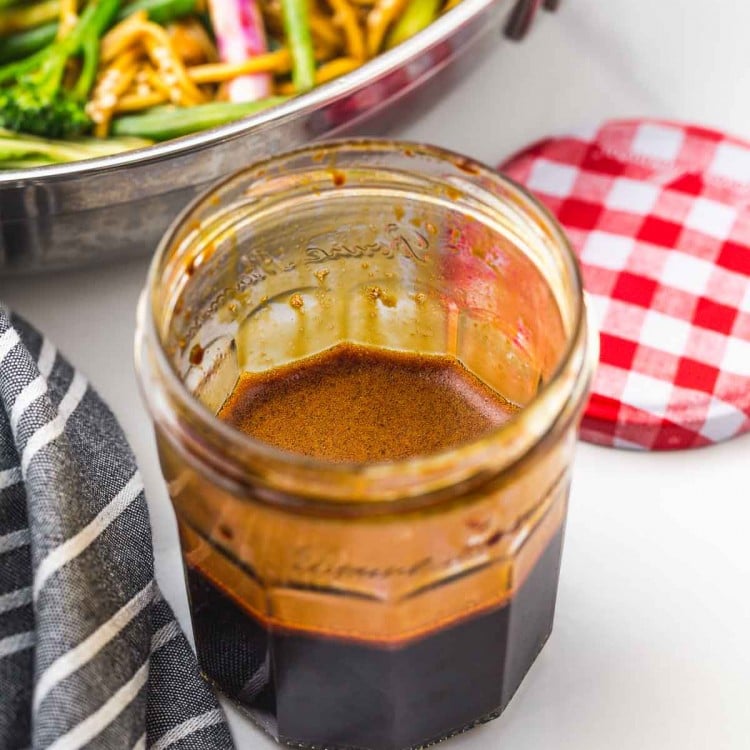
- In a pot or a saucepan, combine ½ cup of water, salt, and the rest of the ingredients (if using flavorings). Bring to a boil, whisk until the salt and sugar are completely dissolved, then remove from heat.
- Pour in the rest of the water (if you’re in a rush, add ice cubes), and allow the water to COMPLETELY cool down to room temperature and it’s even recommended to refrigerate if possible.
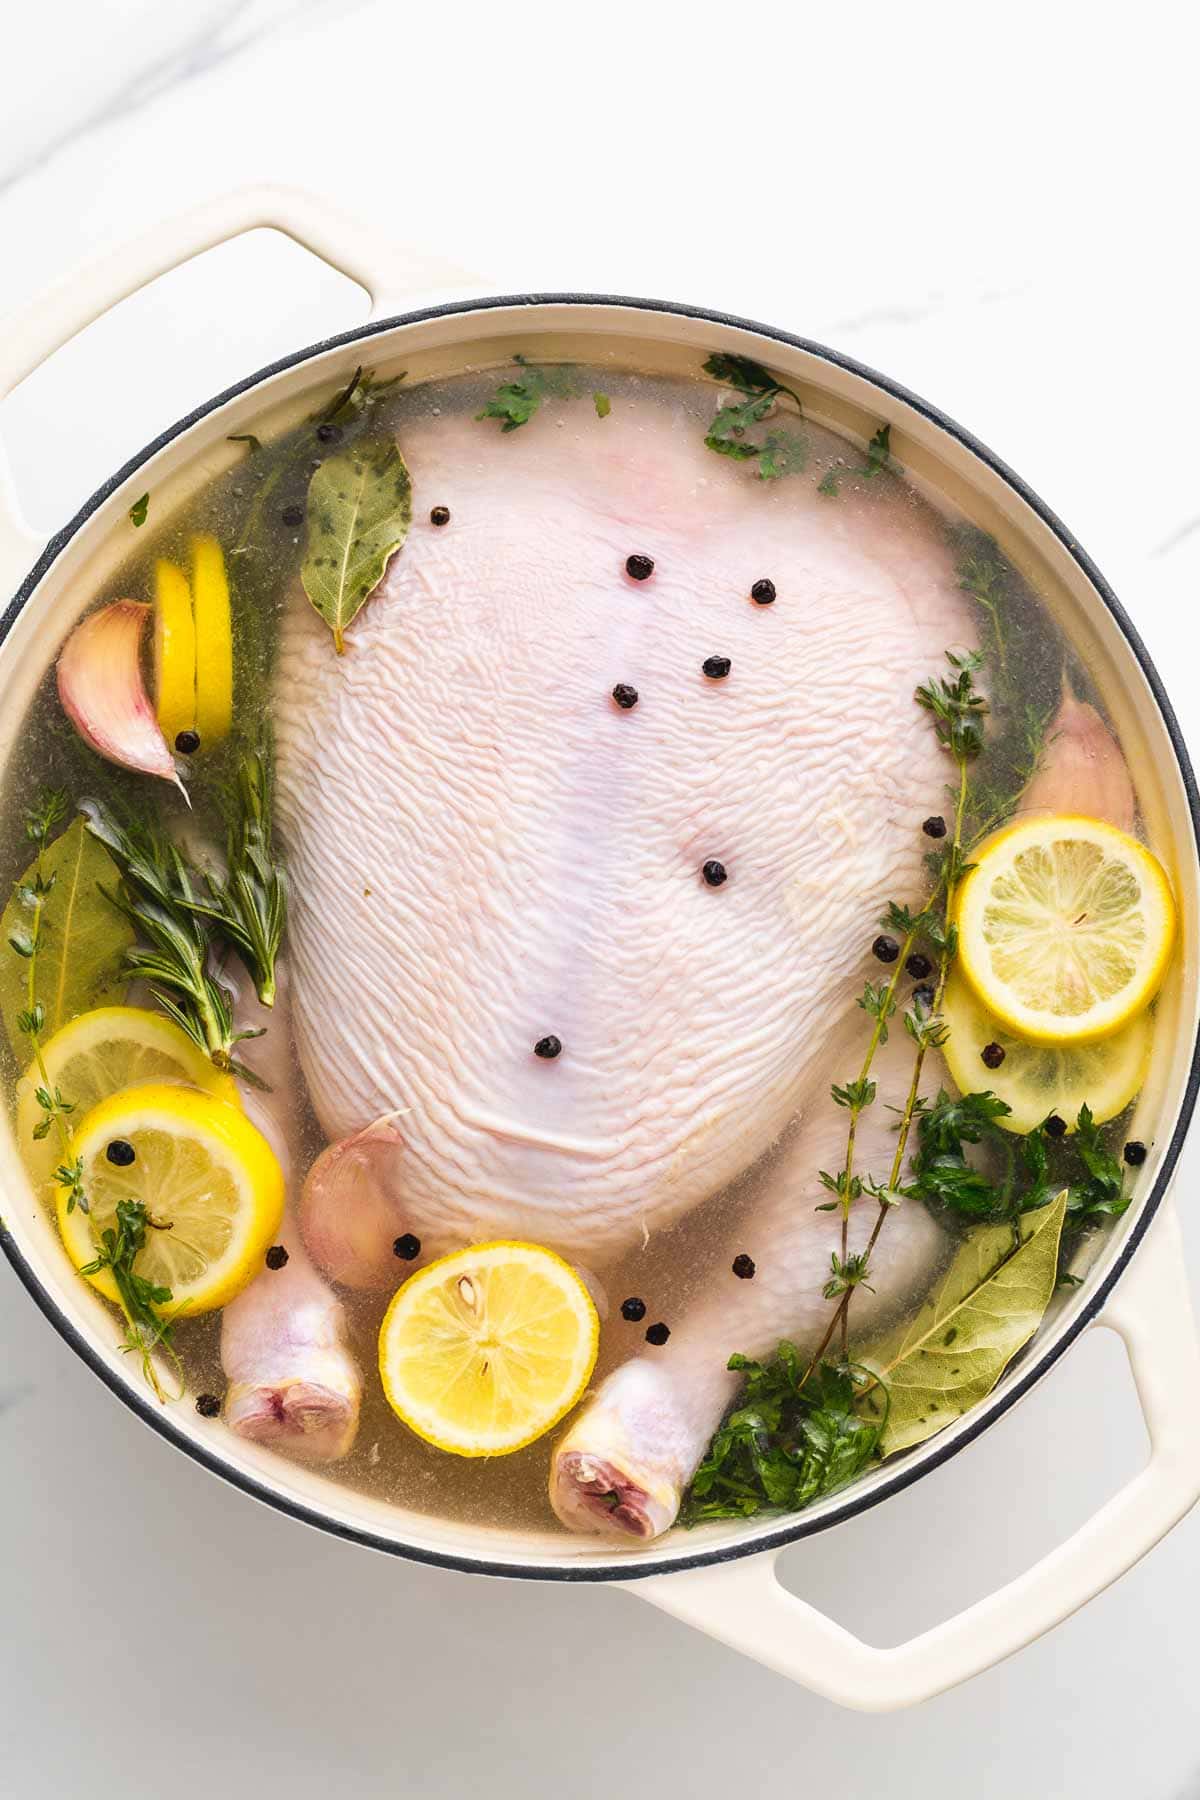
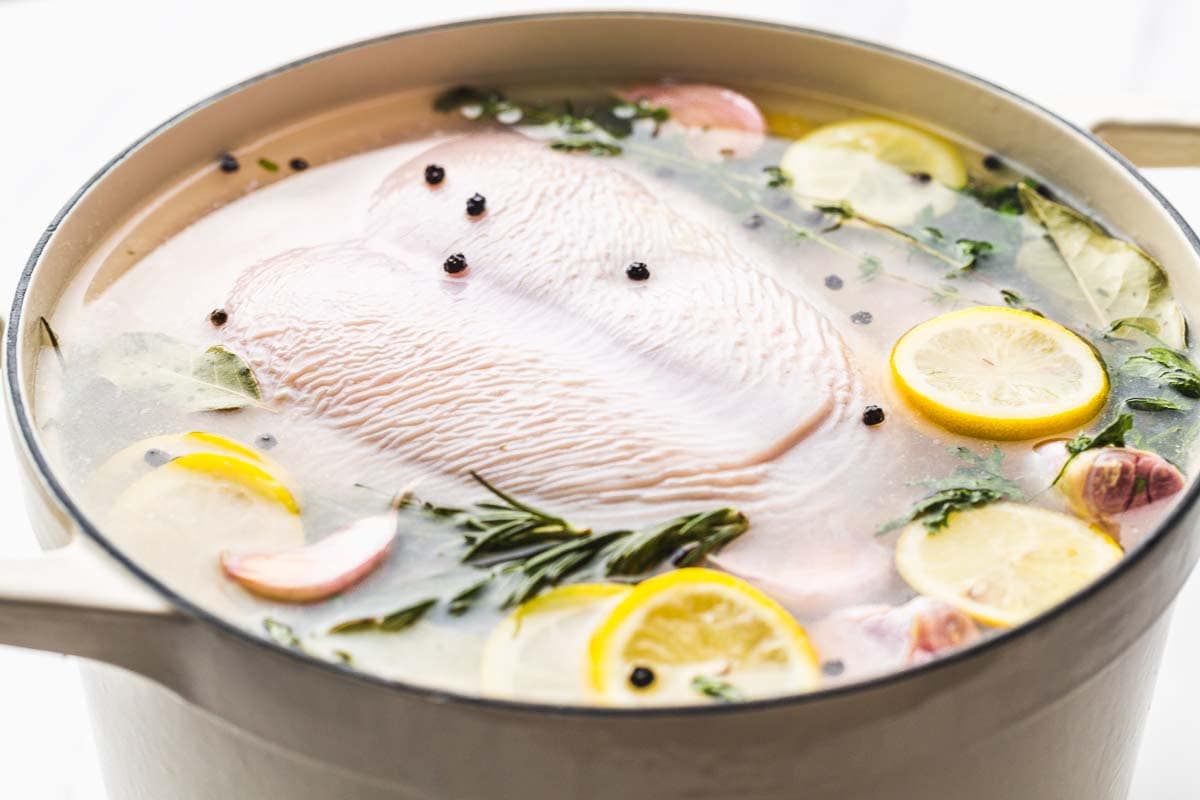
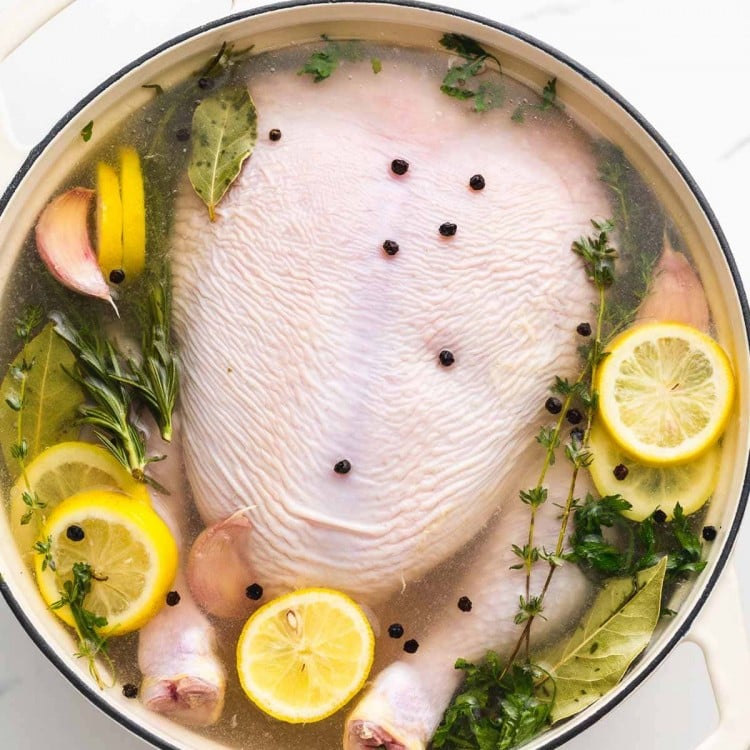
- When the water has completely cooled down, submerge the whole chicken in brine breast side down, cover, and refrigerate. Brine according to the timing chart above.
The recipe is adapted from Chef Thomas Keller’s chicken brine recipe that he shared in his Masterclass, he uses a 10% salt solution and then air dries the chicken for 2-3 days in the fridge for crispy skin and better texture.
What to Do After Brining Chicken
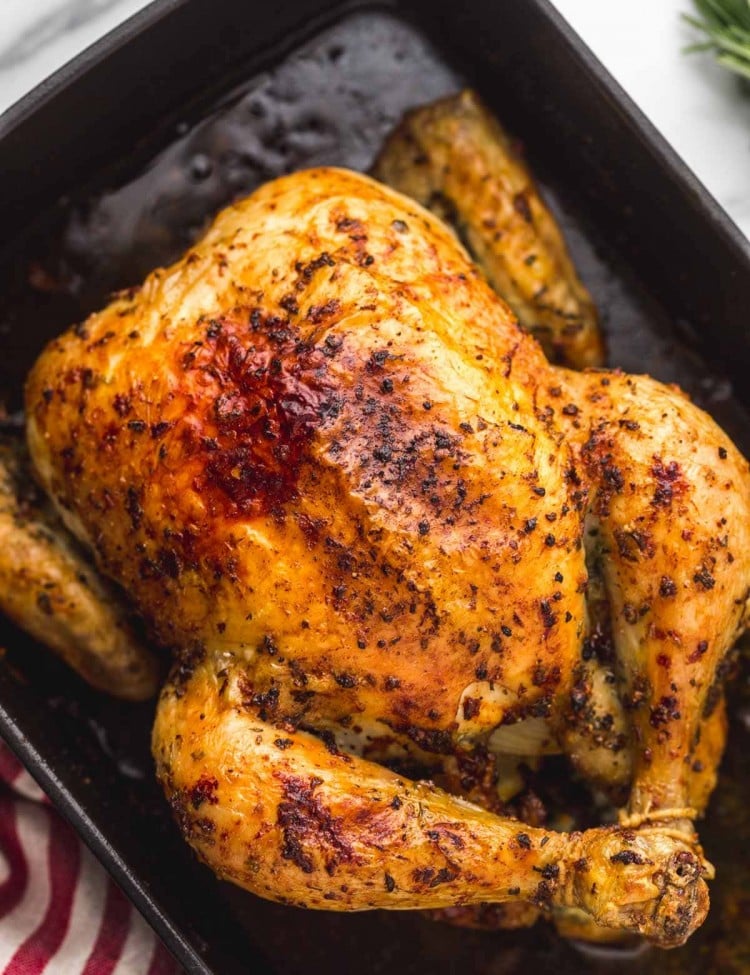
Remove the chicken from the brine and discard the brine. Do not reuse it. Pat the chicken very dry with paper towels to get crispy skin.
Season lightly before cooking because the chicken has already absorbed salt from the brine. Brined chicken may cook a little faster than unbrined chicken, so start checking the internal temperature early.
Can I Use This Brine for Chicken Breasts?
Yes, this brine works for chicken breasts, but they need much less time than a whole chicken. Brine boneless chicken breasts for 30 minutes to 2 hours, then remove them from the brine and pat them very dry before cooking.
Do not brine boneless chicken breasts overnight, or they can become too salty. If you are using large bone-in chicken breasts, use the bone-in chicken pieces timing from the chart above.
Can I Use This Brine for Smoked or Grilled Chicken?
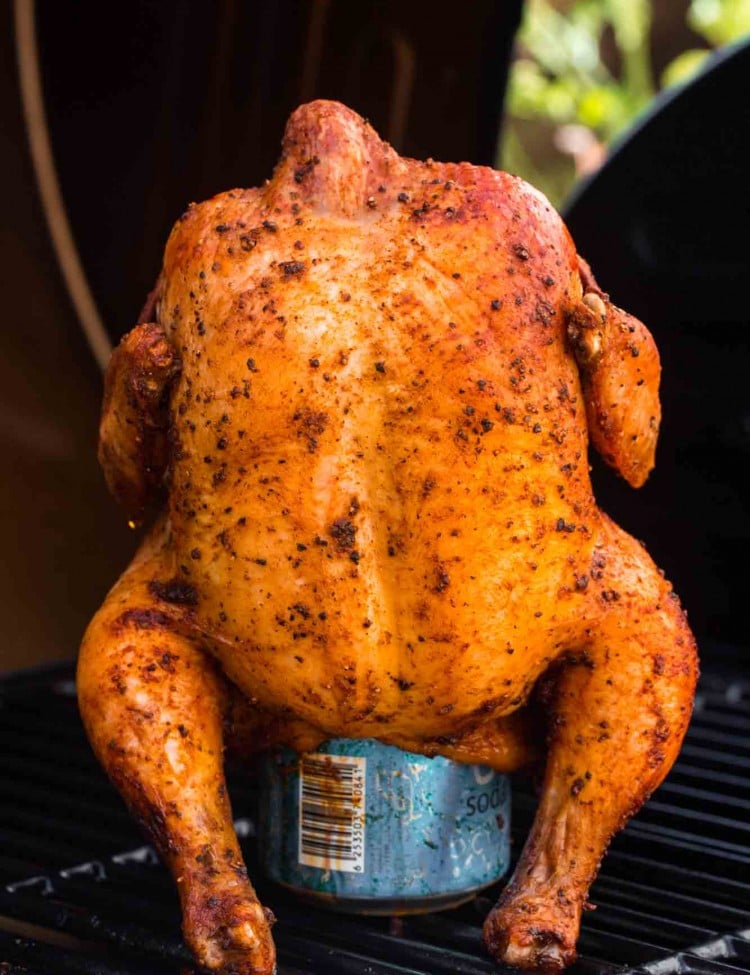
Yes. This chicken brine works well before smoking or grilling because it helps lean chicken stay juicy over dry heat. After brining, discard the brine and pat the chicken very dry so the skin or outside can brown better.
For smoked chicken, follow my Smoked Whole Chicken recipe. For grilled chicken pieces, cook until the thickest part reaches 165°F. USDA/FoodSafety.gov lists 165°F as the safe minimum internal temperature for chicken and other poultry.
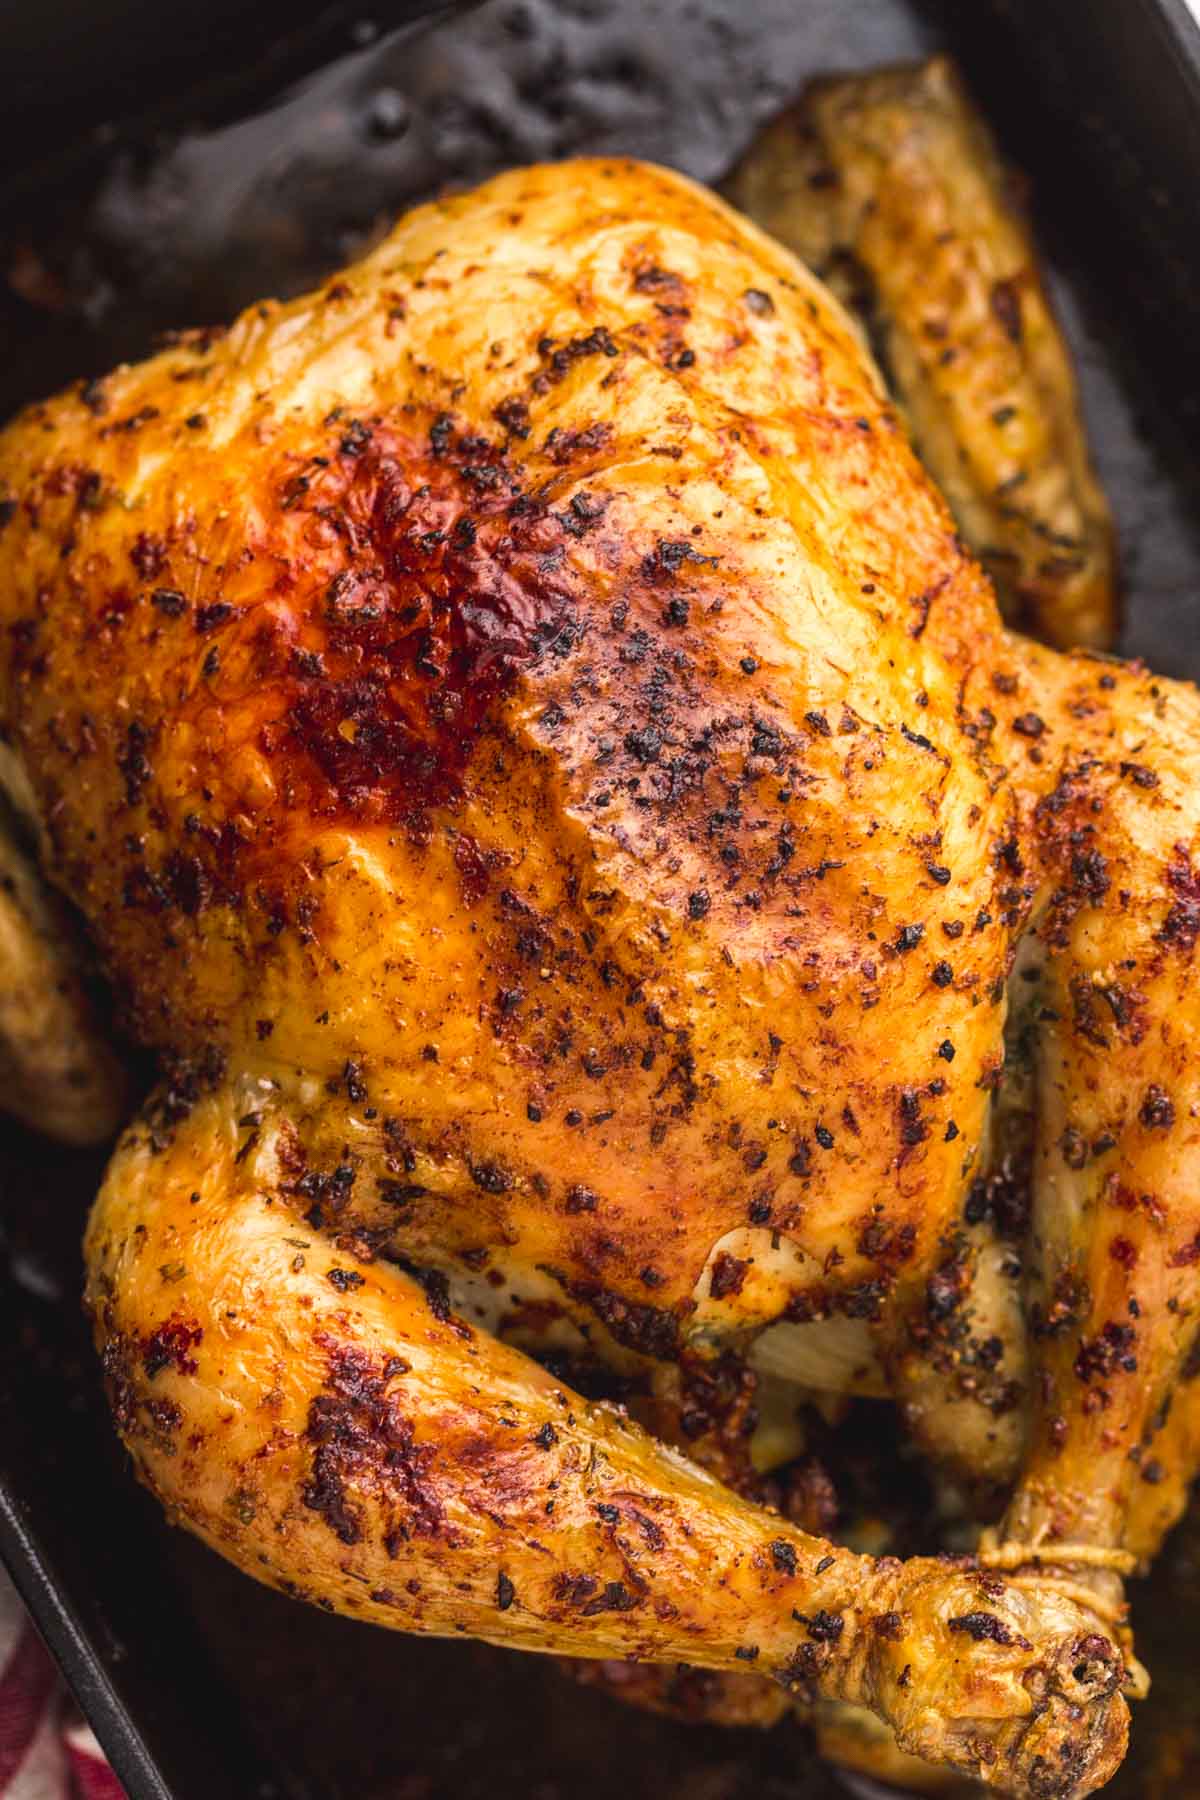
How to Cook Brined Chicken
As I mentioned above, brining is great for dry cooking methods such as roasting, grilling, frying, pan-searing, and smoking. Here are a few recipes to try:
- Air Fryer whole chicken
- Air Fryer chicken breast
- Smoked whole chicken
- Easy Roast chicken
- Baked chicken breast
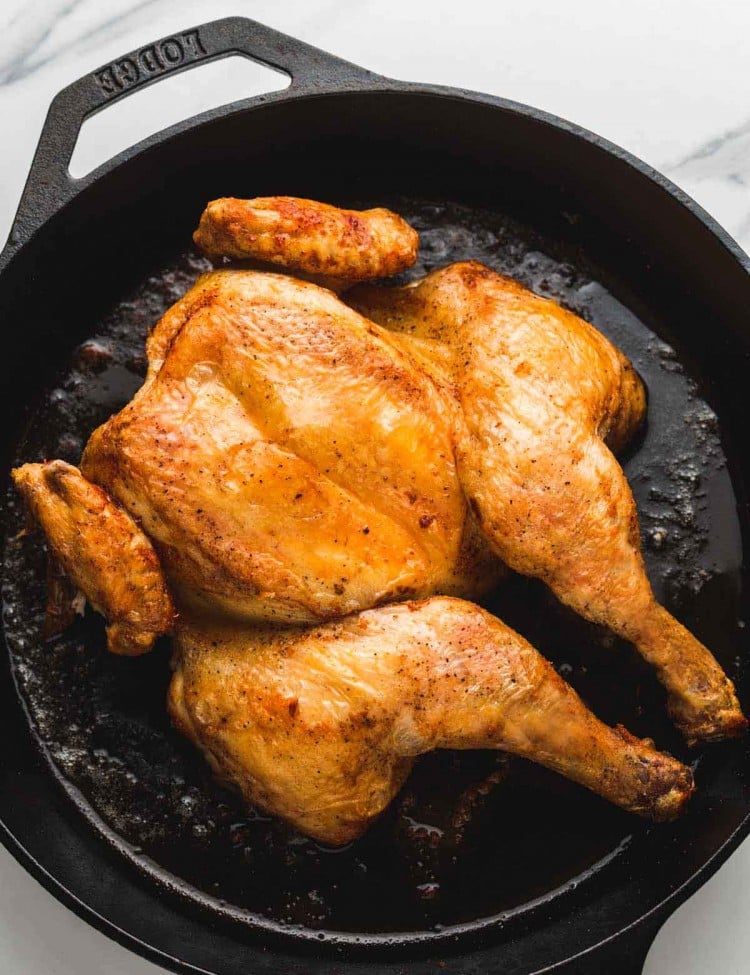
- Spatchcock roasted chicken
- Grilled chicken kabobs
Did you make this? Be sure to leave a review below and tag me on Facebook, Instagram, or Pinterest!
Chicken Brine Recipe
Recipe Video
Ingredients
- 4-5 pound (2-2.5 kg) whole chicken
For the brine:
- 8 cups (2 liters) water
- ⅓ cup kosher salt
Optional flavorings
- 2 medium lemons sliced
- ⅓ cup honey or sugar
- 4 cloves garlic smashed and peeled
- 1 tablespoon black peppercorns
- 3 bay leaves dried or fresh
- 10 sprigs fresh mixed herbs parsley, rosemary, thyme
Instructions
- In a pot or a saucepan, combine ½ cup of water, salt, and the rest of the ingredients (if using flavorings). Bring to a boil, whisk until the salt and sugar are completely dissolved, then remove from heat.
- Pour in the rest of the water (if you're in a rush, add ice cubes), and allow the water to COMPLETELY cool down to room temperature and it's even recommended to refrigerate if possible.
- When the water has completely cooled down, submerge the whole chicken in brine breast side down, cover, and refrigerate for at least 12 hours if using a whole chicken and up to 24 hours.
- Remove the chicken from the brine, discard the brine, and pat the chicken very dry before cooking.
Notes:
- If using ice to cool the brine quickly, count the ice as part of the total 8 cups of water.
- Do not reuse brine after raw chicken has been in it.
- Boneless chicken breasts only need 30 minutes to 2 hours in the brine. Do not brine them overnight.
Nutrition Information
This website provides approximate nutrition information for convenience and as a courtesy only. Nutrition data is gathered primarily from the USDA Food Composition Database, whenever available, or otherwise other online calculators.
© Little Sunny Kitchen
NICHOLAS ANDREWS says
Great recipe and tips – It’s easier to make the marinade separately and let the cool down while the chicken is in the cold brine
Tony says
What do I do if I have a 7 pound chicken?
Diana says
You will need more brine to cover it. In the recipe card, you can adjust the servings from 6 to 10 or 11 and that will give you the quantities to use for a 7 lb chicken.
Katherine Jupin says
This is a great recipe. I’ll be trying it tomorrow evening as I have a meeting this evening and am eating on the run.
Rob says
The comment re kosher salt vs table salt is 100% wrong … if you are measuring by weight then 40g of kosher salt is exactly the same as 40g of table salt once they dissolve … if you are using “cups” as a measure (which you should not) then the grain size is relevant.
Al says
Always go by weight!
David says
I was wondering the same thing. If it’s by weight, then kosher vs table salt shouldn’t matter right? Diana, can you clarify, and correct the article if necessary? Thanks
Michele says
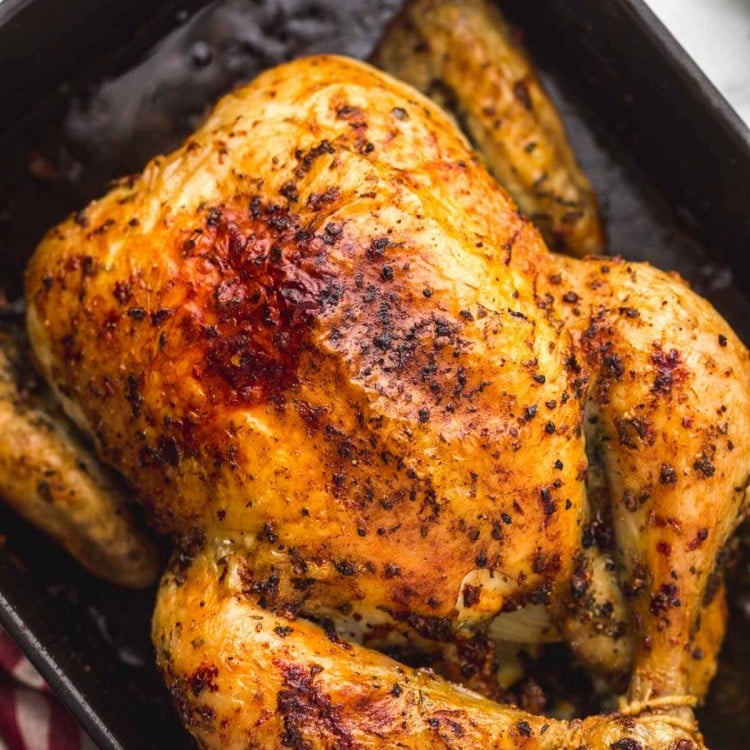
I’m sorry I’m a little confused the pic is showing breast side up. Is it breast side up or down? Thank you
Diana says
Hi Michele, definitely do breast side down as shown in the steps images. The main picture shows breast side up just for aesthetics 🙂