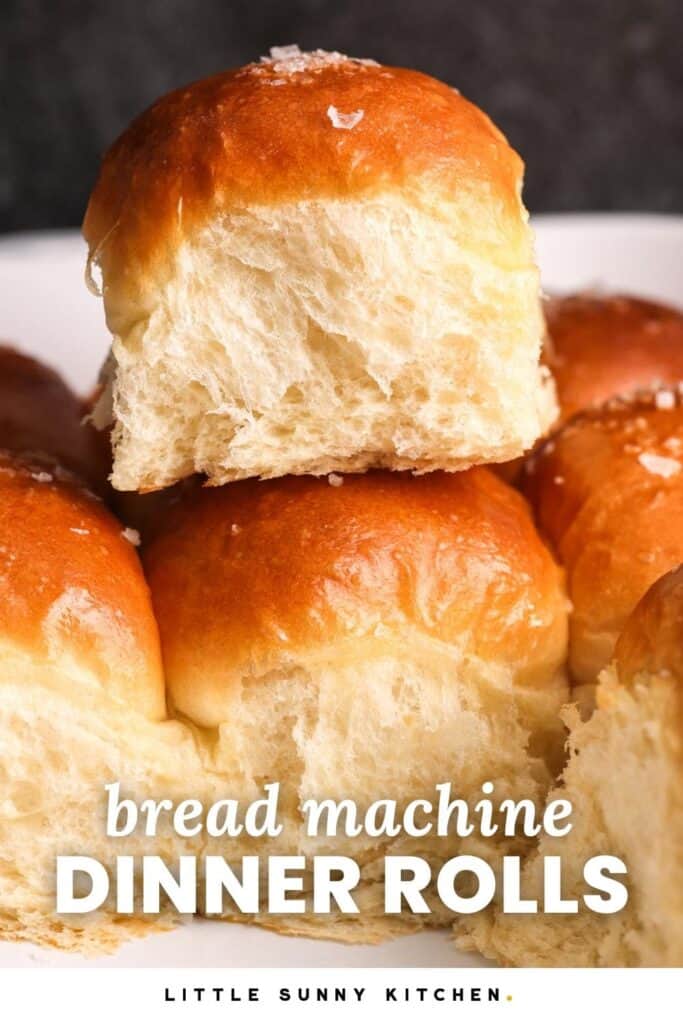
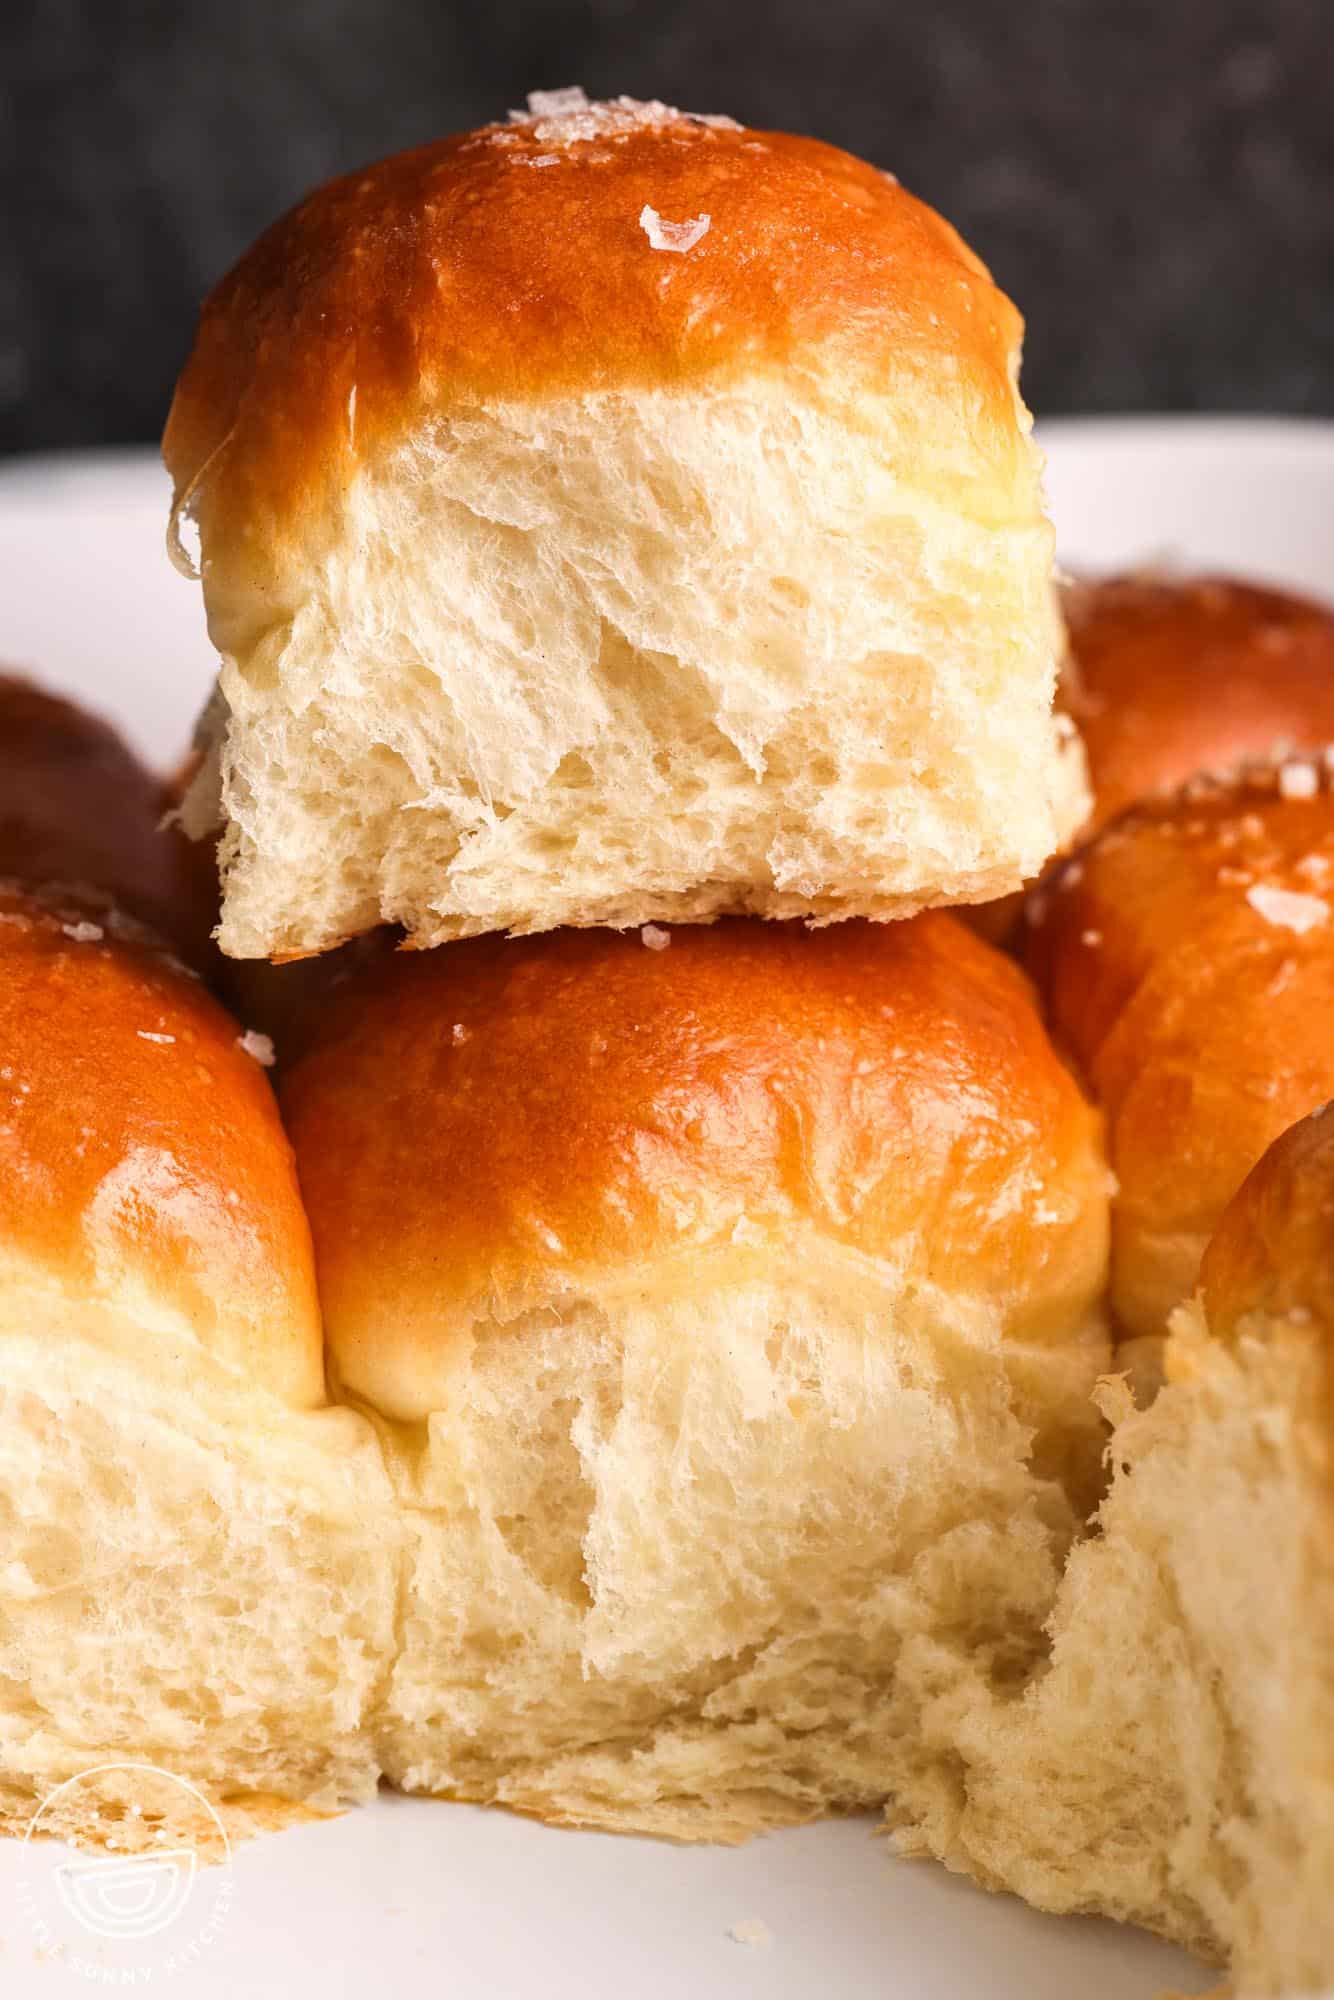
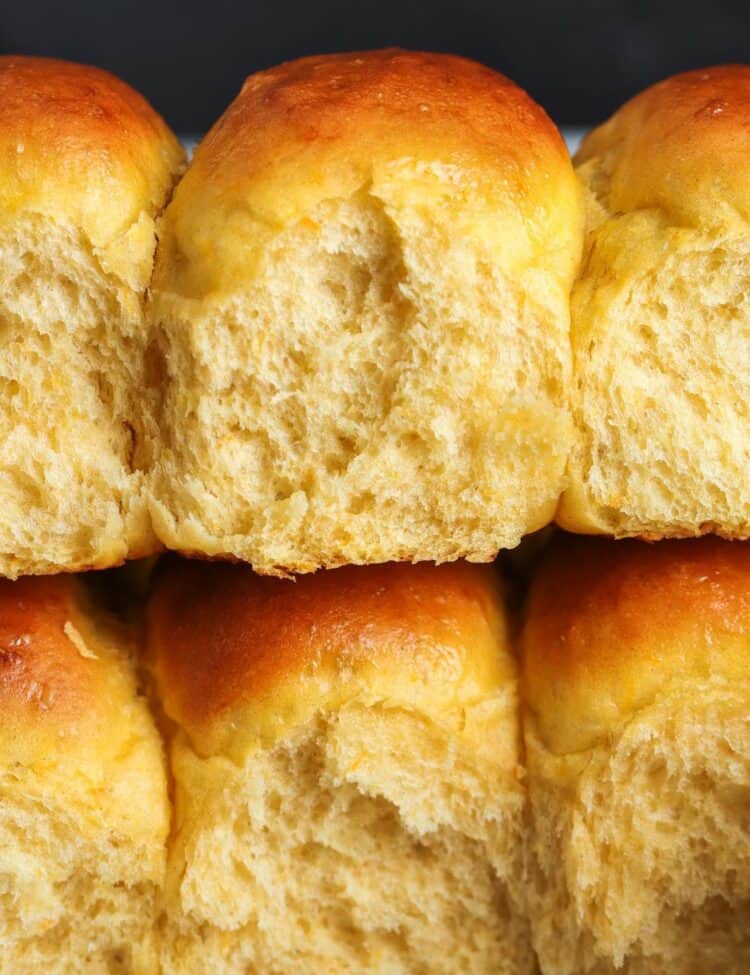
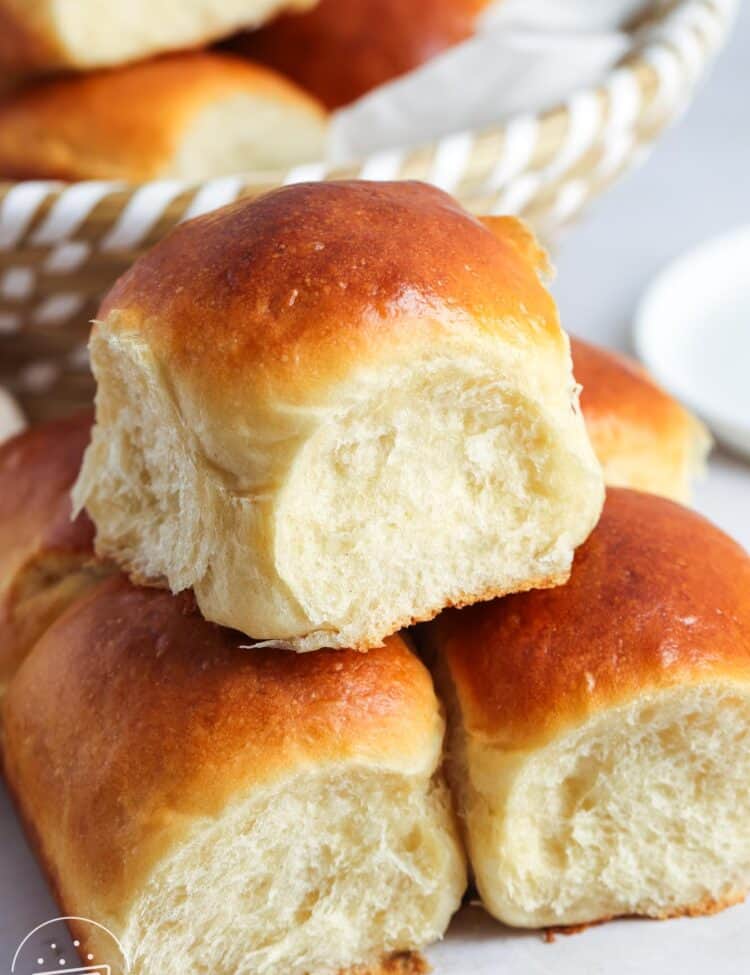
Classic soft and fluffy dinner rolls are effortlessly made using a bread machine. These rolls are rich and flavorful from the addition of eggs and butter with a golden, tender crust. Knead and proof in your bread maker, shape by hand, and bake in the oven.

These Bread Machine Dinner Rolls Always Turn out perfectly!
I love it when I have a recipe that never fails, and these soft and tender bread machine dinner rolls are one of my most requested side dishes.
They’re perfect for holidays like Thanksgiving or anyday family dinners. Using the bread machine to do the mixing, kneading, and rising takes all the guesswork out of making rolls from scratch.
This recipe is based on my easy dinner rolls recipe, but it’s even better! These dinner buns are so flavorful, and have the perfect texture.
Key Ingredient Notes
Complete list of ingredients and amounts can be found in the recipe card below.
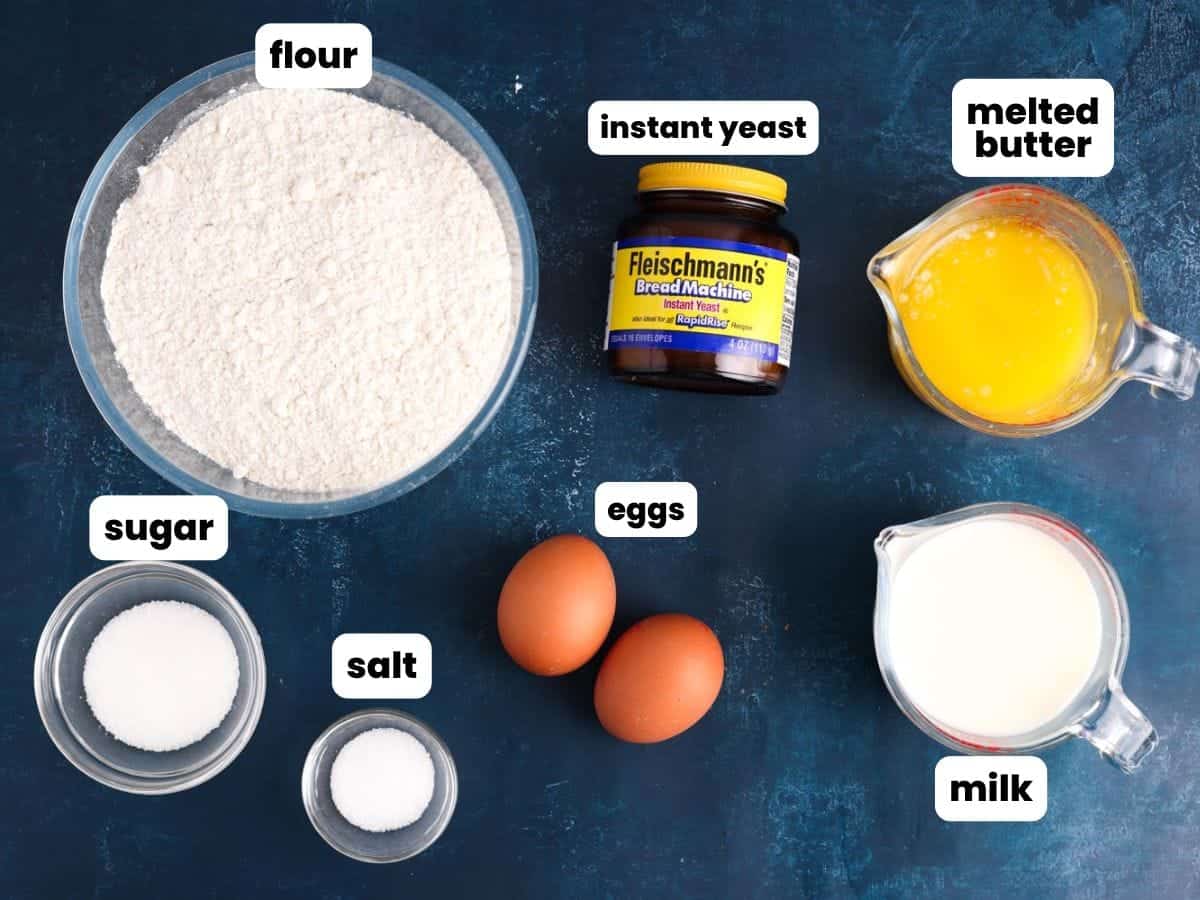
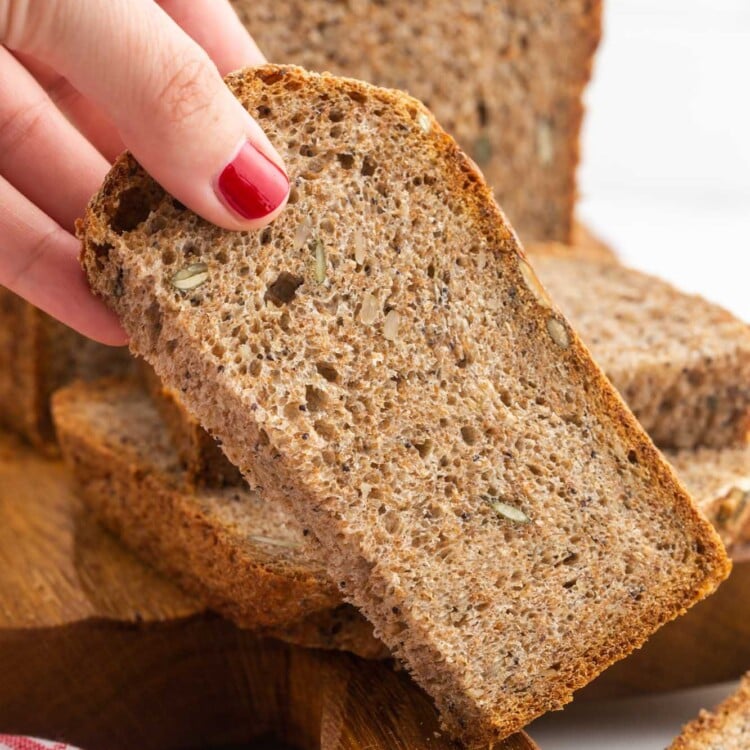
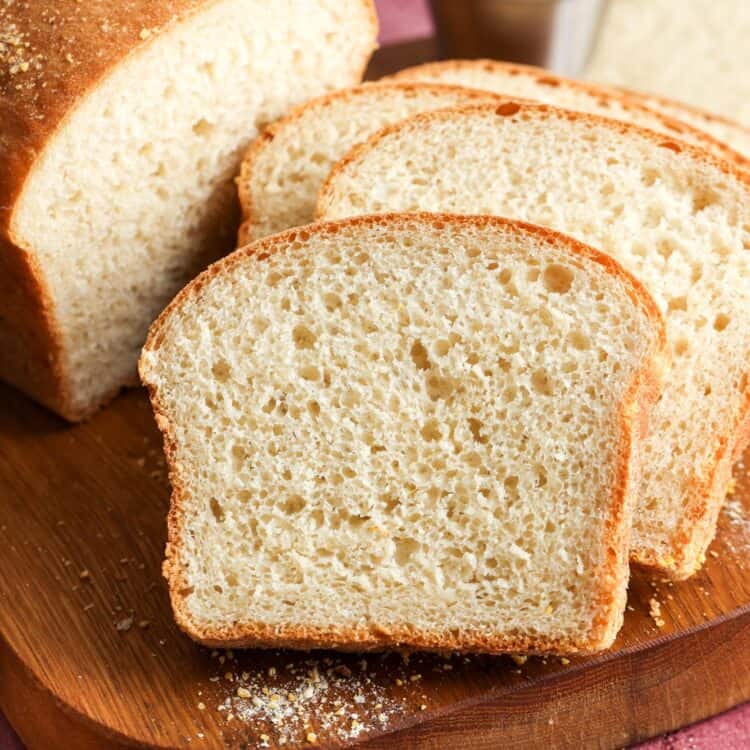
- Flour: I’ve tested this recipe with both white all-purpose flour and bread flour, and it works with either one! Bread flour has more protein in it, so it will give you sturdier rolls that rise higher in the oven. AP flour will give you super soft rolls that are a bit shorter, but still delicious.
- Whole Milk: The fat and lactose in milk help to give the rolls a soft, tender crumb. Warm the milk to a lukewarm temperature that is no higher than 110°F/45°C.
- Eggs: Eggs give the rolls structure. Be sure to let your eggs come to room temperature before adding them to this recipe. Cold eggs won’t combine easily with the other ingredients.
- Butter: Melted unsalted butter creates flavorful dinner rolls. We will also brush the rolls with more butter after they come out of the oven to keep the crust nice and soft.
- Sugar: I like a little bit of sweetness in my dinner rolls. Just a couple of tablespoons is enough to help feed the yeast and give the rolls a very subtle sweetness.
- Instant Yeast: For bread machine recipes, instant yeast is your best option, as it doesn’t need to be activated before adding it to the rest of the ingredients. You might also find yeast labeled as “bread machine yeast”. These are the same things.

Just made these for Turkey day tomorrow and they turned out AWESOME! Next time I may add some garlic powder to the recipe to “flavorize” them. Could experiment with other herbs and flavors as well.
Fonzie


Bread Machine Recipe Tips
- Understand your bread machine. Just like air fryers, bread machines will have differences from brand to brand and between models. Luckily, most household bread machines work in the same way, so this recipe should work in any of them. If you’re having any trouble, refer to the instructions that came with your machine, or reach out!
- Room temperature ingredients are a must when making bread dough. The liquid in your recipe should be bit above that in order to activate the yeast properly.
- The rolls are ready to bake when they are visibly puffed up and spring back slowly when gently pressed with a fingertip. Don’t rely only on the amount of time suggested in the recipe, as dough proofing time can change based on temperature and humidity. Use the images in the recipe card to know what your rolls should look like during this process.
- Baking pan suggestions: If you don’t have a 9×13-inch pan, use two 9-inch square pans instead. You can bake these rolls in a glass, ceramic, or metal pan, but in my testing, they browned more quickly in a metal pan.
- Store leftover rolls covered at room temperature for up to 24 hours. They’re still nice and soft the next day if stored correctly.
- These rolls freeze well! Cool completely, then wrap tightly with plastic wrap, and place in a freezer bag. Freeze for up to 2 months. Thaw and re-warm before serving.
Did you make this? Be sure to leave a review below and tag me on Facebook, Instagram, or Pinterest!

Bread Machine Dinner Rolls
Recipe Video
Equipment
- Kitchen scale or measuring cups
- Bench scraper or knife
- 9×13 inch baking dish or sheet pan, (23×33 cm)
- Oven
Ingredients
- 1 cup (240 ml) whole milk lukewarm
- 4 tablespoons (56 g) unsalted butter melted
- 2 large eggs at room temperature
- 2 tablespoons granulated sugar
- 1 ¼ teaspoons table salt
- 3 ¼ cups (390 g) bread flour or all purpose flour (see notes)
- 2 ¼ teaspoons (7 g) instant yeast (1 packet)
For topping:
- 1 large egg mixed with 1 tablespoon water for egg wash
- 1 tablespoon melted butter for brushing after baking
- Flaky sea salt for sprinkling (optional)
Instructions
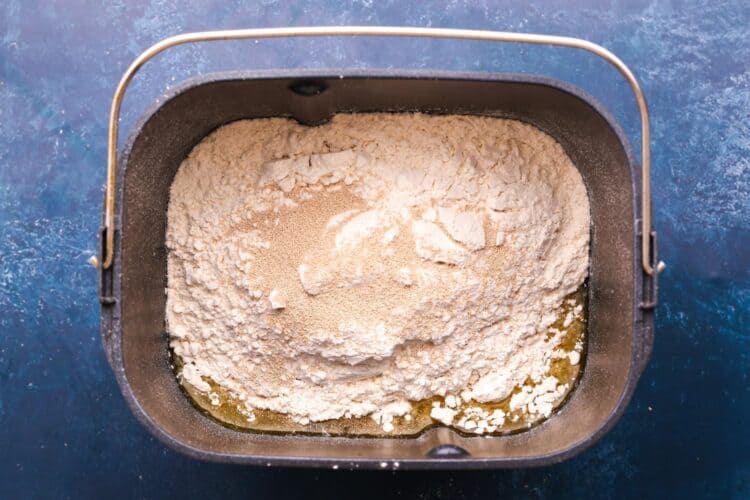
- Add the milk, melted butter, eggs, sugar, and salt to the bread machine pan.
- Add the bread flour, then sprinkle the yeast on top.

- Set the bread machine to the dough cycle and start.
- Check on the dough by opening the lid 5-10 minutes into the cycle. The dough should form a soft, smooth ball that pulls away from the sides of the pan and feels slightly tacky but not wet. If it looks too sticky, add 1 tablespoon of flour at a time. If it looks dry or crumbly, add 1 teaspoon of milk at a time. Let the extra ingredients knead in before adding any more.
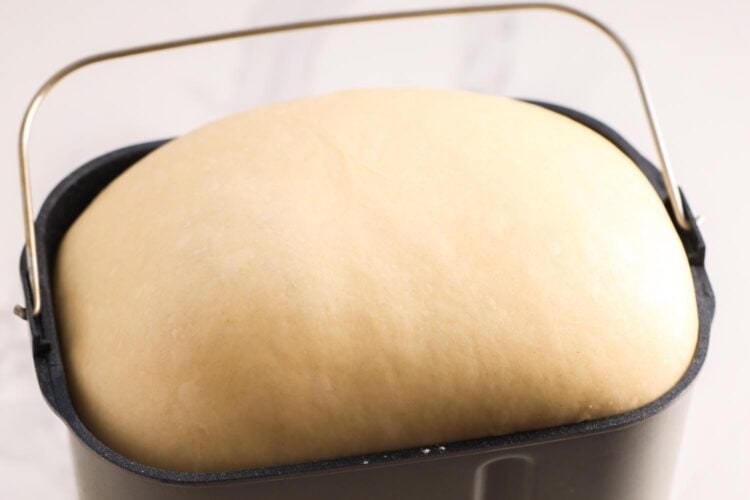
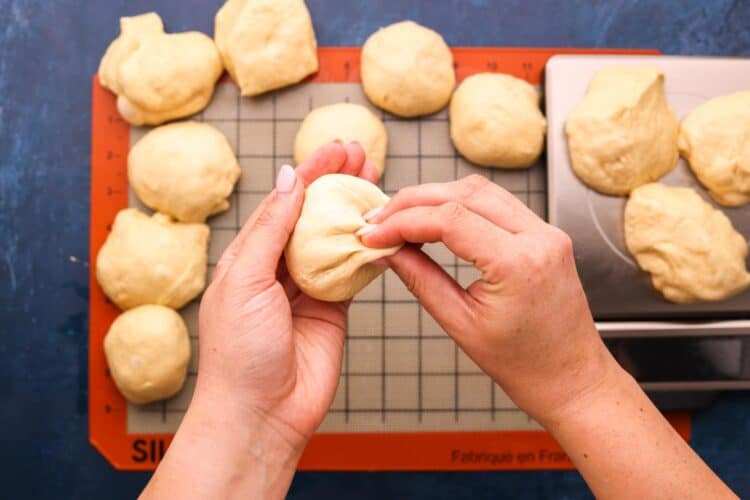
- Once the cycle ends and the dough appears properly proofed, transfer it to a lightly floured surface.
- Divide into 12 equal pieces (about 65 grams each). shape each into a smooth ball.
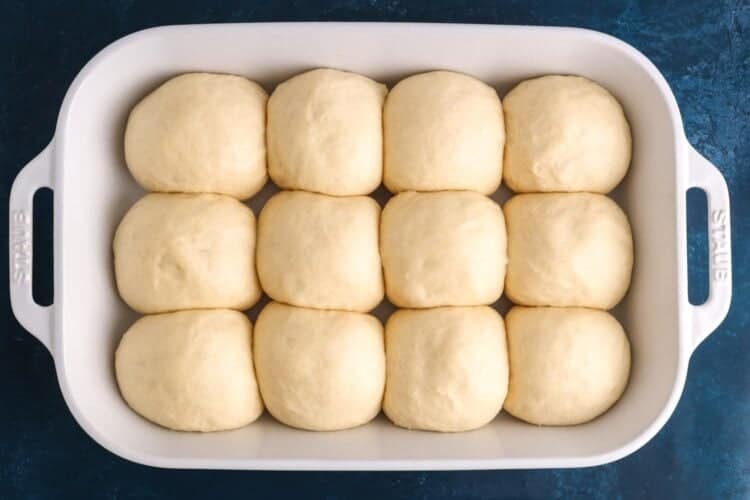
- Place rolls in a greased 9×13-inch (23×33 cm) pan, evenly spaced.
- Cover and let rise in a warm place until puffy and nearly doubled, about 30-45 minutes.
- Preheat the oven to 350°F (180°C).
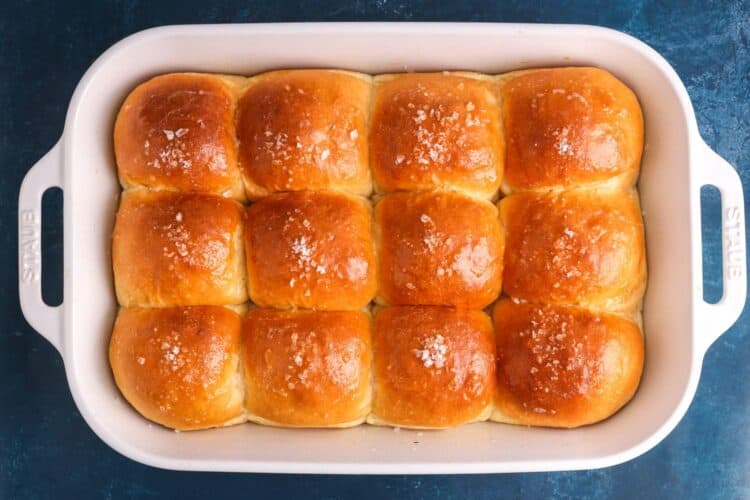
- Brush the rolls gently with egg wash.
- Bake rolls for 18 to 22 minutes turning the pan halfway through, or until golden brown and the internal temperature reaches 190°F (88°C).
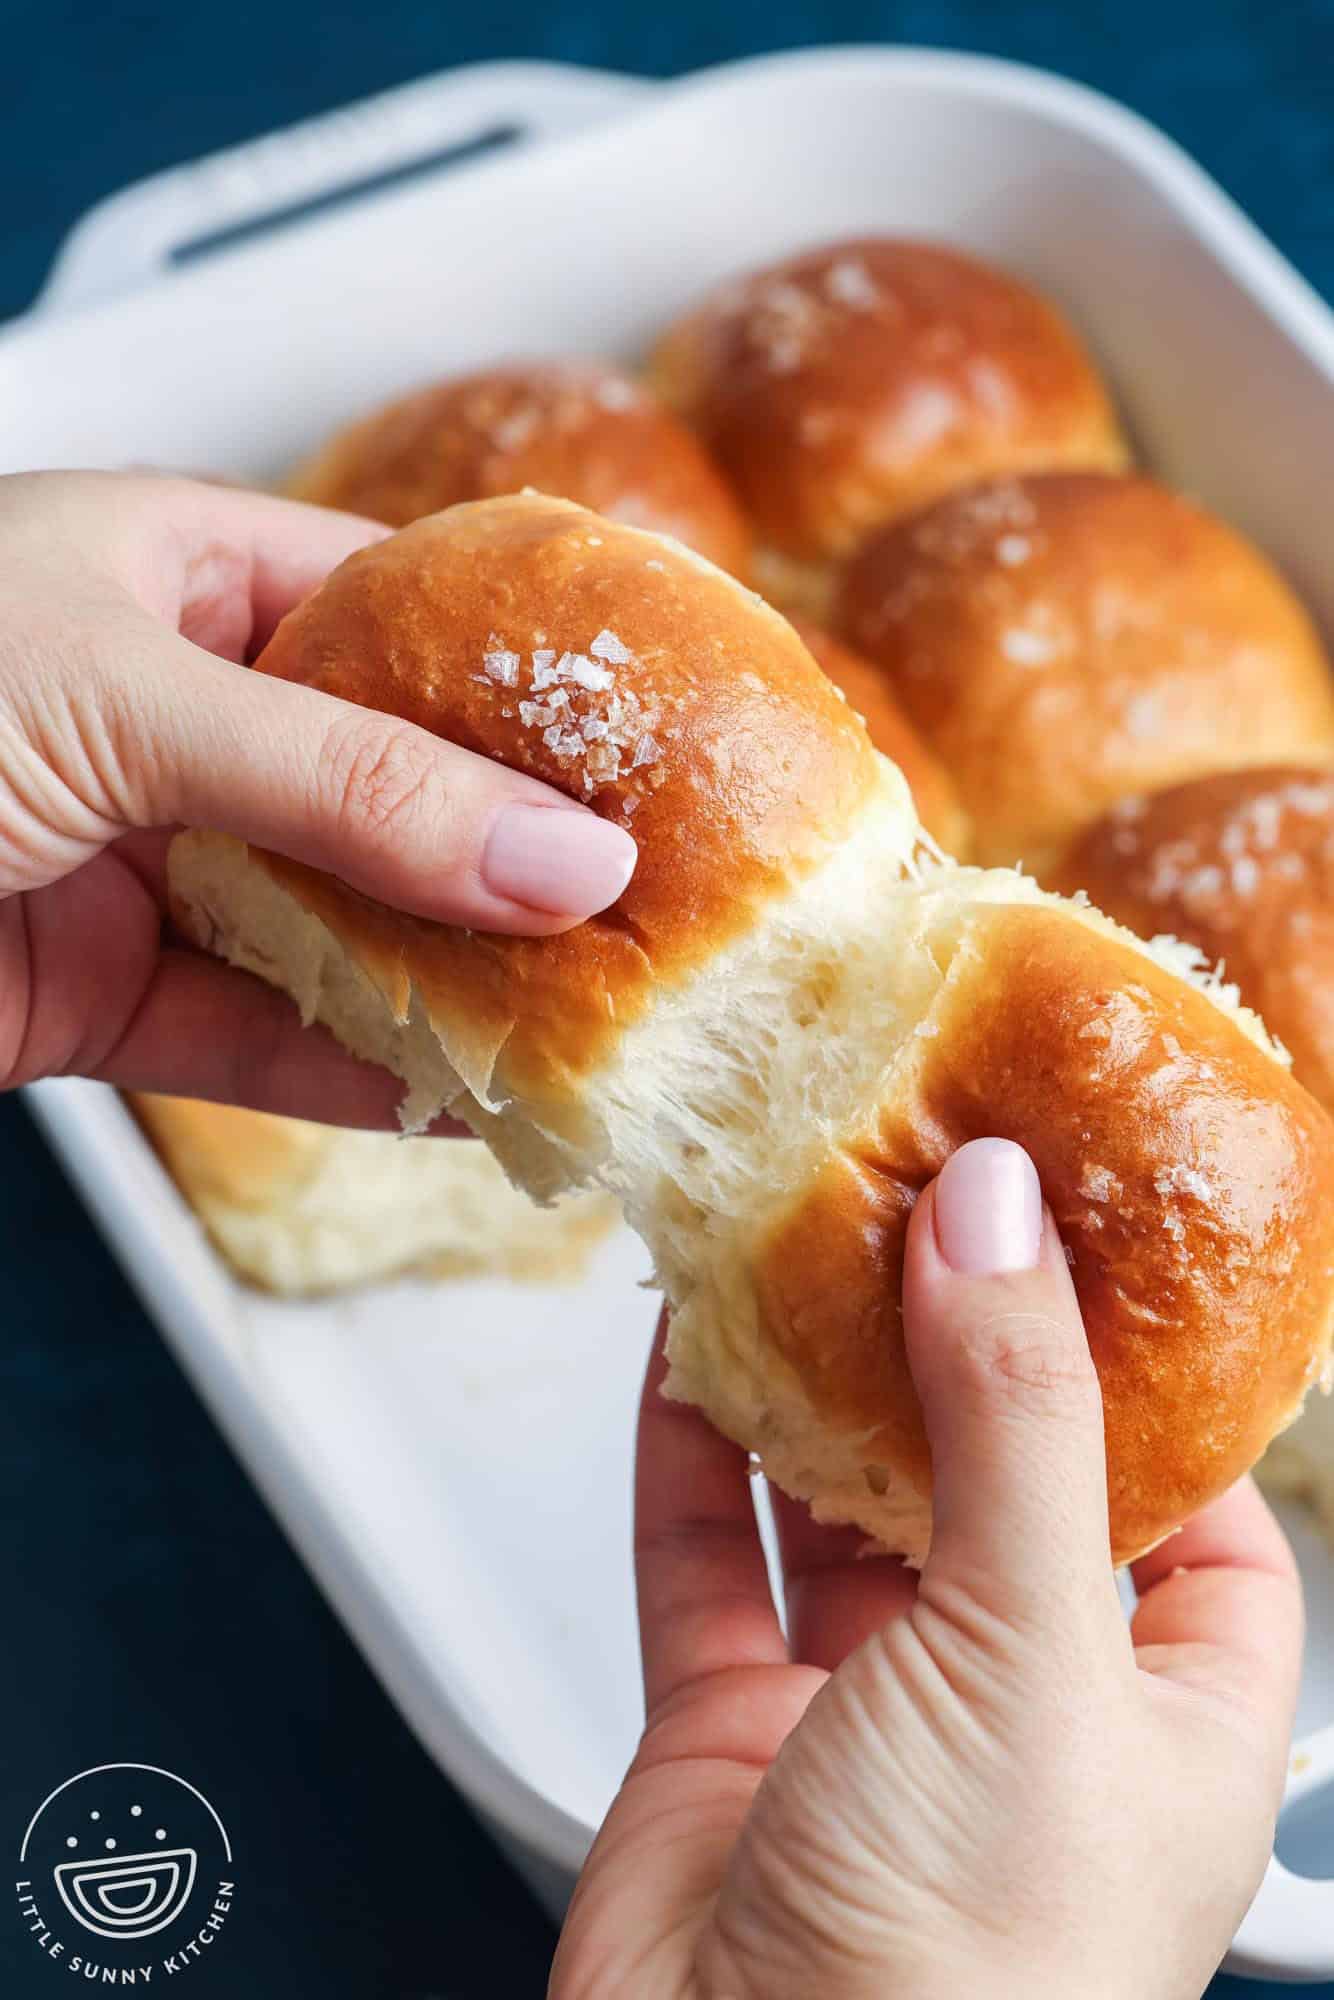
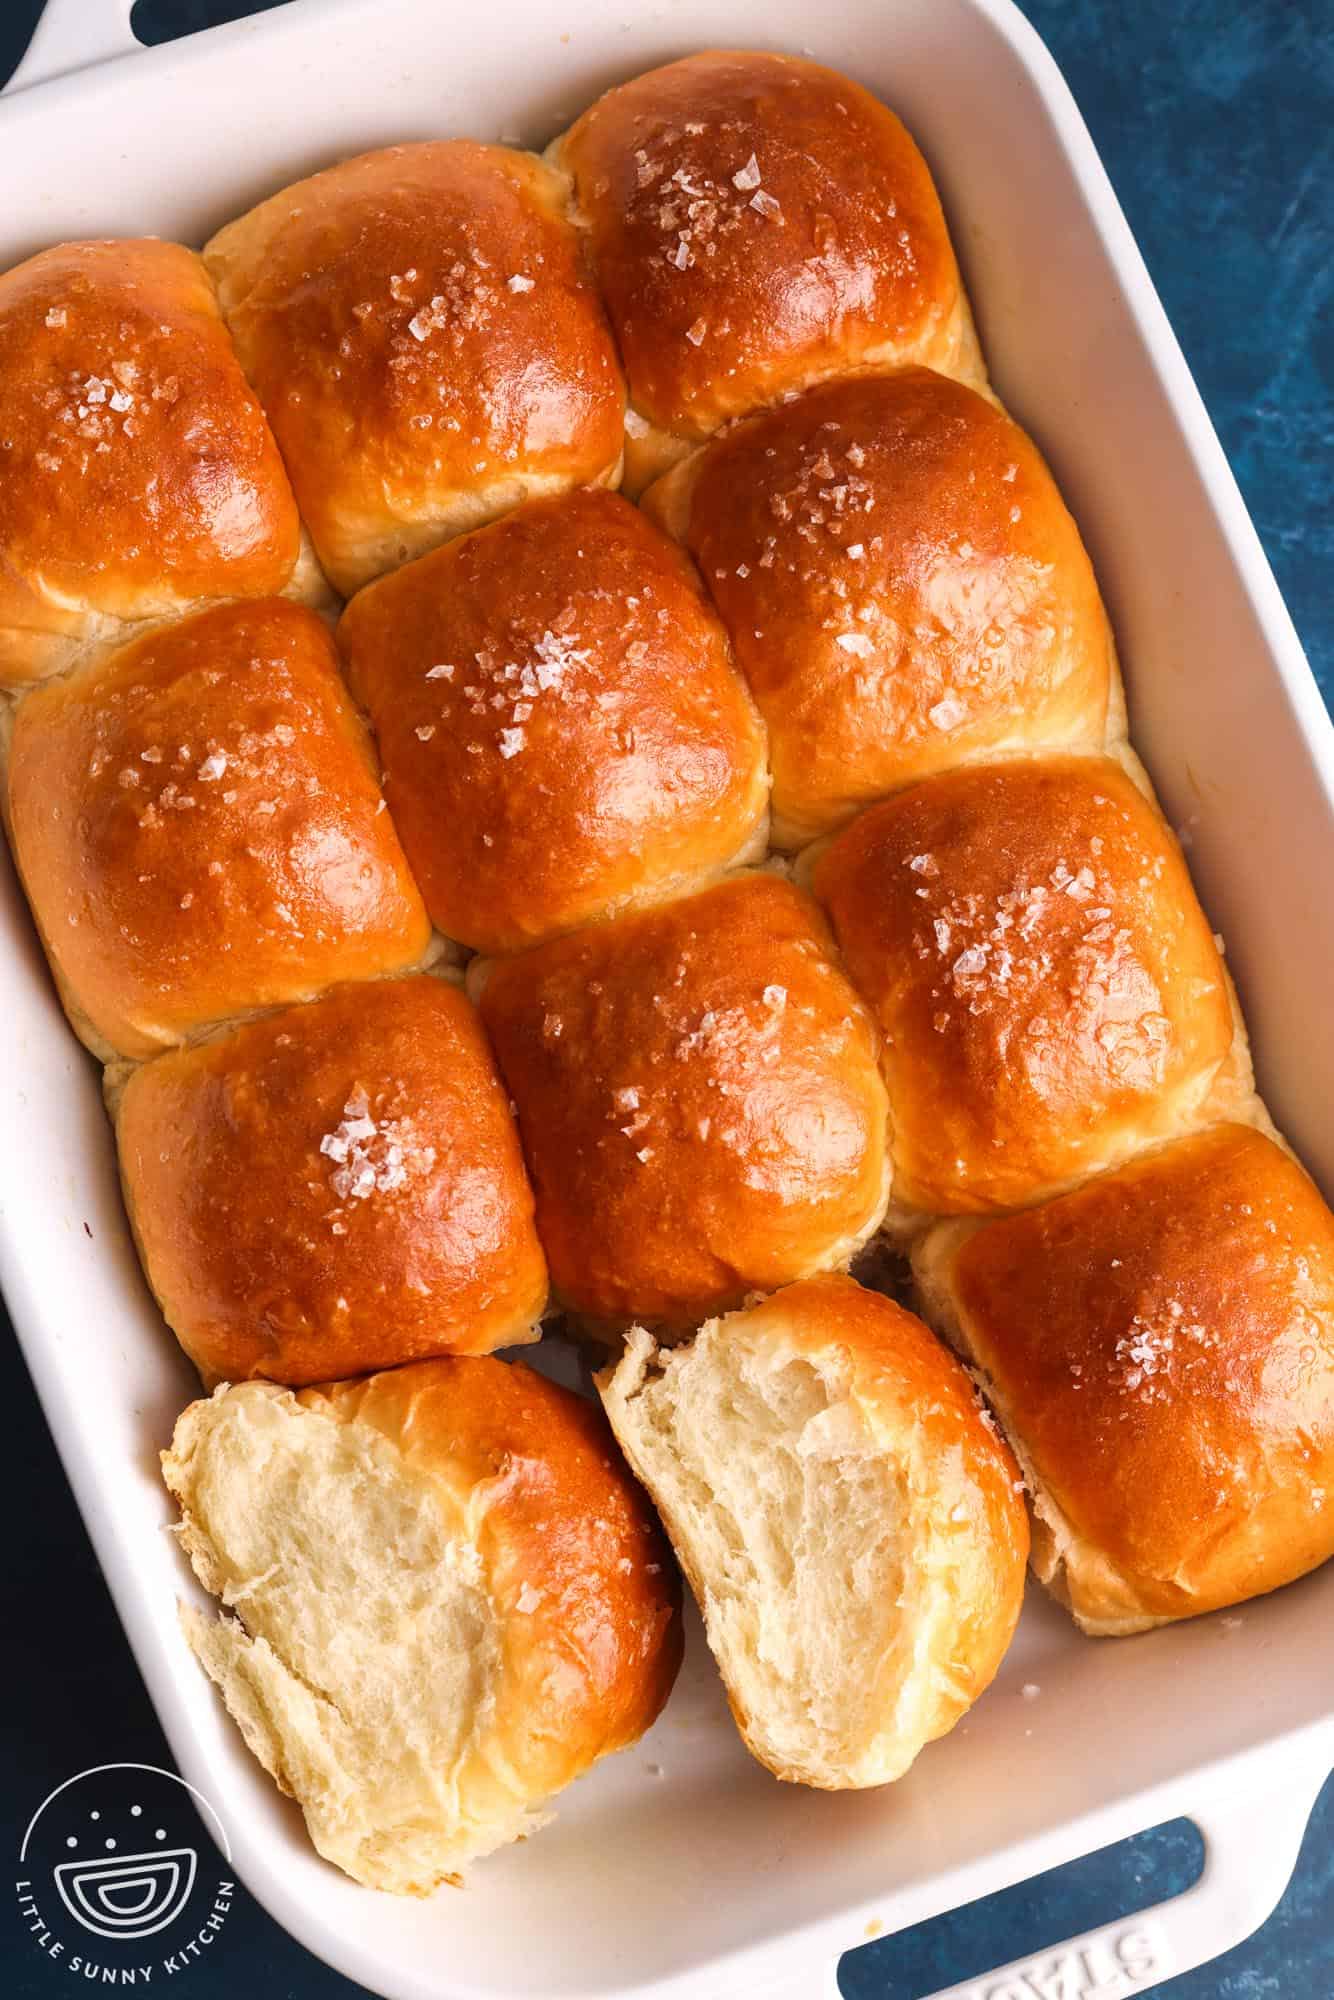
- Remove from the oven and brush with melted butter, and sprinkle with flaky sea salt if desired. Cool slightly before serving.

Notes:
- Use room temperature ingredients, and warm the milk to a slightly higher, lukewarm temperature (110°F/45°C) so that the yeast is activated.
- Enriched doughs like this one are supposed to be soft, but not sticky. Different types of flour and different brands will absorb liquid differently, so small adjustments may be needed (see step 4 above).
- Both AP flour and bread flour work in this recipe. Bread flour creates sturdier rolls that bake higher. If you’re using all-purpose flour, you may need to increase the liquid slightly, since it doesn’t absorb liquid as well.
- These rolls can be baked in one 9×13-inch pan or in two 9×9-inch pans. Note that baking in a metal pan will cause the rolls to brown more quickly.
- Store leftover rolls covered at room temperature for up to 24 hours, or freeze, wrapped tightly for up to 2 months.
Nutrition Information
This website provides approximate nutrition information for convenience and as a courtesy only. Nutrition data is gathered primarily from the USDA Food Composition Database, whenever available, or otherwise other online calculators.
© Little Sunny Kitchen

Sidney says
Spectacular results, made for a dear friend who is going through a rough time. My machine’s dough cycle is about 2 hours – I tried taking the dough out half an hour early the first time but let it run the full 2 hours the next time, and the flavor was dramatically better, much yeastier. I also left out the egg wash in favor of stroking melted butter over the rolls before baking. I made two batches from the same bag of flour, and found that it needed one tablespoon extra flour for beautiful, soft dough.
Little Sunny Kitchen says
Hi Sidney! Thank you so much for taking the time to type up your thoughts and tips for this recipe. I’m so glad that you had great results, and I hope that your friend enjoyed the kind gift you gave her.
Ray says
On a positive the overall bread rolls turned out lovely but it took a lot of added extra flour to get the correct consistency in the machine.
when I looked after about 15 minutes it was like a pancake batter mix. I had to add lots more flour. Then when it was time to take out and roll the dough was very sticky. I had to use more flour to stop it sticking.
I’m not sure why this happened as followed it exactly. I carried on and baked them and they turned out lovely and golden and they didn’t last long once the boys saw them.
Little Sunny Kitchen says
You did the right thing by checking and adding additional flour. Different types of flour and even different brands will absorb water differently, so sometimes adjustments need to be made on the fly! Thank you for sharing your experience, I know it will help other readers in the future.
Sally Smithson says
What do you do if dough is to sticky when coming outa bread machine
Little Sunny Kitchen says
Hi Sally! I just added some additional information to the recipe card because you’re right, the dough can be sticky, depending on the type and brand of flour you use! I suggest checking on the dough after it’s been in the machine for 10 minutes or so. If it seems too sticky, add a tablespoon of flour, let it mix in and check again. If needed, repeat the process until the dough is smooth, soft, and just slightly tacky.
TUFIK ASSAD says
They were delicious. My kids loved them. I recommend it for like literally everybody done.
Little Sunny Kitchen says
Thank you so much!