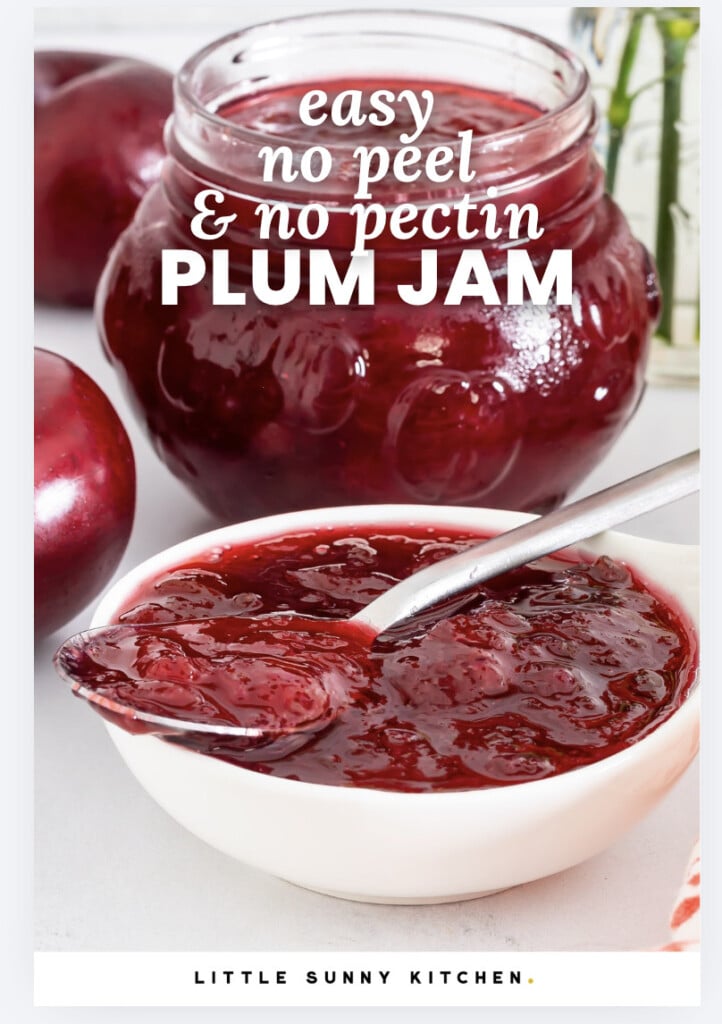
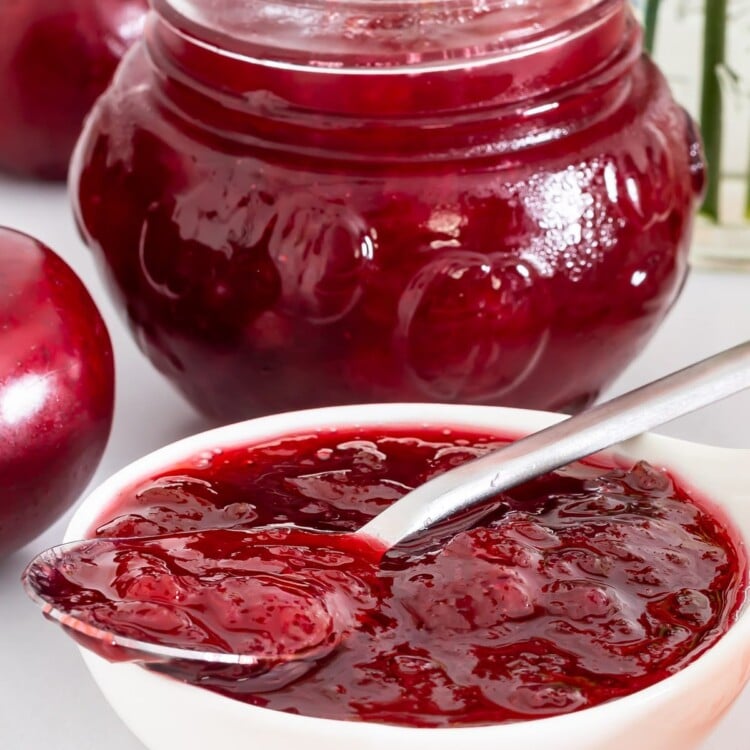
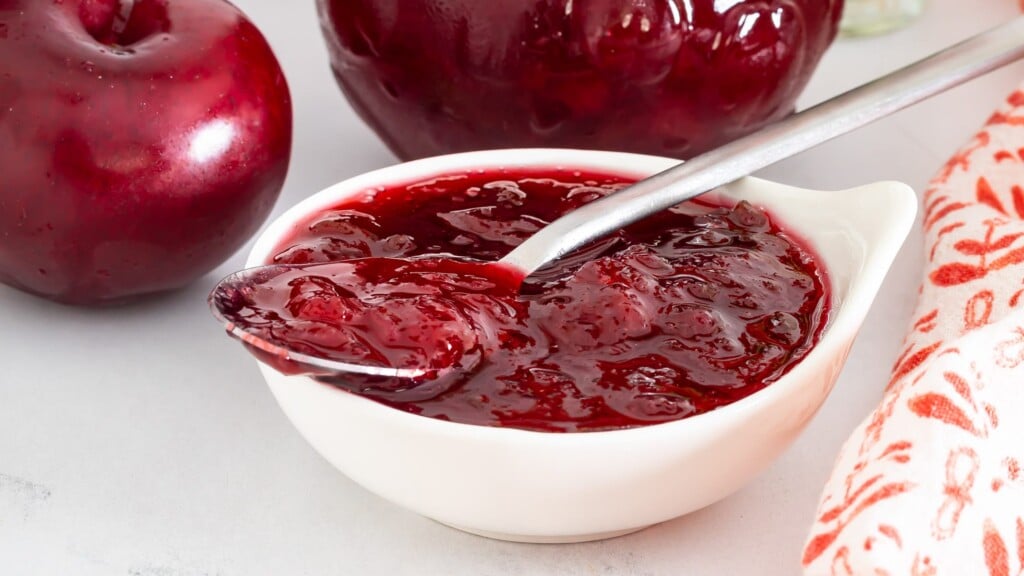
This easy plum jam recipe turns ripe summer plums into a rich, glossy spread with just three ingredients. There is no need to peel the fruit or add commercial pectin, and the chilled-plate test makes it easy to know when the jam is ready.
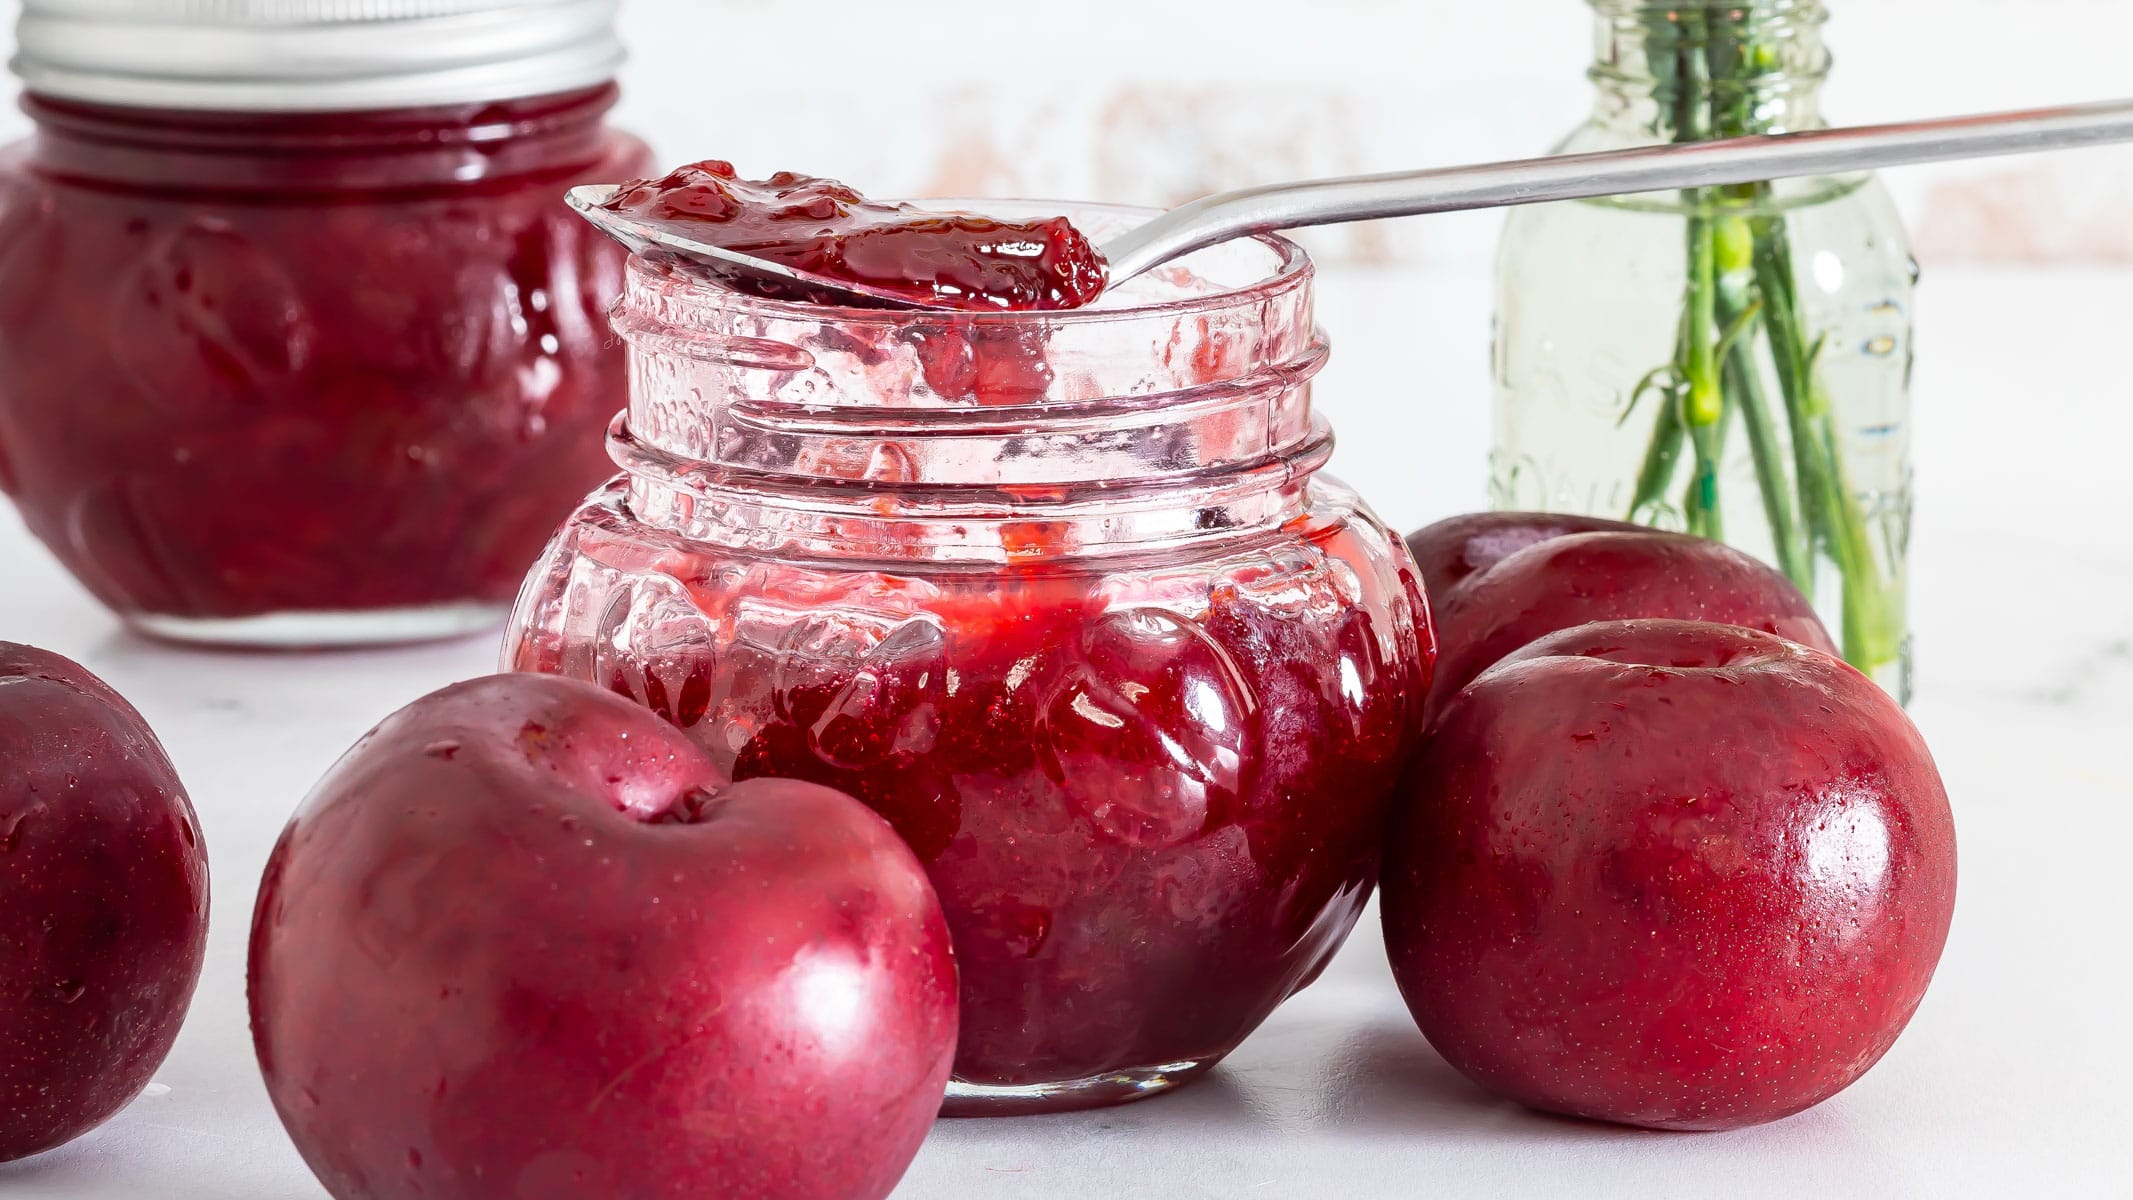

My Tips for the Best Plum Jam
We have a plum tree in our backyard, and every summer it showers us with more plums than we know what to do with. This jam is one of my favorite ways to make the most of them.
Let the plums sit with the sugar before cooking. They will release plenty of juice, so there is no need to add water. My biggest tip is not to rely on cooking time alone. The jam will continue to thicken as it cools, so remove it from the heat while it still looks slightly loose.
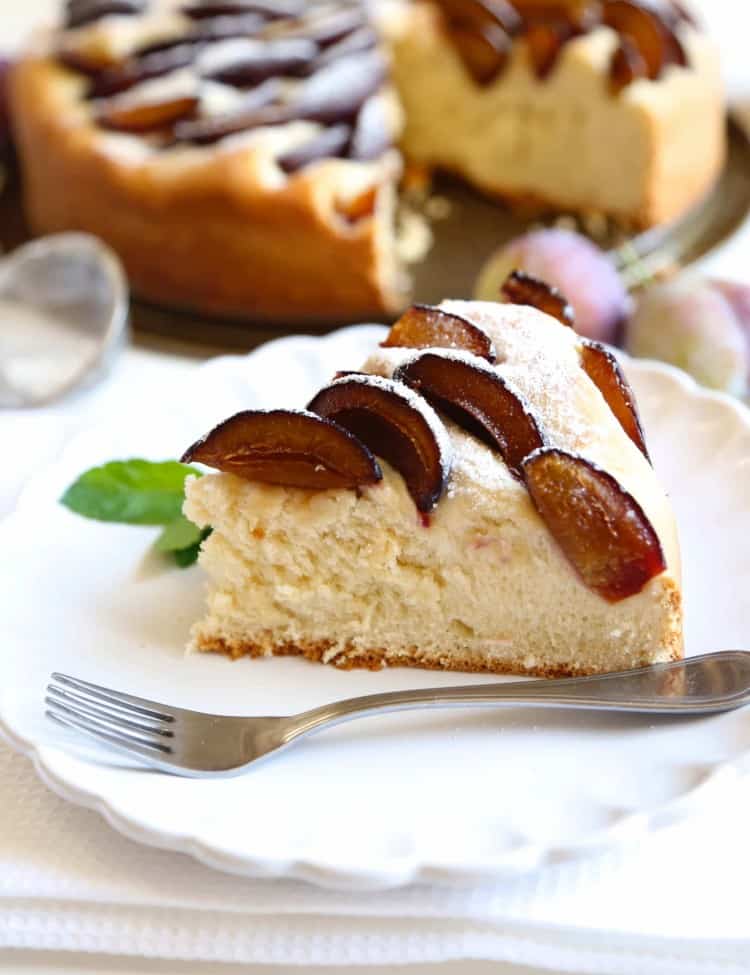
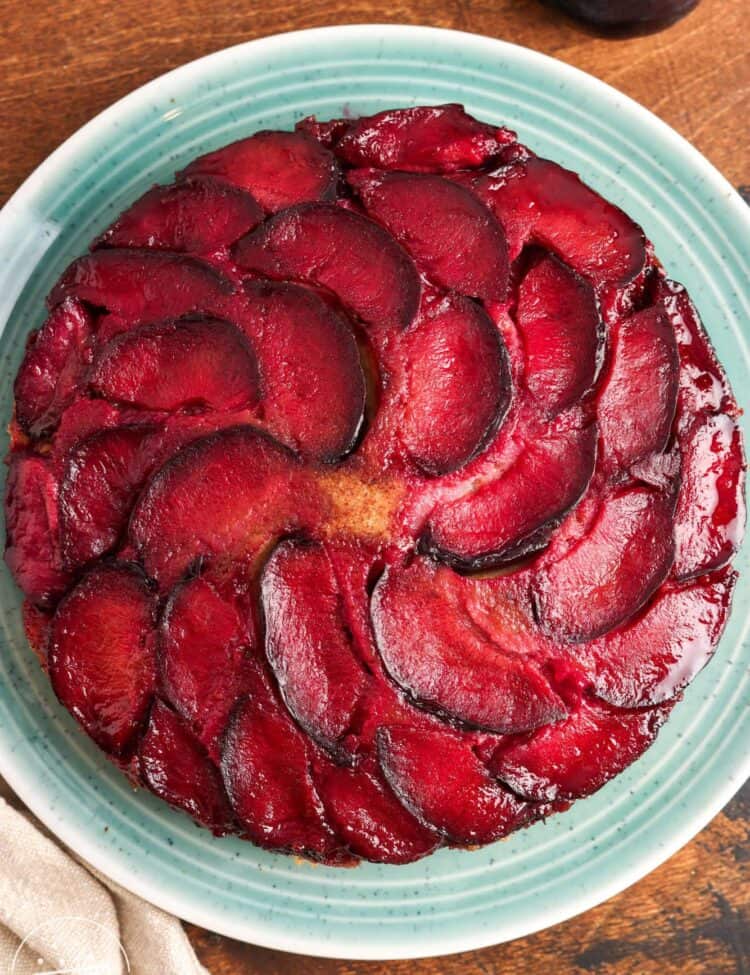
Have more ripe plums to use? Try my Spiced Plum Upside Down Cake for a caramelized summer dessert, or bake a simple German Plum Cake with plenty of fresh fruit.
Ingredients for Plum Jam
You only need three ingredients to make this plum jam. The exact measurements are in the recipe card below.
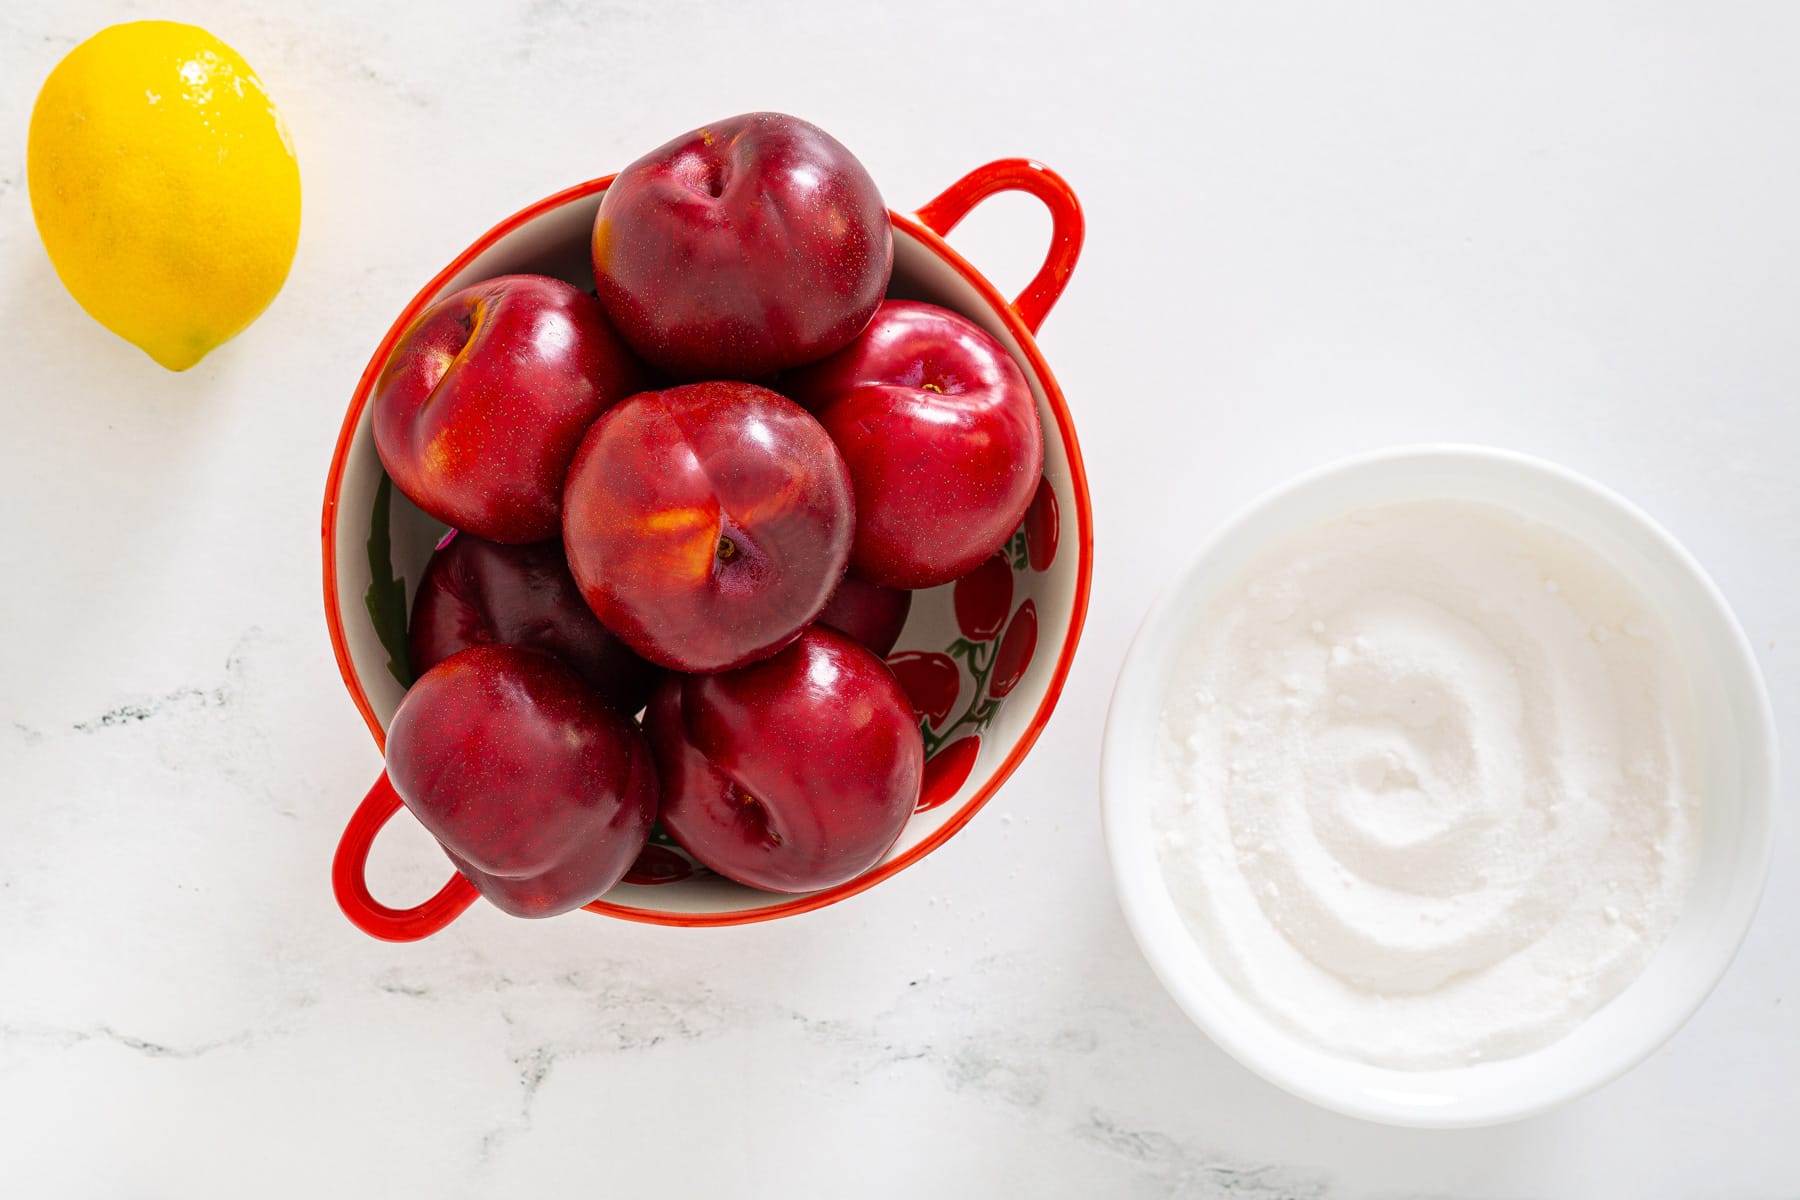
- Plums: Use ripe, flavorful plums. There is no need to peel them because the skins soften as they cook and add color and texture.
- Granulated sugar: Sugar sweetens the plums and helps the jam reach the right consistency. I do not recommend reducing it, since that can affect the texture and storage life.
- Lemon juice: It brightens the plum flavor, balances the sweetness, and supports the natural pectin as the jam sets.
How to Choose the Best Plums for Jam
Most plum varieties can be used for jam. Use mostly ripe plums for the best flavor, along with one or two slightly firmer plums for extra natural pectin.
For a deep ruby-colored jam, check the color inside the fruit rather than relying on the skin. Some dark purple plums have yellow or amber flesh and will produce a lighter jam.
Red-fleshed varieties may include Santa Rosa, Satsuma, Burgundy, Elephant Heart, and Mariposa. Variety labels are not always available, so cutting open one plum is the easiest way to check before buying a large quantity.
Using frozen plums: Thaw them first and include all the released juices. They may take a little longer to cook because frozen fruit can release more liquid.
Plum Jam at a Glance
You’ll find the full ingredient list and detailed instructions in the recipe card below, but here is a quick look at the process.
This recipe starts by resting the chopped plums with sugar and lemon juice until they release plenty of juice. The mixture is then cooked until the fruit softens and the liquid becomes thick and glossy.
The final step is testing the jam on a chilled plate. This is much more reliable than judging it by cooking time alone.
- Macerate: Let the plums sit with the sugar until juicy.
- Cook: Simmer the fruit until it becomes glossy and noticeably thicker.
- Test: Use the chilled-plate test to check whether the jam has set.
How to Tell When Plum Jam Is Ready
This is the most important part of making plum jam. The jam will look softer while it is hot, so do not wait until it looks fully thick in the pot.
For the most reliable test, remove the pot from the heat and spoon a small amount of jam onto a chilled plate. Wait 1 minute, then push it gently with your finger. It is ready when the surface wrinkles slightly and the line you made does not immediately fill back in.
You can also look for these signs:
- The jam looks glossy and moves more slowly when stirred.
- It falls from a spoon in thick drops or sheets.
- It reaches about 220°F/104°C at sea level. I use this instant read thermometer because it gives a fast, clear reading, which is helpful when the jam can go from perfectly set to overcooked in just a few minutes.
Use the chilled plate test as your final guide, since cooking time can vary depending on the plums and the size of your pot.
A note about the saucepan: This recipe was tested in a 3-quart heavy-bottomed Dutch oven that measured about 8 inches across. A wider pan allows moisture to evaporate more quickly, while a narrower pan may increase the cooking time. Regardless of the pan you use, begin checking the jam after 30 minutes.
Troubleshooting Plum Jam
Why is my plum jam runny?
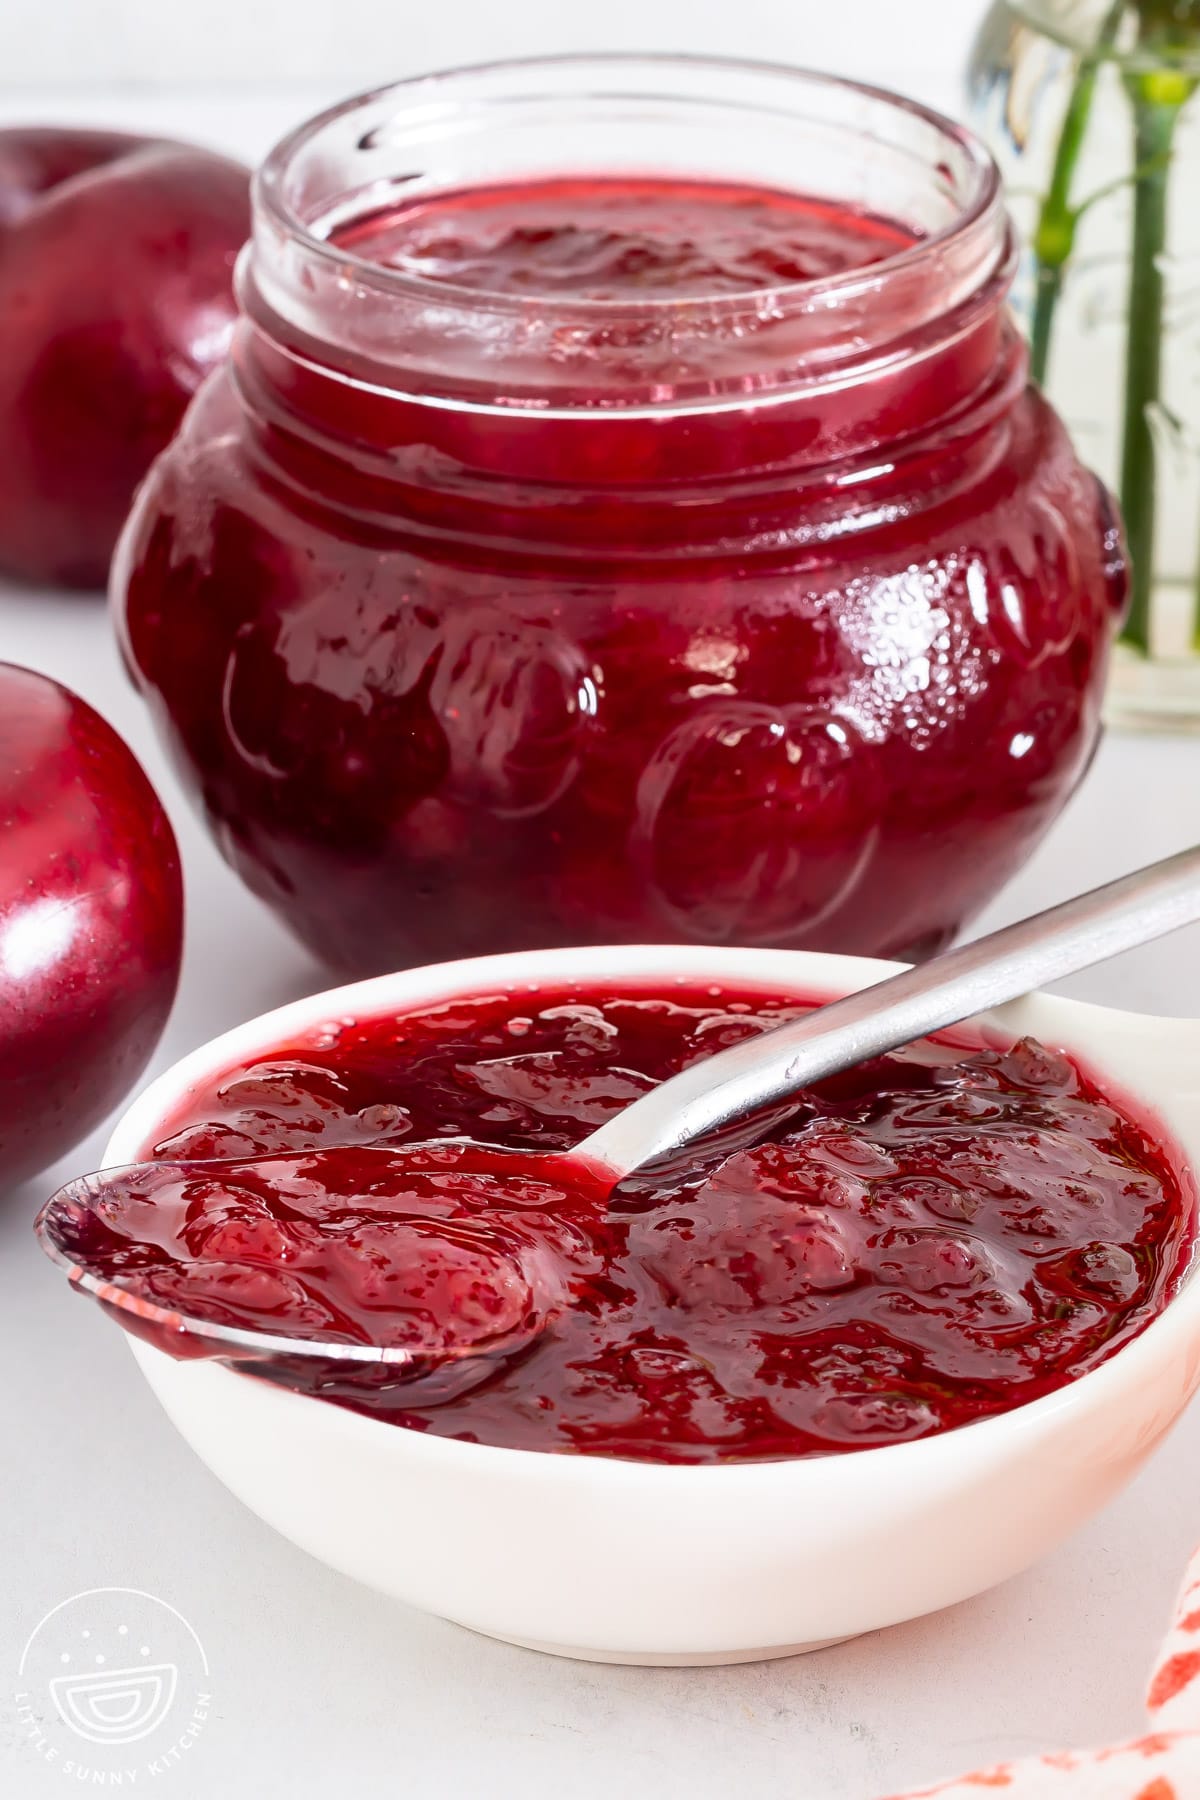
Plum jam is much softer while hot, so let it cool completely before judging the texture. If it is still too runny once cooled, return it to the pot and cook it for a few more minutes, then repeat the chilled plate test.
Why is my plum jam too thick?
The jam was likely cooked a little too long. It continues to thicken as it cools, so remove it from the heat while it still looks slightly softer than you want.
If the cooled jam is very firm, stir a small spoonful of hot water into the amount you plan to serve. Do not add water to the entire batch unless you plan to refrigerate it and use it quickly.
Why is the jam sticking to the pot?
The jam needs more frequent stirring as it thickens. Lower the heat slightly and scrape across the entire bottom of the pot with a heat-resistant spatula. If you notice a burnt smell, do not scrape up the scorched layer. Carefully transfer the unburned jam to a clean pot and continue cooking.
How to Store Plum Jam
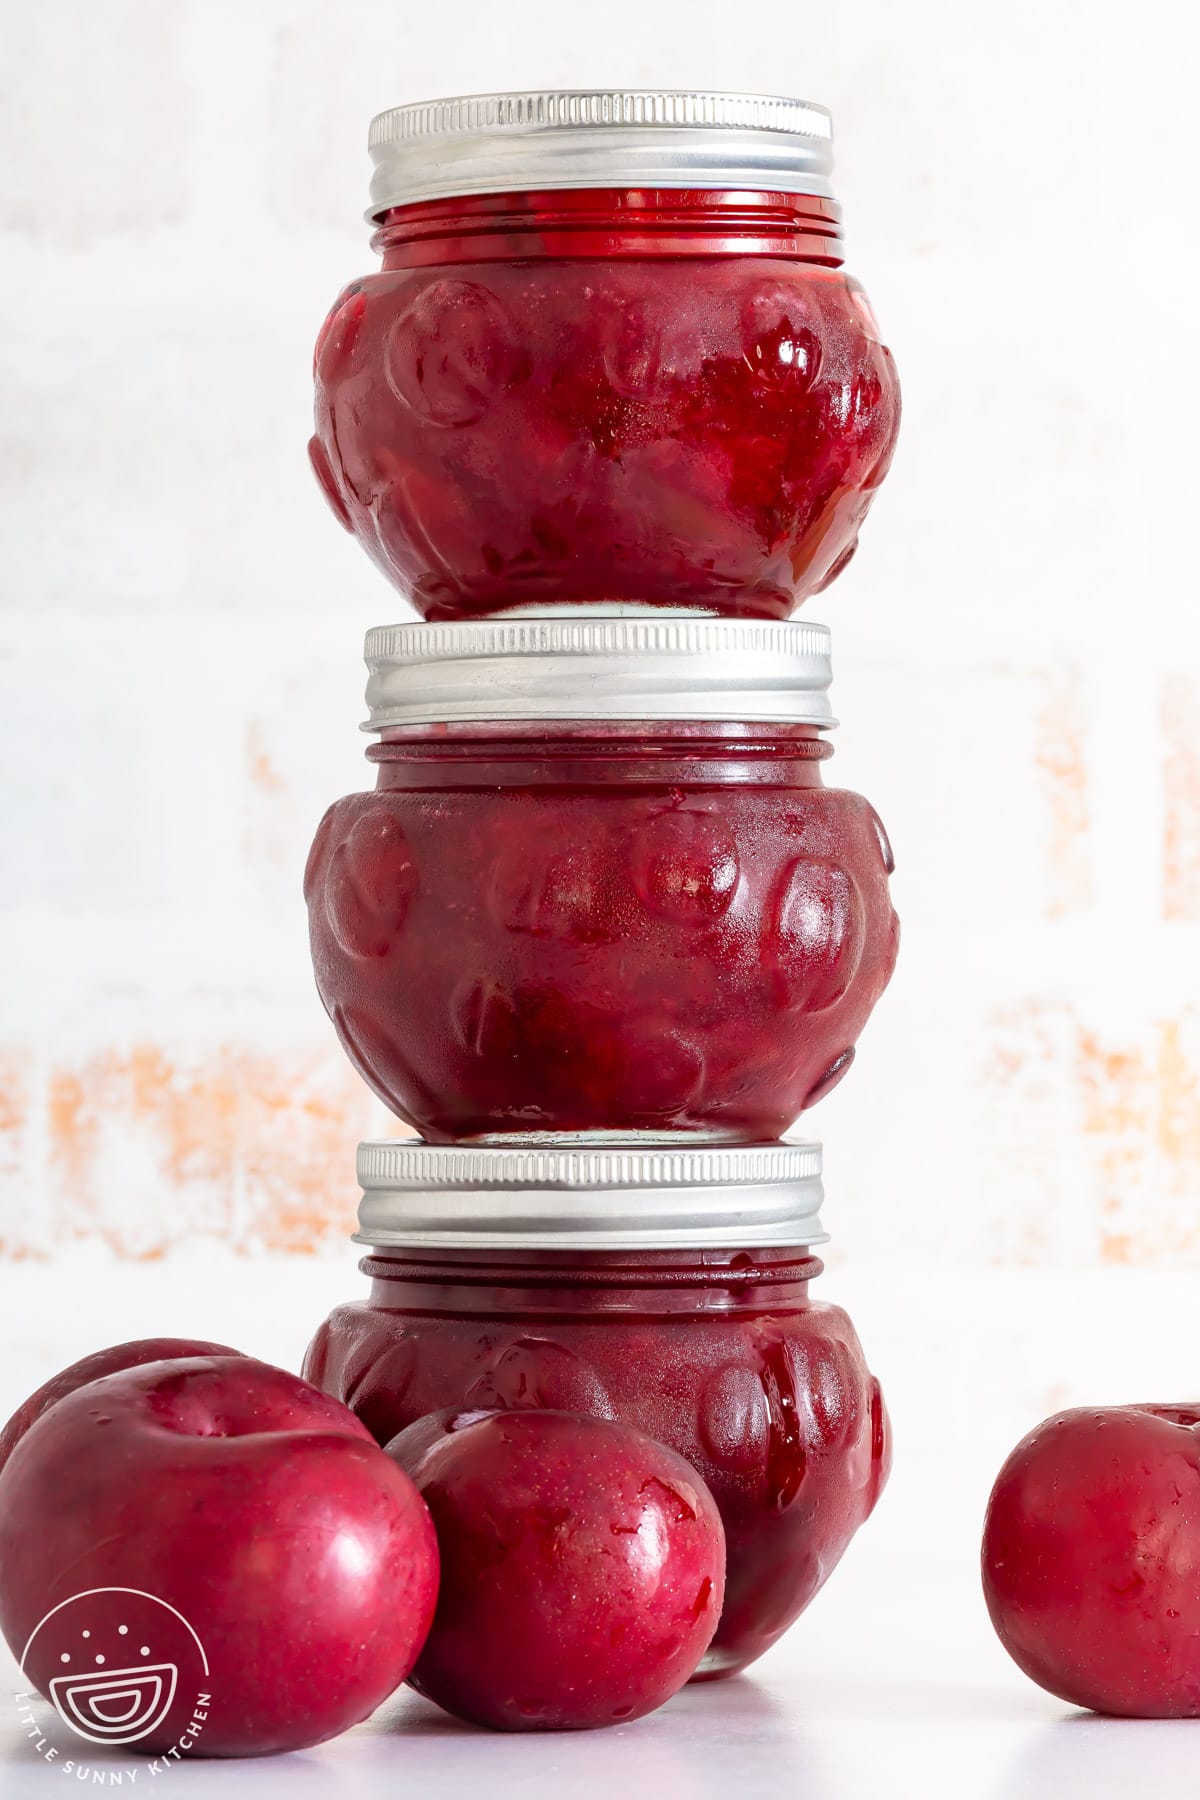
- Refrigerator: Let the jam cool completely, then cover and refrigerate it for up to 3 weeks. Always use a clean spoon when serving.
- Freezer: Let the jam cool completely, then transfer it to freezer-safe containers. Leave about ½ inch of space at the top and freeze for up to 6 months. Thaw overnight in the refrigerator.
Ways to Use Plum Jam
A spoonful of homemade plum jam makes even plain toast feel special. You can also swirl it into yogurt or oatmeal, spoon it over waffles or pancakes, serve it with buttermilk biscuits or scones, pair it with a cheeseboard, or use it as a filling for thumbprint cookies, sandwich cookies, and layer cakes.
Did you make this? Be sure to leave a review below and tag me on Facebook, Instagram, or Pinterest!
Easy Plum Jam Recipe Without Pectin
Equipment
- wooden spoon or heat resistant silicone spatula
- 2 small plates
- Potato masher optional
- Ladle
- Jar funnel optional
- Heat safe freezer containers if freezing
- Instant-read thermometer optional
Ingredients
- 5 cups (1 kg) pitted and chopped plums about 1 kg, from approximately 2½ to 3 pounds whole plums
- 2½ cups (500 g) granulated sugar
- 2 tablespoons (30 ml) fresh lemon juice
Instructions
- Place two small plates in the freezer before you begin.
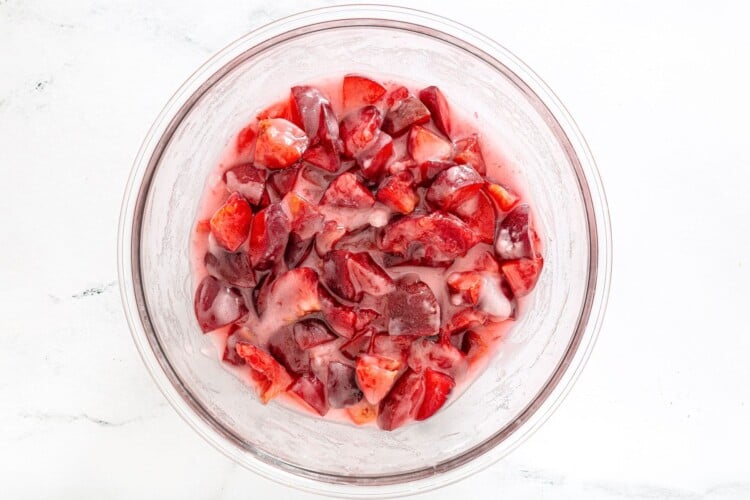
- Add the chopped plums, sugar, and lemon juice to a large mixing bowl. Stir until the plums are evenly coated.

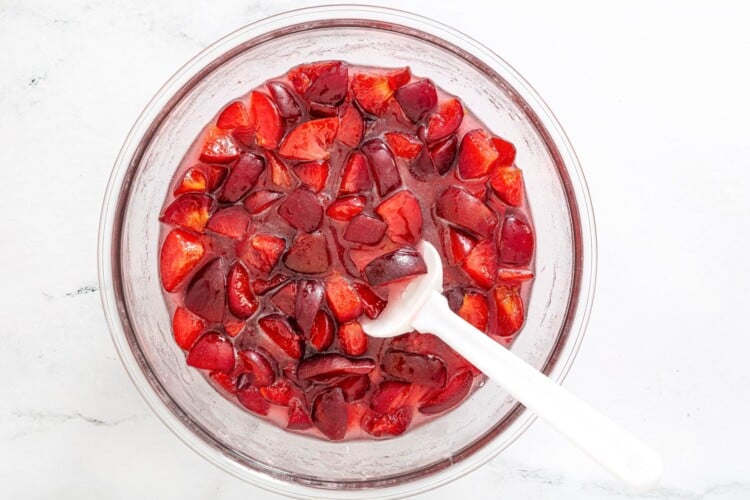
- Cover and let the mixture stand at room temperature for 1 to 2 hours, or until the plums have released plenty of juice. Alternatively, refrigerate the covered mixture overnight.
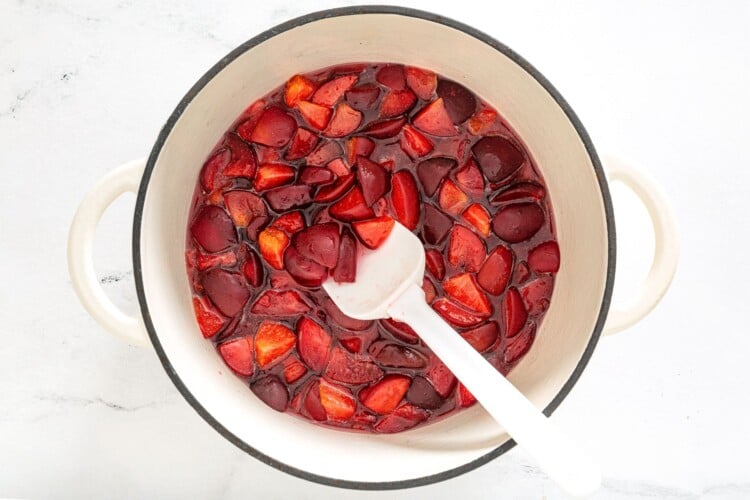
- Transfer the plums and all the accumulated juices to a large, wide, heavy bottomed pot. Bring to a full boil over medium high heat, stirring frequently.
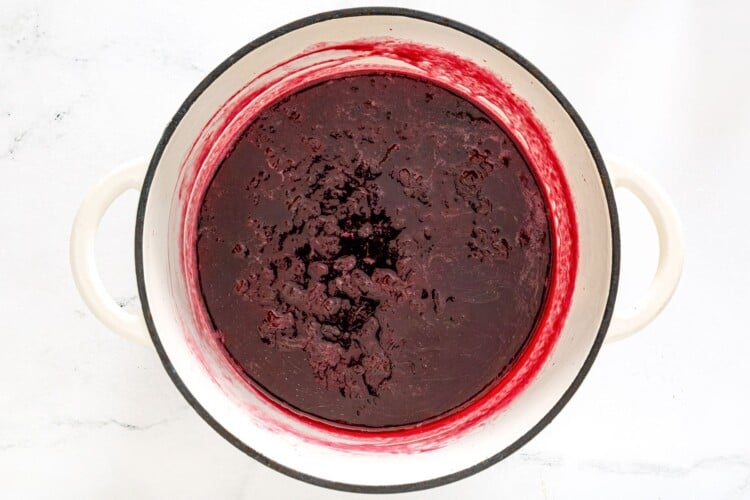
- Reduce the heat to maintain a steady simmer. Cook uncovered for 30 to 50 minutes, stirring every few minutes at first and almost constantly as the jam thickens.
- Mash the plums with a potato masher as they cook if you prefer a smoother jam.
- Begin testing the jam after 30 minutes. Remove the pot from the heat, spoon 1 teaspoon of jam onto a chilled plate, and let it sit for 1 minute.
- Gently push through the jam with your finger. It is ready when the surface wrinkles slightly and the path made by your finger does not immediately fill back in.
- If the jam is still runny, return the pot to the heat and cook for another 3 to 5 minutes. Repeat the chilled plate test until the jam reaches the proper set.
- Remove the finished jam from the heat and skim off any foam from the surface, if desired.
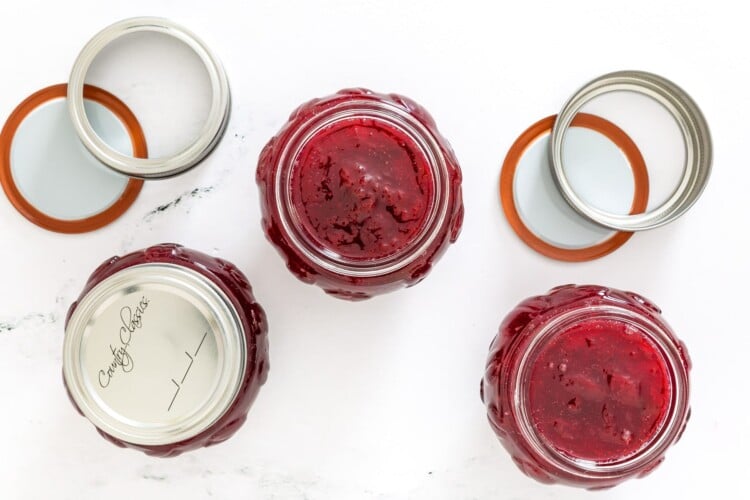
- Carefully ladle the hot jam into the clean jars. Leave at least ¼ inch (6 mm) of space at the top, or ½ inch (1.25 cm) when using freezer-safe containers.
- Wipe the rims and close the jars with their lids. Let the jam cool at room temperature for no longer than 2 hours, then refrigerate.
- Refrigerate for up to 3 weeks. To freeze, chill the jam completely in the refrigerator before freezing it for up to 6 months.
Notes:
- There is no need to peel the plums. The skins soften during cooking and add color and texture.
- The exact cooking time will depend on the variety and ripeness of the plums, their moisture content, and the width of the pot.
- The jam will be softer while hot and will continue to thicken as it cools. Do not continue cooking until it looks completely firm in the pot.
- For an additional doneness check, the jam should reach approximately 220°F (104°C) at sea level. Use the chilled plate test as the final guide.
- For chunkier jam, leave some of the plum pieces intact. For smoother jam, mash the fruit while it cooks.
- Use straight-sided freezer-safe jars or containers for freezing. Do not freeze the jam in decorative jars with curved shoulders.
- Thaw frozen jam overnight in the refrigerator.
- This recipe is intended only for refrigerator or freezer storage. It has not been tested for water bath canning and must not be stored at room temperature.
Nutrition Information
This website provides approximate nutrition information for convenience and as a courtesy only. Nutrition data is gathered primarily from the USDA Food Composition Database, whenever available, or otherwise other online calculators.
© Little Sunny Kitchen
Leave a Review!