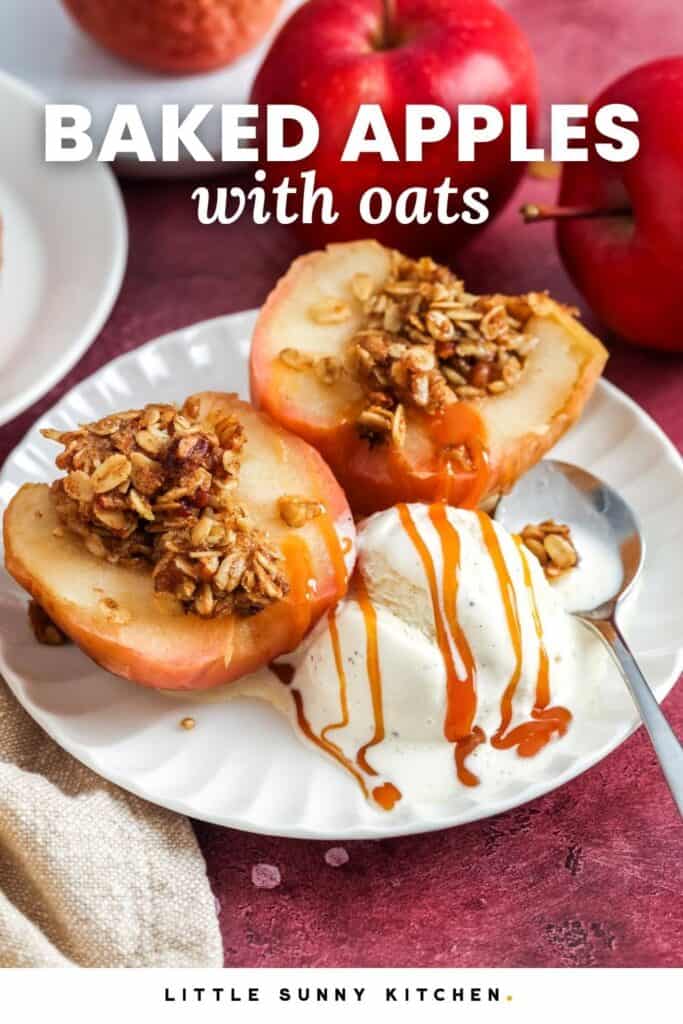
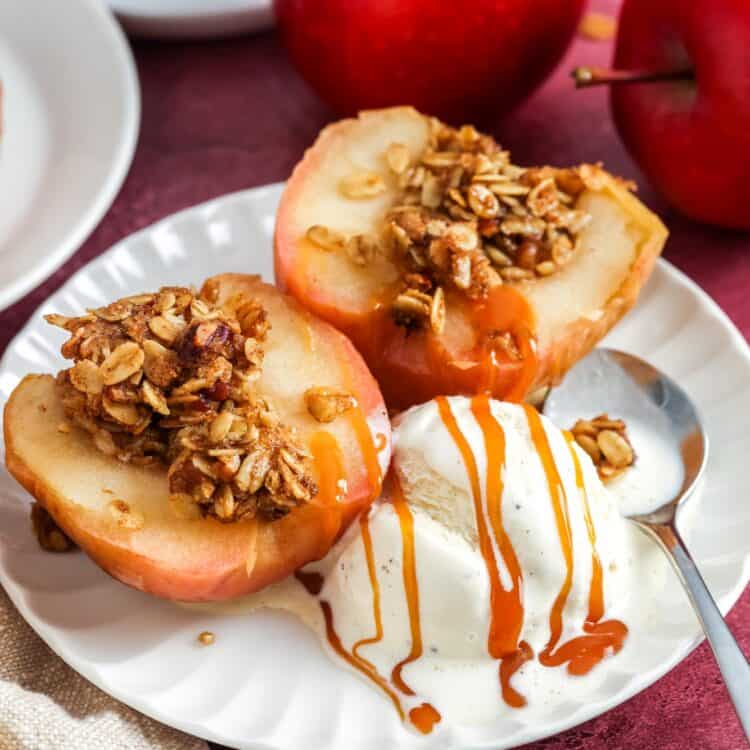
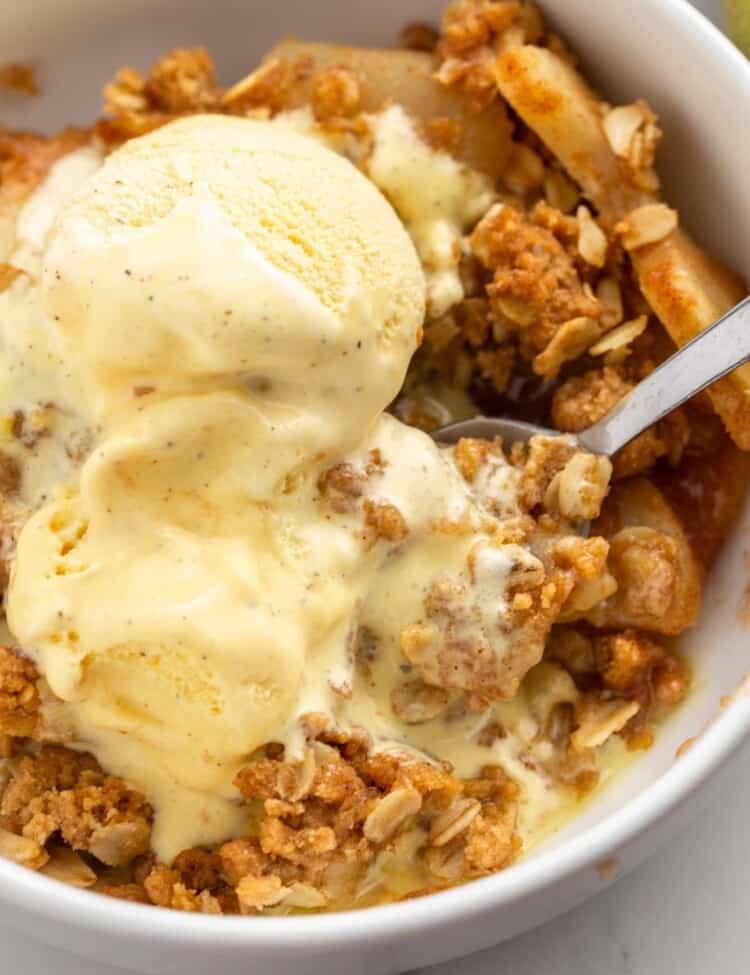
Baked apples with oats are filled with a buttery, cinnamon walnut crumble and baked until the fruit is tender and the topping is crisp. This easy, flour-free dessert packs apple pie flavor without the crust and comes together fast. Serve warm with vanilla ice cream and caramel.

Cozy Baked Apples with the Best Topping
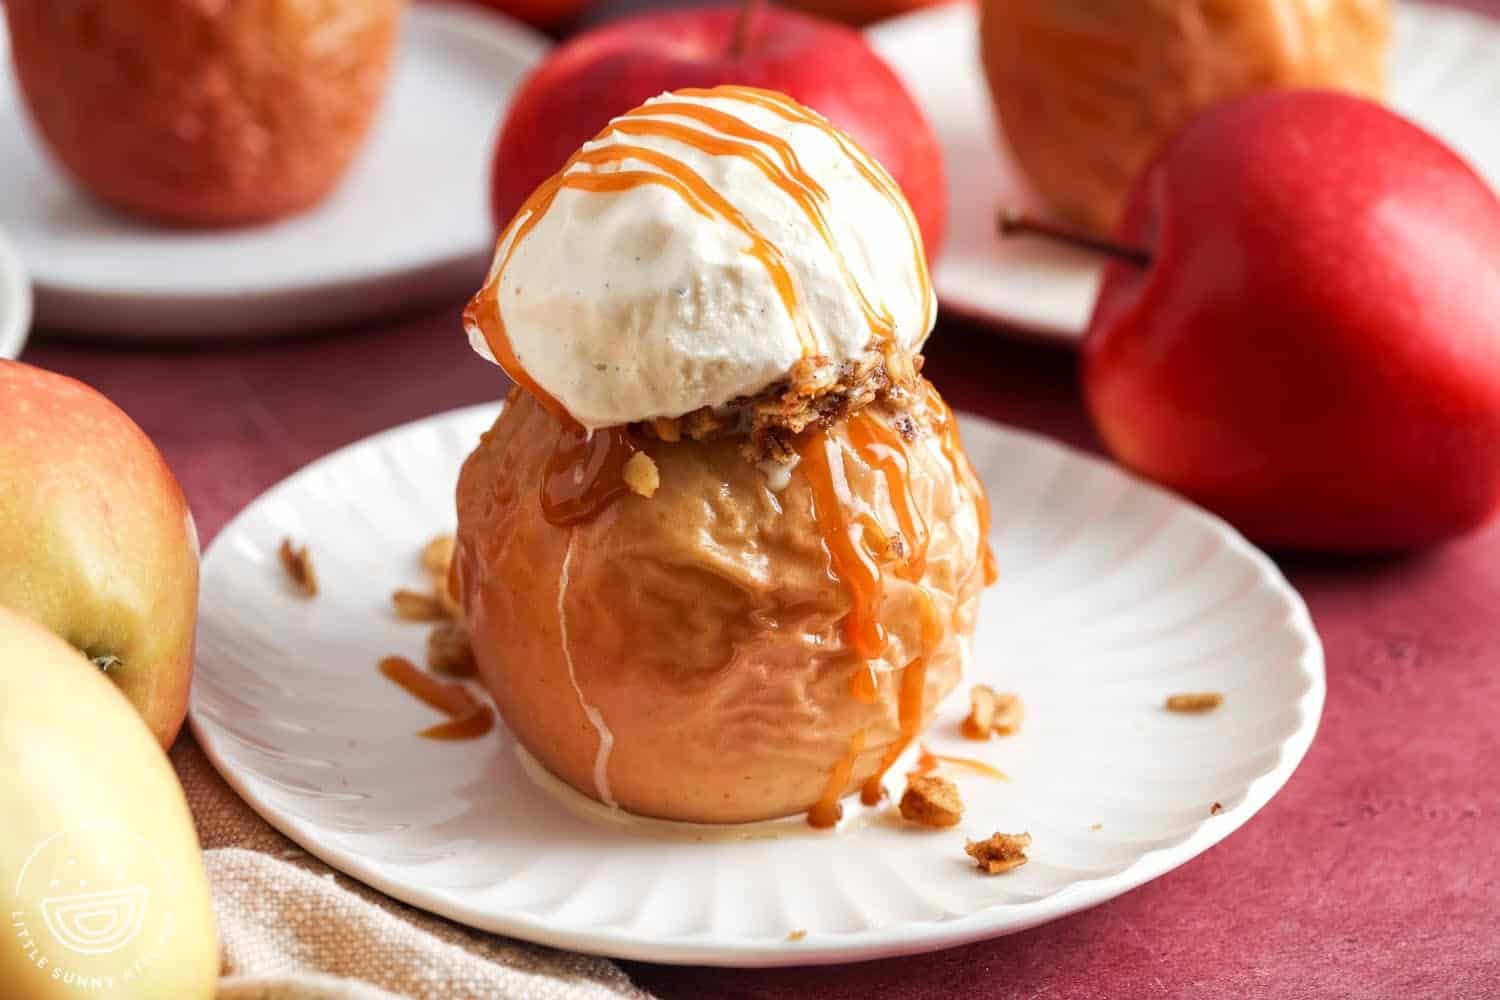
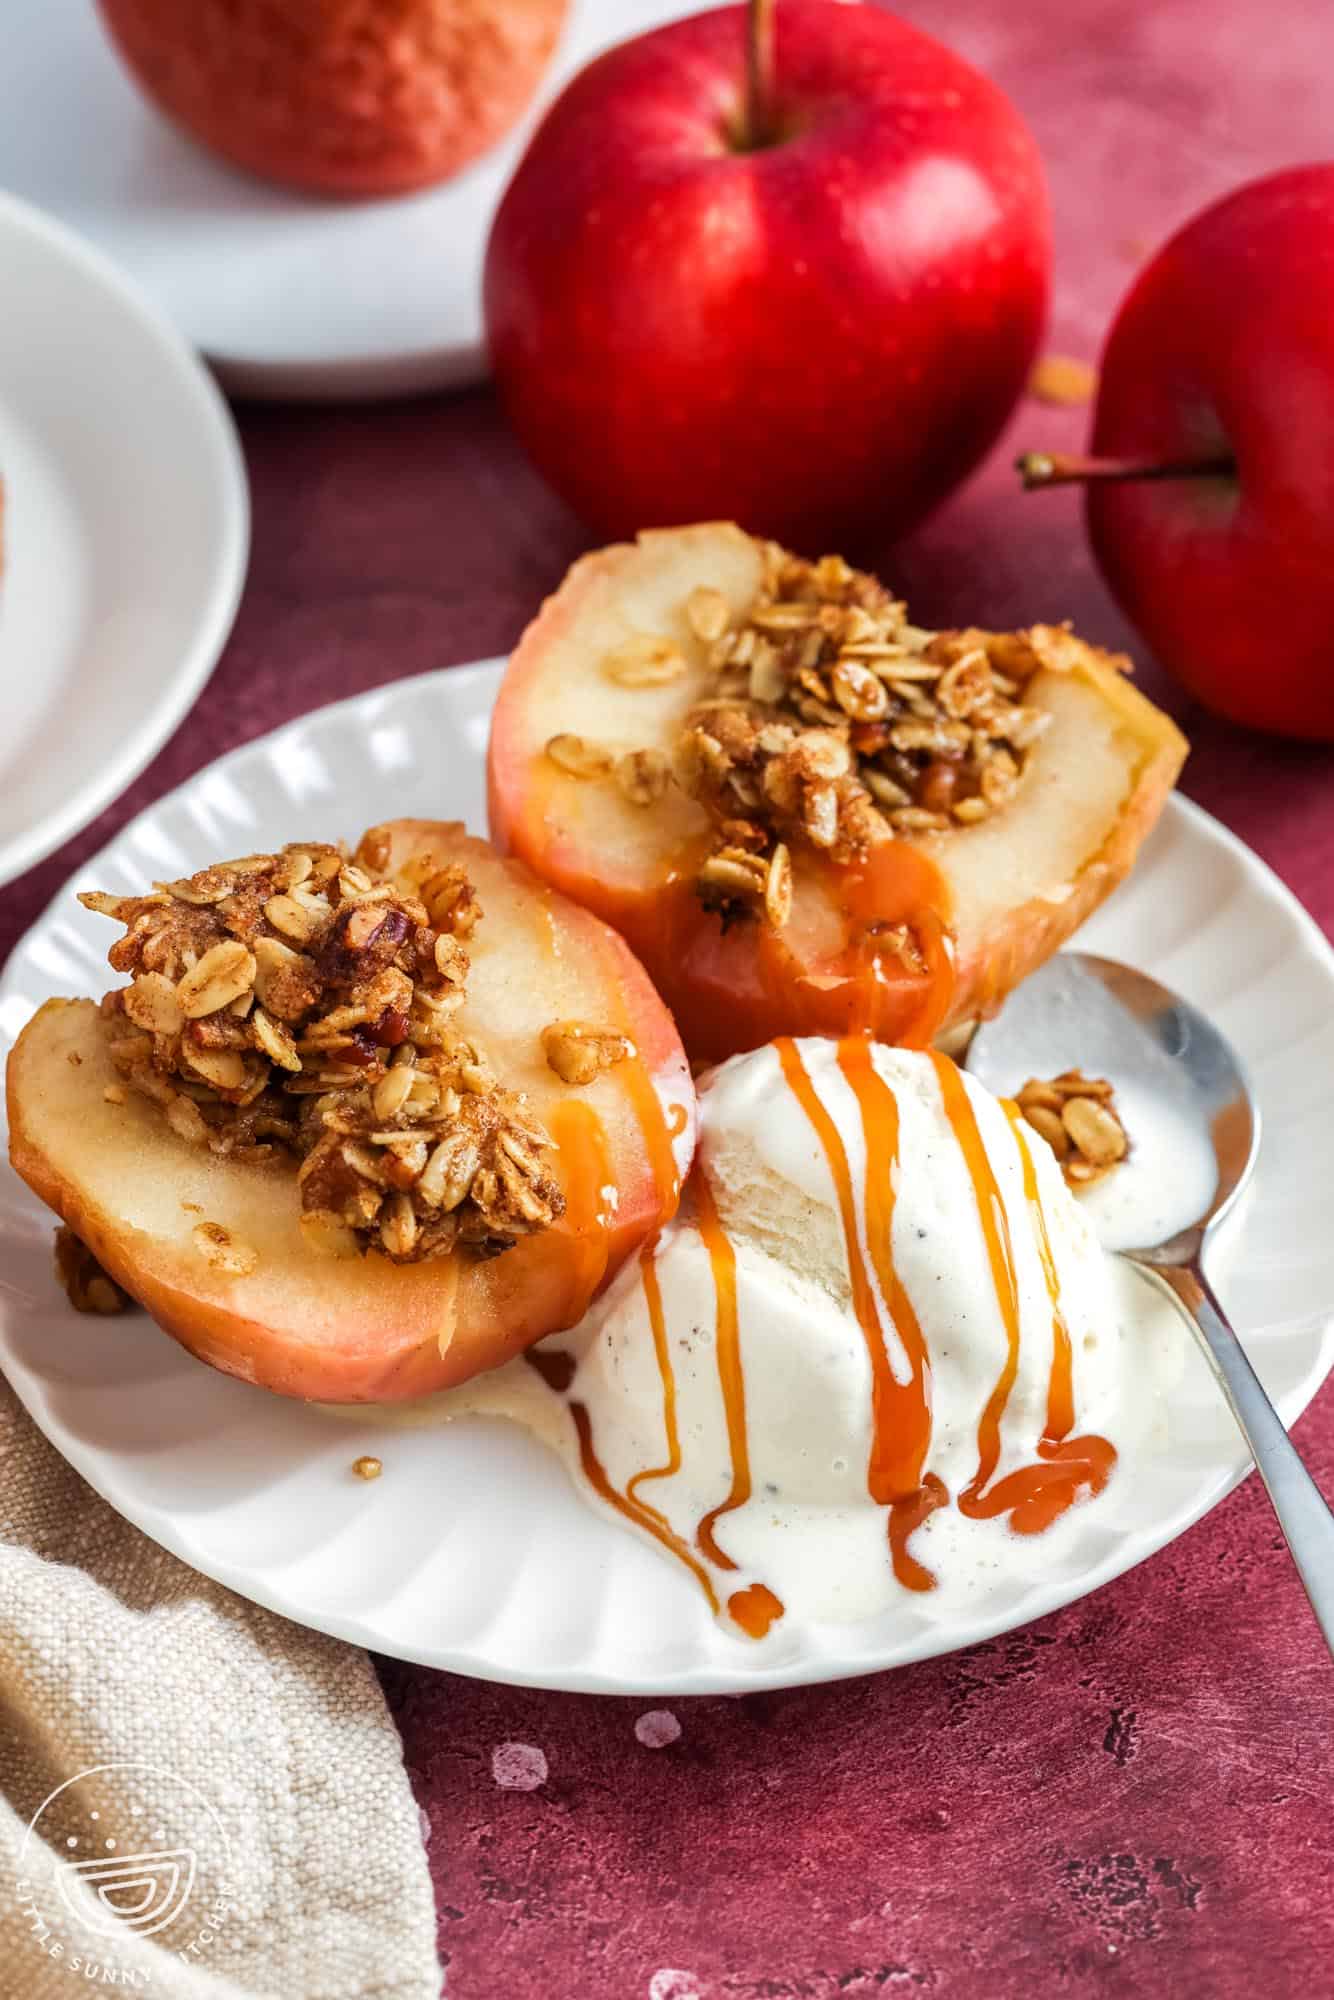
This recipe reminds me a little of apple crisp, but it’s even simpler. I like to core whole apples and fill them with an oat and walnut crumble, then bake until the fruit is soft and the topping turns crisp. After baking, I slice the apples in half and serve them warm with vanilla ice cream and a drizzle of caramel sauce. I find this method keeps the apples juicy, while baking sliced apples can sometimes make them dry out. It’s such an easy autumn dessert, and always a favorite at our table.
Ingredient Notes
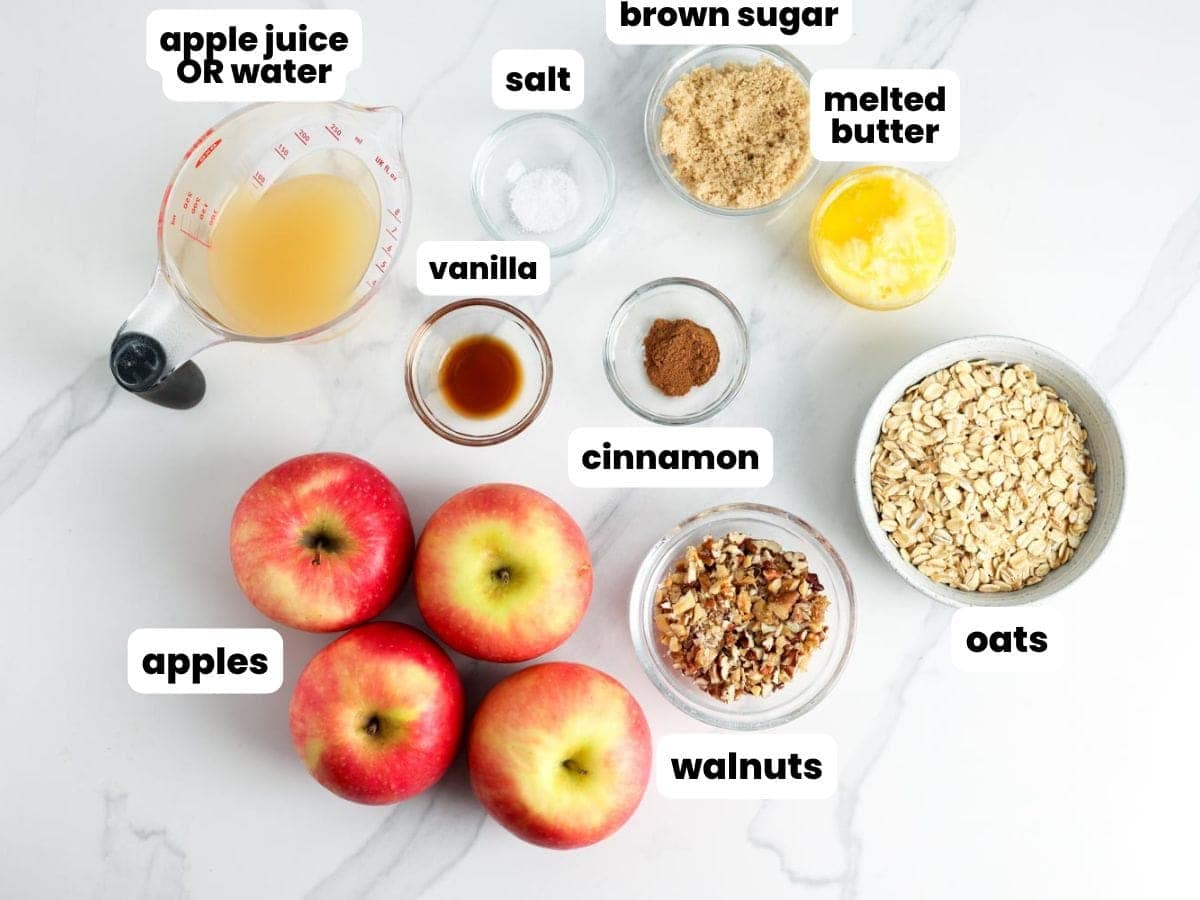
Complete list of ingredients and amounts can be found in the recipe card below.
- Apples: Choose firm baking apples that hold their shape, like Honeycrisp, Granny Smith, or Pink Lady. Avoid soft varieties that collapse as they bake.
- Oats: Old-fashioned rolled oats give the best texture for the crumble. Quick oats turn mushy, and steel-cut oats won’t soften enough. If you need to keep these gluten-free, make sure that the oats are certified GF.
- Sweetener: Brown sugar or maple syrup adds sweetness and a caramel-like flavor.
- Butter: Melted butter binds the topping and helps it crisp.
- Nuts (optional): Chopped pecans, walnuts, or almonds add crunch and depth of flavor.
- Cinnamon: Essential for warmth and that classic apple dessert taste; you can also add a pinch of nutmeg, ginger, or allspice for more depth or apple pie spice if you have it.
How to Make Baked Apples
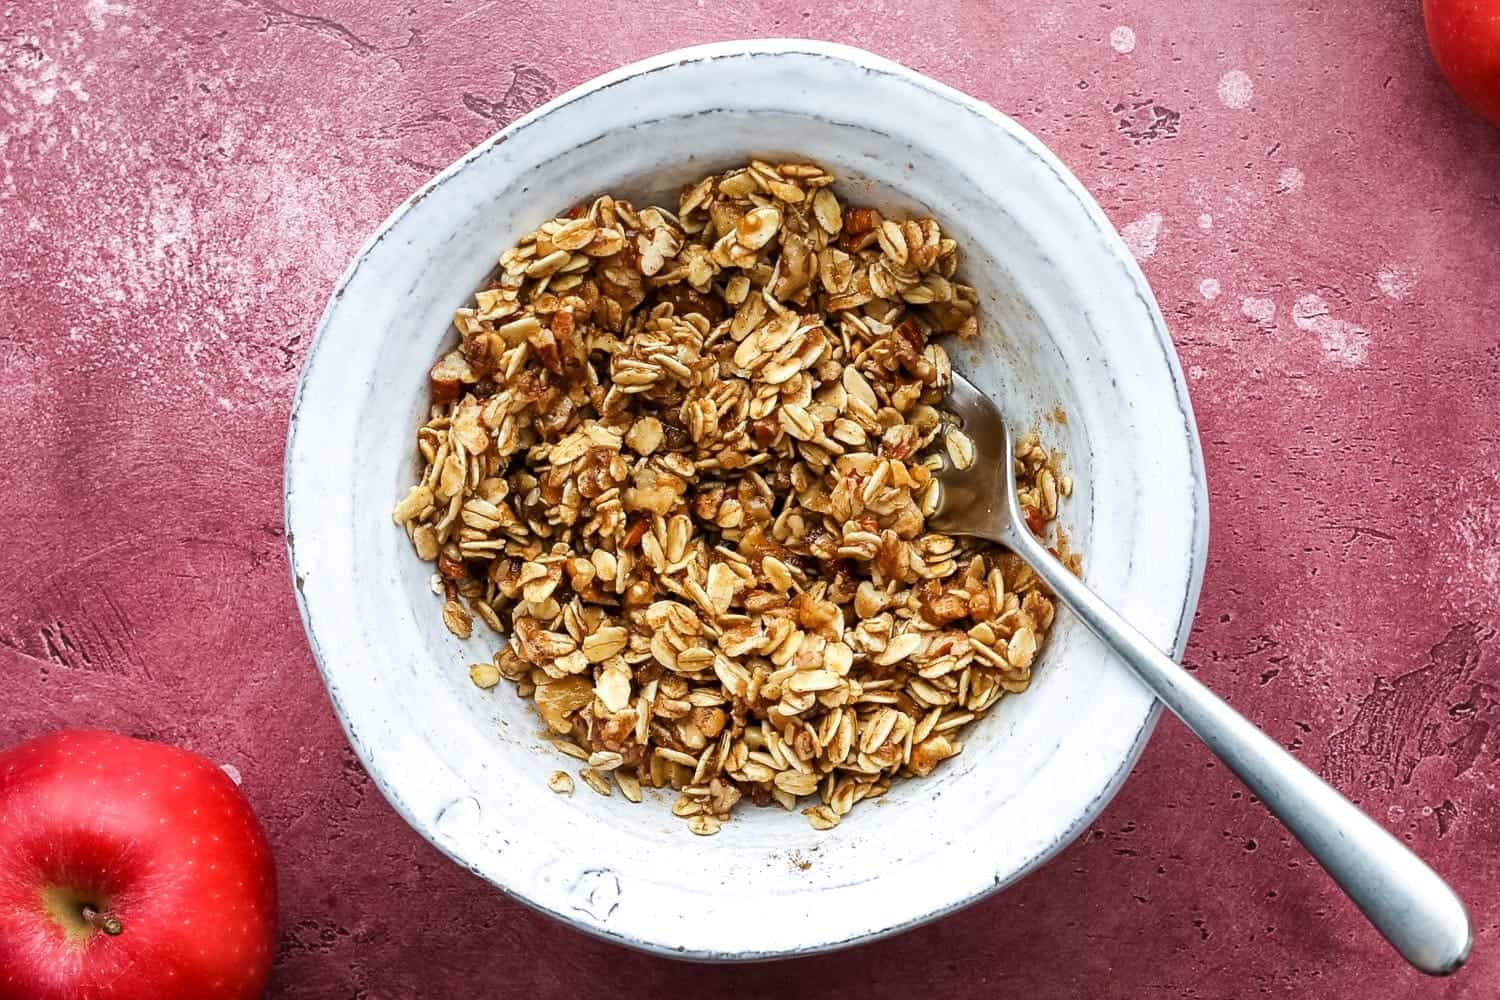
- Mix the oat, butter, sugar, nut, and spice filling in a bowl.
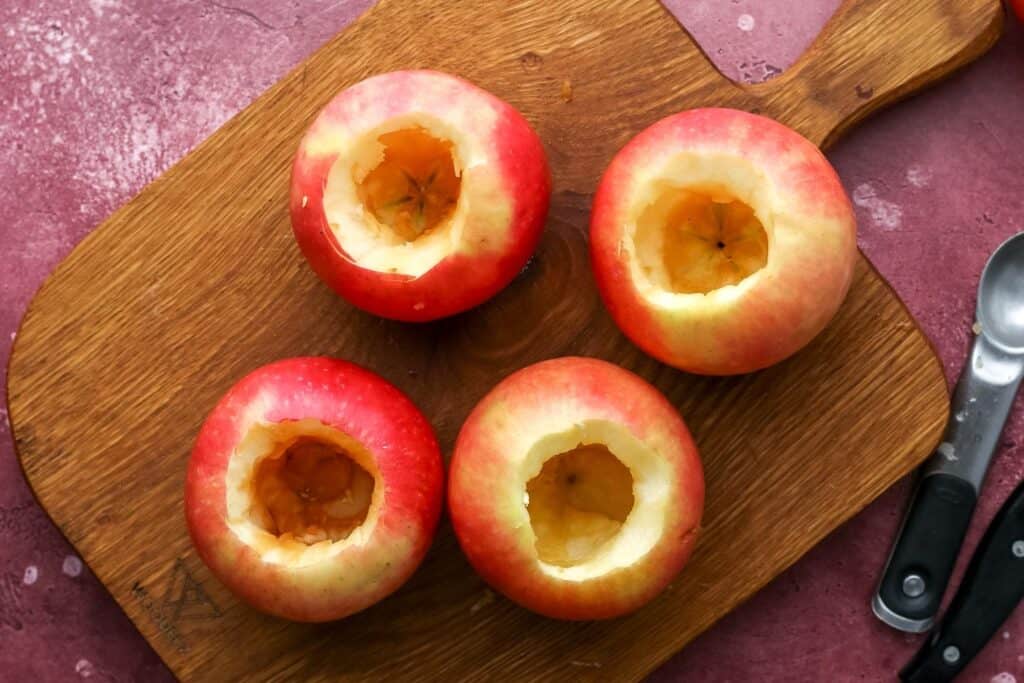
2. Core the apples, leaving the bottoms intact to hold the filling.
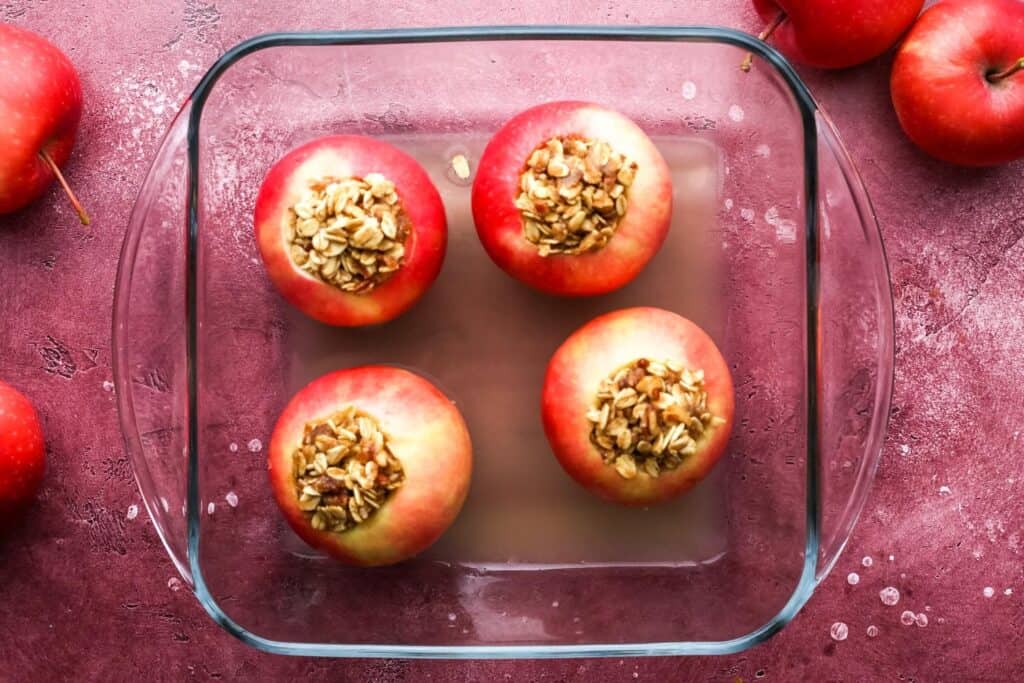
3. Stuff each apple with the oat mixture and place in a baking dish with apple juice/water.
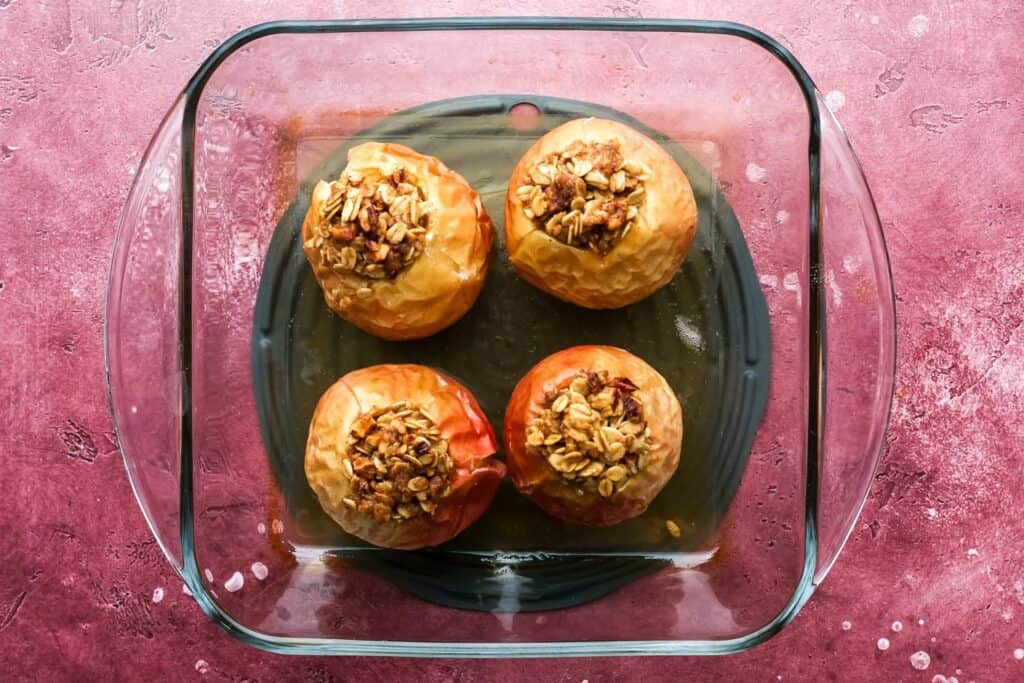
4. Bake until the apples are tender and the topping is golden and crisp.
Did you make this? Be sure to leave a review below and tag me on Facebook, Instagram, or Pinterest!
Baked Apples with Oats
Equipment
- 8 inch (20 cm) baking dish
- Apple corer or small paring knife
- Mixing bowl and spoon
Ingredients
- 4 medium (700 g) apples cored
- ½ cup (50 g) old-fashioned rolled oats
- 3 tablespoons (37 g) light brown sugar lightly packed
- ¼ cup (30 g) chopped walnuts
- ½ teaspoon ground cinnamon
- ⅛ teaspoon fine sea salt
- 2 tablespoons (28 g) unsalted butter melted
- 1 teaspoon pure vanilla extract
- ⅓ cup (80 ml) apple cider or water for the baking dish
Instructions
- Preheat the oven to 350°F (180°C). Lightly grease an 8 inch (20 cm) baking dish.
- Core the apples, keeping the bottoms intact, and stand them upright in the dish.
- In a bowl, combine the oats, brown sugar, walnuts, cinnamon, and salt.
- Stir in the melted butter and vanilla until the mixture clumps slightly.
- Divide the oat mixture between the apples, mounding a little on top.
- Pour the cider or water into the dish around the apples.
- Bake for 40 to 45 minutes until the apples are tender and the filling is golden, with juices bubbling.
- Rest for 10 minutes, then spoon pan juices over the apples and serve warm.
Notes:
- Apple varieties: Choose firm baking apples that hold their shape, such as Granny Smith, Honeycrisp, Braeburn, Pink Lady (Cripps Pink), Jonagold, Golden Delicious, or Bramley.
- Doneness visual cues: Apples look slightly slumped with gently wrinkled skins, the juices bubble in the pan, and a thin knife slides into the center with little resistance. Optional check: center reads about 190 to 200°F (88 to 93°C).
- Halved apples option: For a presentation like apple halves, cut apples in half, scoop a small cavity, stuff, and start checking for doneness at the lower end of the time range.
- Add-ins: Stir in 2 tablespoons (20 g) raisins or dried cranberries, or a pinch of nutmeg.
Nutrition Information
This website provides approximate nutrition information for convenience and as a courtesy only. Nutrition data is gathered primarily from the USDA Food Composition Database, whenever available, or otherwise other online calculators.
© Little Sunny Kitchen
Recipe Tips
- Stabilize wobbly apples: If an apple won’t stand upright, trim a very thin slice off the bottom to create a flat base.
- Core neatly: Use a paring knife to cut around the stem, then scoop out the center with a small spoon. A melon baller works well if you have one. Leave about ½ inch at the bottom so the filling doesn’t leak out.
- Prevent over-browning: If the topping browns too quickly, loosely cover the dish with foil for the remainder of the bake.
- Serve warm: These taste best straight from the oven with a scoop of vanilla ice cream or a dollop of whipped cream, and a drizzle of caramel sauce.
- Let them rest: Allow the apples to sit for 10 minutes after baking so the filling firms up and the juices settle, making them easier (and safer) to serve.
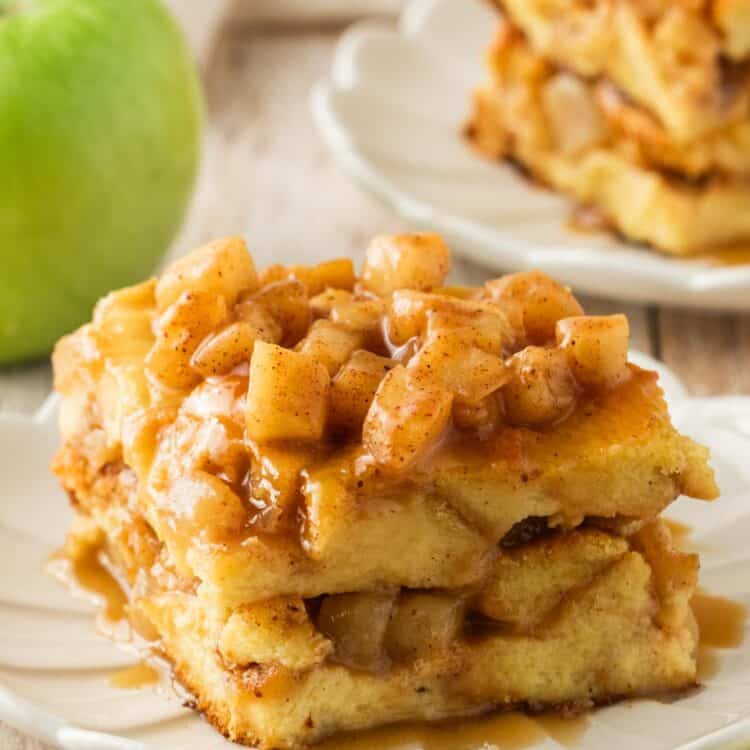
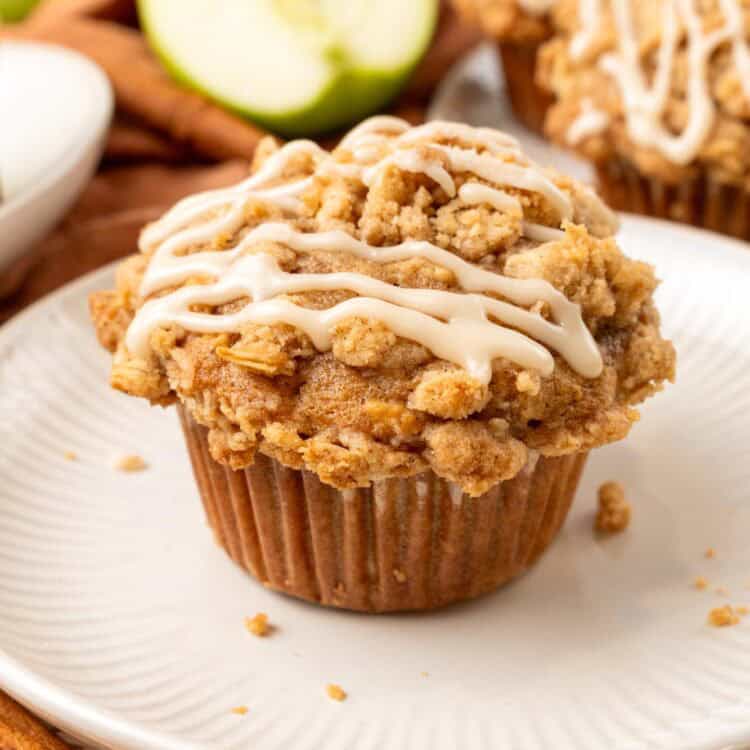
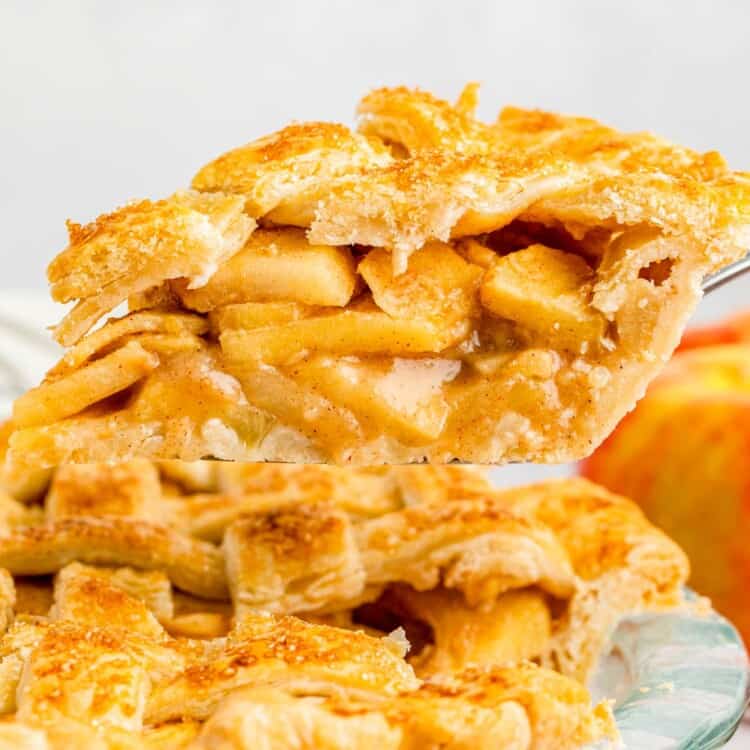
More Apple Recipes To Try
Storing and Make Ahead Tips
- Best enjoyed fresh: Baked apples have the best texture and flavor when served the day they’re made.
- Make ahead: Core and fill the apples a few hours in advance, cover, and refrigerate until ready to bake. Add the liquid to the dish just before baking.
- Avoid soggy filling: Don’t prepare them more than a few hours ahead, as the oats can absorb too much moisture and lose their texture.
- Refrigerate leftovers: Store baked apples in an airtight container in the fridge for up to 3 days. Reheat in the oven at 325°F (160°C) until warmed through, or in the microwave in short bursts.
- Freezing (not ideal): Baked apples can be frozen for up to 2 months, but the apples soften and the topping loses its crispness after thawing. If frozen, use them in oatmeal, yogurt bowls, or as a topping for pancakes and waffles rather than serving them whole.

Leave a Review!