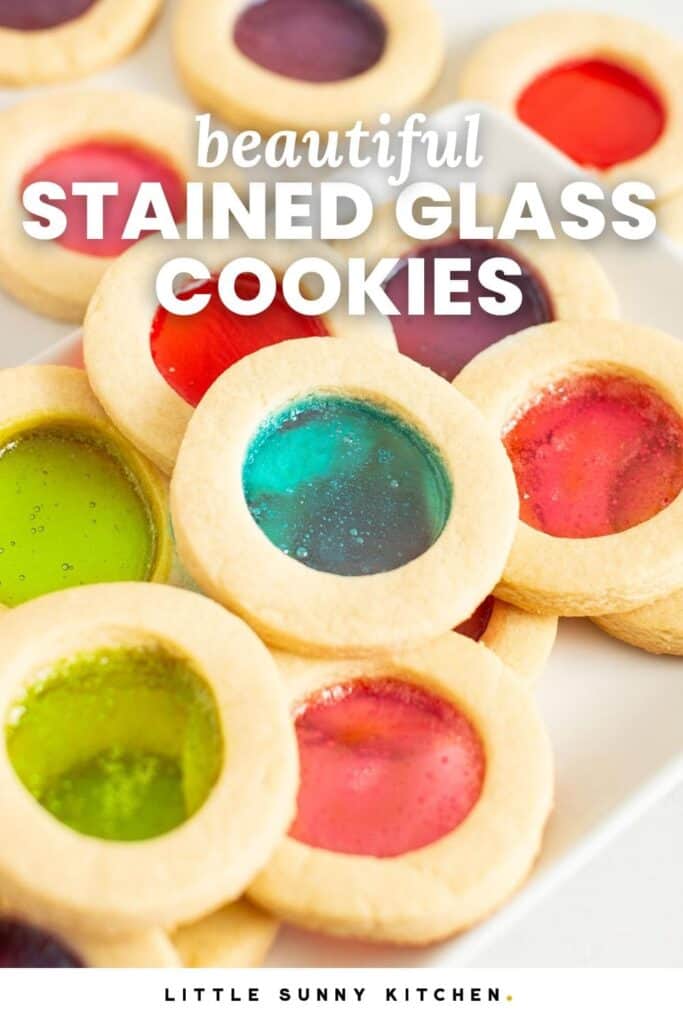
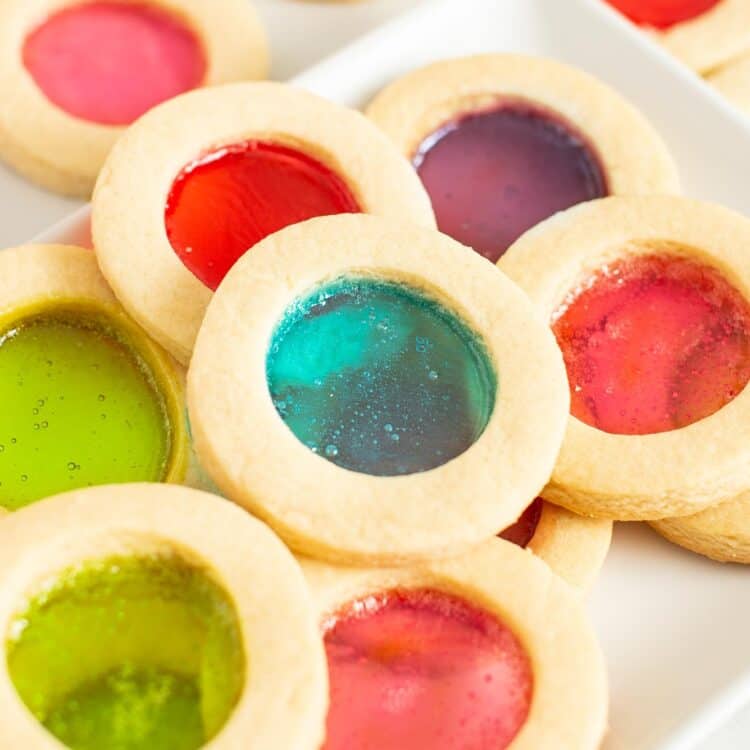
Colorful Stained Glass Cookies are a version of my best sugar cookie recipe, enhanced with a gorgeous windowpane feature. These easy holiday cookies with jewel-toned stained glass are made with Jolly Ranchers candy.

Easier than they look!
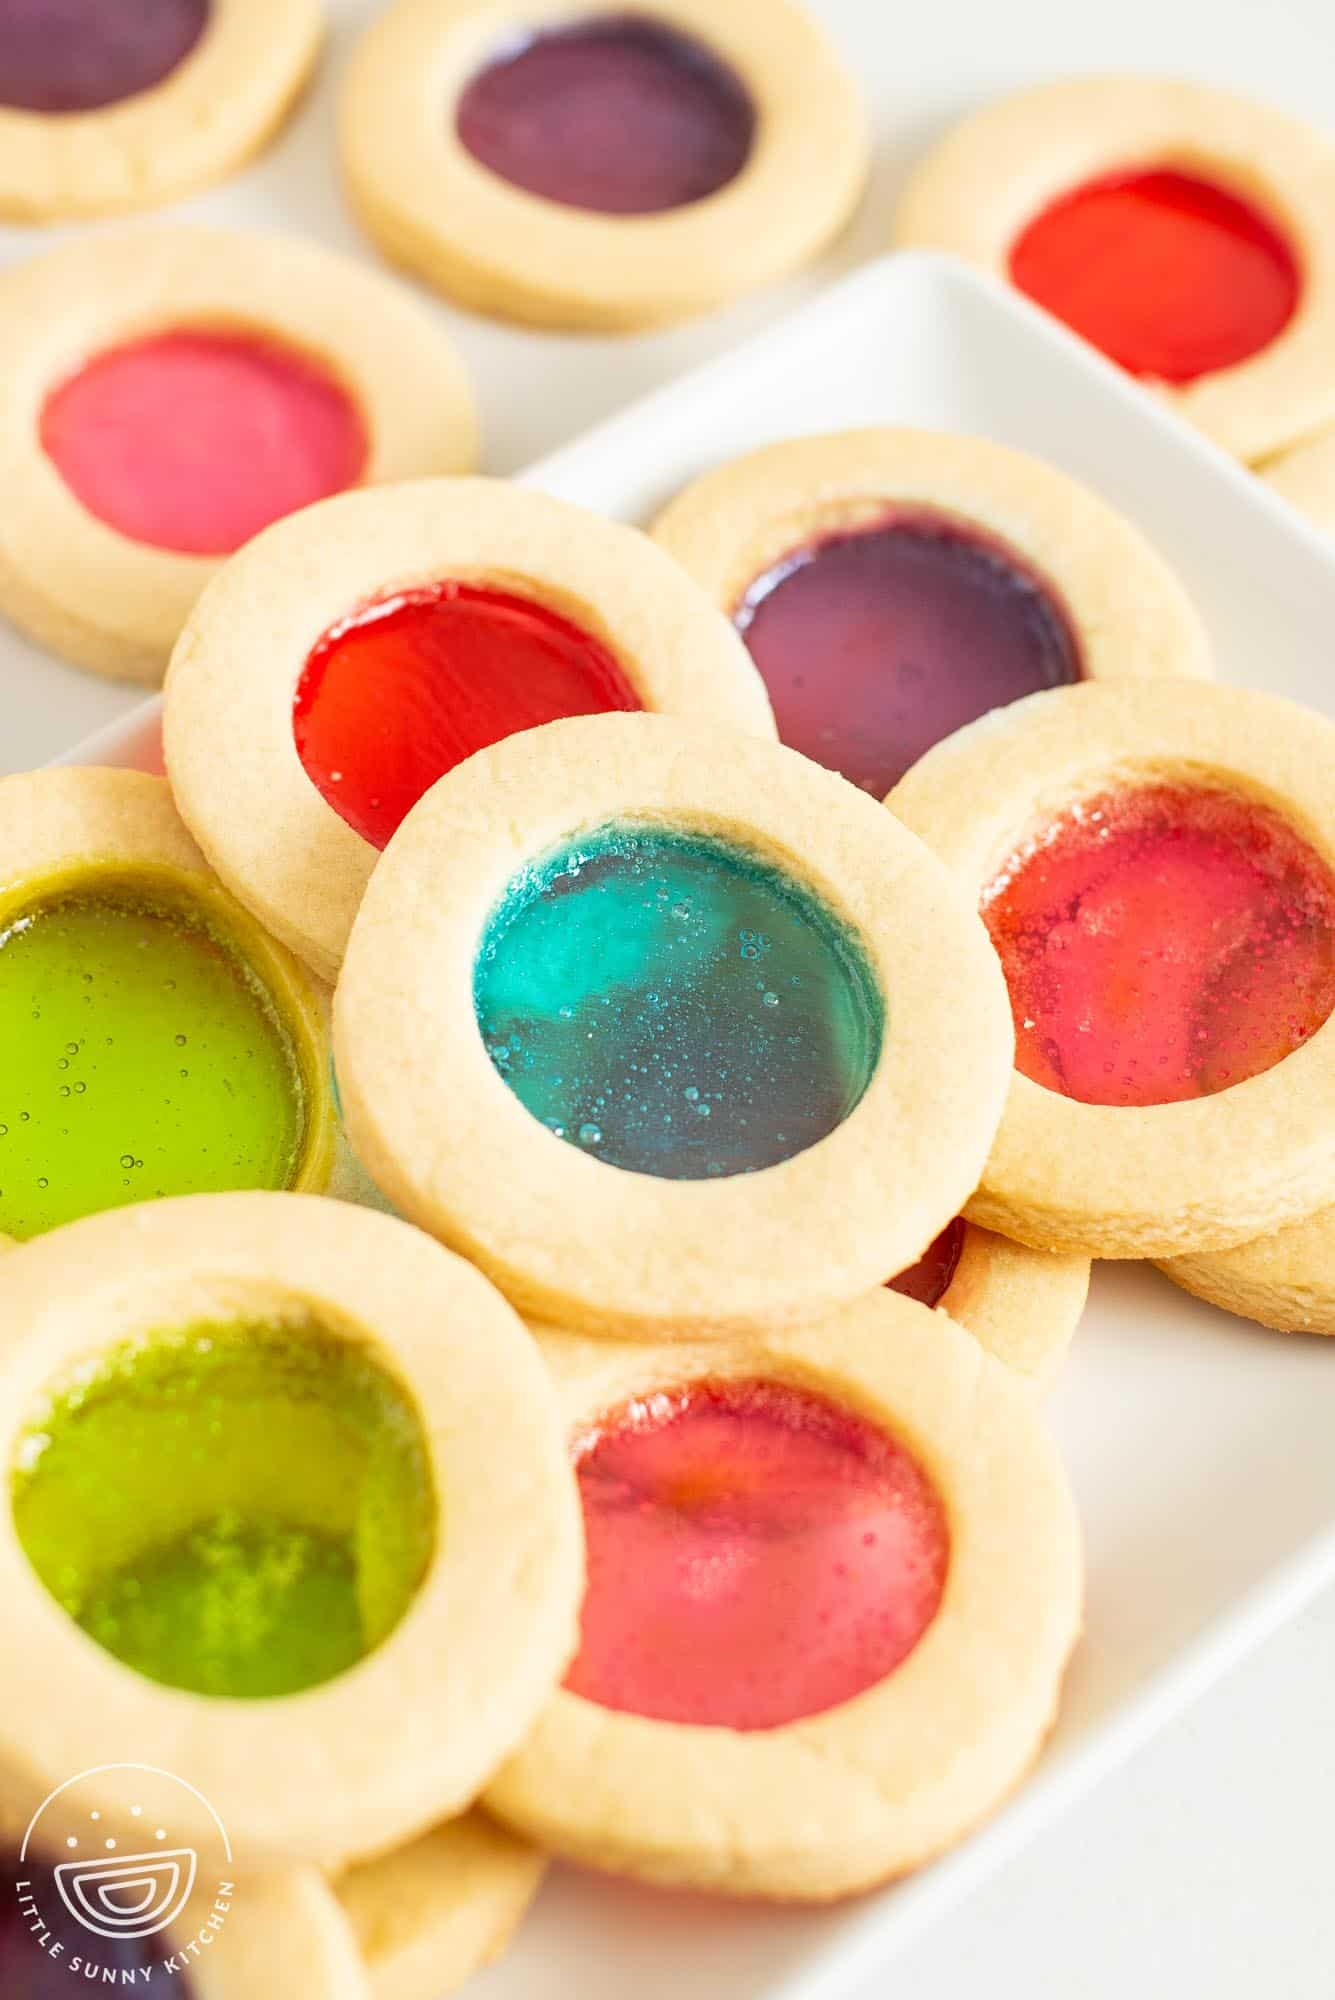
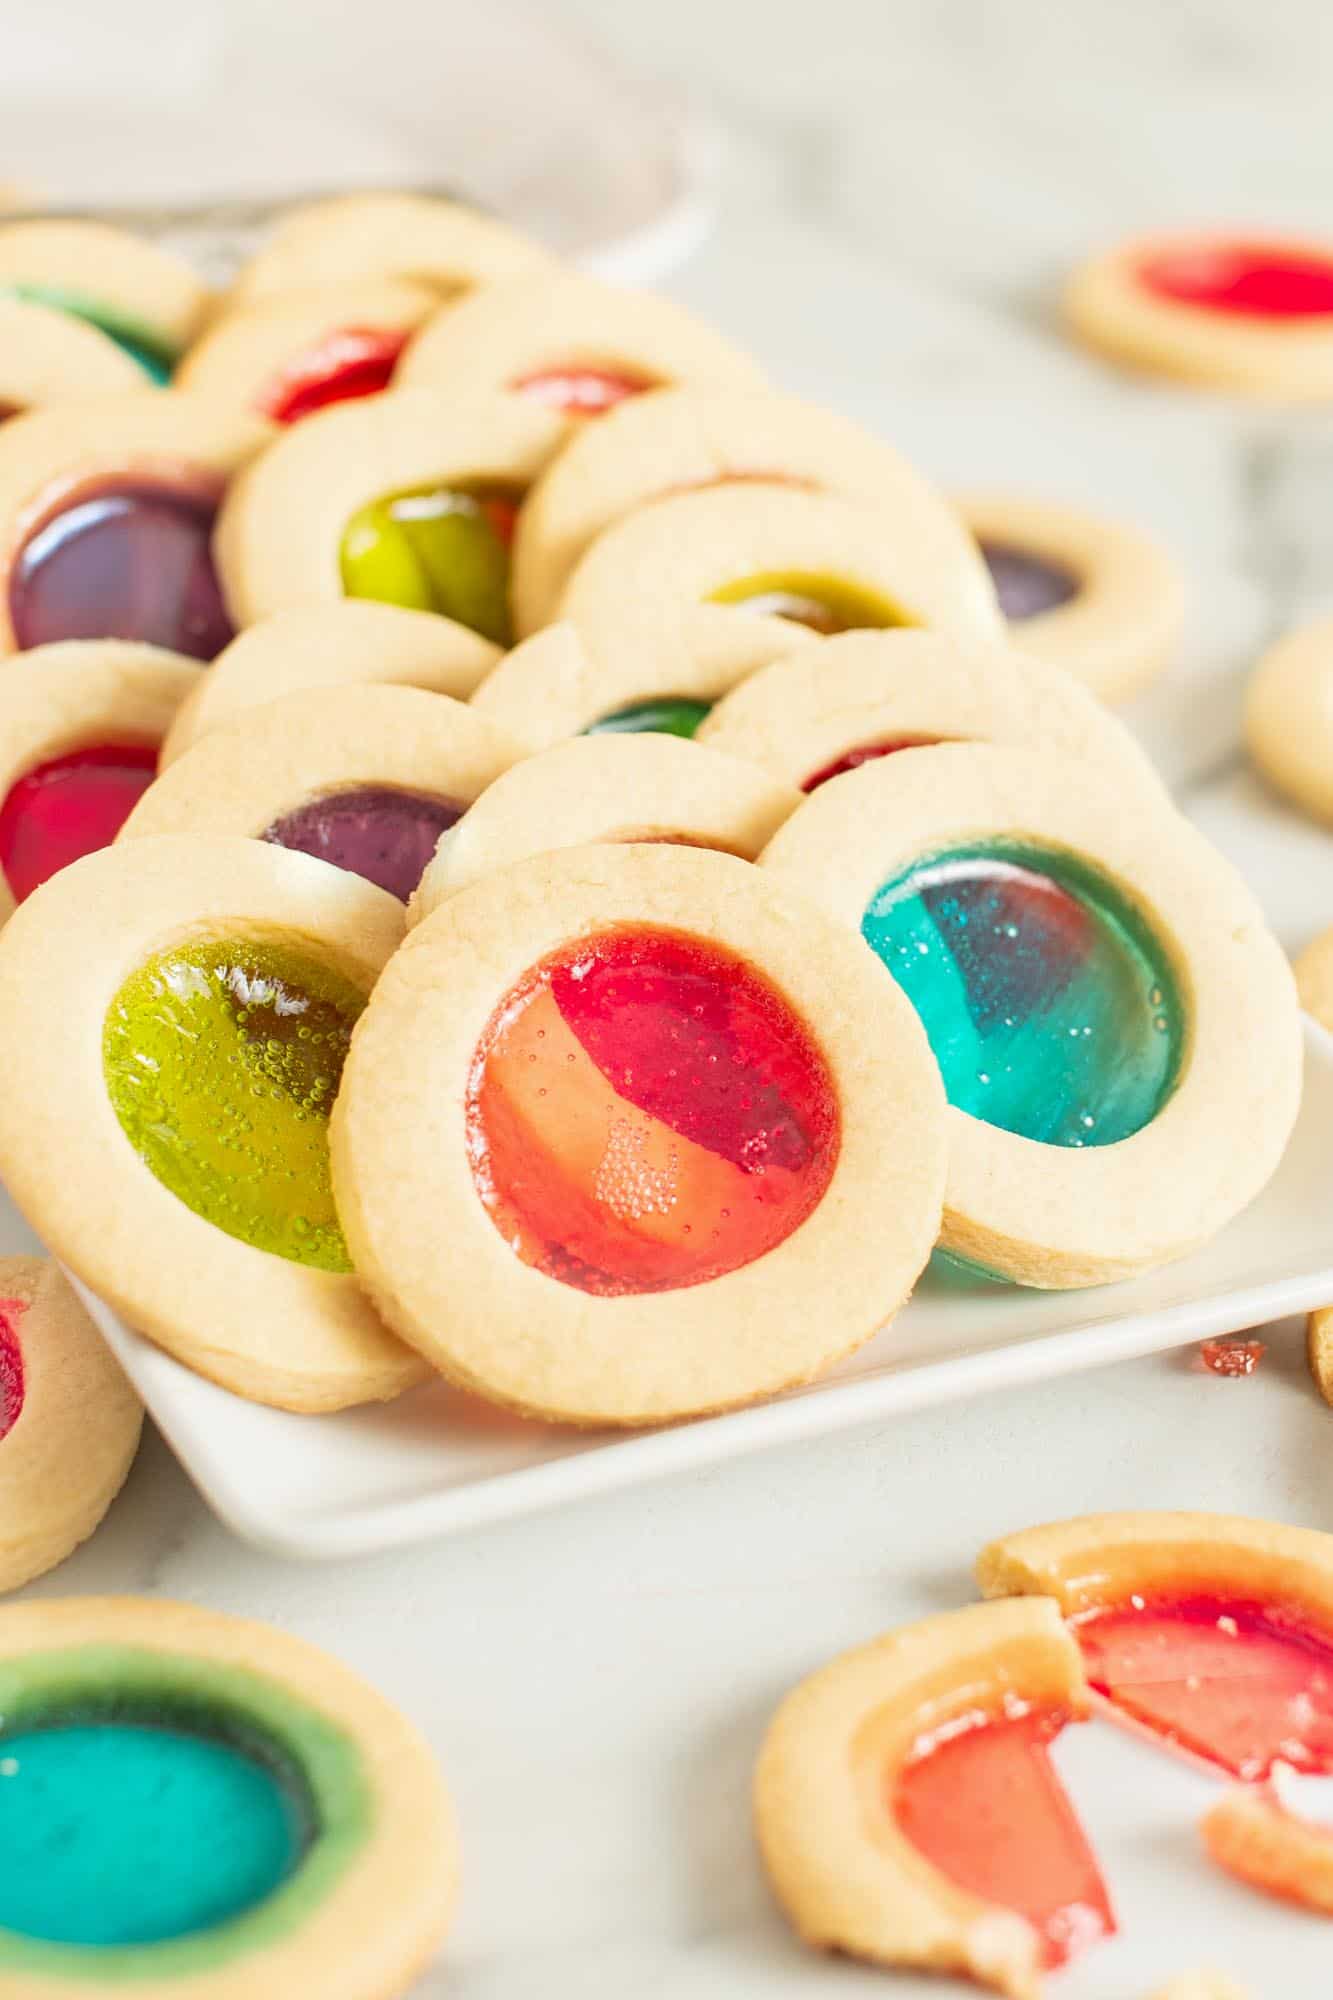
Soft, buttery, vanilla sugar cookies plus sweet, fruity hand candy equals total bliss! I love the soft, chewy outer edges of these stained glass cookies and the delicate, thin, crunchy centers. Each bite is like a party in my mouth.
These cookies (also known as windowpane cookies or cathedral window cookies) look like they require a high level of difficulty, but really, they’re pretty easy to make. If you can roll out cookie dough and have a few cookie cutters on hand, you can make these stunning, colorful treats.
And by the way, this is my go-to, no-chill sugar cookie recipe! This cookie dough can be used on its own, without the candy centers, to make delicious soft sugar cookies that you and the kids can decorate with icing and sprinkles, too!
Ingredient Notes
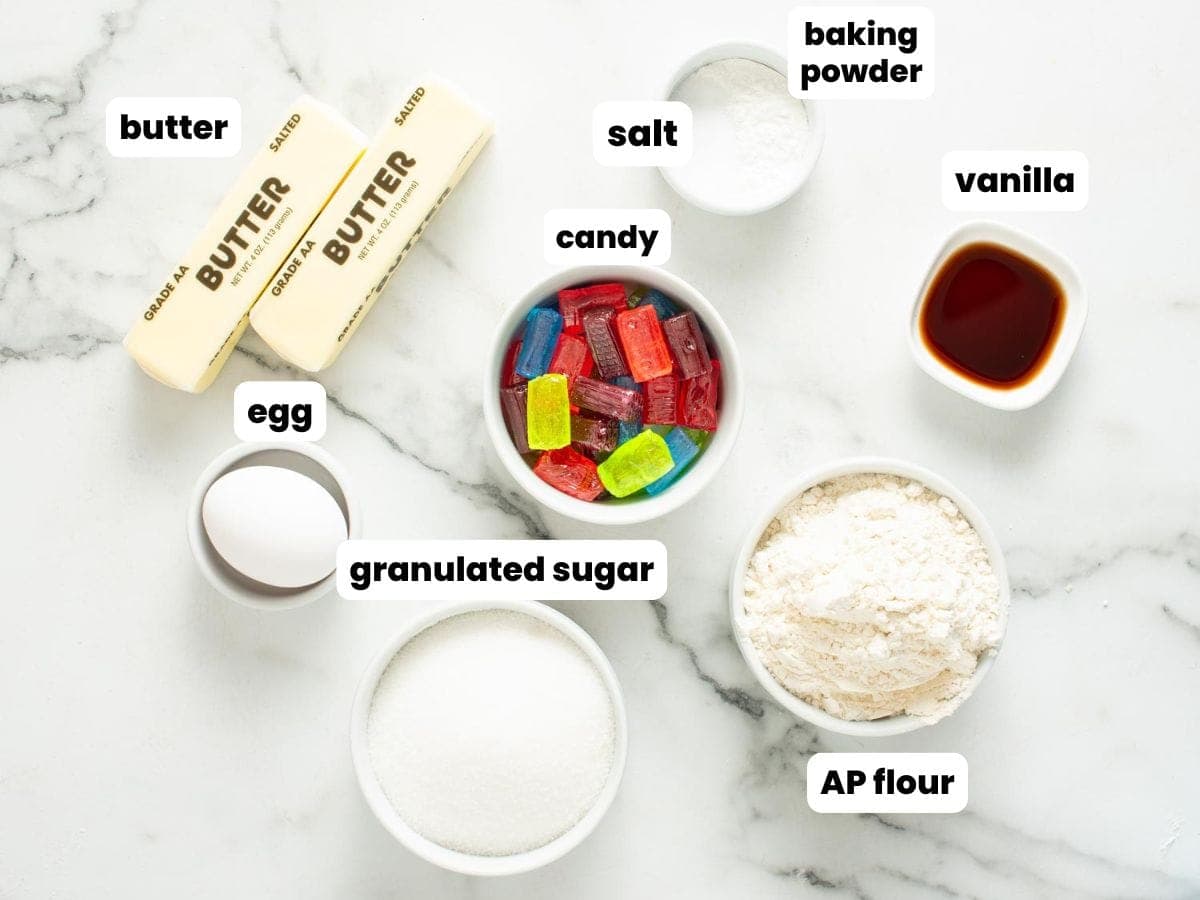
Complete list of ingredients and amounts can be found in the recipe card below.
- Butter: Butter provides a rich and buttery flavor. Unsalted butter is ideal, as it allows us to control the amount of salt in the recipe. Make sure that your butter is softened to room temperature before making the dough. This will make it easier to cream with the sugar evenly.
- Sugar: Regular granulated sugar sweetens the cookies and provides structure. Use an electric mixer (a hand mixer or a stand mixer) to cream the sugar with the softened butter until the mixture is light and fluffy. This should take 3 minutes or so.
- Vanilla Extract: A must for just about all delicious cookie recipes! I always use pure vanilla extract rather than imitation, and suggest that you do the same. If you want to, you can experiment with other flavor extracts like almond, anise, or lemon to change the flavor of the cookie dough.
- Egg: One large egg adds moisture to the dough and helps to bind all the ingredients together. Let your egg sit out at room temperature with your butter so that it mixes in easily and evenly.
- Baking Powder: This is the ingredient that helps the cookies to rise in the oven and become light and soft.
- Salt: A bit of salt balances the sweet flavors of the dough and the candy, and enhances the flavor of all of the other ingredients. Use fine salt for baking, rather than coarse.
- Jolly Ranchers: These are the best candies to use for stained glass cookies, as they are brightly colored and clear when they melt. I used all the colors in the bag today, but for Christmas, you might want to use only the red and green ones.
Stained Glass Cookie Recipe Tips
- To keep the candy from bubbling over the edges of the cookies, pay close attention to them while they’re in the oven. You should see the candy melt and start to bubble. Once you see the bubbling, take the cookies out of the oven to cool. If they aren’t quite done yet, put them back in after 2 minutes to finish baking.
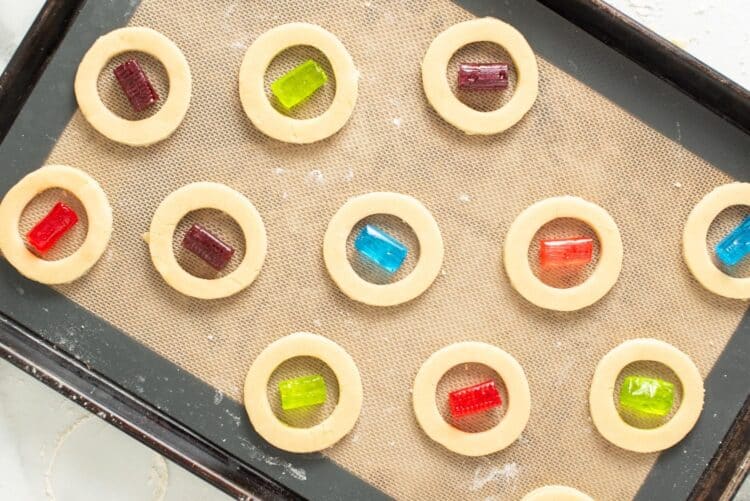
- A silicone baking mat does a great job of keeping these cookies from leaking at the bottom and sticking to the pan, but it does leave a texture on the back of the cookies. If you don’t want that, use smooth parchment paper instead.
- Leave a large space in the center of each cookie so that you can place a whole Jolly Rancher candy inside. If needed, you can crush the candy first so that it fits better.
- Try different shapes! These cookies are especially fun for the holidays in snowflake, star, or Christmas tree shapes. If you don’t have a smaller cutter in the shape that you need, you can always cut away the center of the cookie with a paring knife. I used this set of round cookie cutters for the cookies you see here.
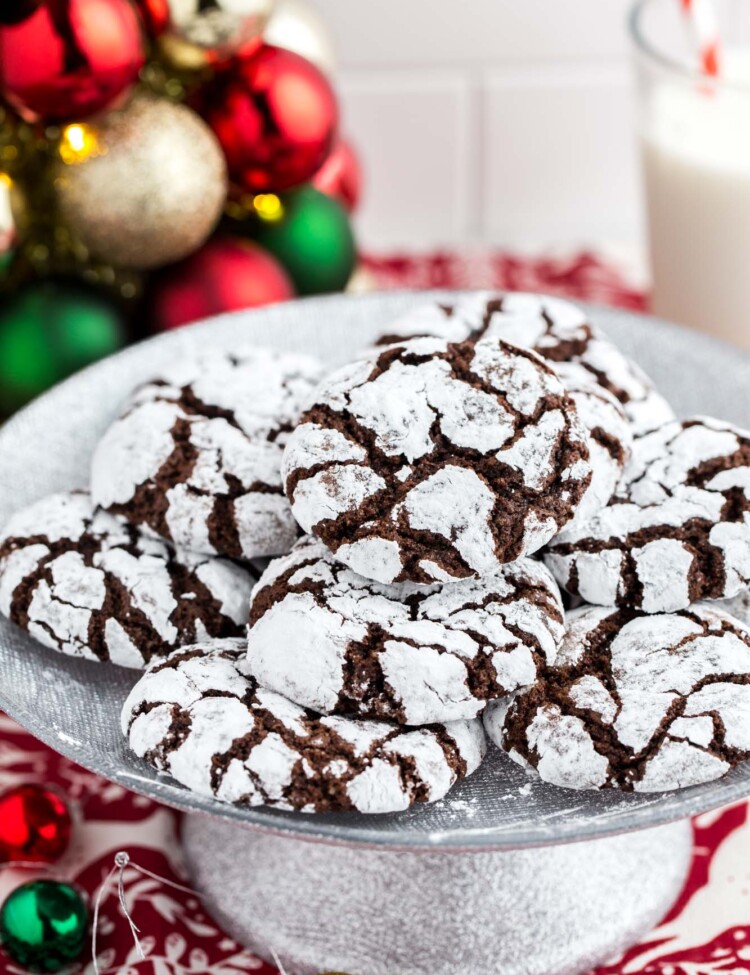
More Holiday Cookies to Bake!
All Cookie Recipes Here →
Did you make this? Be sure to leave a review below and tag me on Facebook, Instagram, or Pinterest!
Stained Glass Cookies
Equipment
- Stand mixer or hand mixer
- Plastic wrap
- Round Cookie cutters or other shapes
- Cookie Sheets
- Parchment paper or silicone mats
Ingredients
- 1 cup (225 g) unsalted butter softened
- 1 cup (200 g) granulated sugar
- 1 teaspoon pure vanilla extract
- 1 large egg at room temperature
- 3 ½ cups (420 g) all-purpose flour
- 1 ½ teaspoons baking powder
- ½ teaspoon salt
- 36 translucent hard candies unwrapped (I used Jolly Ranchers)
Instructions
- Preheat the oven to 350°F (180°C), or 160°C fan oven. Prepare a cookie sheet by lining it with parchment paper or silicone mat and set aside.
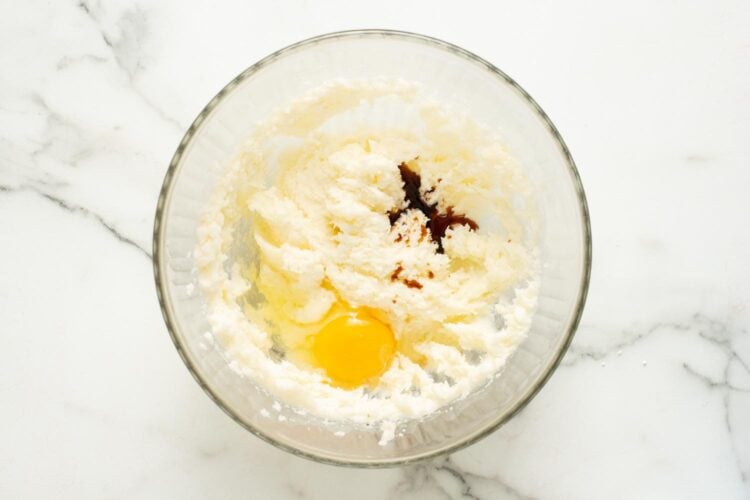
- In the bowl of a stand mixer with a paddle attachment or a mixing bowl with a hand mixer, cream the butter with the sugar until smooth, light in color and creamy (2-3 minutes).
- Add vanilla and egg and mix again until the egg is incorporated but don’t over whip (the longer you whip the egg, it can souffle up and the cookies will rise and you don’t want that).

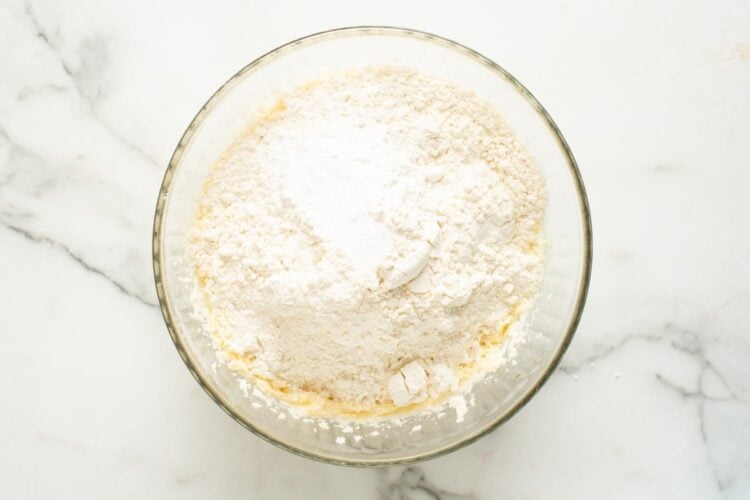
- Add in the flour, baking powder, and salt and mix again until just combined. Scrape the sides with a spatula so no dry flour is left.
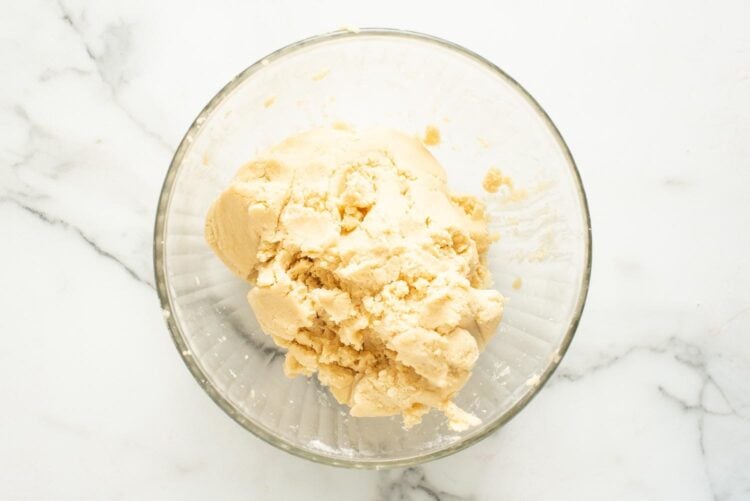
- The cookie dough should pull away from the sides of the bowl (if it doesn't, add up to ½ cup of additional flour).

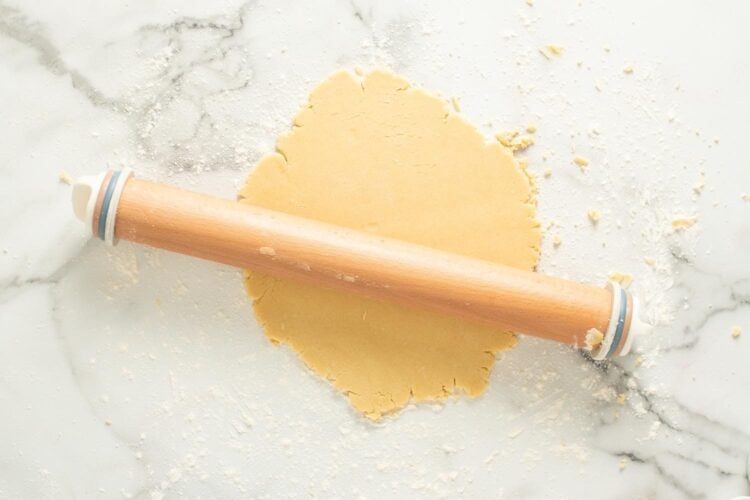
- Divide the dough into 4 portions, and roll out each using a rolling pin into ¼ inch thickness.
- Cut out shapes using a larger cookie cutter for the outer shape and a smaller cookie cutter for the inner shape. Then with the help of an offset spatula, transfer to the cookie sheet.
- Place one unwrapped hard candy in the empty center of each cookie. If your inner shape is too small you may crush the candies to create smaller pieces. Avoid having the candy touch the edges of the cookie.
- Bake for 8 minutes (one sheet at a time), then check the cookies – if the candies are bubbling or close to bubbling, remove the cookies from the oven for 2 minutes, then return to the oven for an additional 2 minutes or until the cookies are set. To obtain a clean final look you want to avoid having the candies bubble up too high.
- When cookies are set, remove from the oven and allow to cool on the cookie sheet completely.
- Store in an air tight container for up to 1 week.


Notes:
- Pay attention while these are baking! The key to neat stained glass cookies is to melt the candy without allowing it to bubble over the edges of the cookie. If needed, remove the tray from the oven, let the candy cool down, and place it back in the oven to finish baking.
- Adjust the shape or size: I left a large space in the center of my cookies so that a whole Jolly Rancher would fit. If your inner spaces are smaller, crush the candy up before placing it. Try this method with shapes other than circles, too, such as squares or stars.
- Jolly Rancher candies are a popular choice for this recipe because they are clearer than some others and have such vibrant colors. You can also use Lifesavers or other hard candies.
- Storage: Keep these cookies in an airtight container, separated with layers of parchment paper to keep them from sticking together.
Nutrition Information
This website provides approximate nutrition information for convenience and as a courtesy only. Nutrition data is gathered primarily from the USDA Food Composition Database, whenever available, or otherwise other online calculators.
© Little Sunny Kitchen
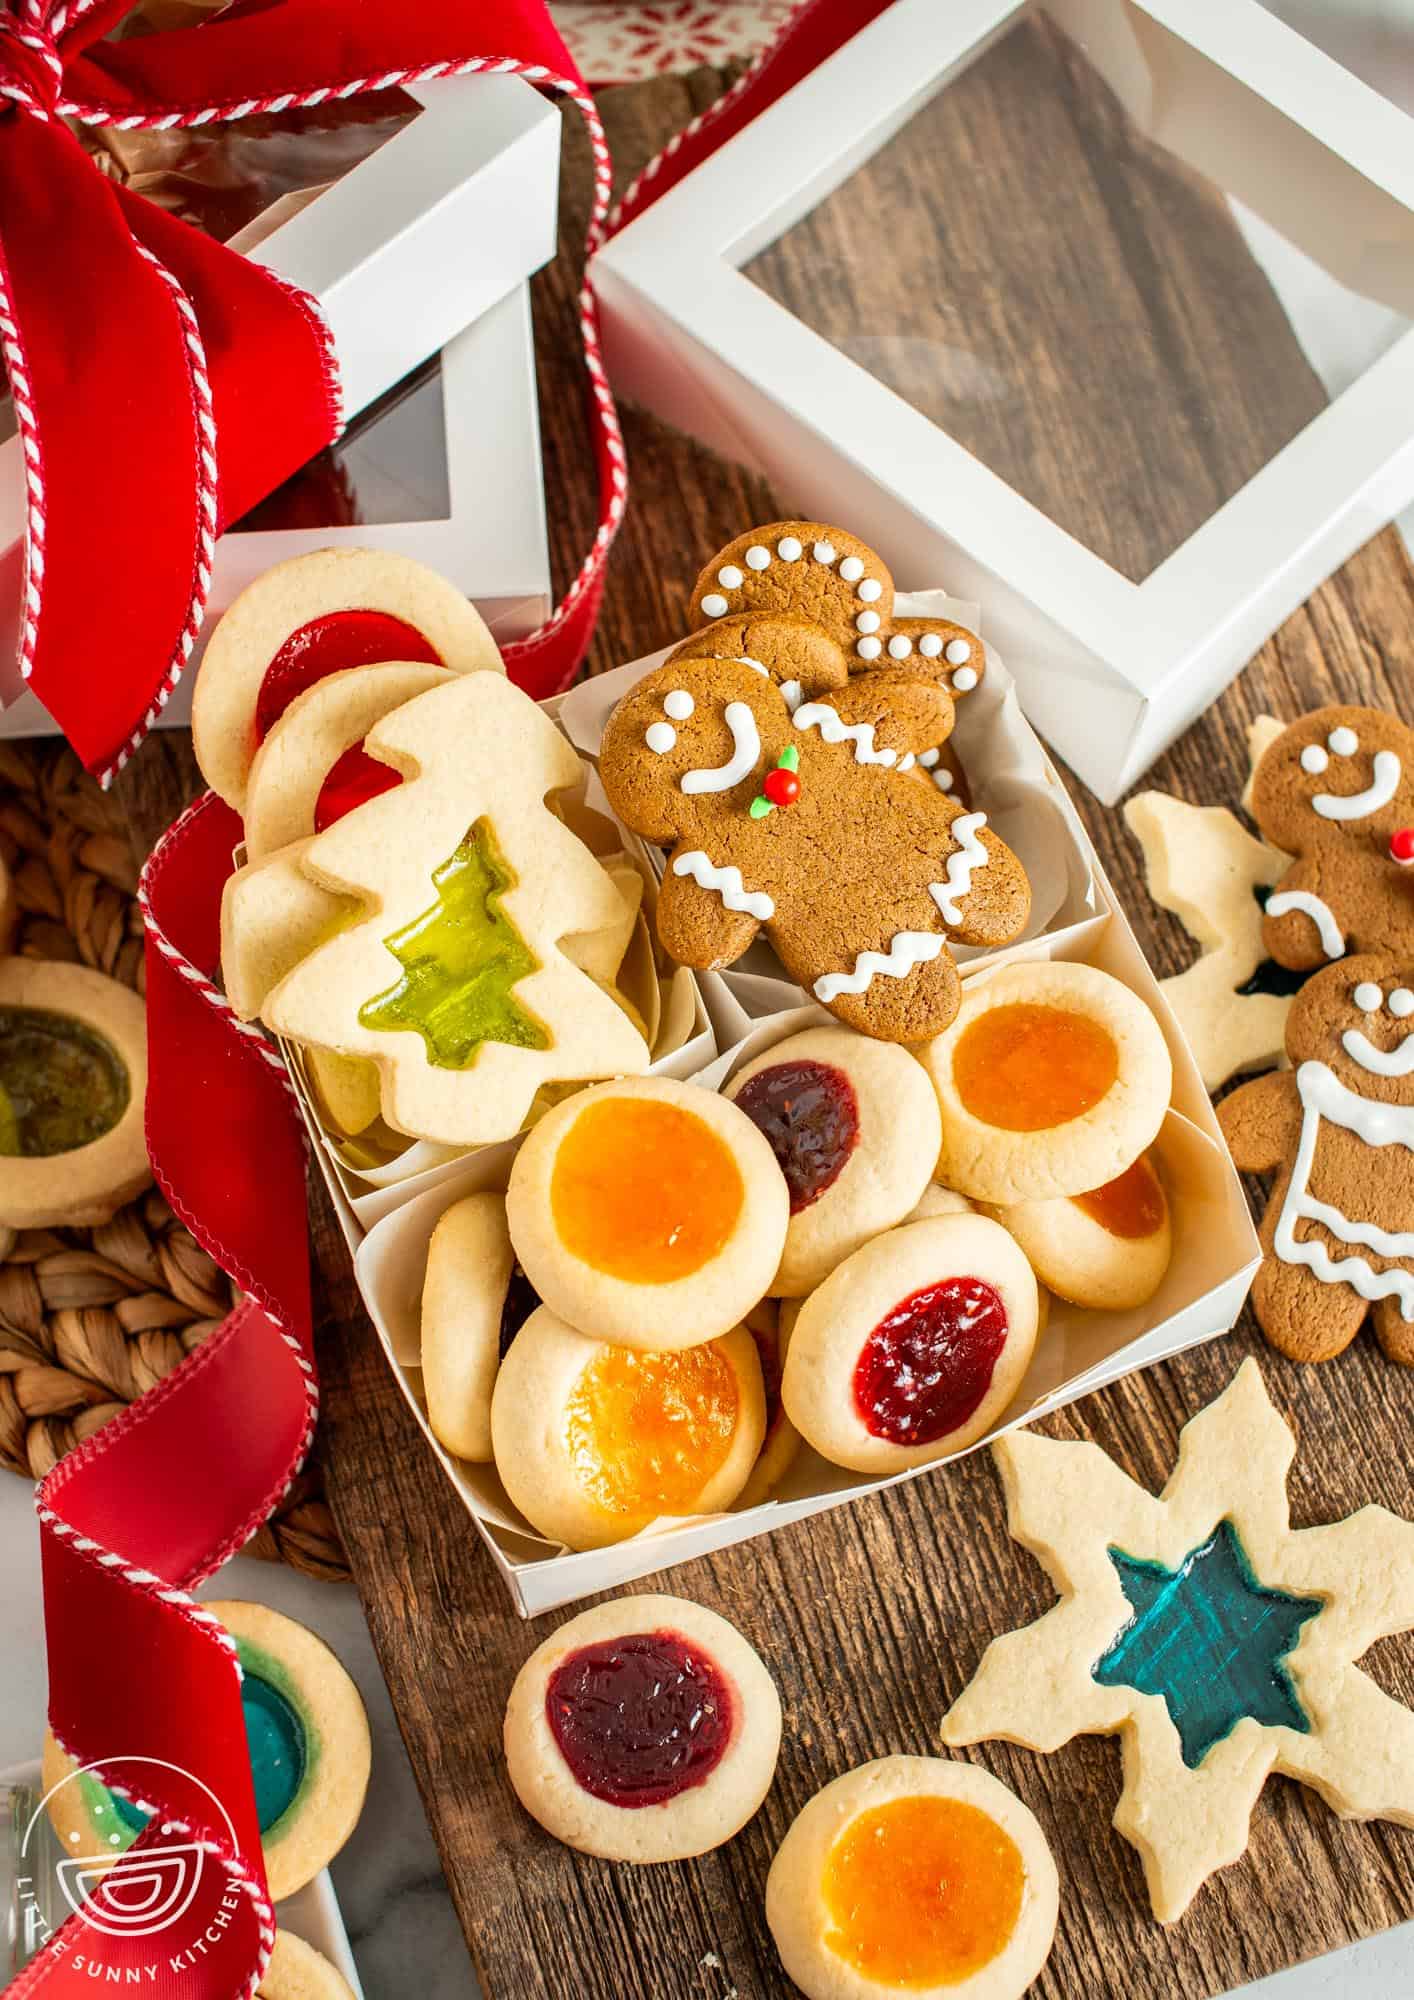
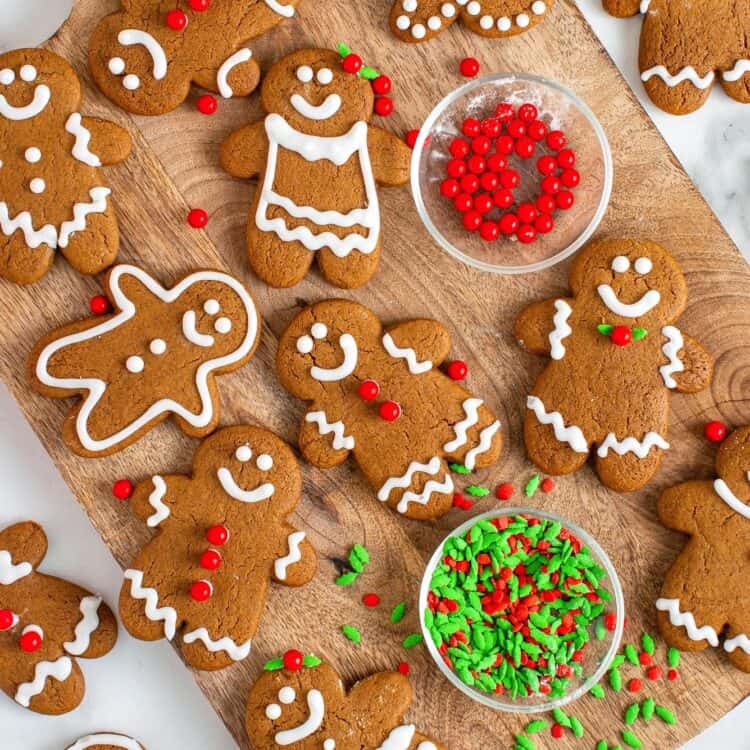
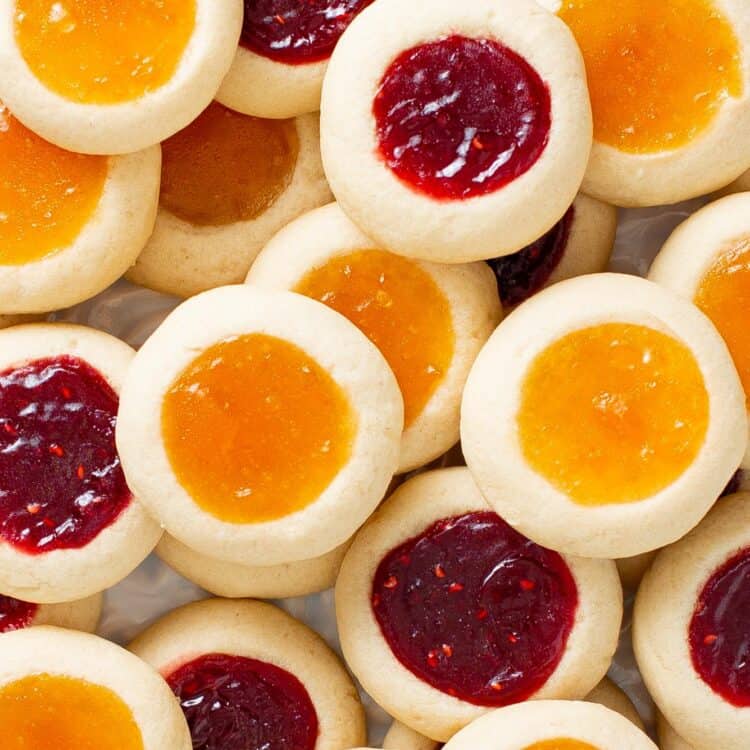
This Year’s Holiday Cookie Gifts!
Every year, while I’m testing and baking holiday cookies for the blog, I like to box up some of the goodies for my neighbors and friends.
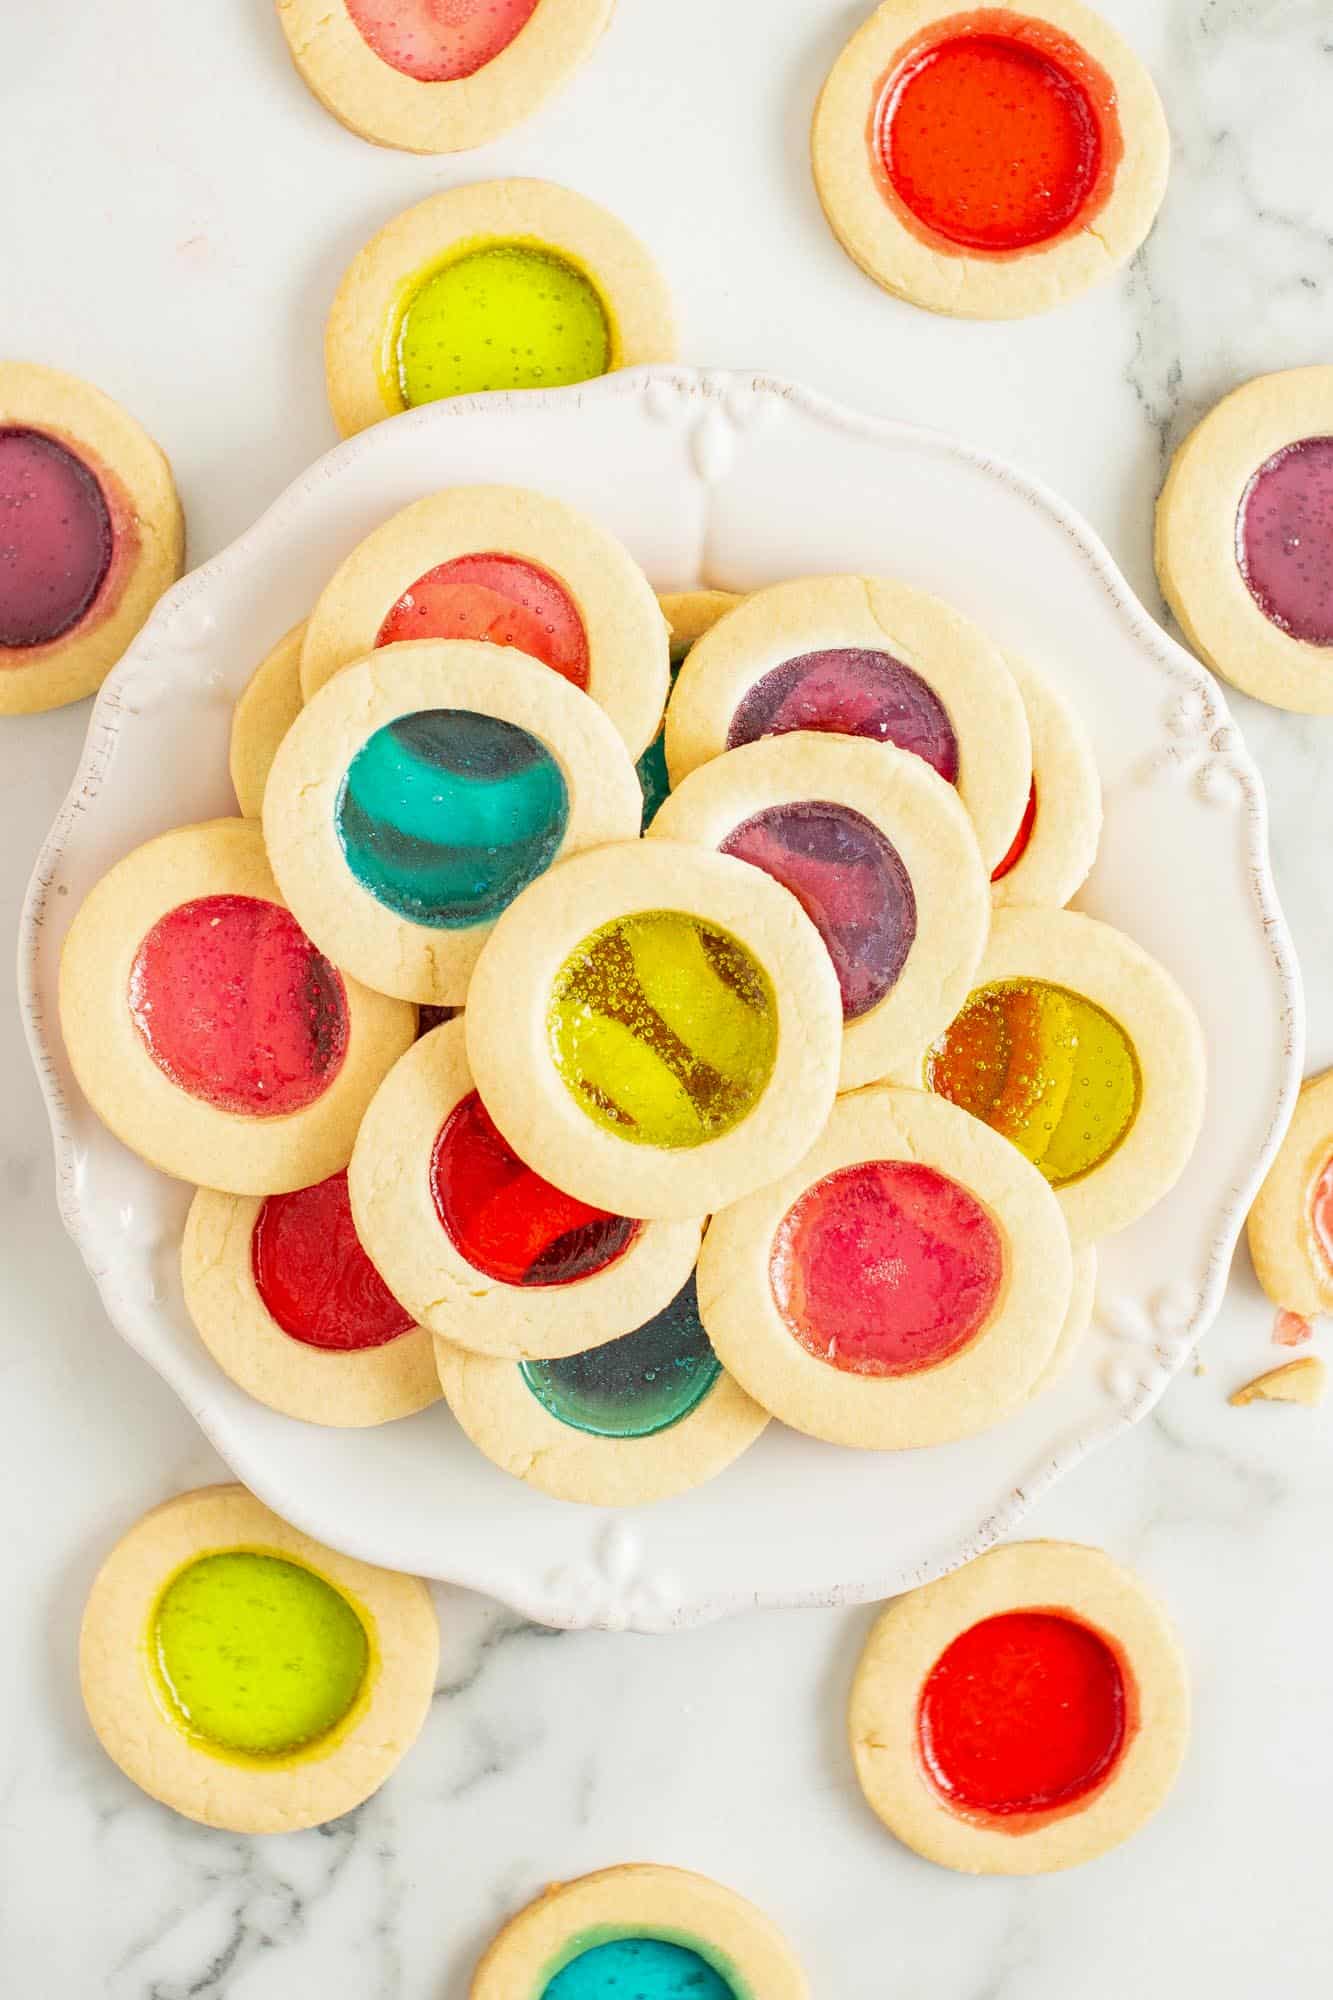
This year, the three types of cookies that I put together look so pretty! Stained glass cookies, gingerbread men, and jam thumbprint cookies are sure to be delicious on your holiday cookie trays, too.

Leave a Review!