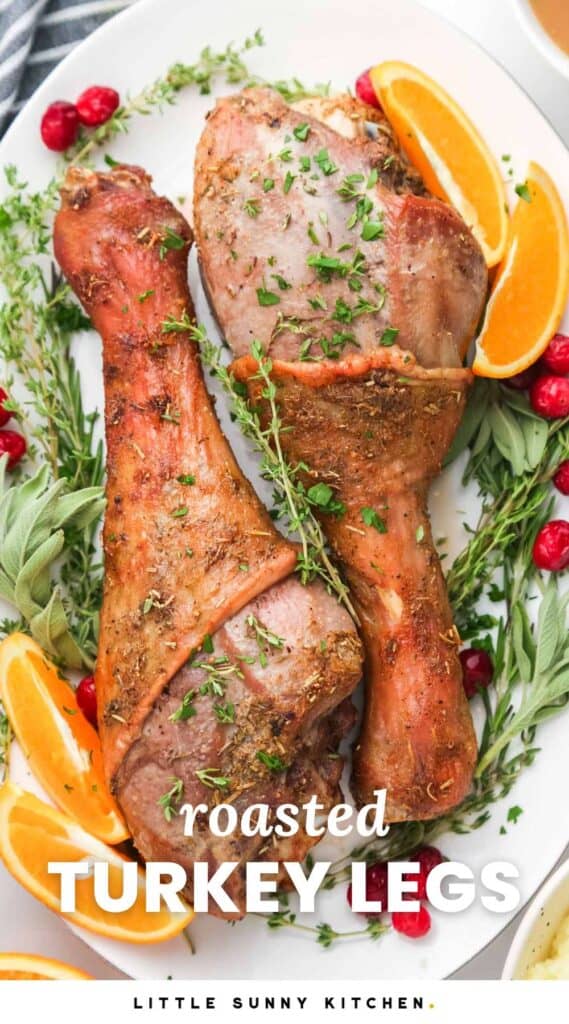
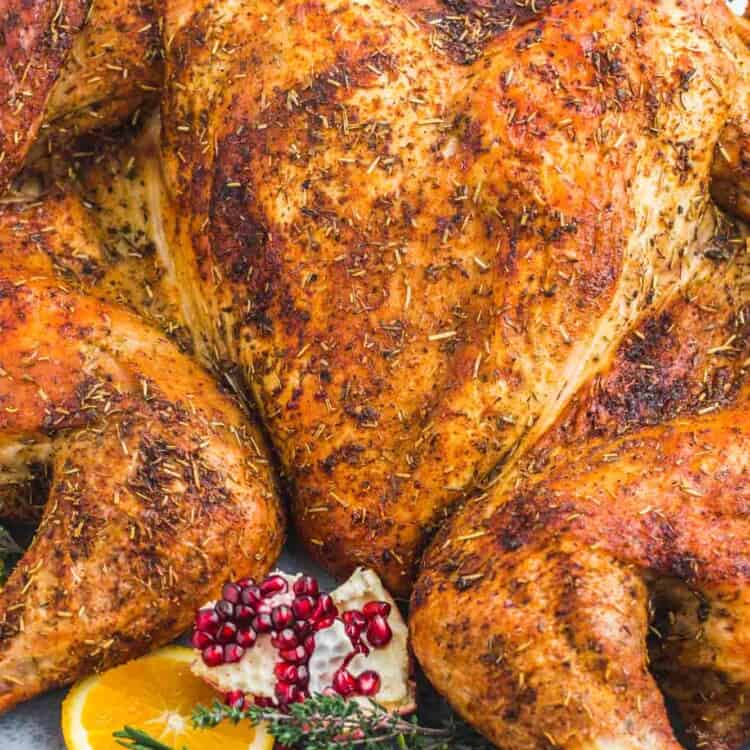
Roasted turkey legs are an easy-to-make dinner that’s perfect for any family meal or a small Thanksgiving spread. I’ll show you how to use the pan drippings to make a luscious turkey gravy too!
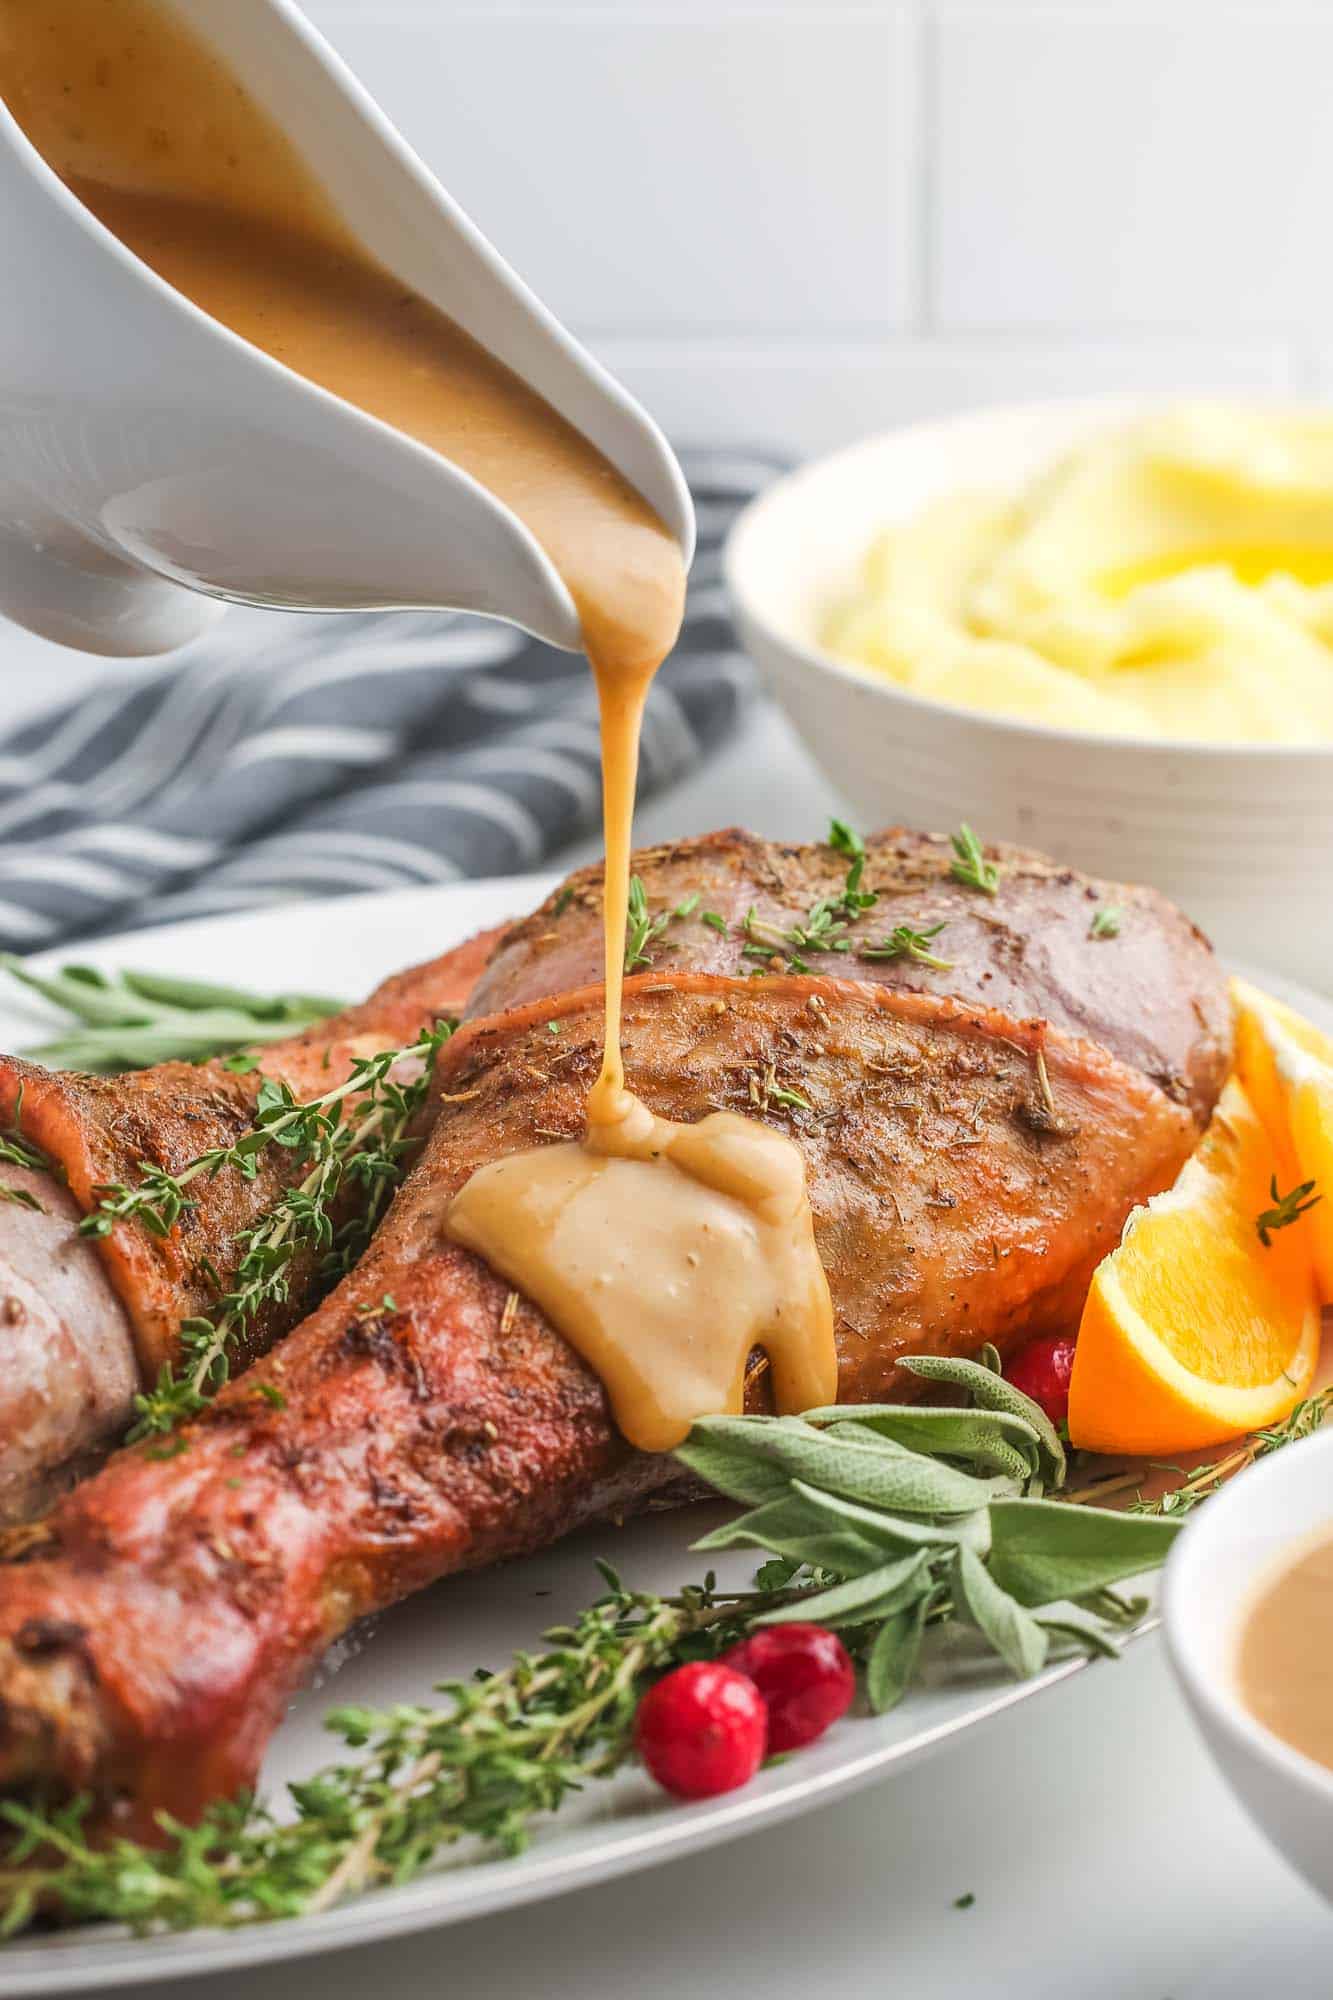
There are many reasons why roasting turkey legs is a great idea. Maybe you’re doing a smaller Thanksgiving this year, and don’t need a whole turkey. Or maybe your family prefers dark meat, so it makes more sense to only cook legs so that everyone gets what they like.
Roasted turkey legs are a great way to enjoy a Thanksgiving meal on any random weekend, without the hassle of roasting a whole bird too!
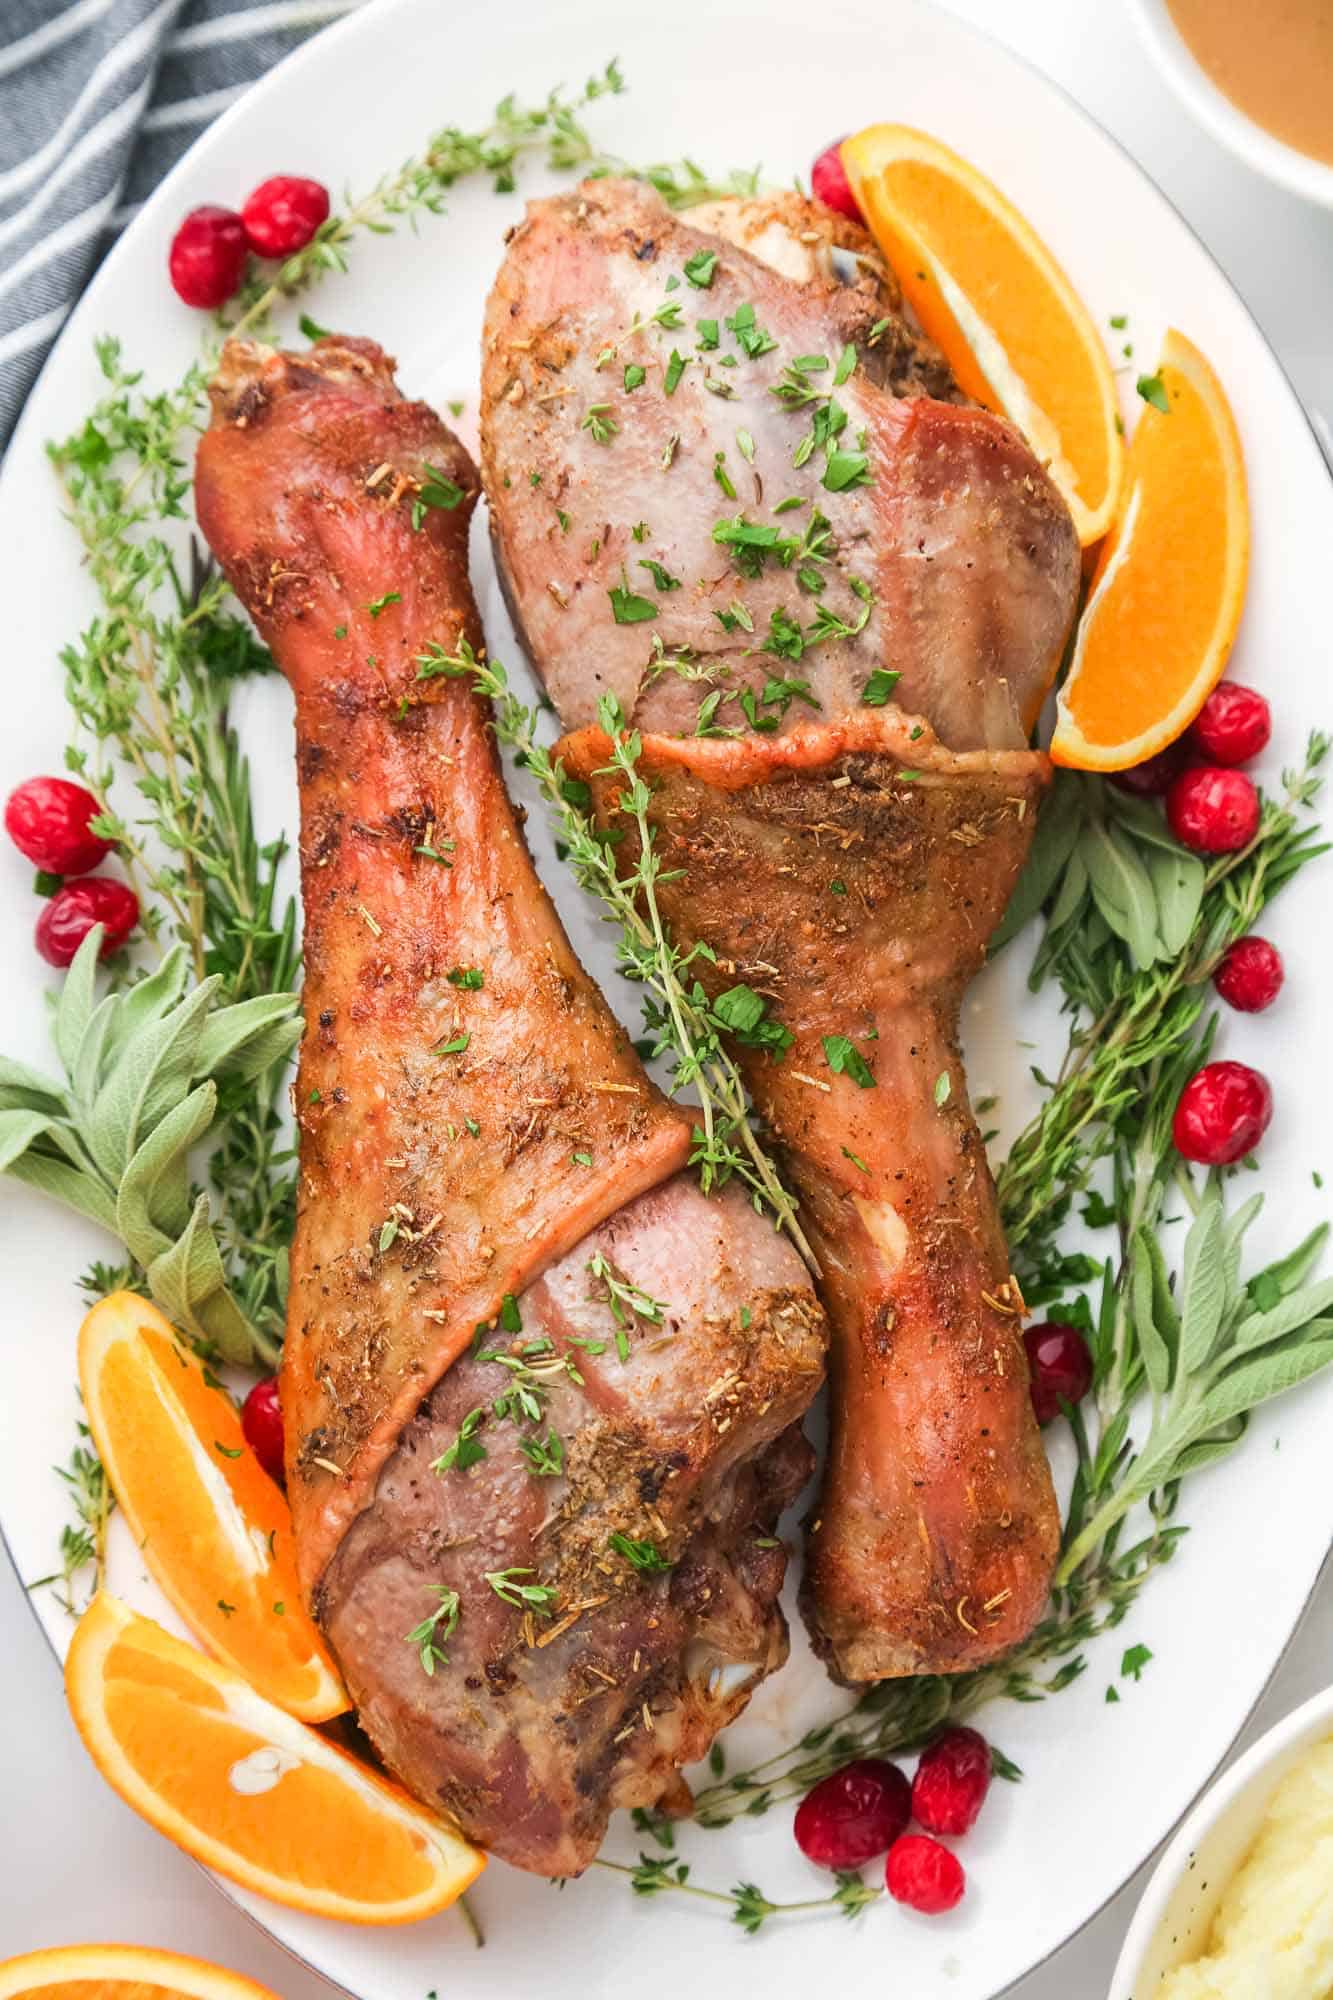
Whatever the reason, you’re going to love this recipe for roasted turkey legs! Roasting them in the oven at high heat ensures that the skin gets crispy, and a long cook time makes this sometimes tough cut of meat fall off the bone tender.
If you want to only cook a smaller amount of white meat turkey, go see my recipe for roast turkey tenderloin.
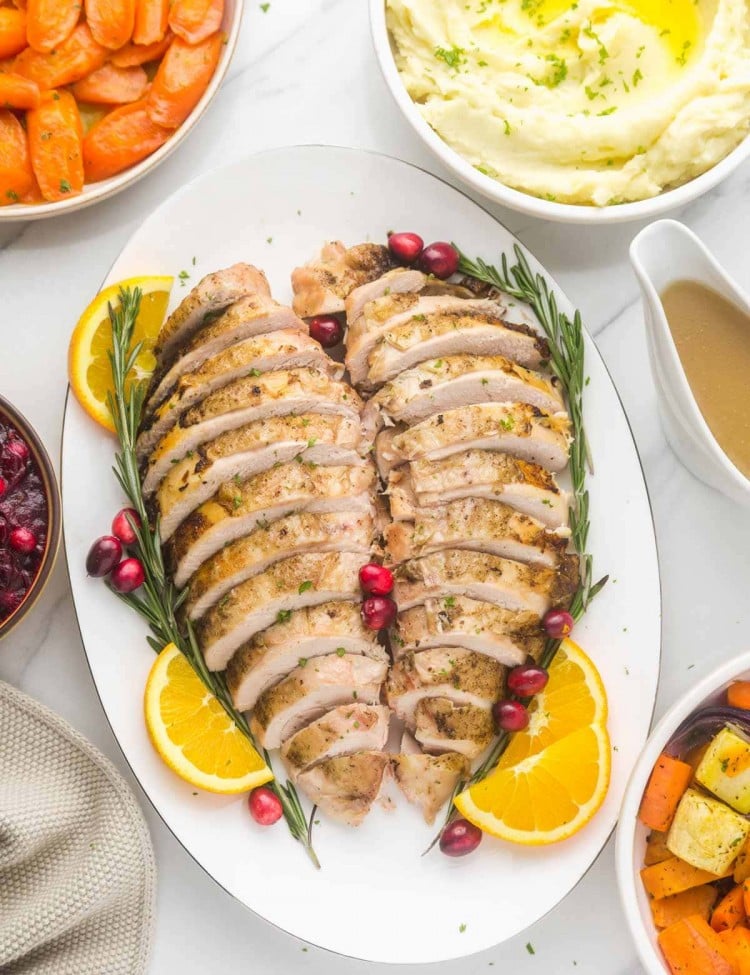
Serve this turkey main dish with tasty sides like crockpot mashed potatoes and buttery herb stuffing for the best mini thanksgiving feast. Don’t forget the pumpkin pie!
Why You’ll Love This Recipe
- Flavorful, Tender Turkey – If not cooked correctly, turkey legs can be very tough and dry. If you follow this easy recipe you’ll have tender, juicy turkey legs, simply seasoned with herbs and lots of butter.
- Versatile Recipe – This method works for turkey legs, whole chicken legs, or turkey thighs. Simply adjust the roasting time as needed. You can also feel free to add your favorite spice blend instead of the simple one I’m sharing here.
- Minimal Ingredients – You won’t need to shop for anything fancy to make this impressive meal!
Ingredients For Roasted Turkey Legs
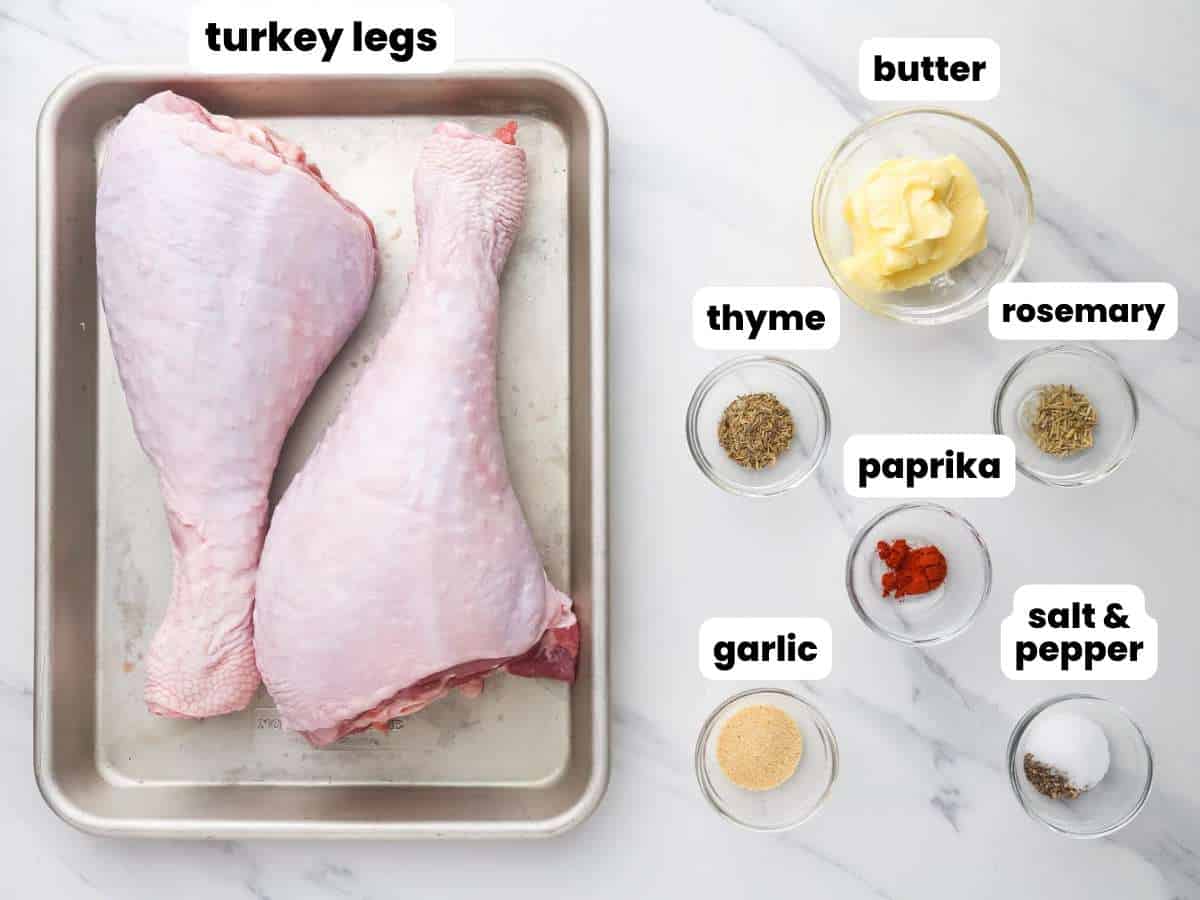
Complete list of ingredients and amounts can be found in the recipe card below.
- Turkey Legs: I’m cooking two turkey legs that are each about 2 pounds. Turkey legs come in different sizes, so you can cook 3 or 4 smaller ones too. Just be sure to reduce the cooking time a bit.
- Butter: This is key to getting tender, juicy meat. We’ll mix the butter with seasonings, and insert it underneath the turkey skin.
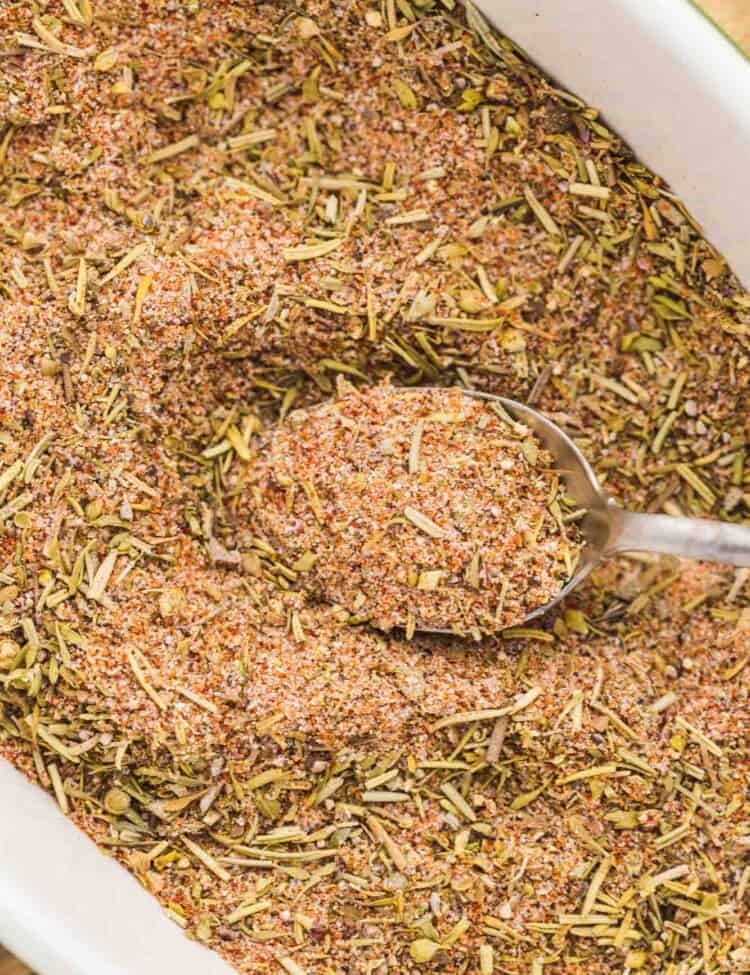
- Spice Blend: A tasty combination of garlic powder, paprika, thyme, rosemary, salt, and pepper is all you need. You can also use my turkey seasoning recipe. It includes brown sugar to balance the other flavors.
What You Need to Make Turkey Gravy
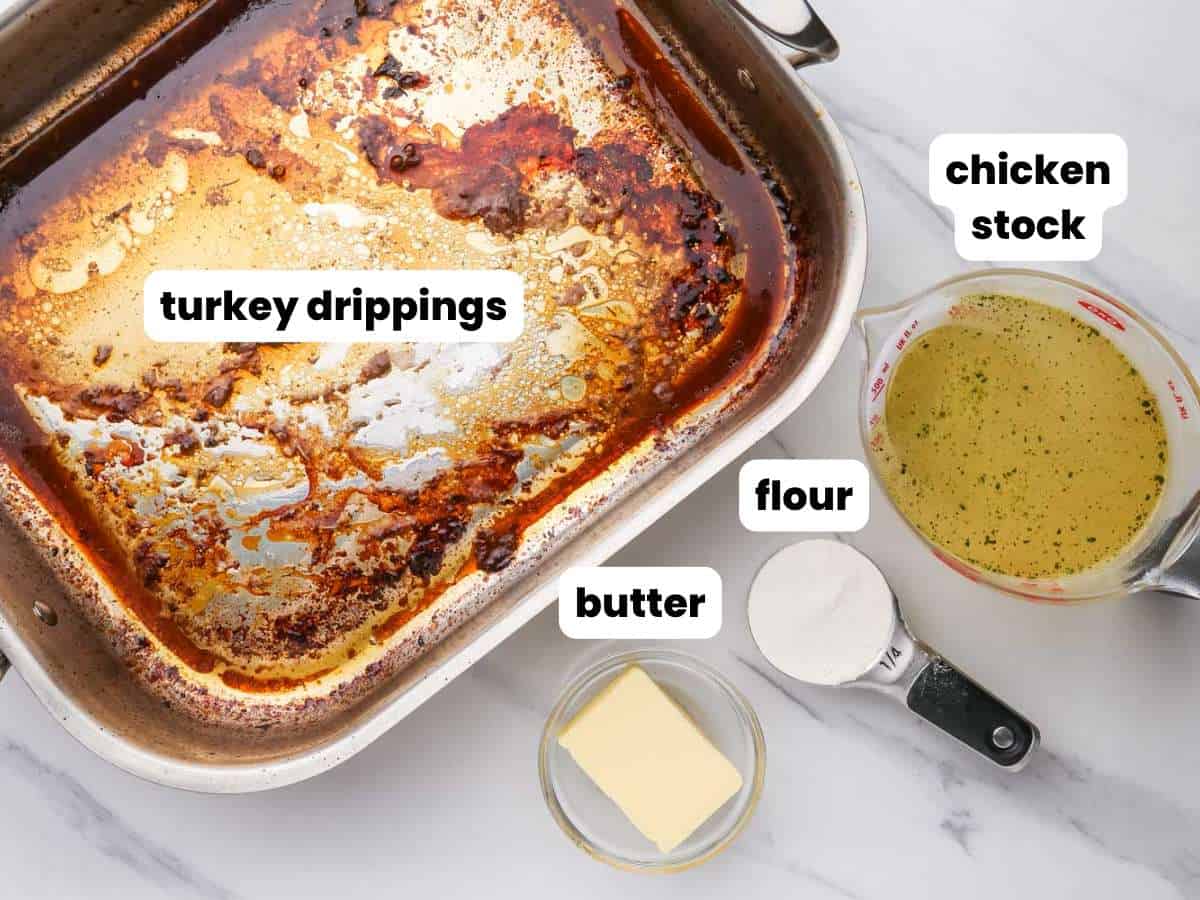
- The Drippings from the Pan: Remove the cooked turkey legs, and make good use of all of the flavor left in the pan to make savory turkey gravy.
- Butter and Flour: My preferred method of thickening turkey gravy is with flour, but I’ll tell you how to do it with corn starch as well.
- Broth: You’ll need 2-3 cups of liquid to make gravy. Turkey stock or chicken broth is ideal, but you can also use water, milk, or some combination of all of these.
How To Make Roasted Turkey Legs
Start by preheating the oven to 375°F/190°C. You can line your baking sheet with parchment paper, but if you plan to make the gravy you should skip the paper.
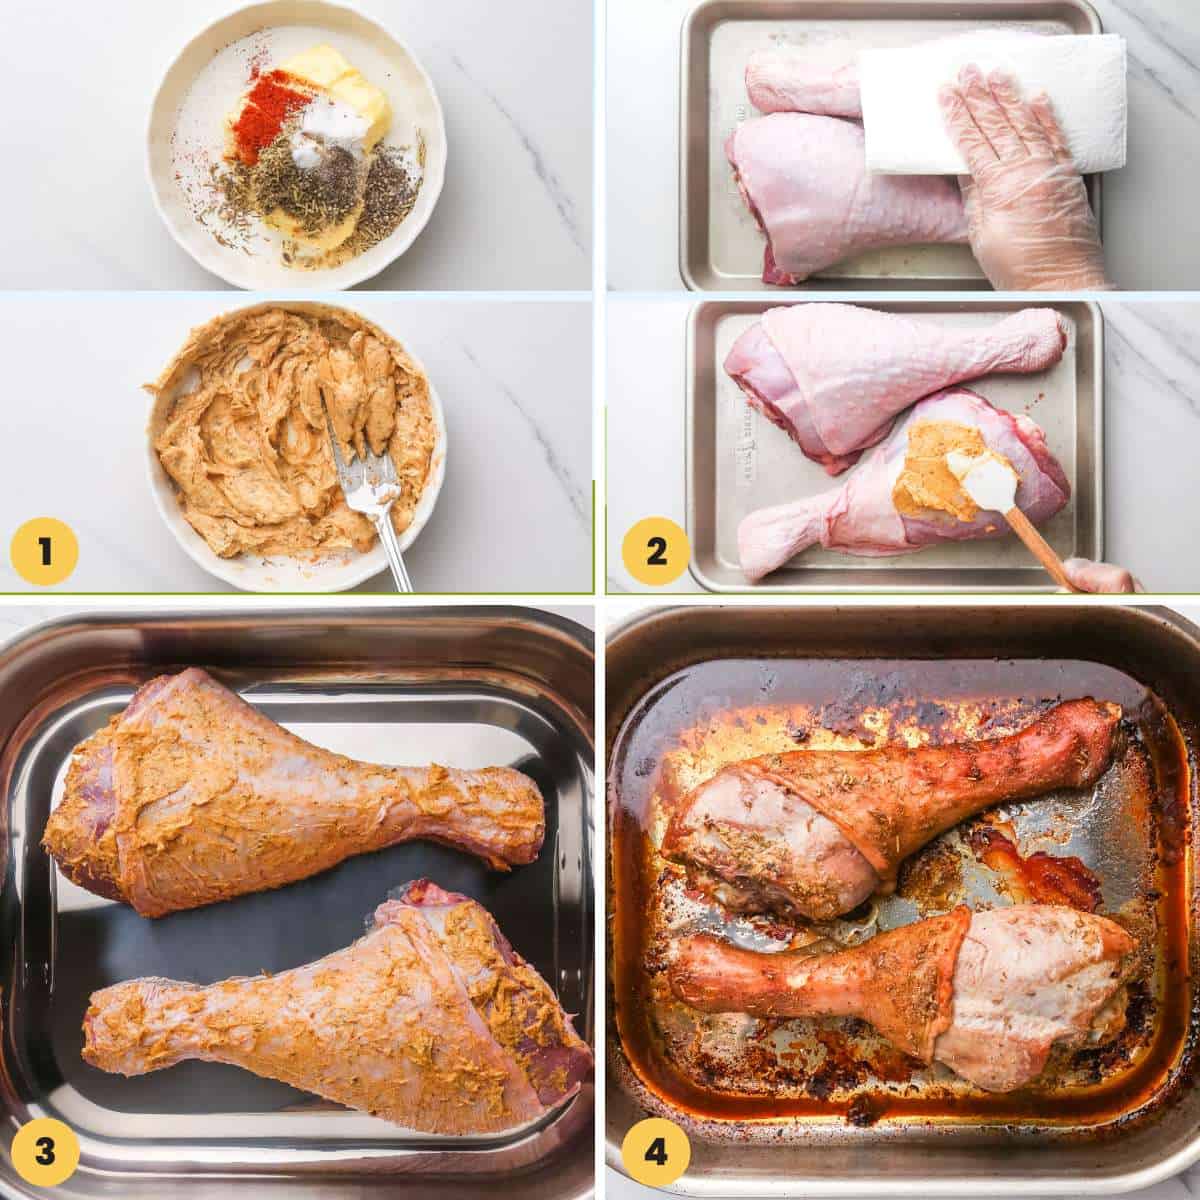
- Make Herb Butter: Combine softened butter with garlic powder, paprika, thyme, rosemary, and salt and pepper. Mix together with a fork or small spatula until well combined.
- Season the Meat: Use paper towels to pat the turkey legs dry. Then gently separate the turkey skin from the meat, using a small knife if needed to cut through the membranes. Use your fingers or a spatula to apply the herb butter between the meat and the skin and over the outside of the skin too.
- Place the seasoned turkey legs in a roasting pan: I suggest using a roasting pan rather than a sheet pan so that all of the juices are carefully contained.
- Roast: Roast uncovered for 20 minutes, then cover the pan with foil and continue roasting for 50-60 more minutes. The legs are done when their internal temperature reaches 170°F/77°C when tested with a kitchen thermometer. Remove from the oven, and let the turkey legs rest for 5-10 minutes before serving.
How To Make Turkey Pan Gravy
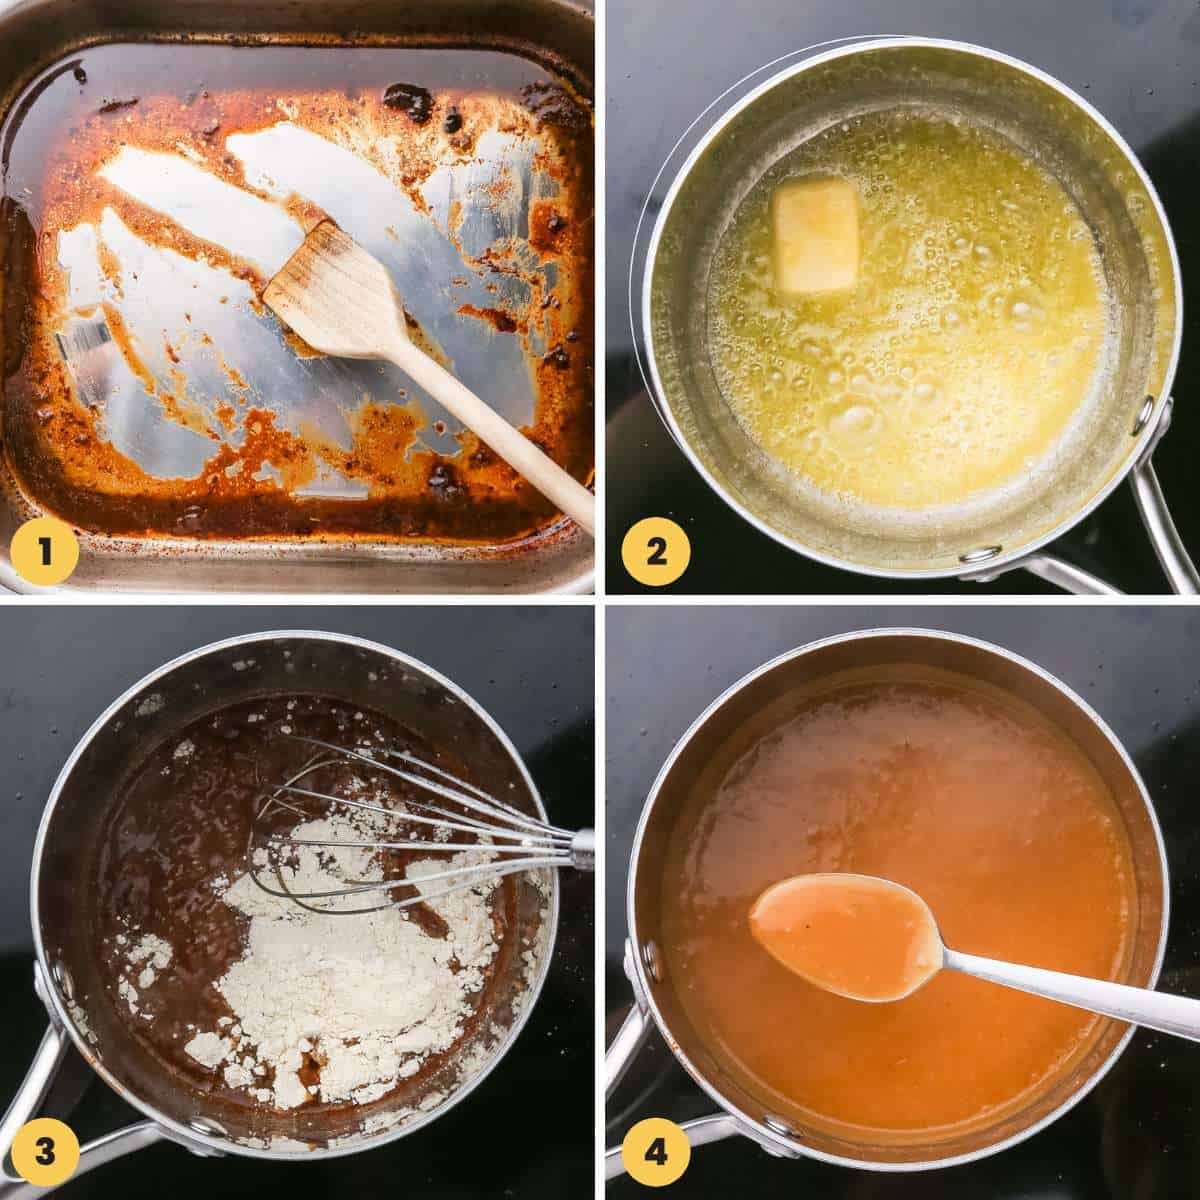
- Collect the drippings: While the turkey is resting, make the gravy. Start by pouring the drippings from the pan into a measuring cup, then measure out 4 tablespoons to use in the gravy. Scrape the pan with a spatula to remove the brown bits and save them – that’s where all the flavor is!
- Melt Butter: Add two tablespoons of butter to a saucepan and melt over medium heat.
- Add the Other Ingredients: Add the drippings and brown bits that you collected before. Then add flour and sautee for 30 seconds. Use a whisk to stir out any lumps. Add 2-3 cups of stock or broth, depending on how much gravy you want and how thick you want it to be.
- Thicken: Cook the gravy at a low boil until thickened. Remove from the heat and serve.
Tip!
Did you know that the technical culinary term for “brown bits” is actually “fond”? Fond is the remaining brown particles left in the pan after browning meat or vegetables, and it’s a very valuable flavor source!
Recipe Tips
- Butter is Key: Adding herb butter under the skin of the legs will keep the meat moist. Because the skin shrinks when it cooks, the meat will be exposed, but the butter is there to protect it!
- So is Foil: 20 minutes roasting uncovered gives the turkey skin a chance to render and get crispy, but for the rest of the cooking time the legs should be covered so they don’t dry out.
- Don’t pull them out early: The secret to baking tender turkey legs is to cook them for a long time. They’ll need at least an hour and 10 minutes in the oven.
- Make gluten-free gravy: Skip the flour. Instead, cook the drippings and broth until boiling, then stir in 2 tablespoons of cornstarch mixed with 2 tablespoons of cold water.
Storing Tips
Store leftover baked turkey legs in an airtight container, in the fridge, for up to 4 days.
I usually remove the meat from the bone before storing it so that it’s easy to grab for sandwiches or enjoy with a salad for lunch the next day.
What To Serve With Roasted Turkey Legs
If you’re roasting turkey legs as an alternative to roasting a whole bird for a holiday, you should definitely check out our collection of thanksgiving recipes!
Here are my favorite sides to serve with turkey:
For a less holiday-like, but still impressive meal, try roasted turkey legs with creamy Parsnip Puree and Bacon Wrapped Asparagus bundles.
FAQs
I recommend cooking turkey legs until they reach at least 170°F/77°C. This is higher than the “safe” temperature for turkey (165°F/74°C), but you want to cook them past that point so that they are super tender.
If you follow the instructions in this recipe you should end up with tender, juicy turkey legs. Adding butter in between the skin and the meat is going to keep the meat protected while it cooks. The long cooking time will allow the meat and the tendons that hold it to the bone to soften.
When reheating turkey, the main thing to focus on is not letting it dry out! Reheating roast turkey legs in the oven is the best way. Add the meat to a baking dish, pour in a little bit of broth of water, and cover tightly with foil. Bake for 20-30 minutes in a 300°F/150°C oven.
Roasted Turkey Legs are easy to make and juicy and delicious using this recipe. Save this for the next time you want to enjoy a turkey dinner with less chaos than a full holiday meal!
Did you make this? Be sure to leave a review below and tag me on Facebook, Instagram, or Pinterest!
Roasted Turkey Legs
Equipment
- Baking pan
Ingredients
- 2 turkey legs
- ¼ cup butter softened
- 1 teaspoon garlic powder
- ¼ teaspoon paprika
- ½ teaspoon dried thyme
- ¼ teaspoon dried rosemary
- ½ teaspoon salt
- ¼ teaspoon ground black pepper
For Gravy
- ¼ cup all purpose flour
- 2 tablespoons unsalted butter
- 2-3 cups Turkey stock chicken stock, water, milk, or a combination.
Instructions
- Preheat the oven to 375°F/190°C, and line a baking pan with parchment paper. If you’re making gravy, then skip the parchment paper since you'll want the little brown bits that stick to the pan to flavor the gravy.
- Make the herb butter. In a small bowl, combine butter with garlic powder, paprika, thyme, rosemary, salt, and pepper. Mash together with a fork or flexible spatula until well combined.
- Pat the turkey legs dry with paper towels, then gently separate the turkey skin from the meat. There is a membrane that’s holding the skin to the meat, so use a small sharp knife to release the skin when needed. Apply the herb butter between the skin and the meat and all over the skin too.
- Place in the roasting pan, and roast the turkey legs unconvered in the preheated oven for 20 minutes. Then cover with foil and continue roasting for 50-60 more minutes. The turkey legs are done when the internal temp reaches 170°F/77°C. Remove from the oven and allow to rest for 5-10 minutes before removing the meat from the bones and slicing.
For the gravy:
- Remove the drippings from the pan the turkey legs were cooked in, and measure out 4 tablespoons. Scrape the pan with a spatula to remove the brown bits (all the flavor is there!)
- Melt 2 tablespoons of butter in a saucepan. Add the brown bits and the 4 tablespoons of drippings. Add ¼ cup of flour, and saute for 30 seconds. Then add 2-3 cups of stock, water, milk, or a combination of those liquids, and cook until thickened. Remove from heat and serve.
Notes:
- Adding herb butter under the skin of the legs will keep the meat moist. Because the skin shrinks when it cooks, the meat will be exposed, but the butter is there to protect it!
- Roasting time can vary depending on the size of the turkey legs. Mine were about 2 pounds each. If yours are smaller than that, start checking them after 1 hour in the oven.
- You can use this recipe to roast full chicken legs (thigh + drumstick) too. The cook time will likely be a little bit longer.
- The key to tender turkey legs is cooking them for a long time!
- Technically, two large turkey legs are enough to serve four people, but if you have big eaters, you may want to plan for one leg per person.
- To make a gluten-free gravy, skip the flour. Instead, cook the drippings and broth until boiling, then stir in 2 tablespoons of cornstarch mixed with 2 tablespoons of cold water.
- To Store: Keep leftovers in an airtight container in the fridge for up to 4 days.
Nutrition Information
This website provides approximate nutrition information for convenience and as a courtesy only. Nutrition data is gathered primarily from the USDA Food Composition Database, whenever available, or otherwise other online calculators.
© Little Sunny Kitchen




DD says
You have at least 2 typos in your recipe. I plan to try the recipe tonight so I can’t leave a review of it…yet.
Diana says
Thanks for letting me know! I found and corrected the typos!