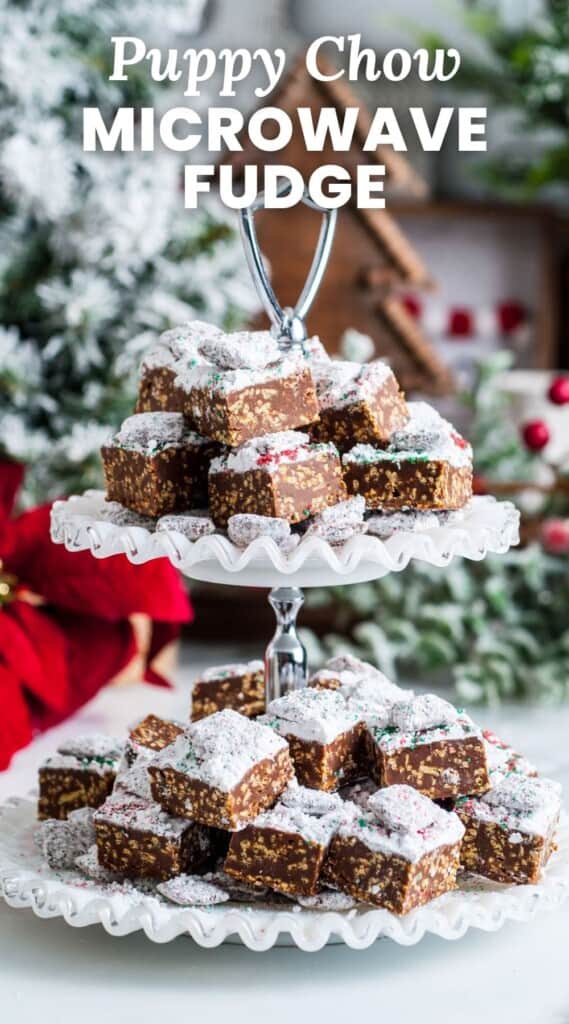
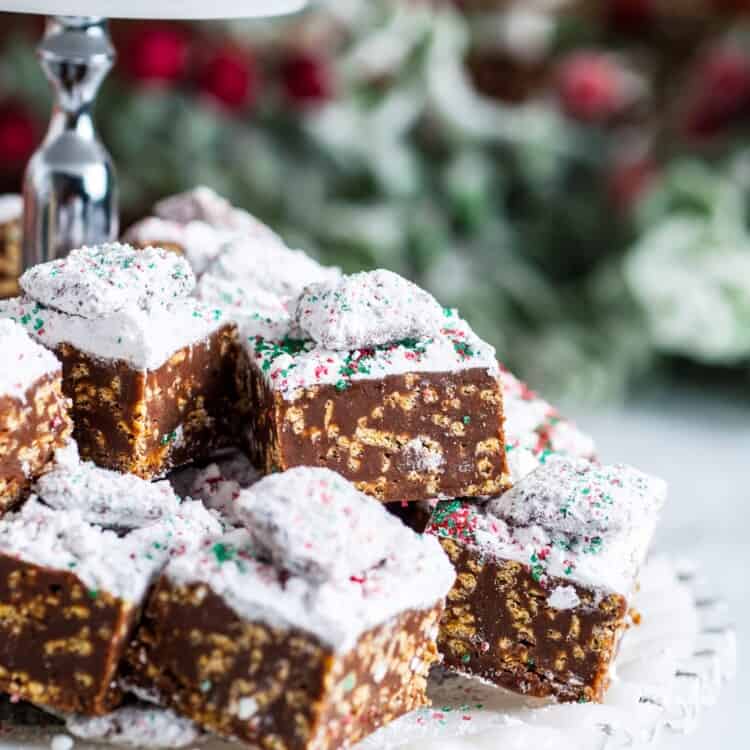
Puppy Chow Christmas Microwave Fudge is a foolproof fudge recipe that combines two already amazing desserts into one spectacular holiday treat. Make this condensed milk fudge in the microwave – it’s so easy!
I think I’ve created the most unique, delicious, and easy fudge recipe ever!
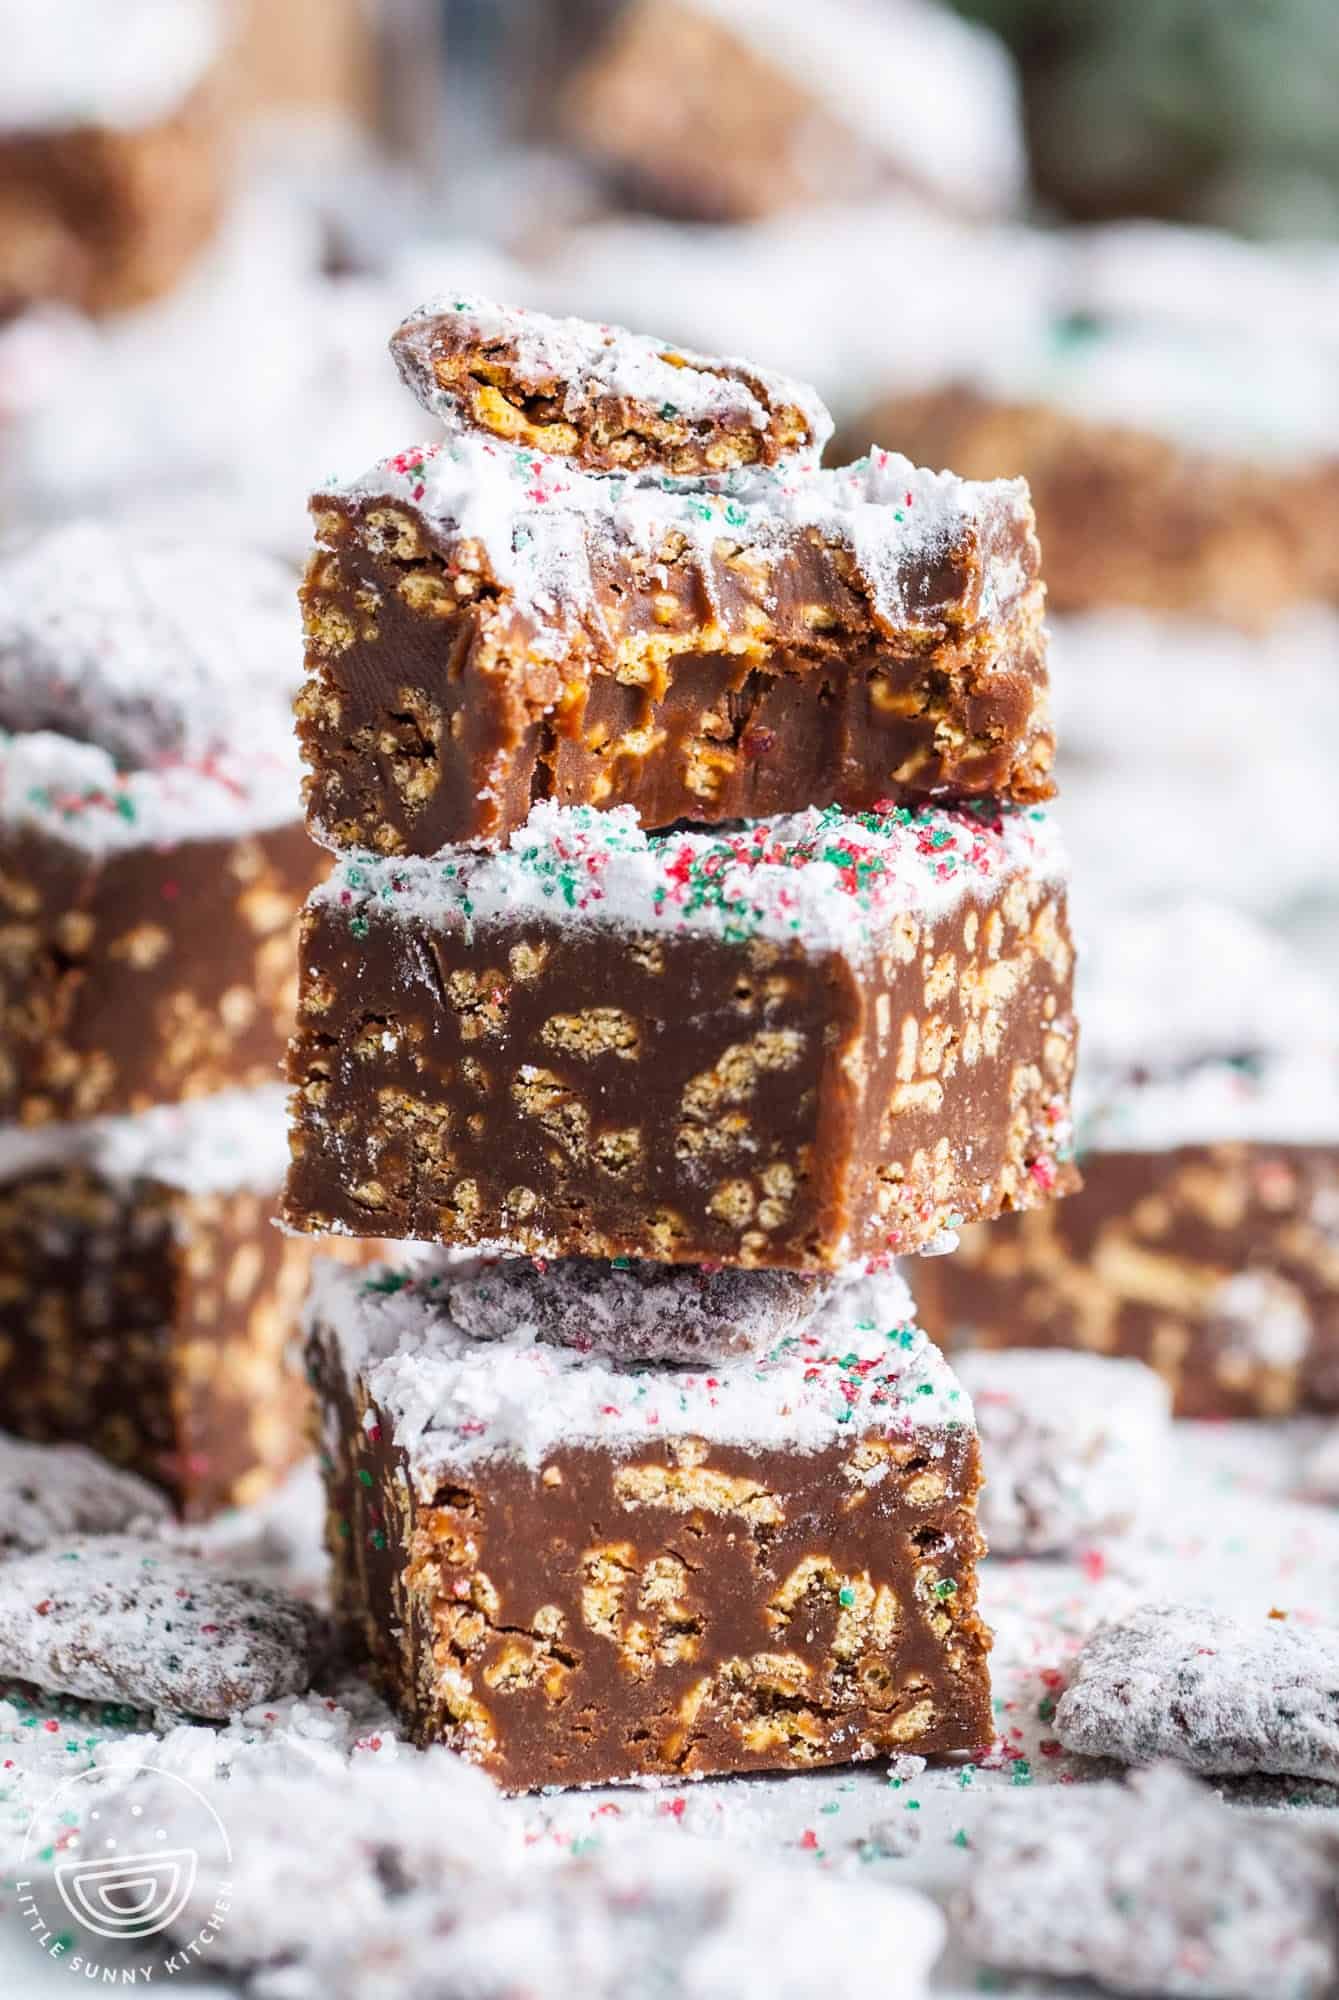
This 15-minute microwave fudge recipe combines two of your favorite holiday treats – puppy chow and chocolate fudge – into one decadent and festive dessert that will for sure be a hit on your holiday cookie trays.
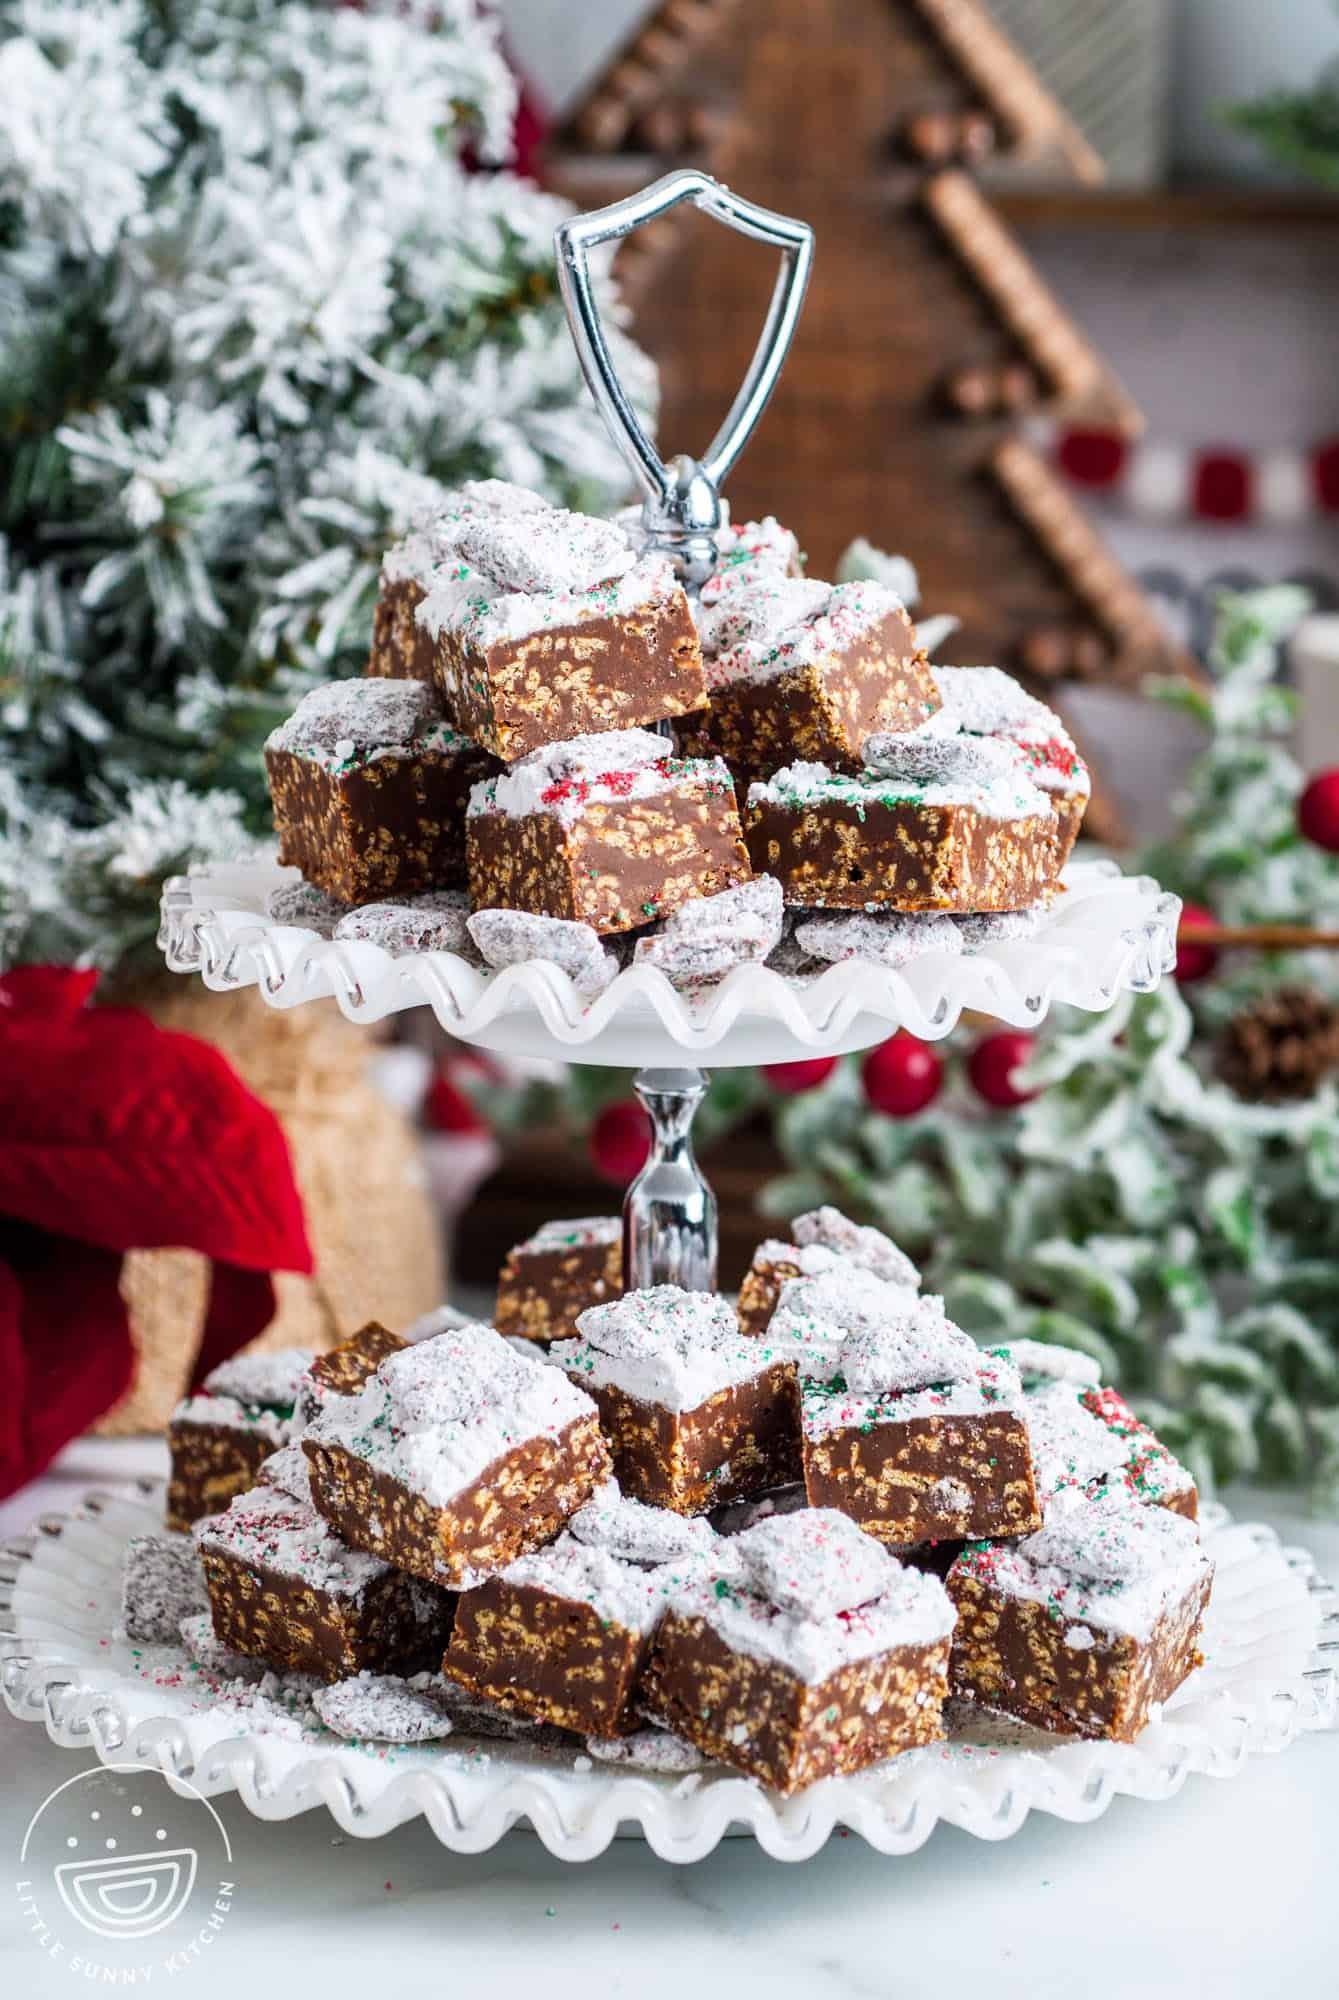
It starts with a standard condensed milk fudge with a bit of peanut butter mixed in. Then we’ll stir in crispy pieces of Chex cereal and red and green sanding sugar sprinkles for a fun, crispy texture.
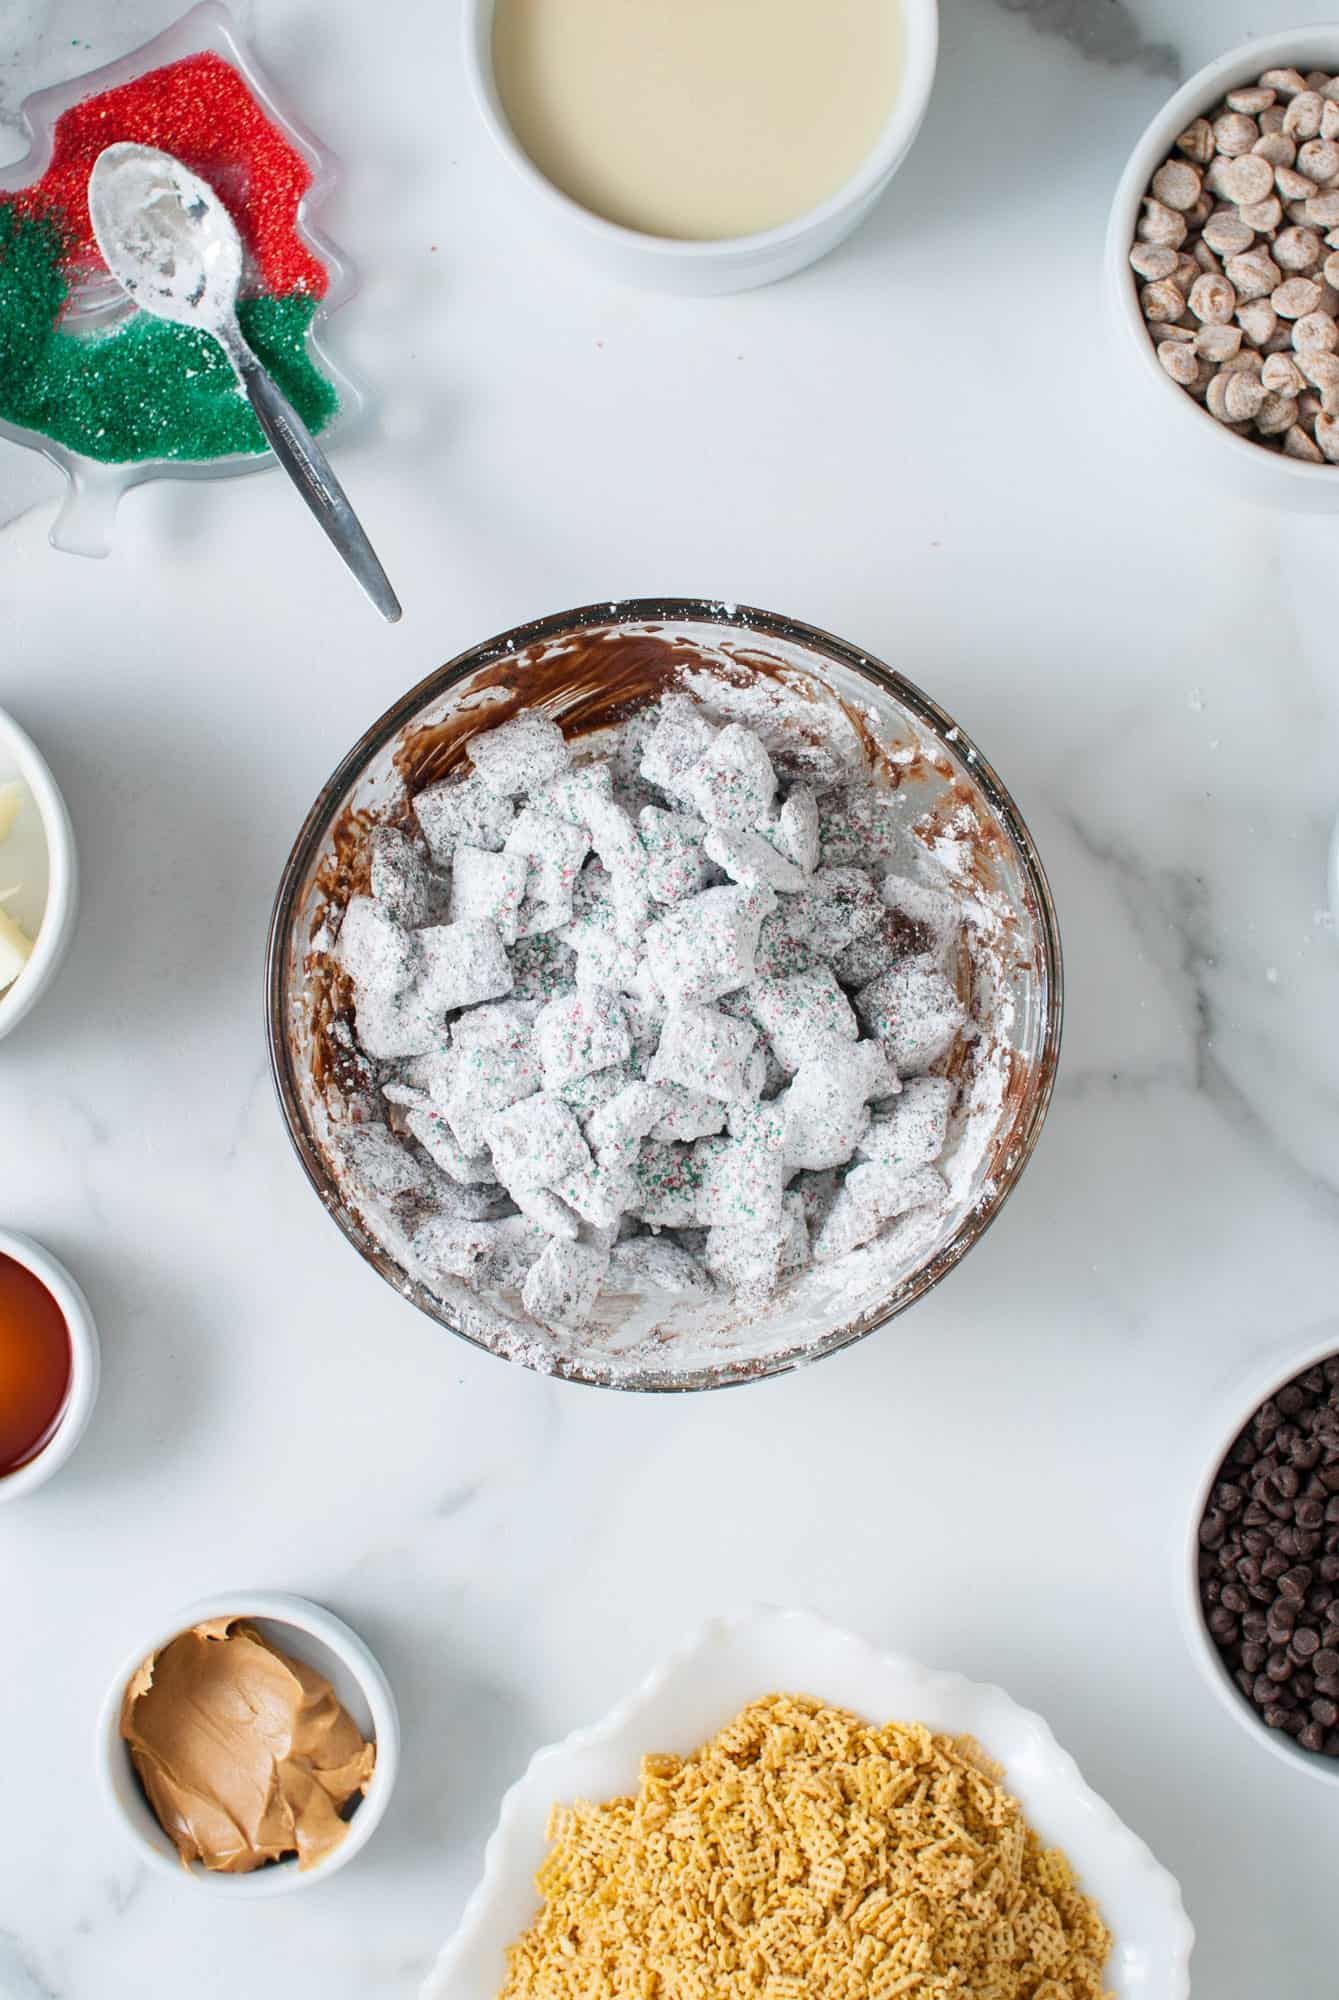
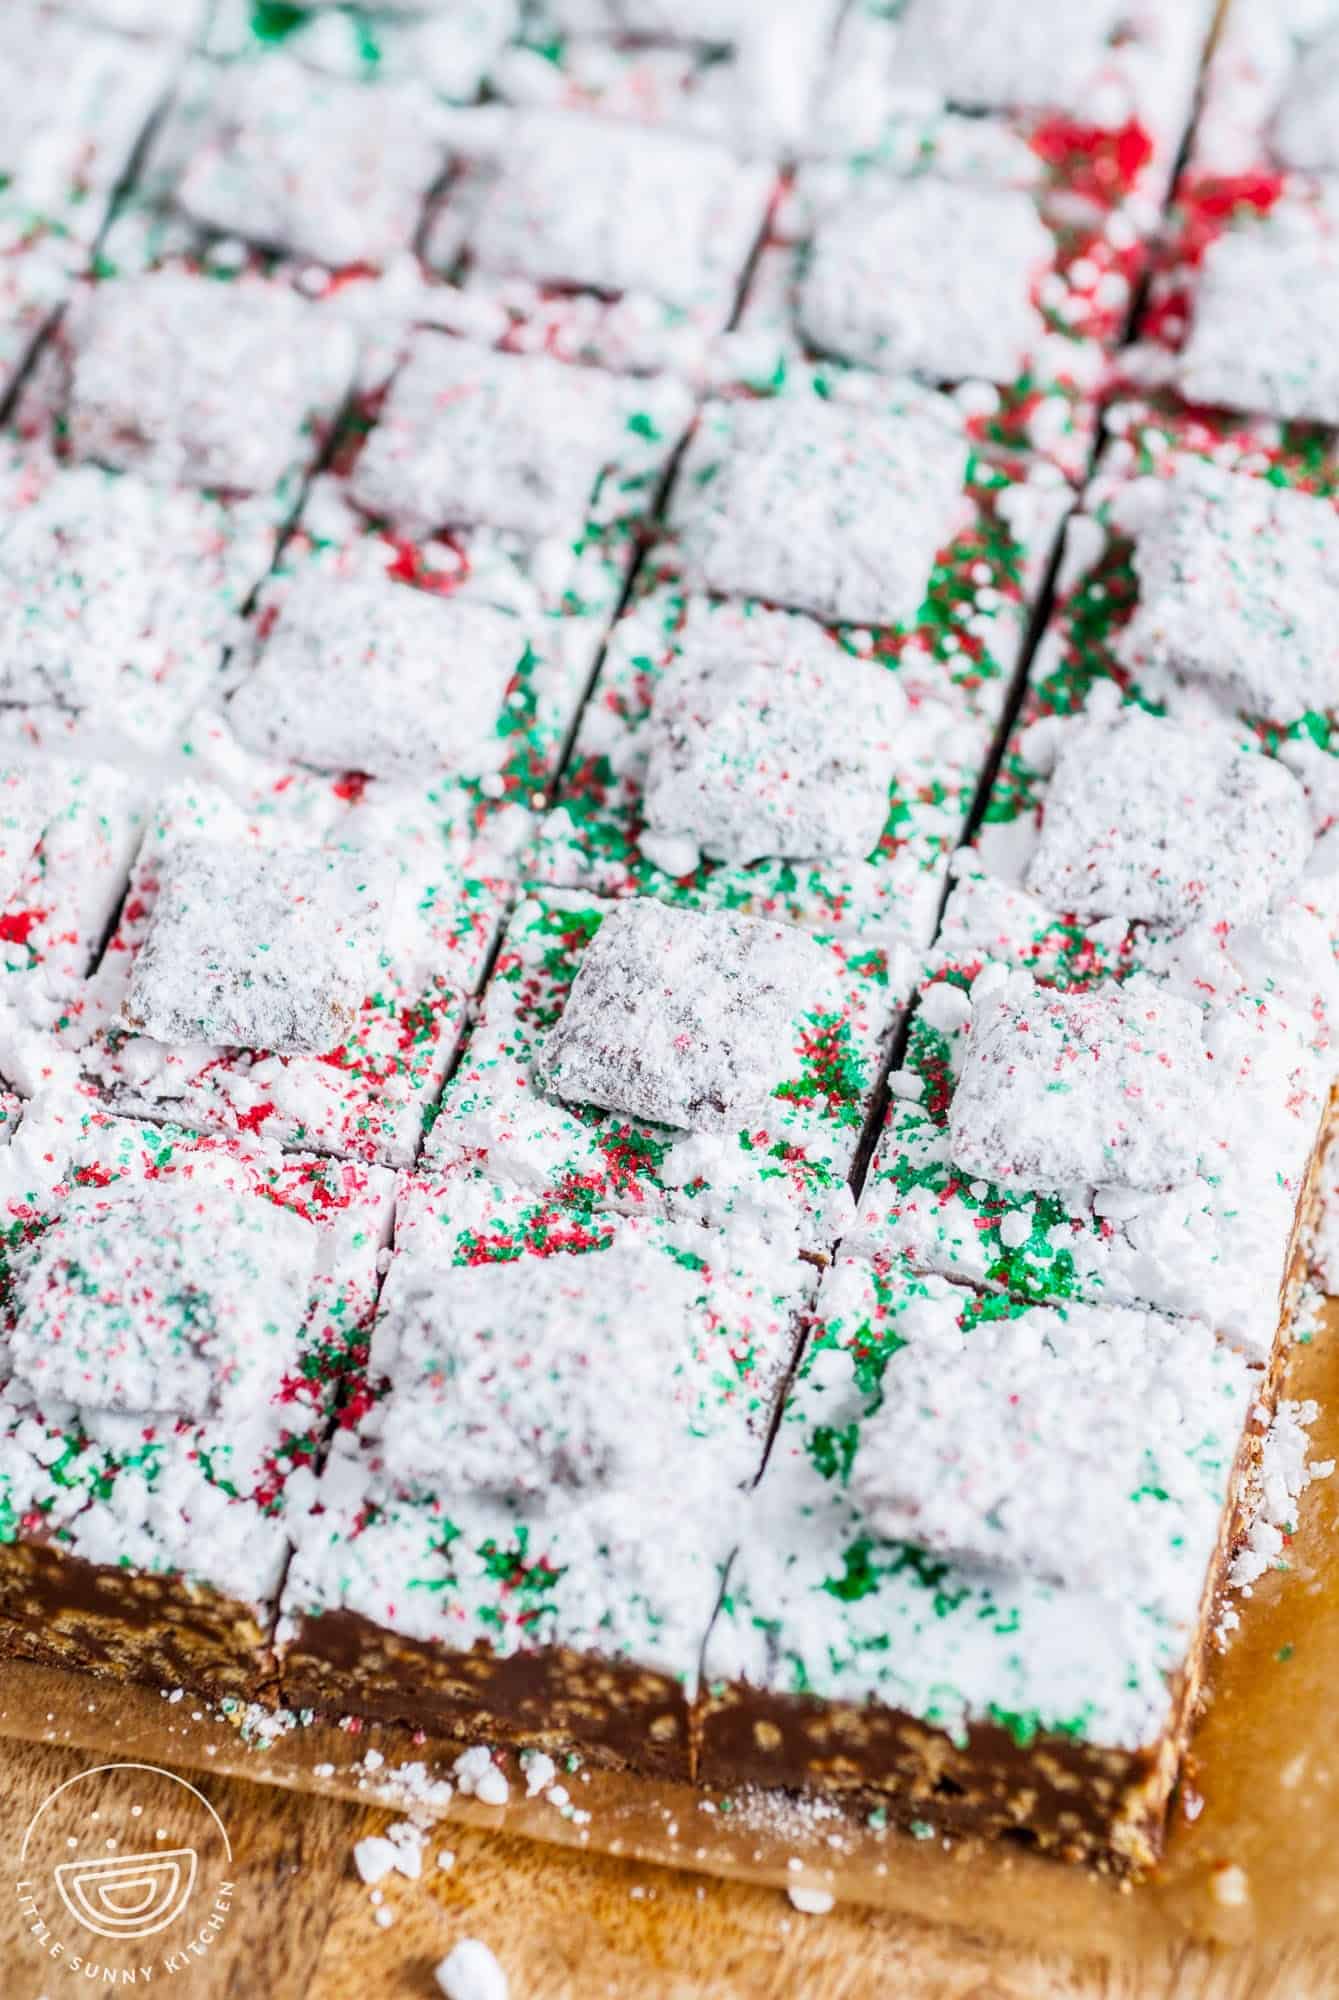
On top of the fudge, pieces of classic puppy chow rest in a snowy pile of powdered sugar with more sparkly Christmas sprinkles – it’s a beautiful dessert for Christmas or other winter holidays, but could be adjusted to suit other occasions too!
Need more puppy chow recipes? I have a few you should try! My Christmas Puppy Chow is the classic, but with pretzels, peanut butter cups, and holiday M&Ms tossed in. You will also like Mint Chocolate Puppy Chow with Andes Mints and Junior Mints and sweet and salty Chex Mix Marshmallow Treats.
Why You’ll Love This Recipe
- Foolproof Recipe – It’s easy to make fudge in the microwave, and with this sweetened condensed milk recipe, it turns out perfectly every single time.
- Great for Gifting – Wrap up a few pieces of fudge in a pretty box and give it to anyone who needs a sweet treat this holiday! This Christmas fudge recipe is also a great Christmas cookie exchange offering since you can get three dozen pieces from each pan.
- Fun and Nostalgic Flavors – Adding corn cereal to the fudge that’s flavored with chocolate and peanut butter makes each bite taste and feel like a handful of puppy chow (aka, muddy buddies).
Key Ingredients
Here’s what you need to make this simple Christmas fudge recipe:
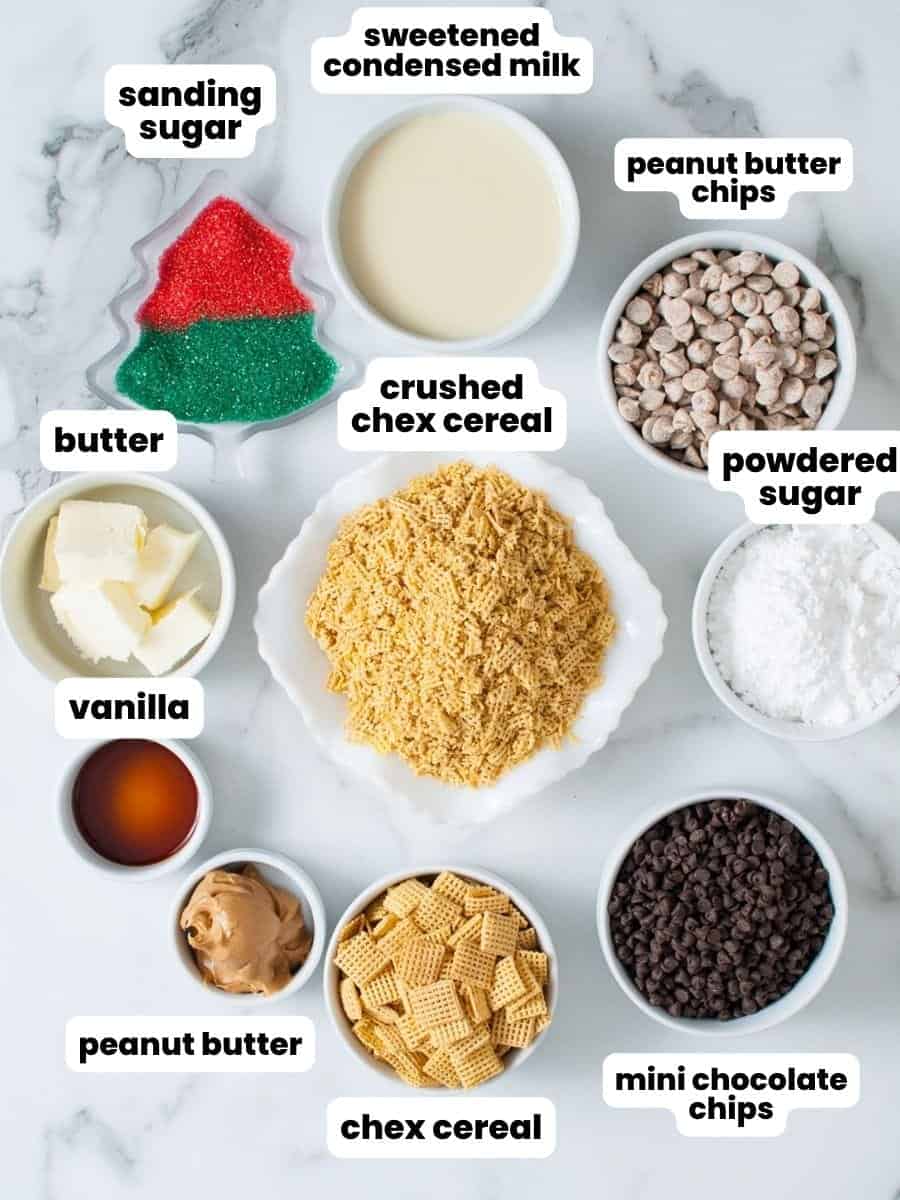
- Sweetened Condensed Milk: This makes our fudge creamy and delicious! It’s also the ingredient that allows us to make this recipe in the microwave rather than cooking it on the stove. Be sure to buy condensed milk, not evaporated milk for making microwave fudge.
- Mini Chocolate Chips: Mini semi-sweet chocolate chips melt faster, so they are ideal for this recipe.
- Peanut Butter: We’ll use both creamy peanut butter and peanut butter chips in the fudge to give it that classic puppy chow flavor.
- Butter: This adds a rich flavor and gives the fudge a wonderfully smooth and silky texture.
- Corn Chex: Corn Chex is the crispiest of all the Chex cereal varieties, and holds up well inside the fudge. You can use rice Chex if you prefer, but the texture will be slightly different.
- Powdered Sugar: This is a must for any puppy chow recipe! In this Christmas fudge, confectioners’ sugar also makes a beautiful snowy topping.
- Sprinkles: Use red and green sanding sugar sprinkles for a bit of sweet crunch.
Complete list of ingredients and amounts can be found in the recipe card below.
How To Make Microwave Fudge With Puppy Chow
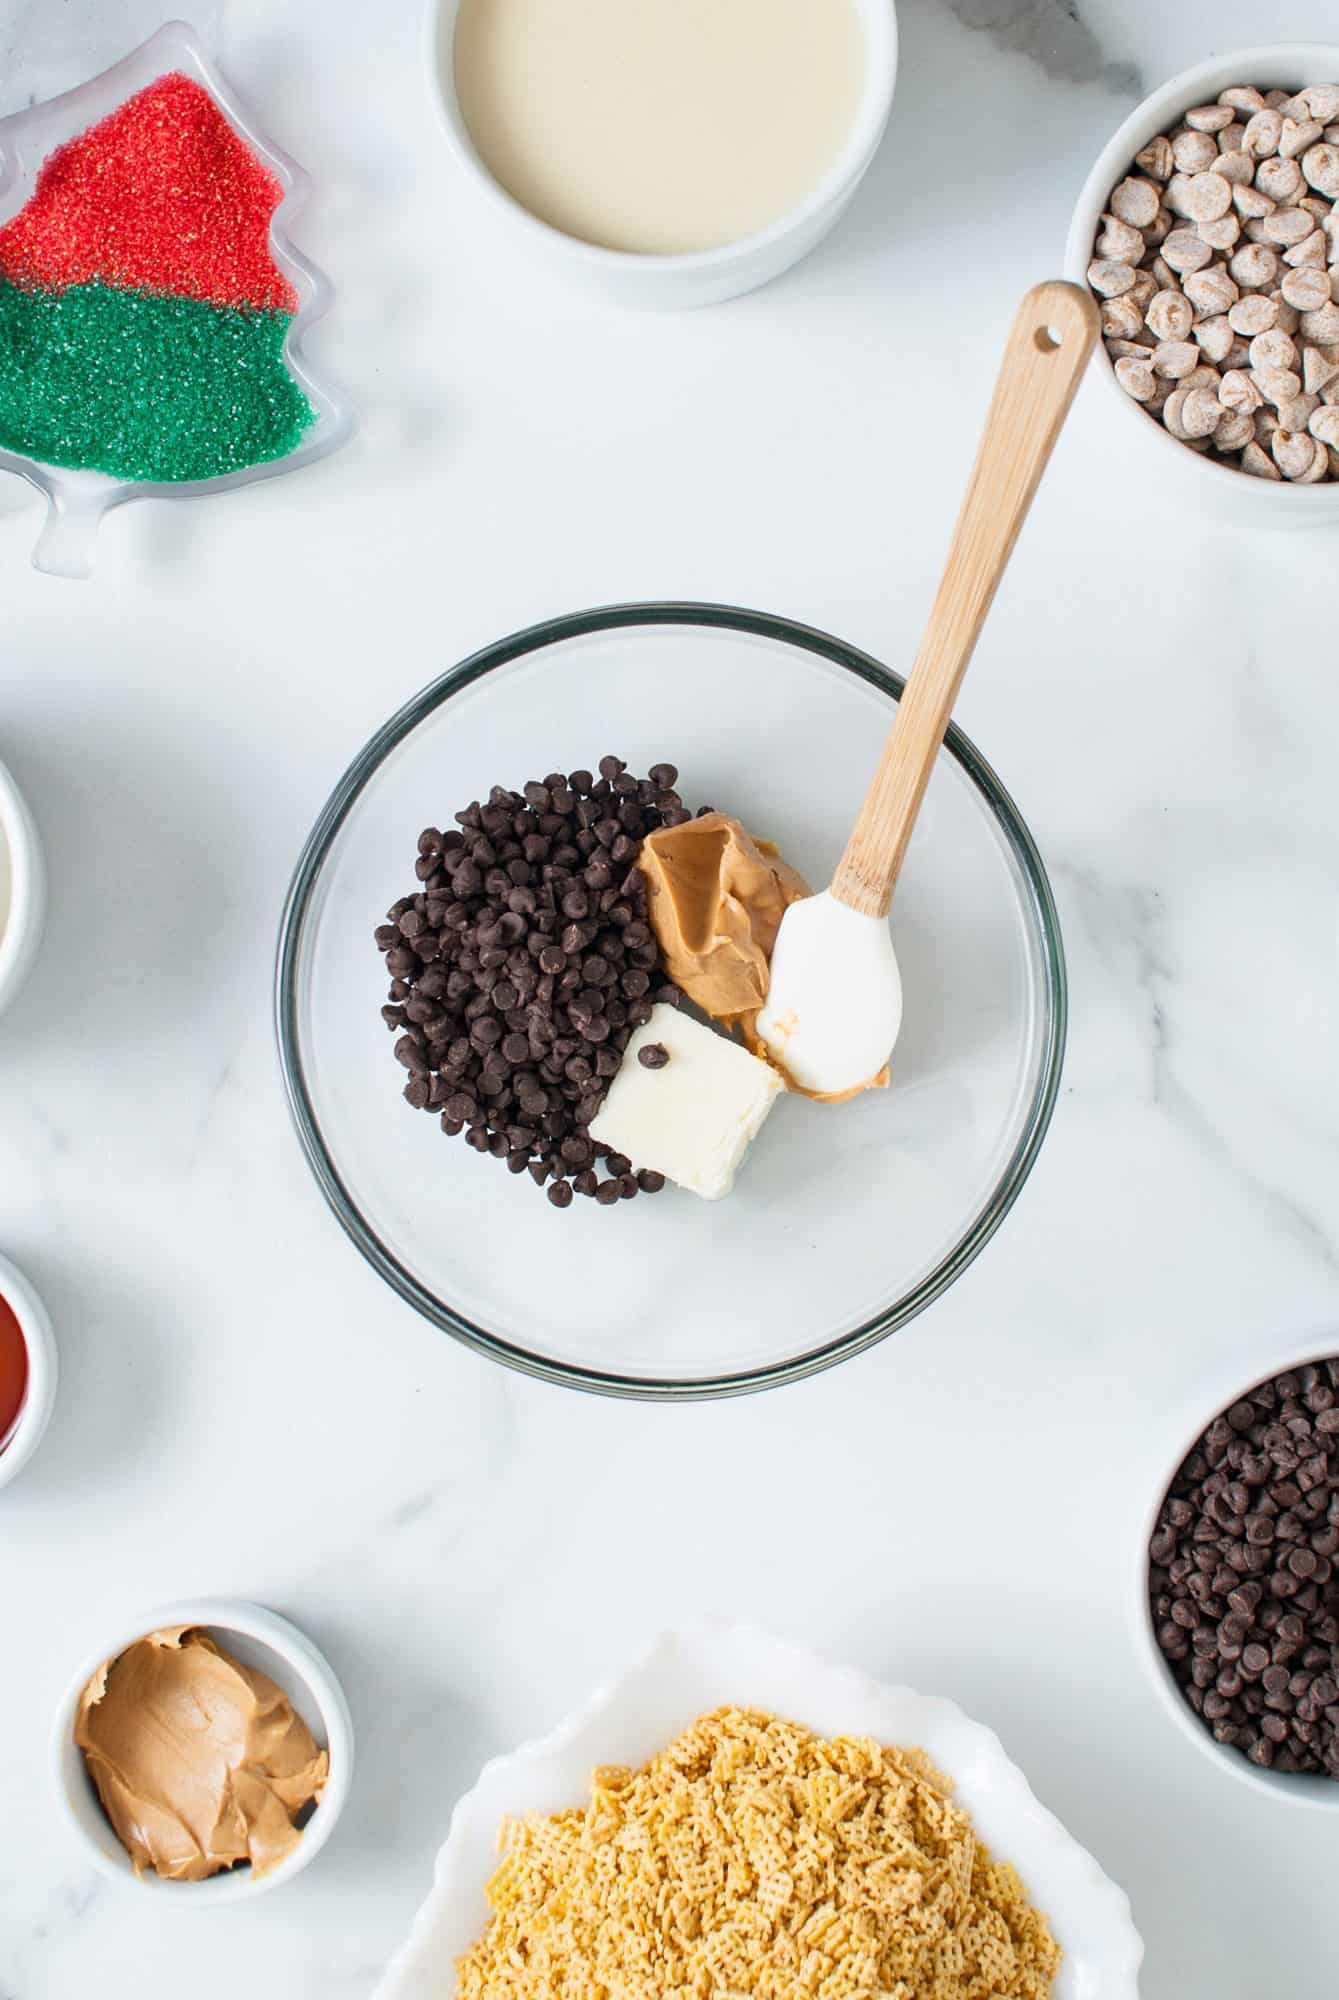
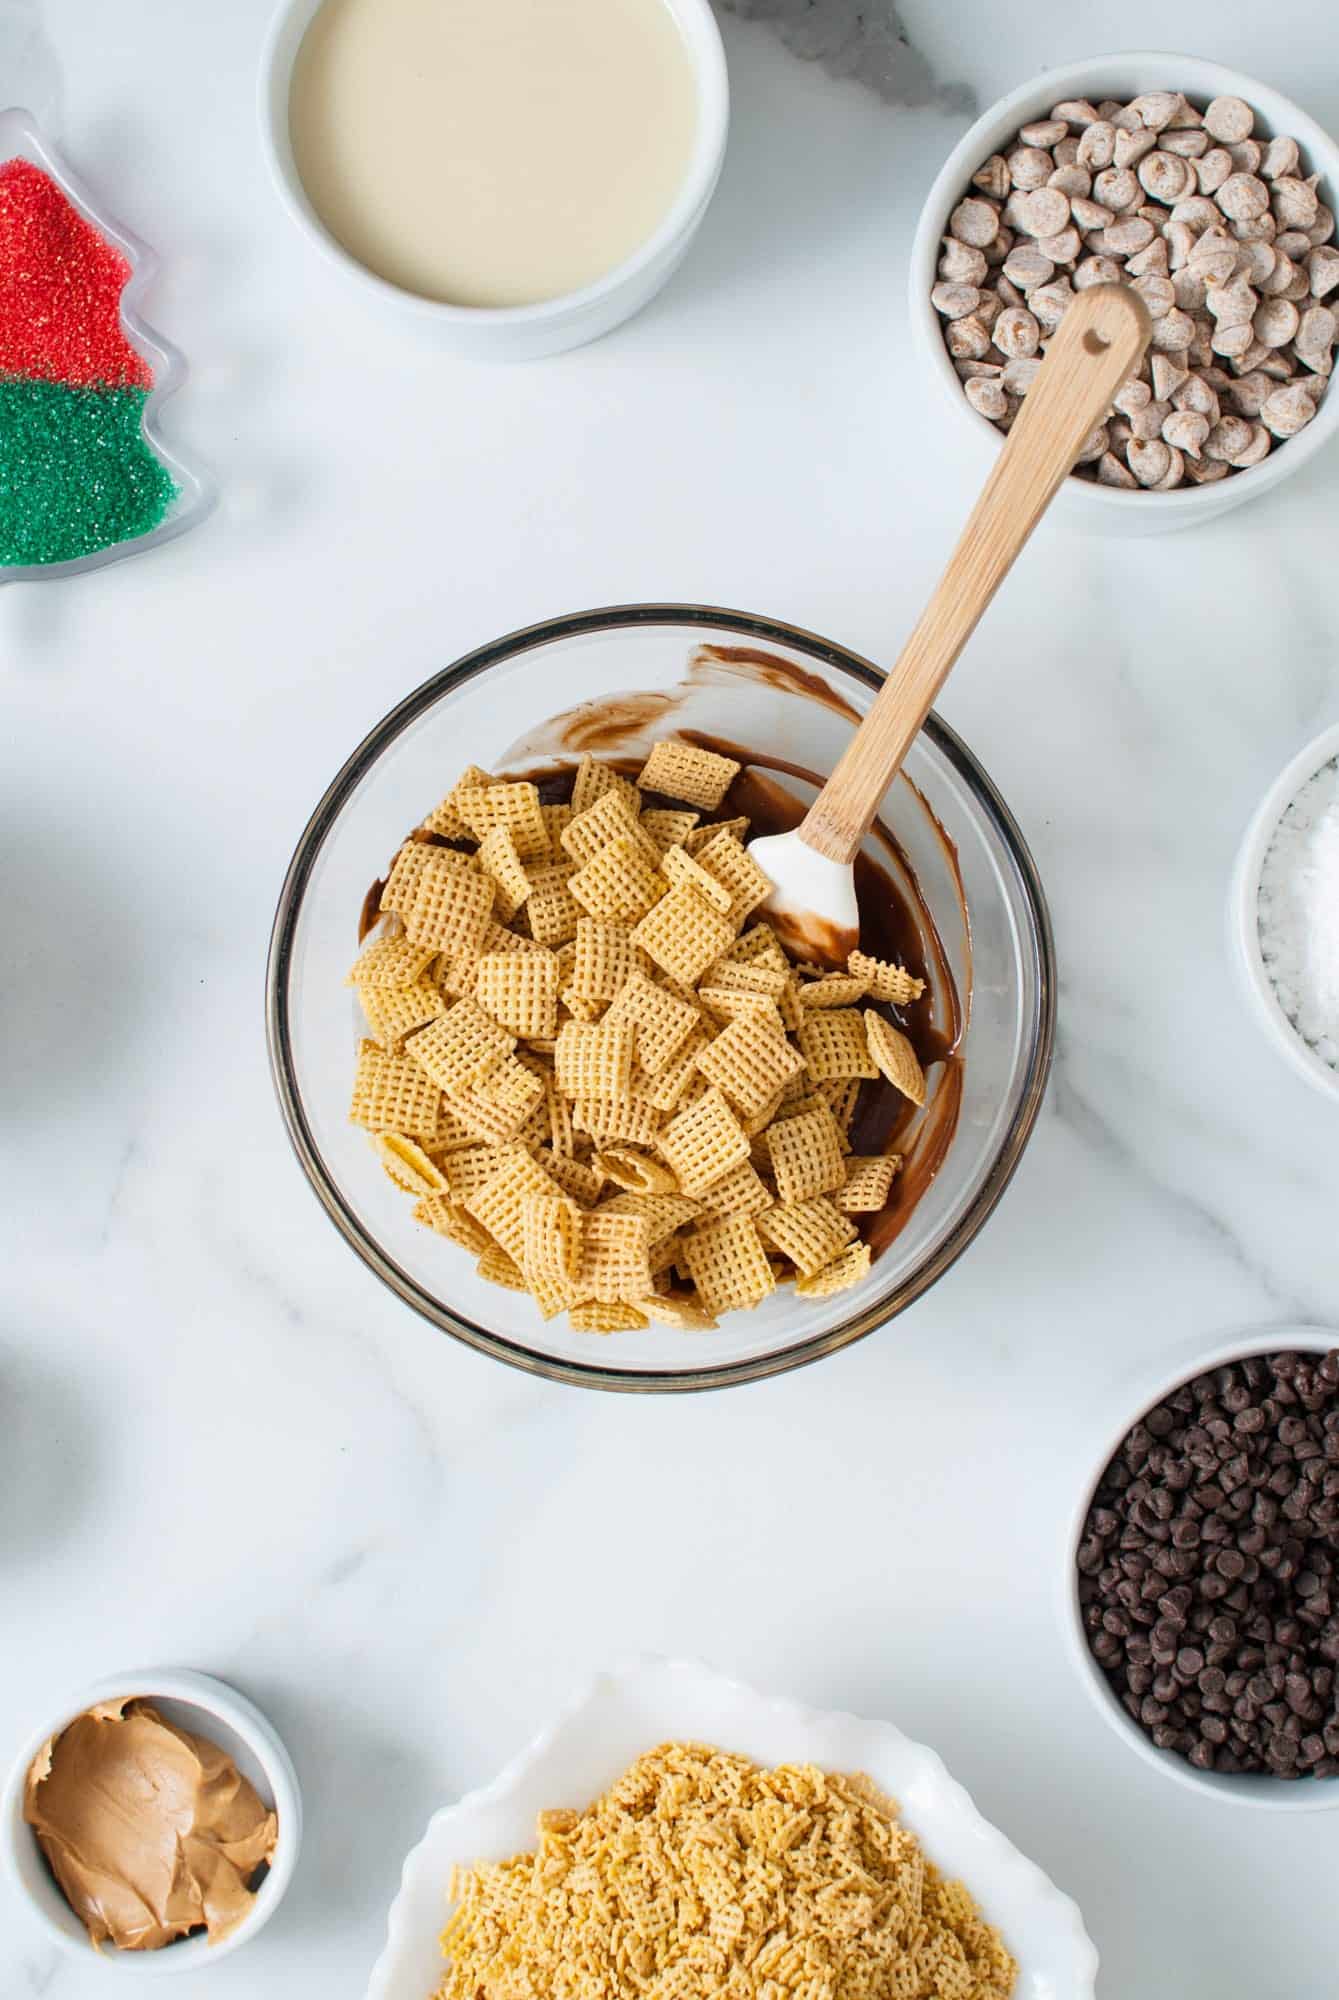
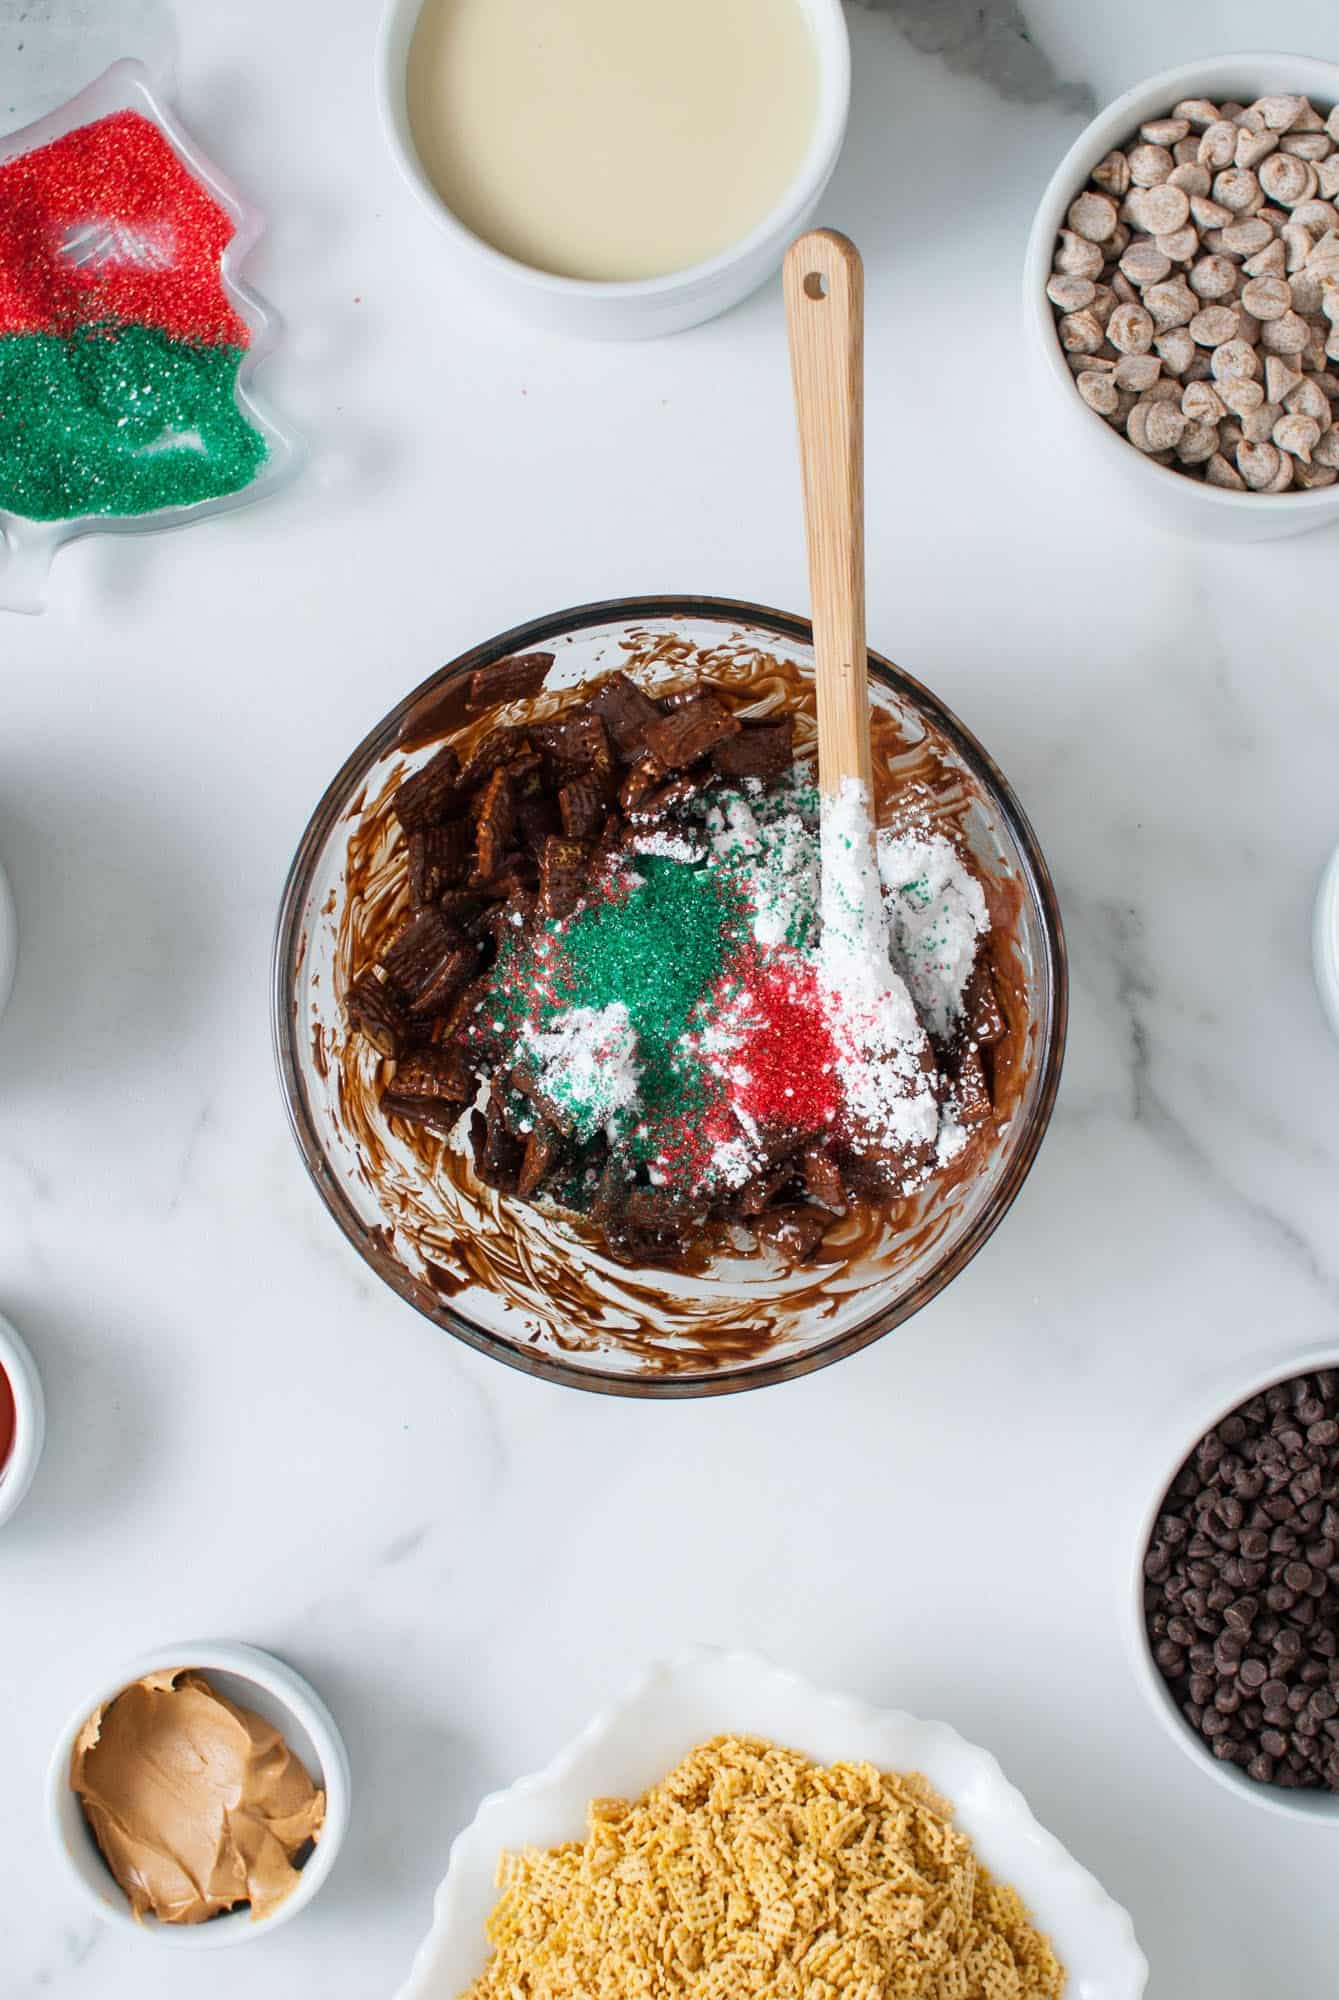
- Make Puppy Chow: In a microwaveable bowl, combine semi-sweet mini chocolate chips, peanut butter, and butter. Microwave at 15-second intervals, stirring after each, until melted and smooth. Gently stir in the Chex cereal. Then add powdered sugar and red and green sanding sugar, and toss to coat. Set this aside until after the fudge is ready.
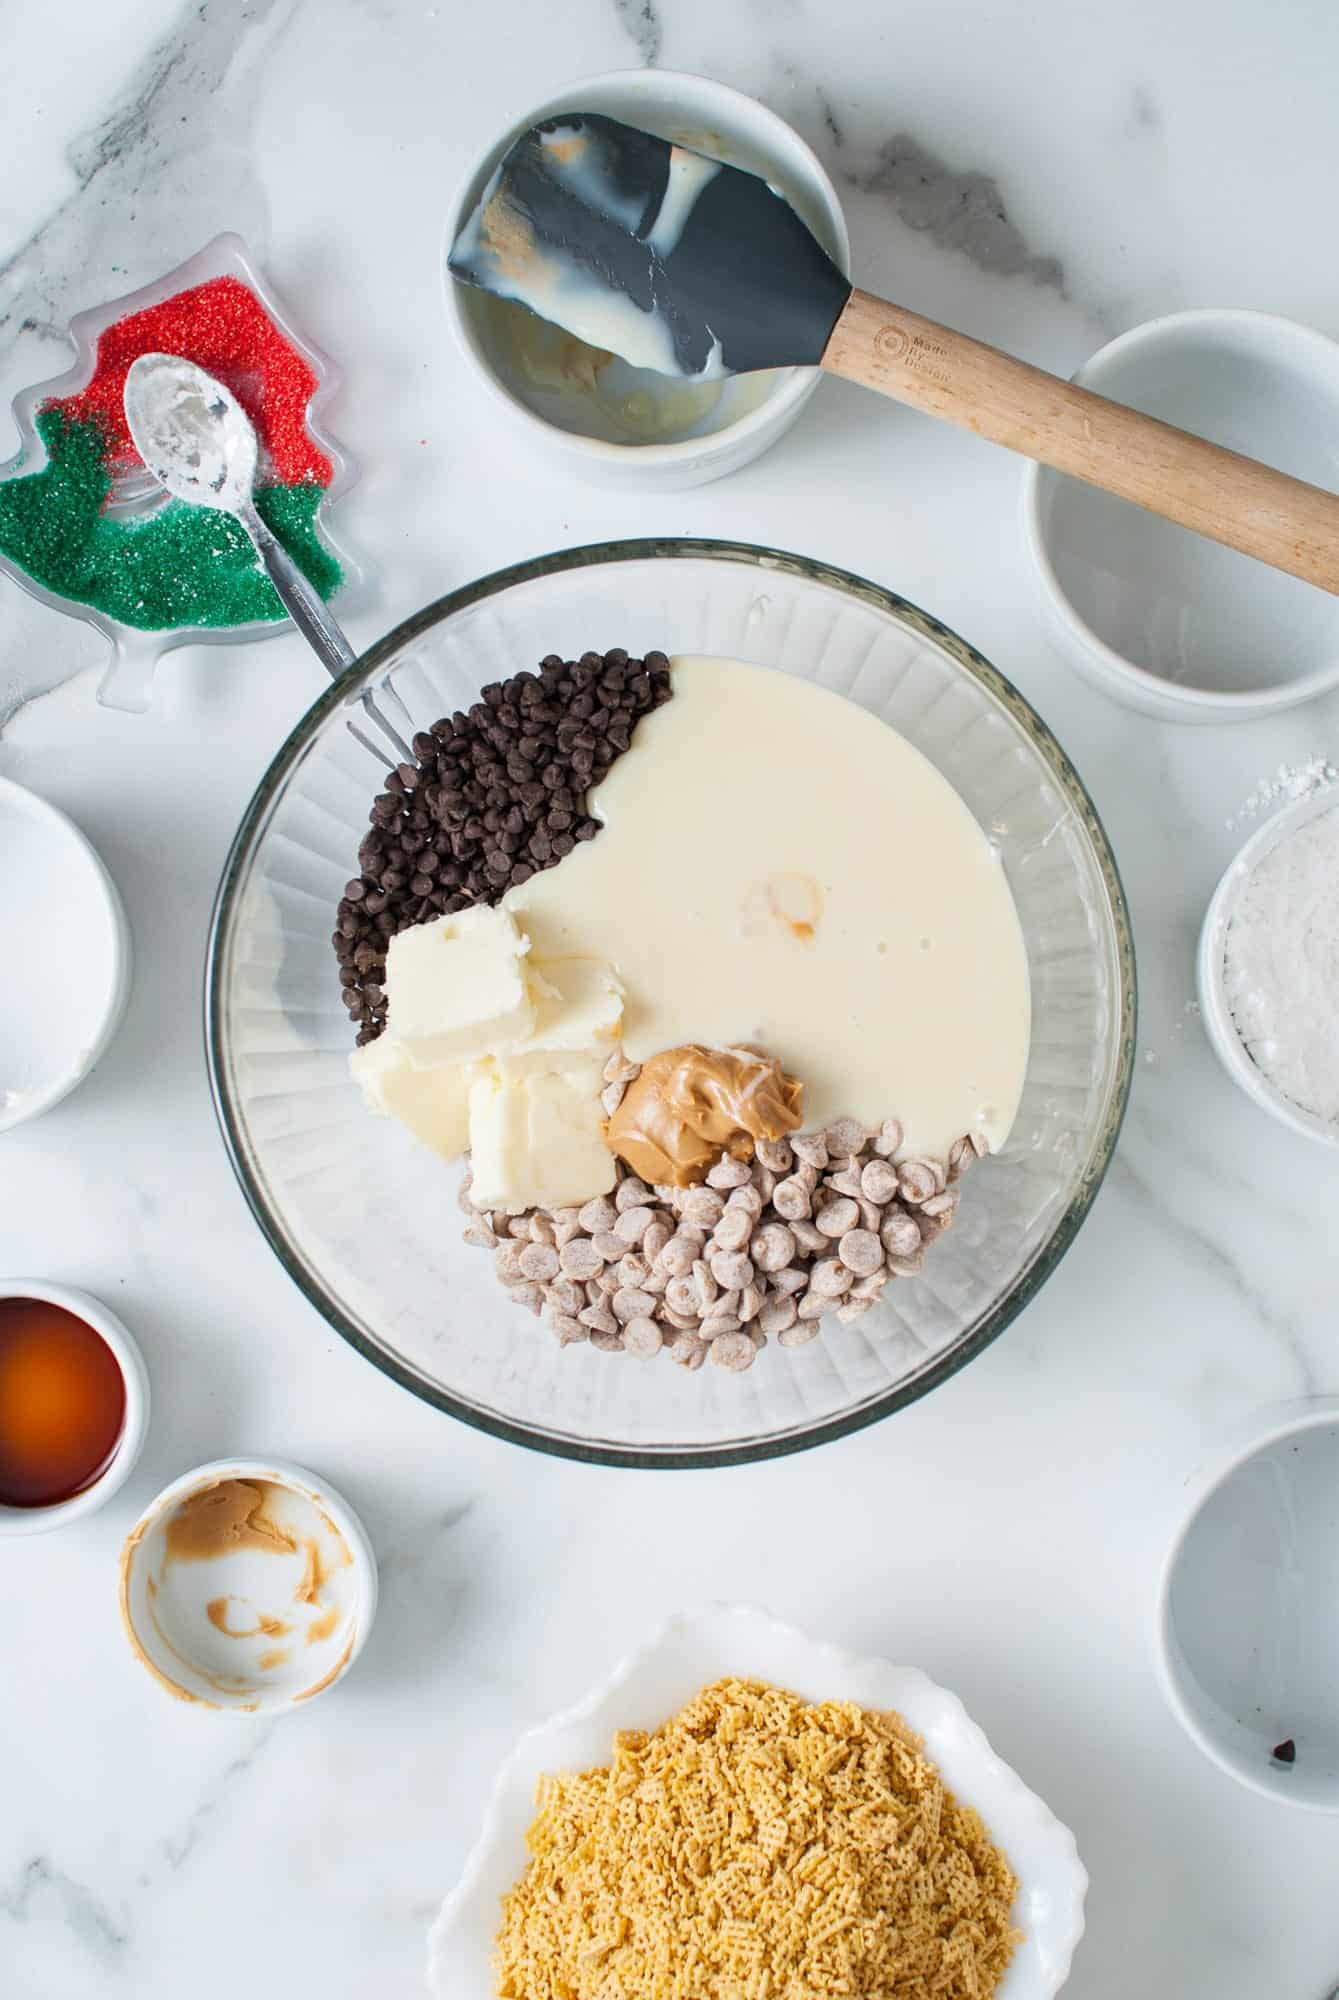
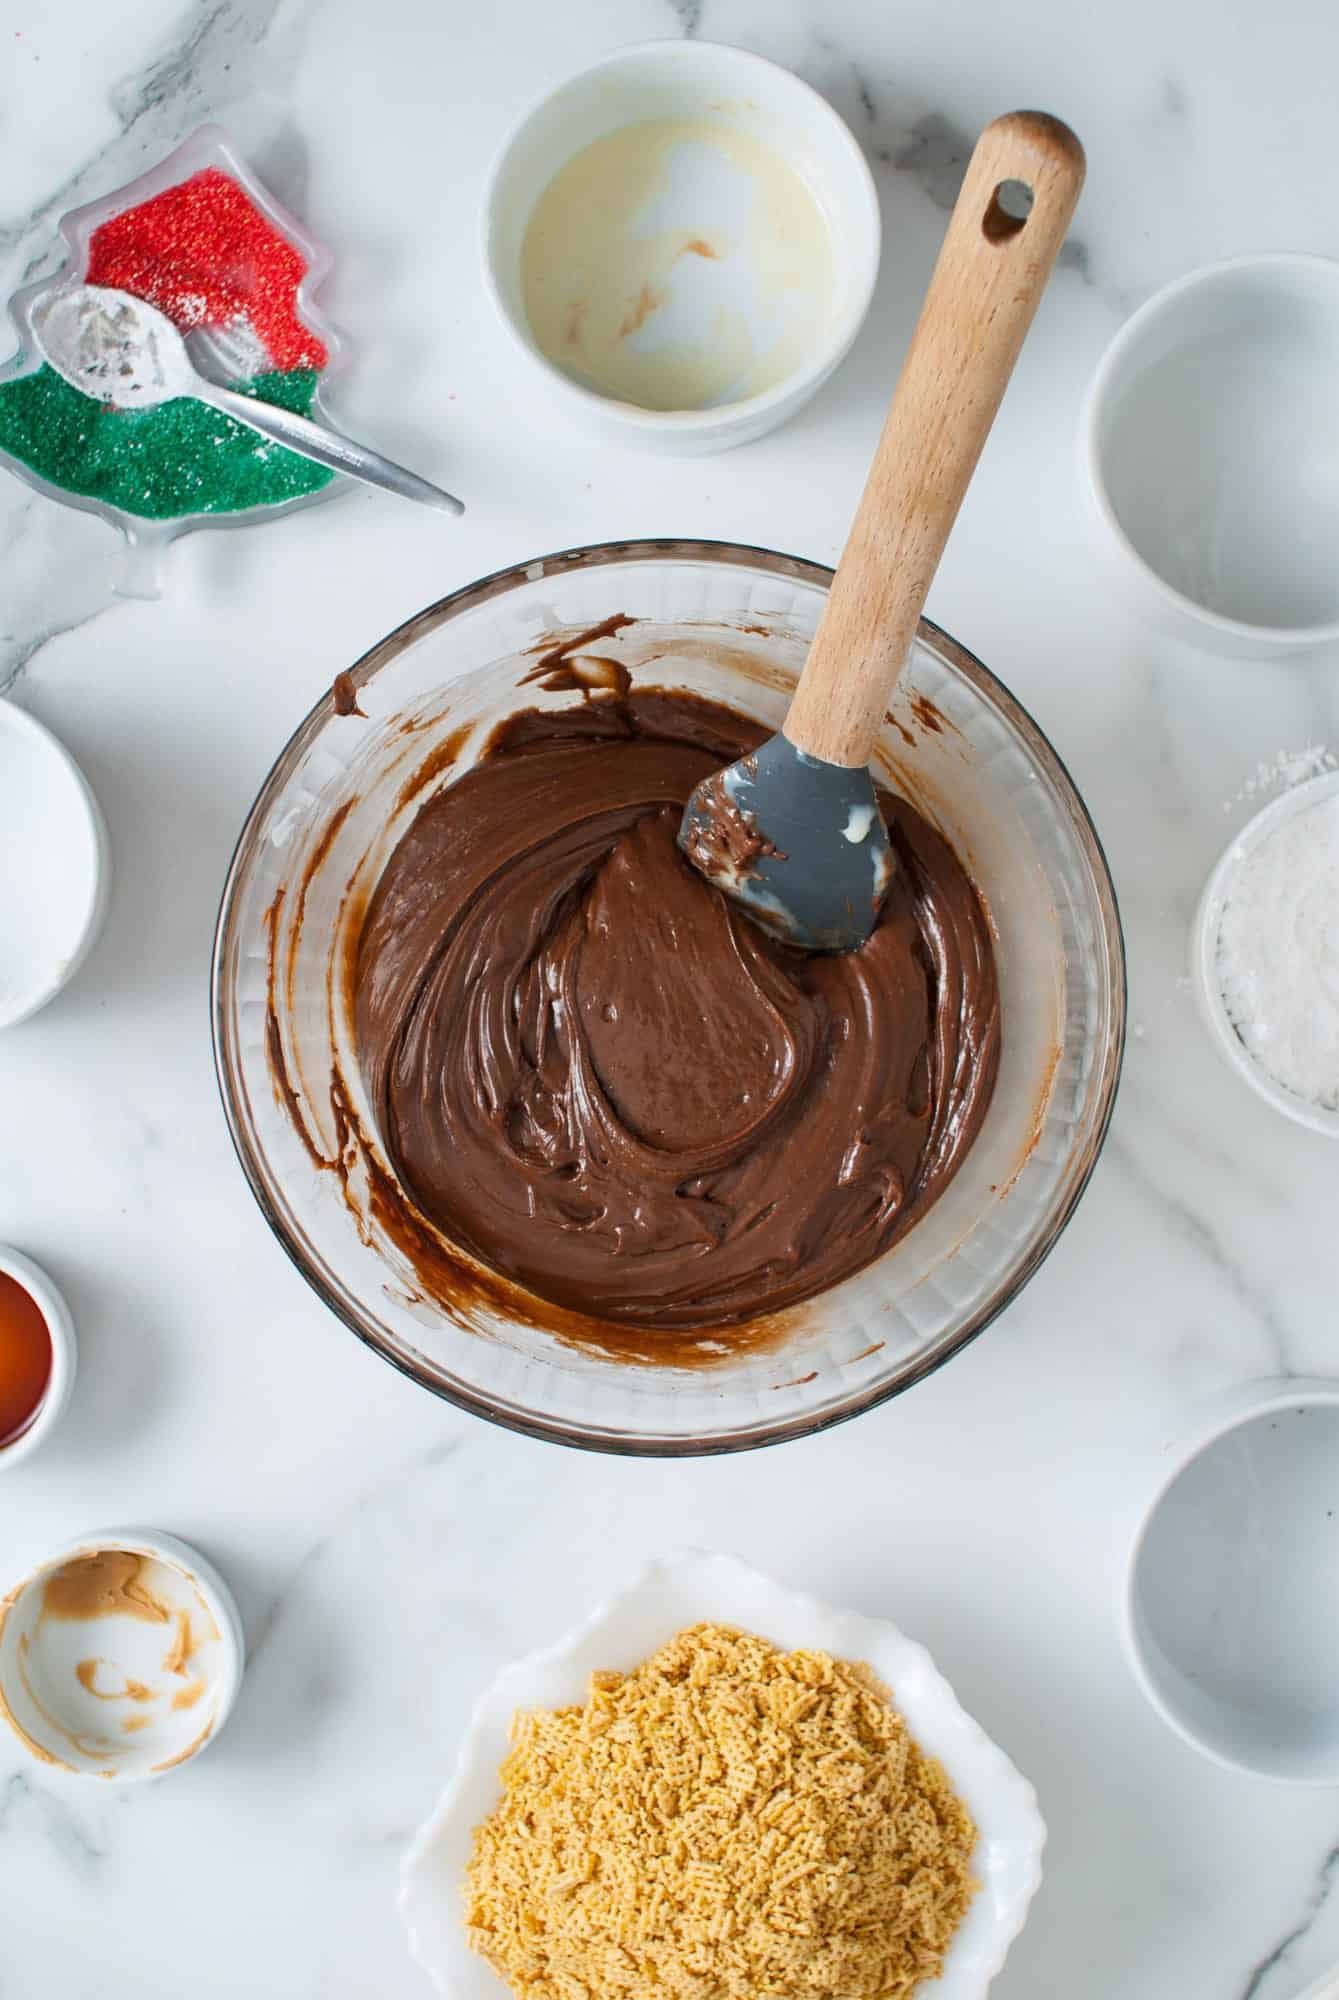
- Make Fudge in the Microwave: In another microwave safe bowl, combine the sweetened condensed milk, mini chocolate chips, peanut butter chips, creamy peanut butter, and butter. Microwave for 30 seconds. Remove and stir. Microwave again for 15 seconds, then stir again. Continue in 15-second intervals in this way until the chips are all melted and the mixture is smooth.
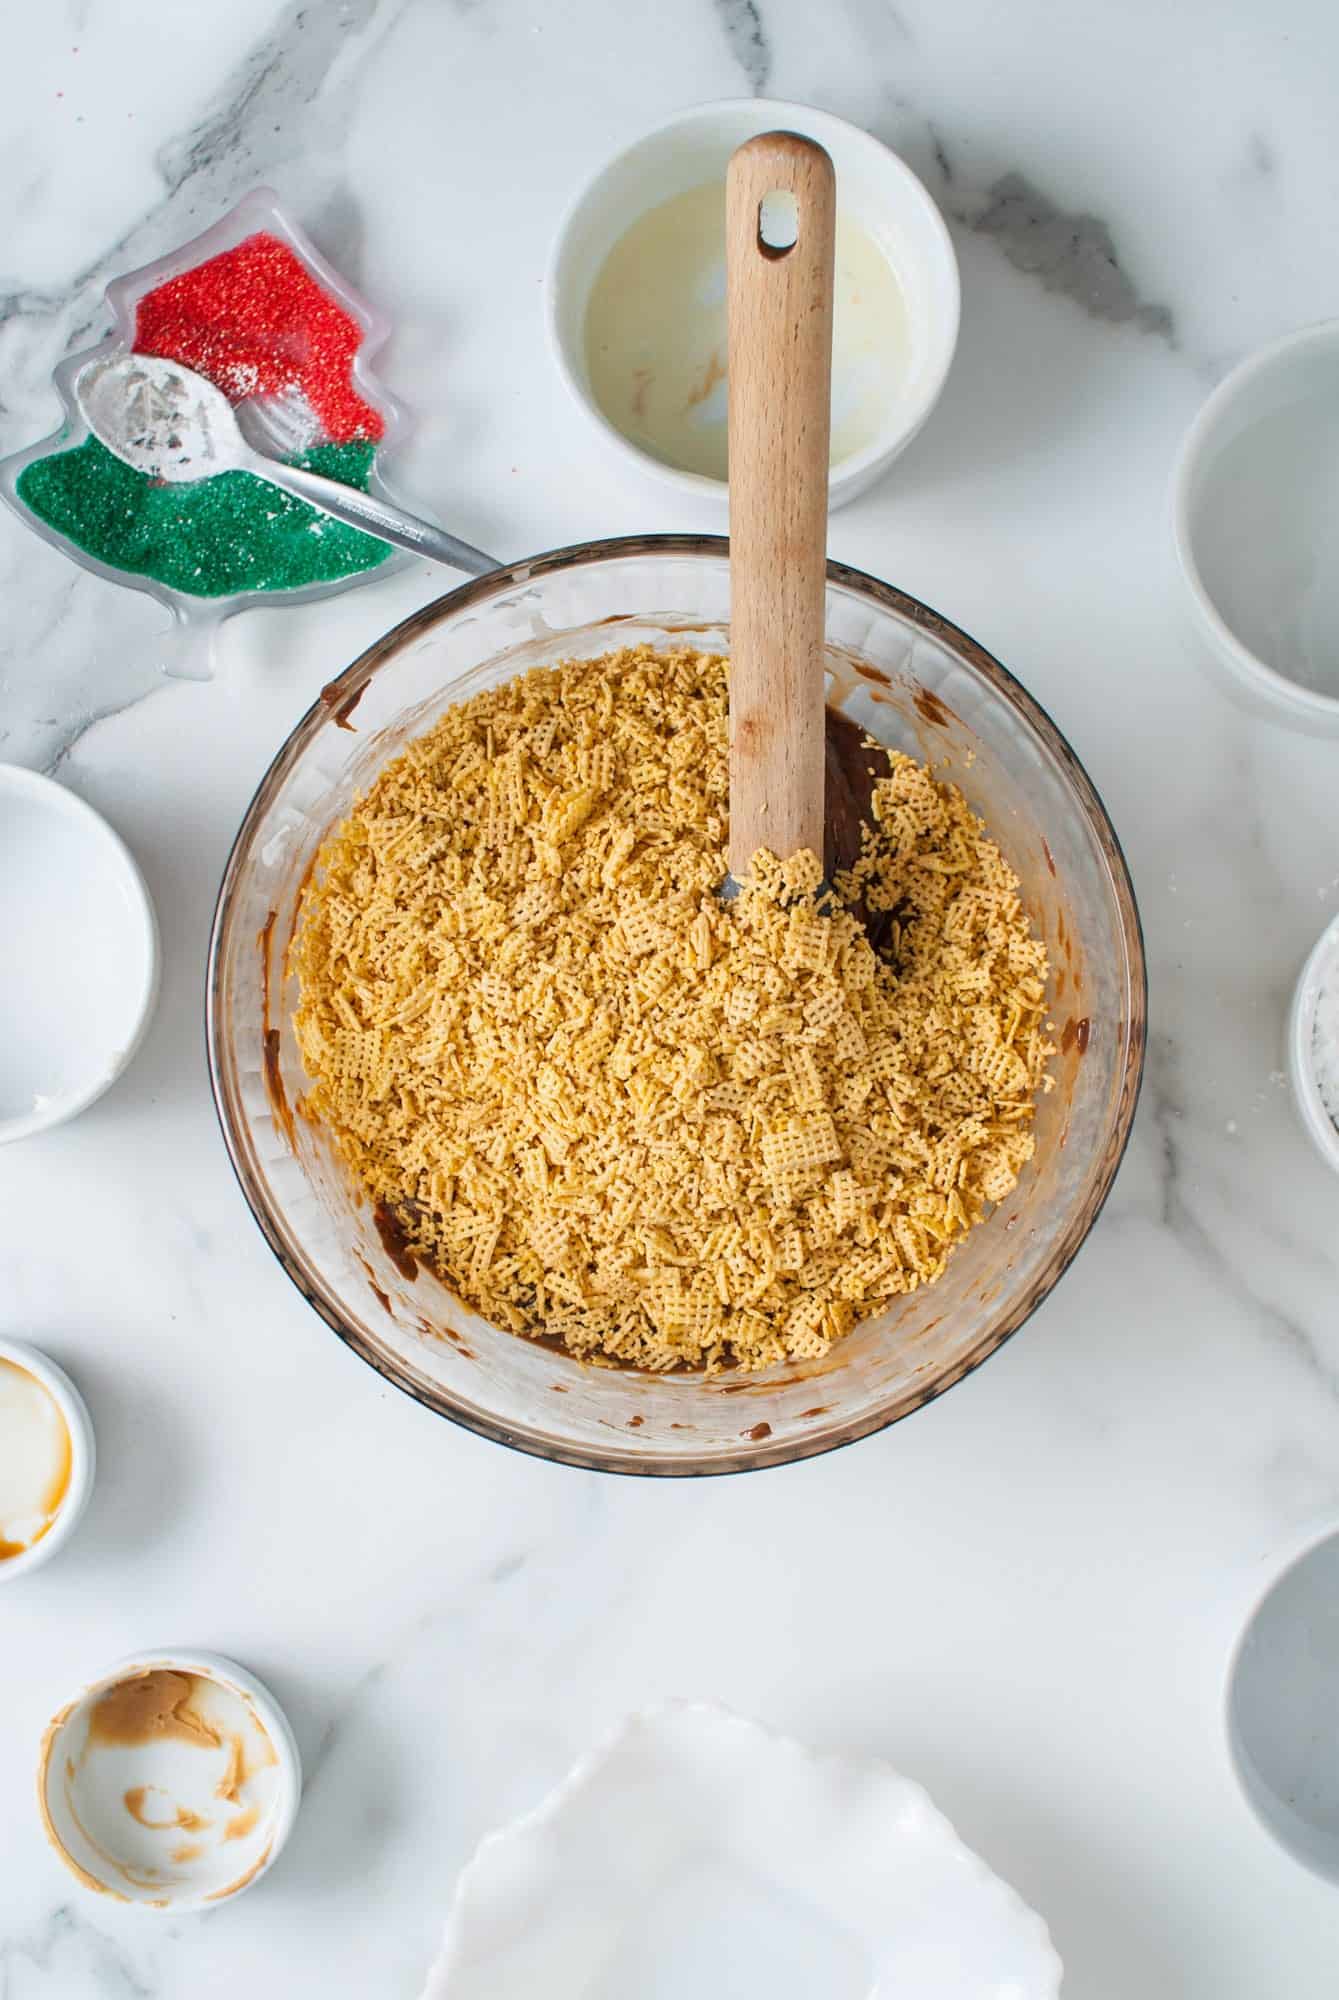
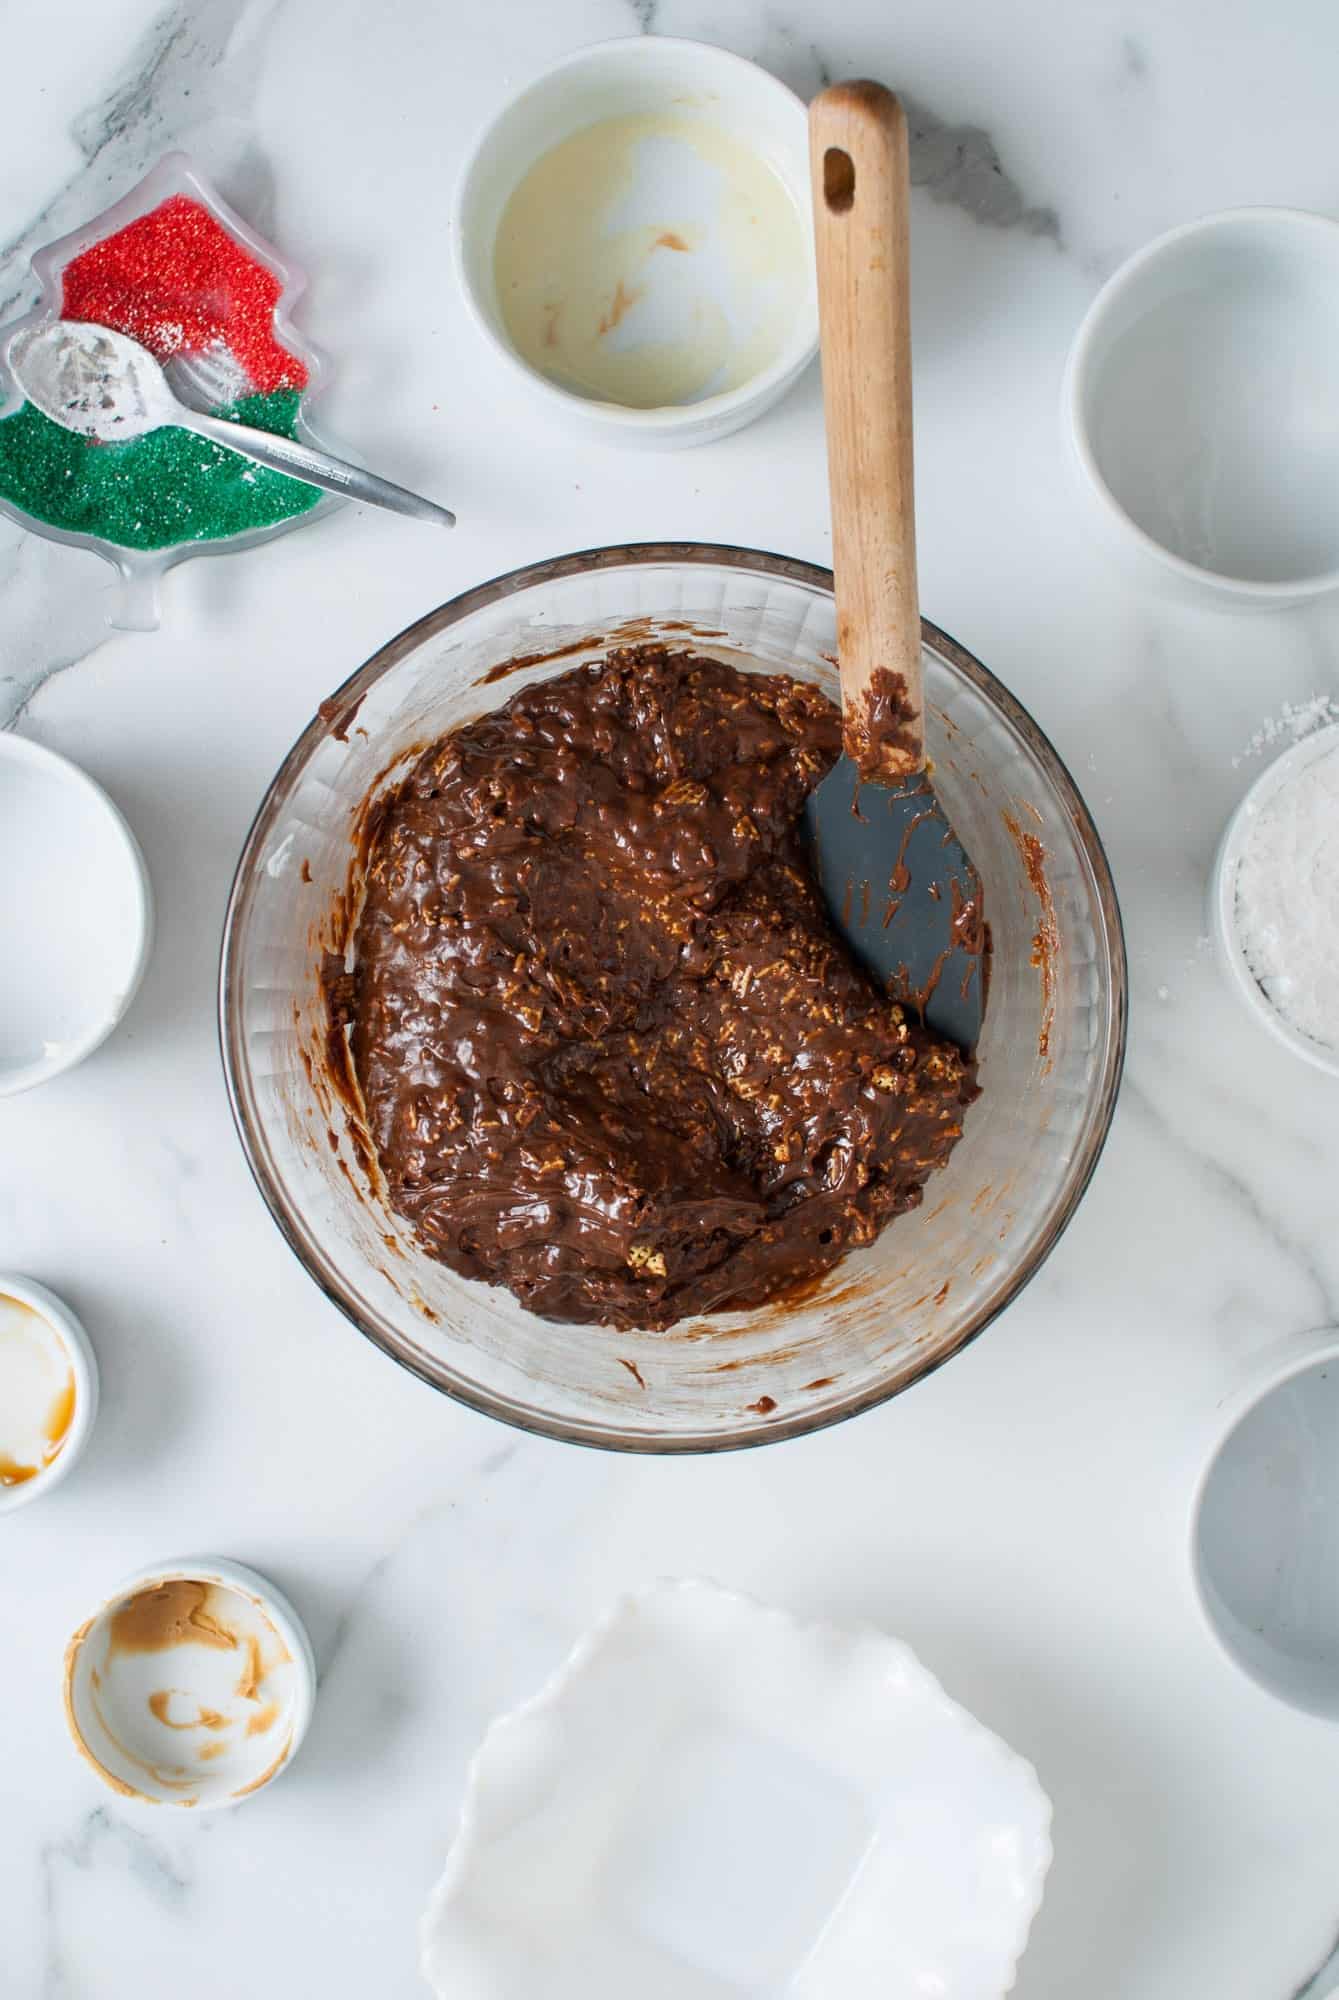
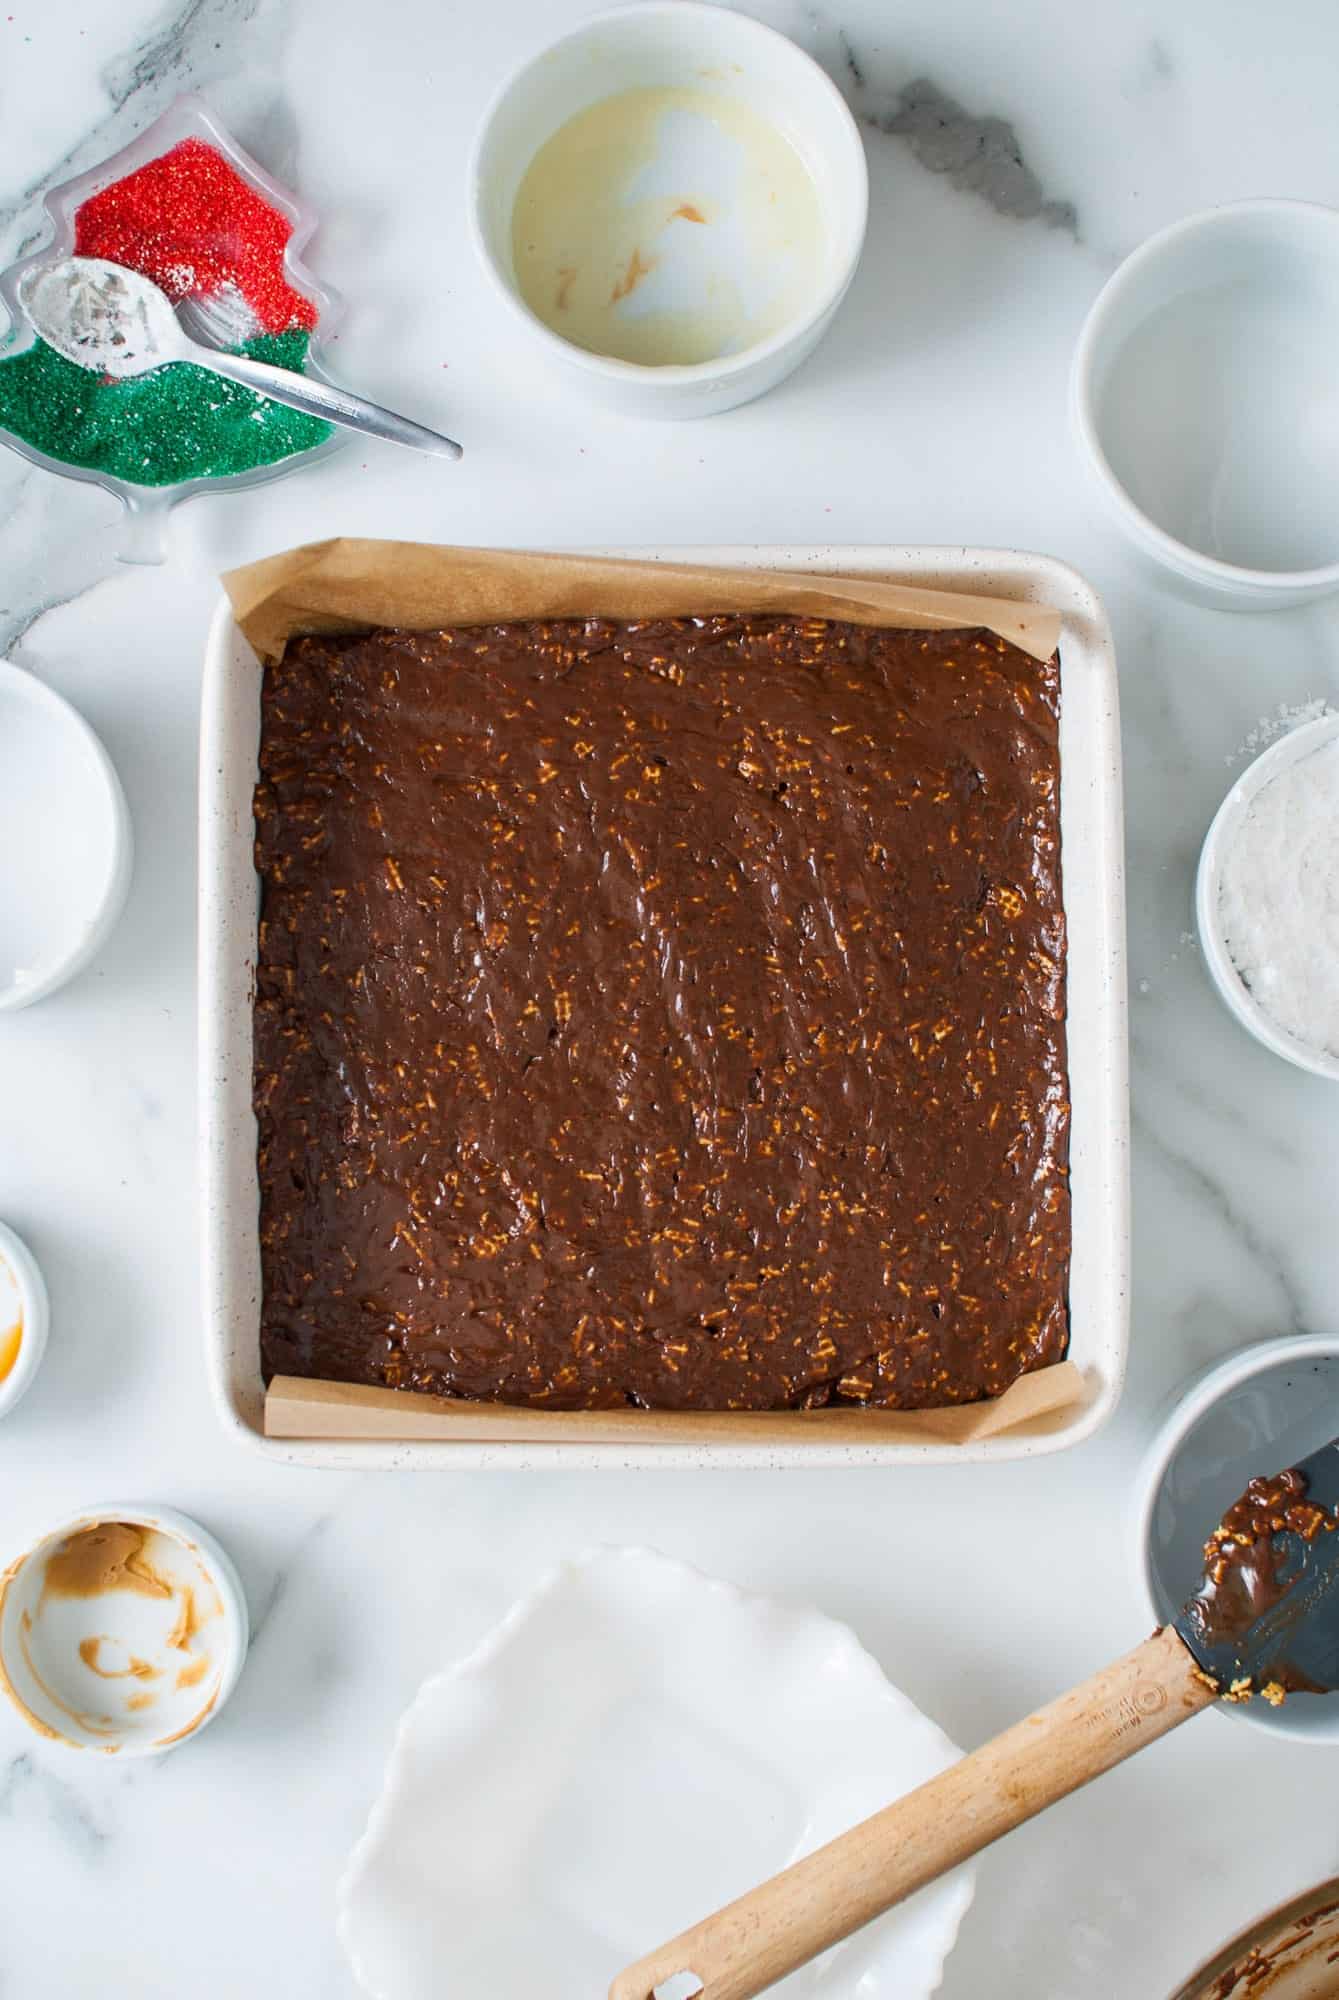
- Add Chex: Working quickly, add the vanilla extract to the chocolate mixture, then add the crushed Chex cereal. Mix until combined. Press the mixture into a 9×9-inch pan that has been lined with parchment paper and lightly sprayed with cooking oil spray.
- Chill: Place the fudge into the refrigerator for at least one hour, or until solid.
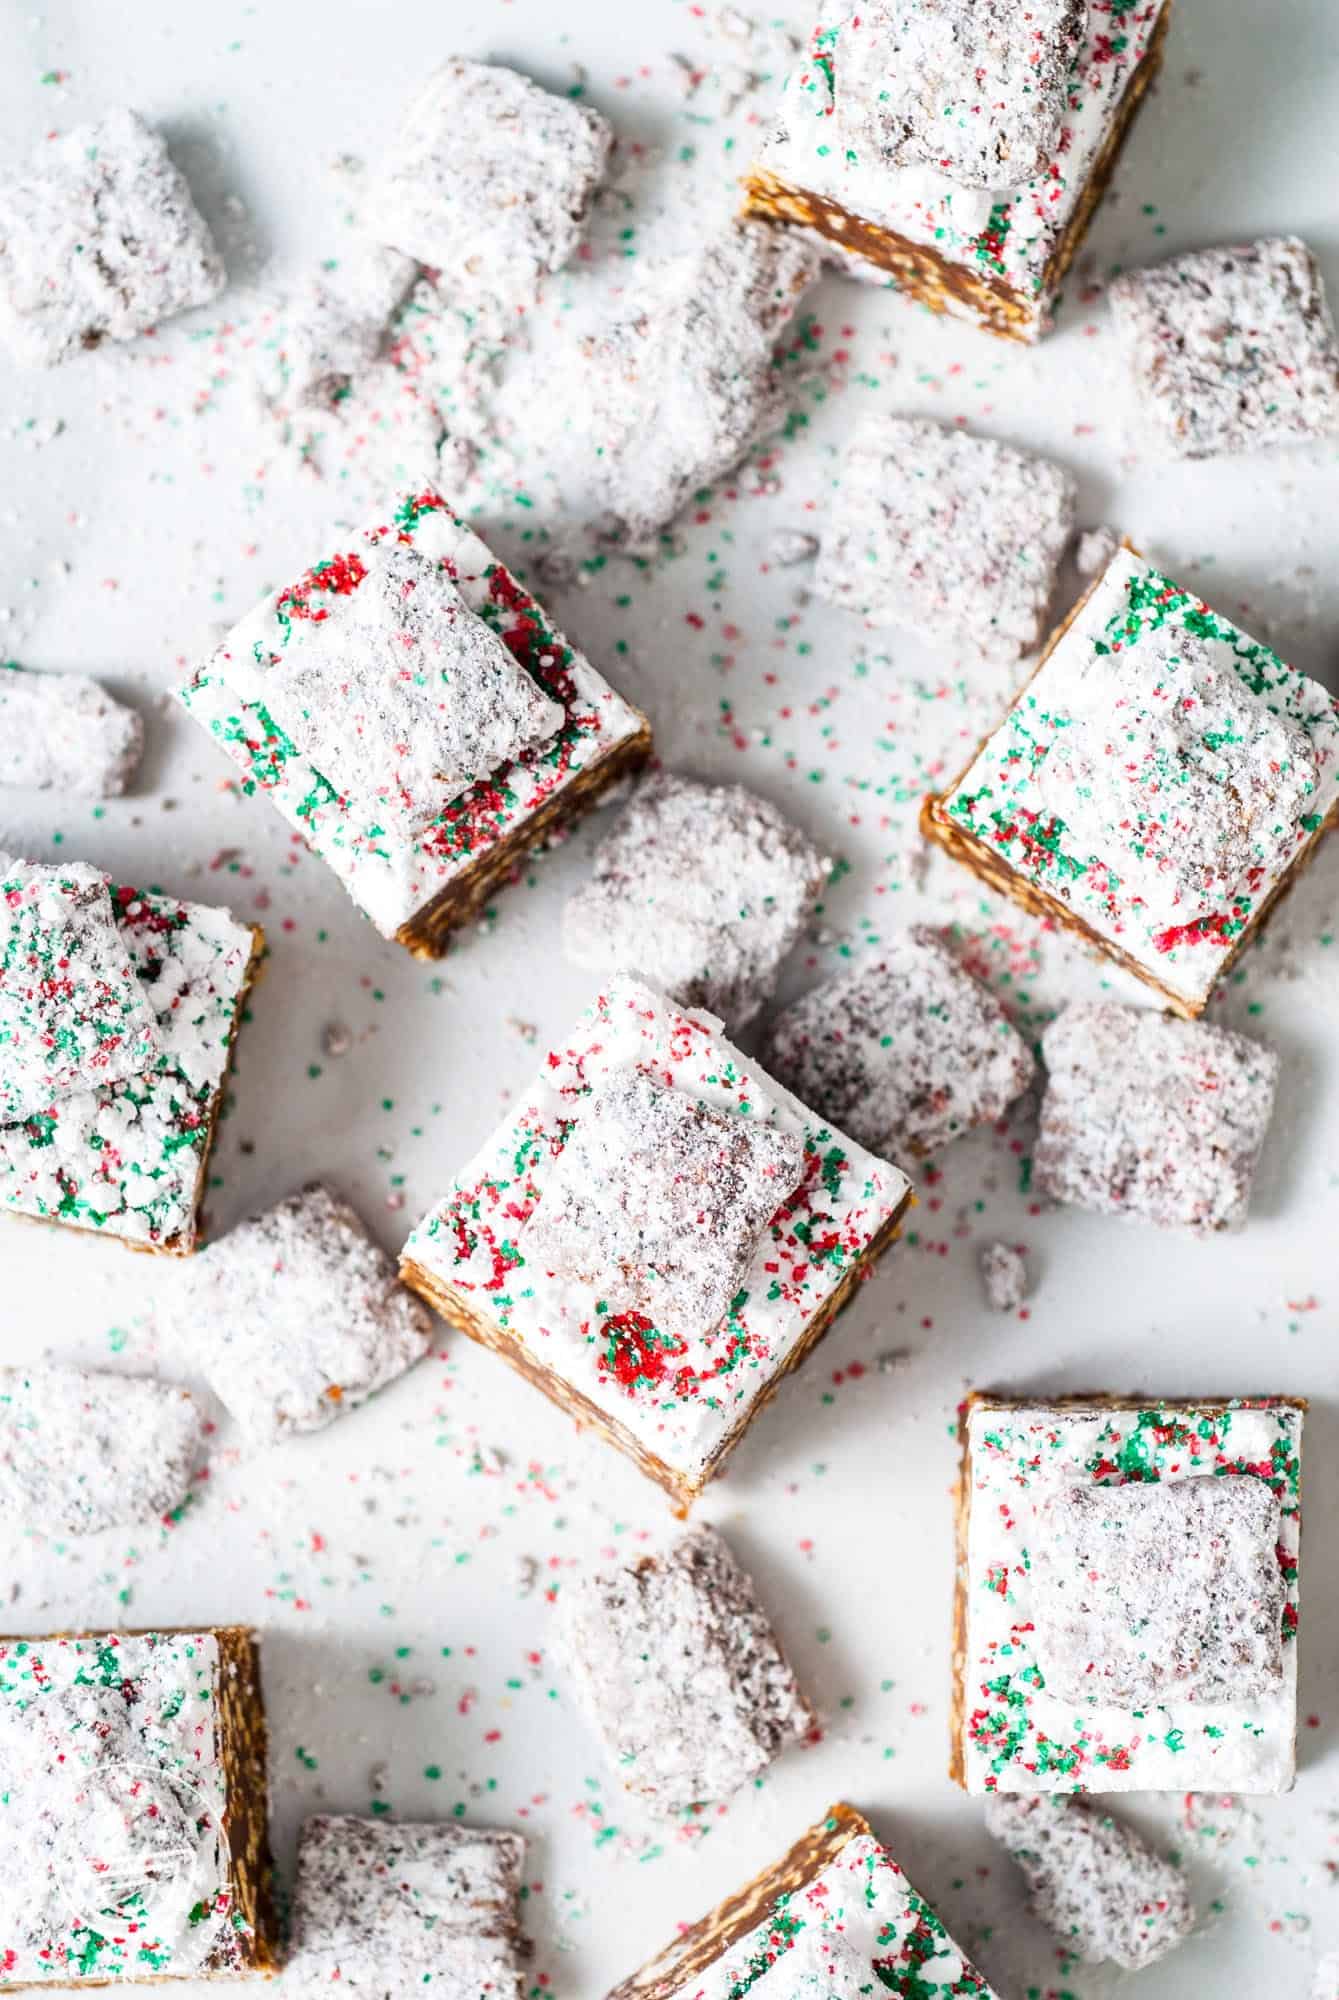
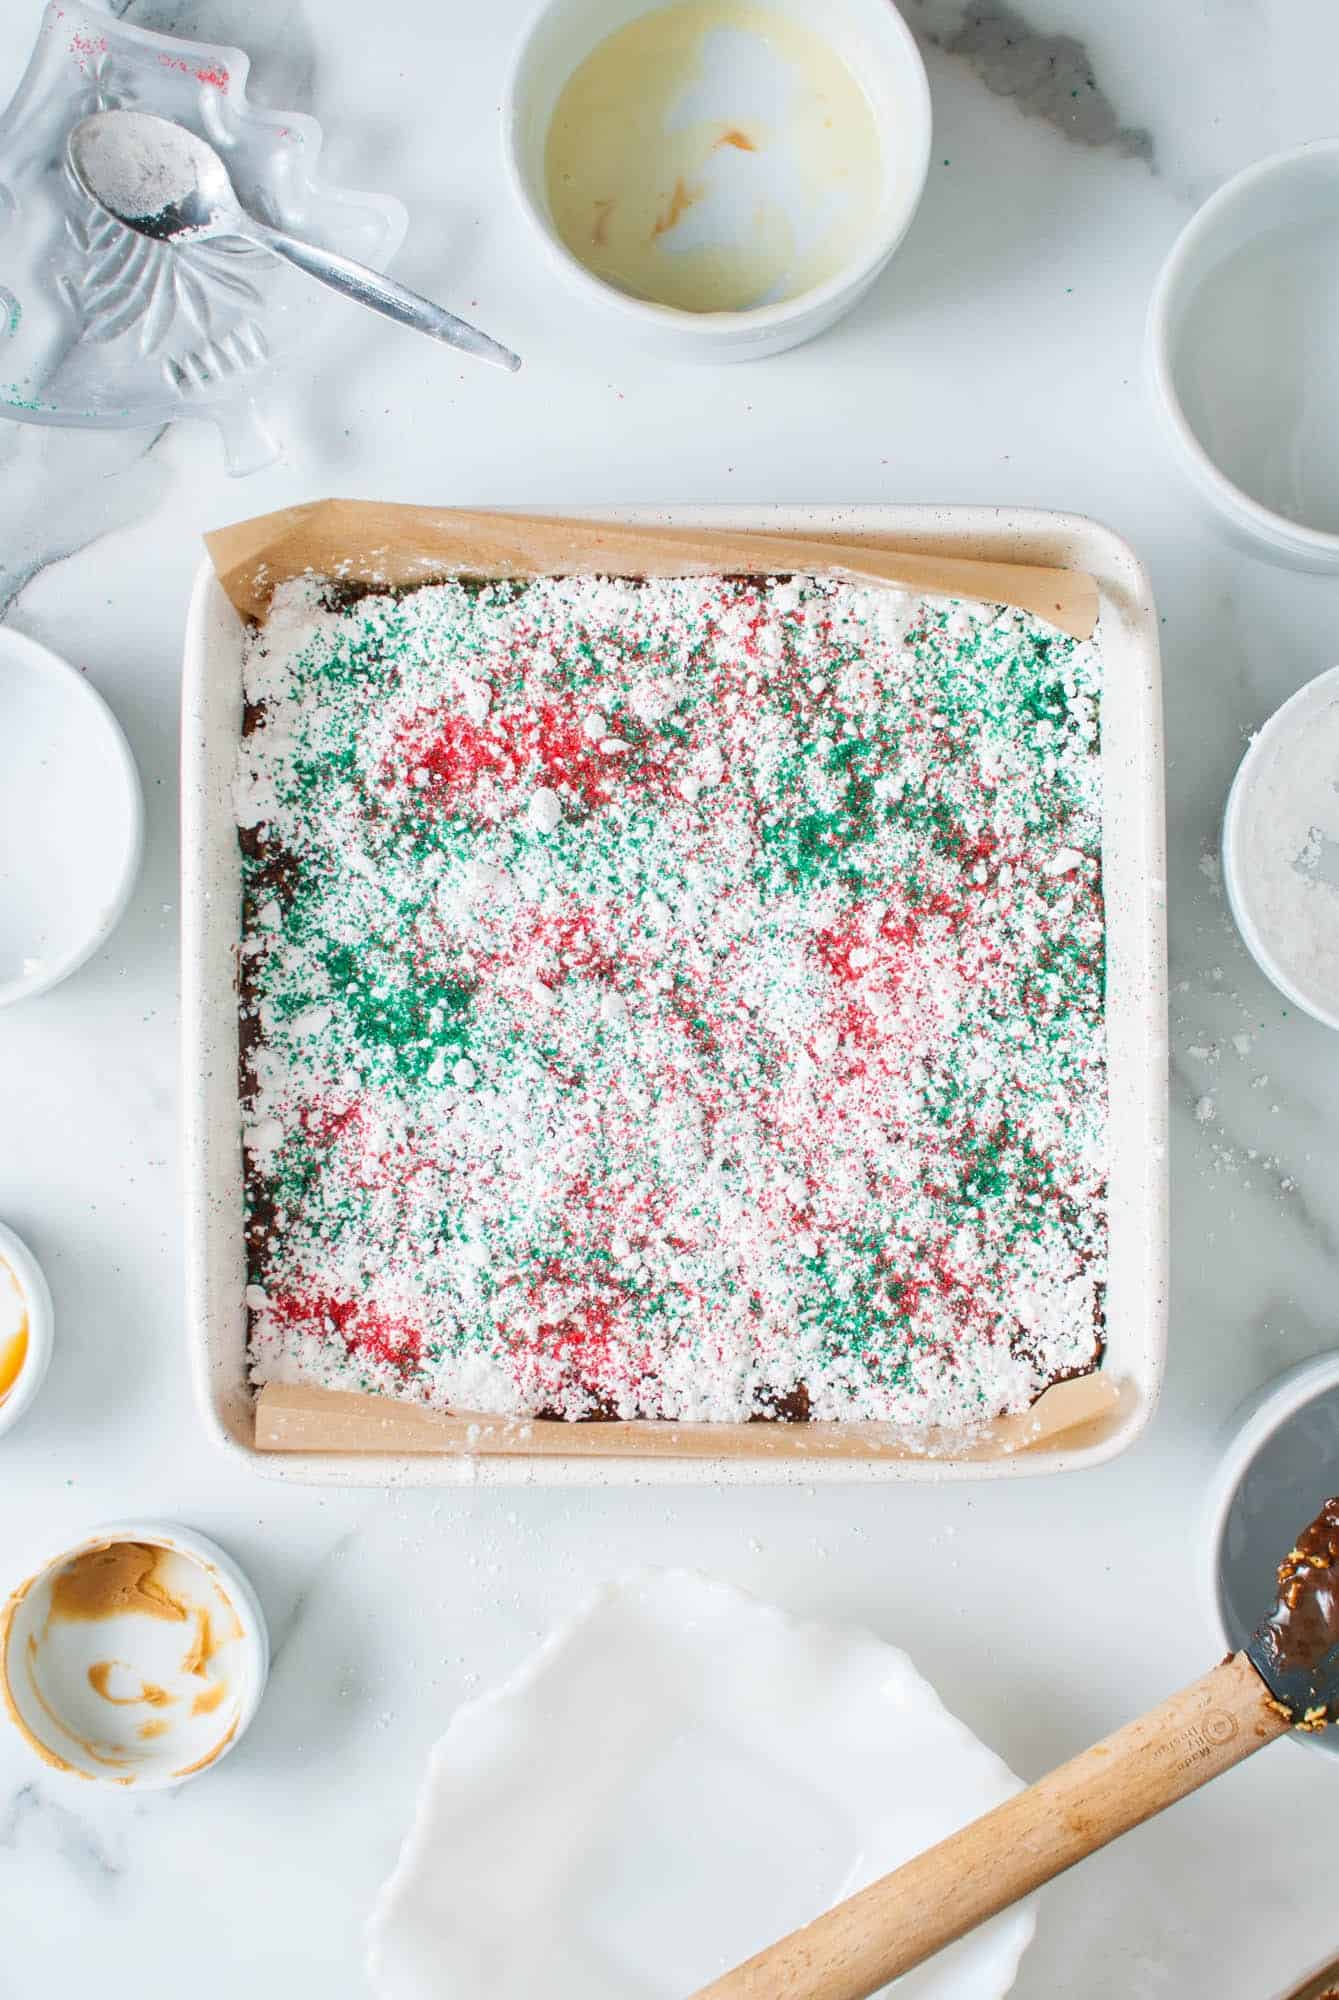
- Serve: Turn the set fudge onto a cutting board and slice it into 36 pieces. Dust the top of the fudge with extra powdered sugar and sprinkles, then top each piece with a piece of the puppy chow you made earlier.
Tip!
Remember to give yourself enough time to let the fudge chill in the fridge before serving! It needs at least an hour to become solid enough to slice.
Recipe Tips
- Review the Recipe: Most of the ingredients needed, such as the Chex, powdered sugar, sprinkles, and peanut butter, are used both in the fudge itself and the puppy chow topping. In the recipe card, I’ve given you the specific amounts needed for each step.
- Melt Slowly: It’s best to go slow when you’re melting chocolate chips in the microwave and check and stir them often. If microwaved for too long, the chocolate mixture can burn.
- To Crunch, or Not: If you prefer your fudge to be smooth rather than crunchy, you can leave out the crushed Chex. Just top it with puppy chow instead!
- Puppy Chow Topper: The puppy chow is meant as a fun garnish, and should be added to the fudge right before serving so that it stays crispy. If you’d rather adhere the pieces of puppy chow to the fudge, use a bit of peanut butter or melted chocolate as “glue” to stick each piece down.
Storing Tips
You can store microwave chocolate fudge in an airtight container in the fridge for up to 3 weeks or in the freezer for up to 3 months.
I suggest waiting to add the crispy puppy chow topping until just before serving, as it will soften during storage.
Recipe FAQs
What size pan do I use for microwave fudge?
I’ve made this fudge recipe in a 9×9-inch Pan. you could also make it in an 8×8-inch pan though. The fudge would be slightly thicker, and you may want to cut it into fewer pieces.
Why is my fudge sticking to the pan?
It’s important to line your pan with parchment paper before pouring the fudge into it. Fudge is sticky and likely to stick to the pan itself. Fudge will also stick to aluminum foil.
Why Use Sweetened Condensed Milk to Make Fudge?
Condensed milk is a shortcut, but it also serves an important role in this recipe. Traditional fudge recipes require cooking sugar syrup on the stove, and this can be tricky to get right. Sweetened condensed milk is already cooked perfectly, so it leaves much less chance of your fudge being grainy or unset.
More Holiday Treat Recipes
All Christmas Desserts →


You will be the holiday hero when you show up to Christmas with a pan of this delicious Puppy Chow Christmas Microwave Fudge! Everyone loves it, so be sure to save this recipe so you can be ready to make it every year from now on.
Did you make this? Be sure to leave a review below and tag me on Facebook, Instagram, or Pinterest!
Puppy Chow Christmas Microwave Fudge
Equipment
- 9 inch square pan
Ingredients
For the Puppy Chow Topper:
- 5 tablespoons (70 g) semi-sweet mini chocolate chips
- 1 tablespoon (15 g) creamy peanut butter
- 1 tablespoon (13 g) salted butter
- 1 cups (43 g) Corn Chex cereal
- ¾ cup (90 g) powdered sugar
- 1 tablespoon red sanding sugar sprinkles
- 1 tablespoon green sanding sugar sprinkles
For the Fudge
- 1 14 ounce can (400 g) sweetened condensed milk
- 8 ounces (1 cup) (225 g) mini semi sweet chocolate chips
- 6 ounces (1 cup) (170 g) peanut butter chips
- 1 tablespoon creamy peanut butter
- 4 tablespoons (49 g) salted butter
- 1 teaspoon vanilla extract
- 1 ½ cups (65 g) Corn Chex cereal crushed
- ¼ cup (30 g) powdered sugar for topping
- 1 tablespoon red sanding sugar sprinkles for topping
- 1 tablespoon green sanding sugar sprinkles for topping
Instructions
To Make the Puppy Chow Topper:
- Combine the semi-sweet mini chocolate chips, peanut butter, and butter in a microwave-safe bowl. Microwave at high power in 15 second intervals until melted and smooth.
- Add the Chex to the chocolate mixture and gently toss to coat each piece of cereal with the chocolate.
- Add the powdered sugar and sanding sprinkles, again gently tossing the cereal to coat. Once evenly coated, set aside.
To Make the Fudge:
- Prepare a 9-inch (23 cm) square baking pan by lining it with parchment paper and lightly spraying the paper with oil.
- In a microwave-safe bowl, combine the sweetened condensed milk, semi-sweet mini chocolate chips, peanut butter chips, creamy peanut butter, and butter. Microwave the mixture for 30 seconds, remove and stir. Place back in the microwave for another 15 seconds then stir again. Continue to microwave the mixture in 15-second intervals until the chips are melted and the mixture is smooth.
- Working somewhat quickly, stir in the vanilla and then add the crushed Chex to the chocolate mixture, mixing until combined. Then press the mixture into the prepared 9” pan, making the top as flat as possible.
- Set the fudge in the fridge to cool for at least 1 hour or until solid.
- Turn the fudge out onto a cutting board. Cut the fudge into 36 pieces.
- When ready to serve, garnish the top of the fudge with powdered sugar and sprinkles. Then top each piece of fudge with a piece of puppy chow.
Notes:
- Review the Recipe: Most of the ingredients needed, such as the Chex, powdered sugar, sprinkles, and peanut butter, are used both in the fudge itself and the puppy chow topping. In the recipe card, I’ve given you the specific amounts needed for each step.
- Melt Slowly: It’s best to go slow when you’re melting chocolate chips in the microwave and check and stir them often. If microwaved for too long, the chocolate mixture can burn.
- To Crunch, or Not: If you prefer your fudge to be smooth rather than crunchy, you can leave out the crushed Chex. Just top it with puppy chow instead!
- Puppy Chow Topper: The puppy chow is meant as a fun garnish, and should be added to the fudge right before serving so that it stays crispy. If you’d rather adhere the pieces of puppy chow to the fudge, use a bit of peanut butter or melted chocolate as “glue” to stick each piece down.
- Storage: You can store microwave chocolate fudge in an airtight container in the fridge for up to 3 weeks or in the freezer for up to 3 months. I suggest waiting to add the crispy puppy chow topping until just before serving, as it will soften during storage.
Nutrition Information
This website provides approximate nutrition information for convenience and as a courtesy only. Nutrition data is gathered primarily from the USDA Food Composition Database, whenever available, or otherwise other online calculators.
© Little Sunny Kitchen


Corla McGillivray says
Help! This fudge didn’t harden? Just melted things as instructed, added the cheese chex and chilled an hour… there was no pushing it into the pan! It was soft. Can I remedy by rejecting and adding more, choc chips? Chex?
Diana says
Hi Corla, sounds like you ran into a bit of a tricky situation, but we can definitely figure this out together. First off, it’s important to double-check the ingredients. Make sure you’re using both chocolate chips and peanut butter chips, adding up to a total of 14oz. This balance is key to getting the right texture for your fudge. Also, it’s super important to use sweetened condensed milk – sometimes it’s easy to mix it up with evaporated milk, but they behave quite differently in recipes.
I couldn’t help but notice the mention of “cheese Chex” in your message. Just to clarify, the recipe calls for Corn Chex.
Usually, by the time all the ingredients are melted and mixed, the mixture starts to thicken. So, if it’s still too soft to push into the pan, it might be a sign of an incorrect ingredient or amount. I’ve made this fudge many times and never had this problem. If you’ve double-checked your ingredients and everything seems correct, trying to reheat the mixture and adding a bit more chocolate chips might help. Just be cautious not to overheat, as that can affect the texture too. I hope this helps!