
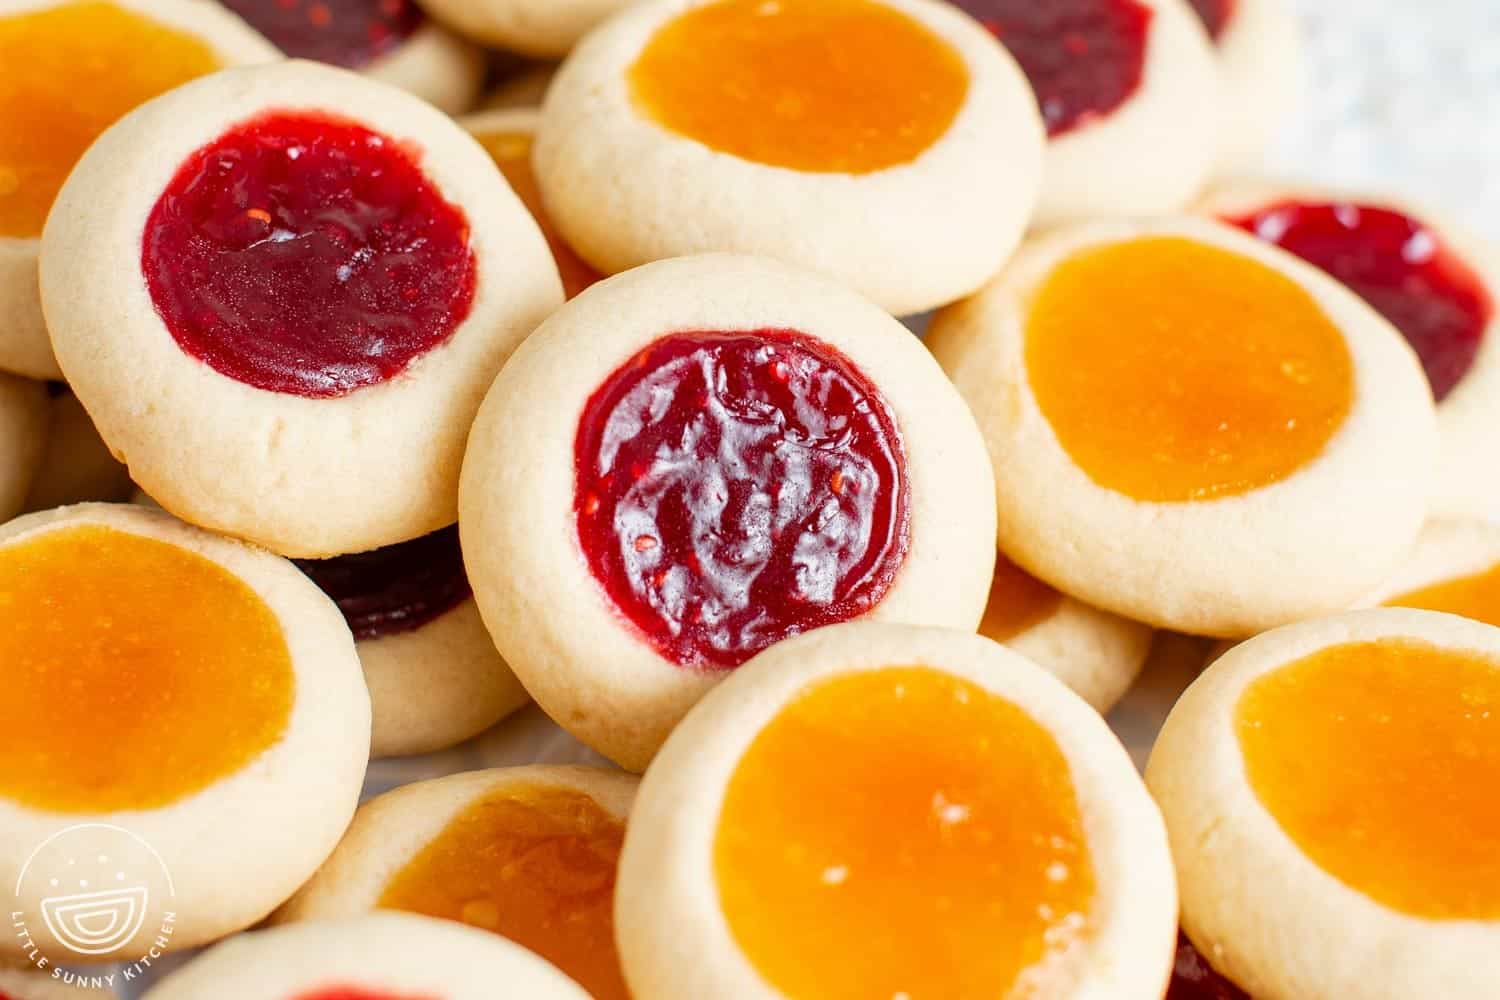
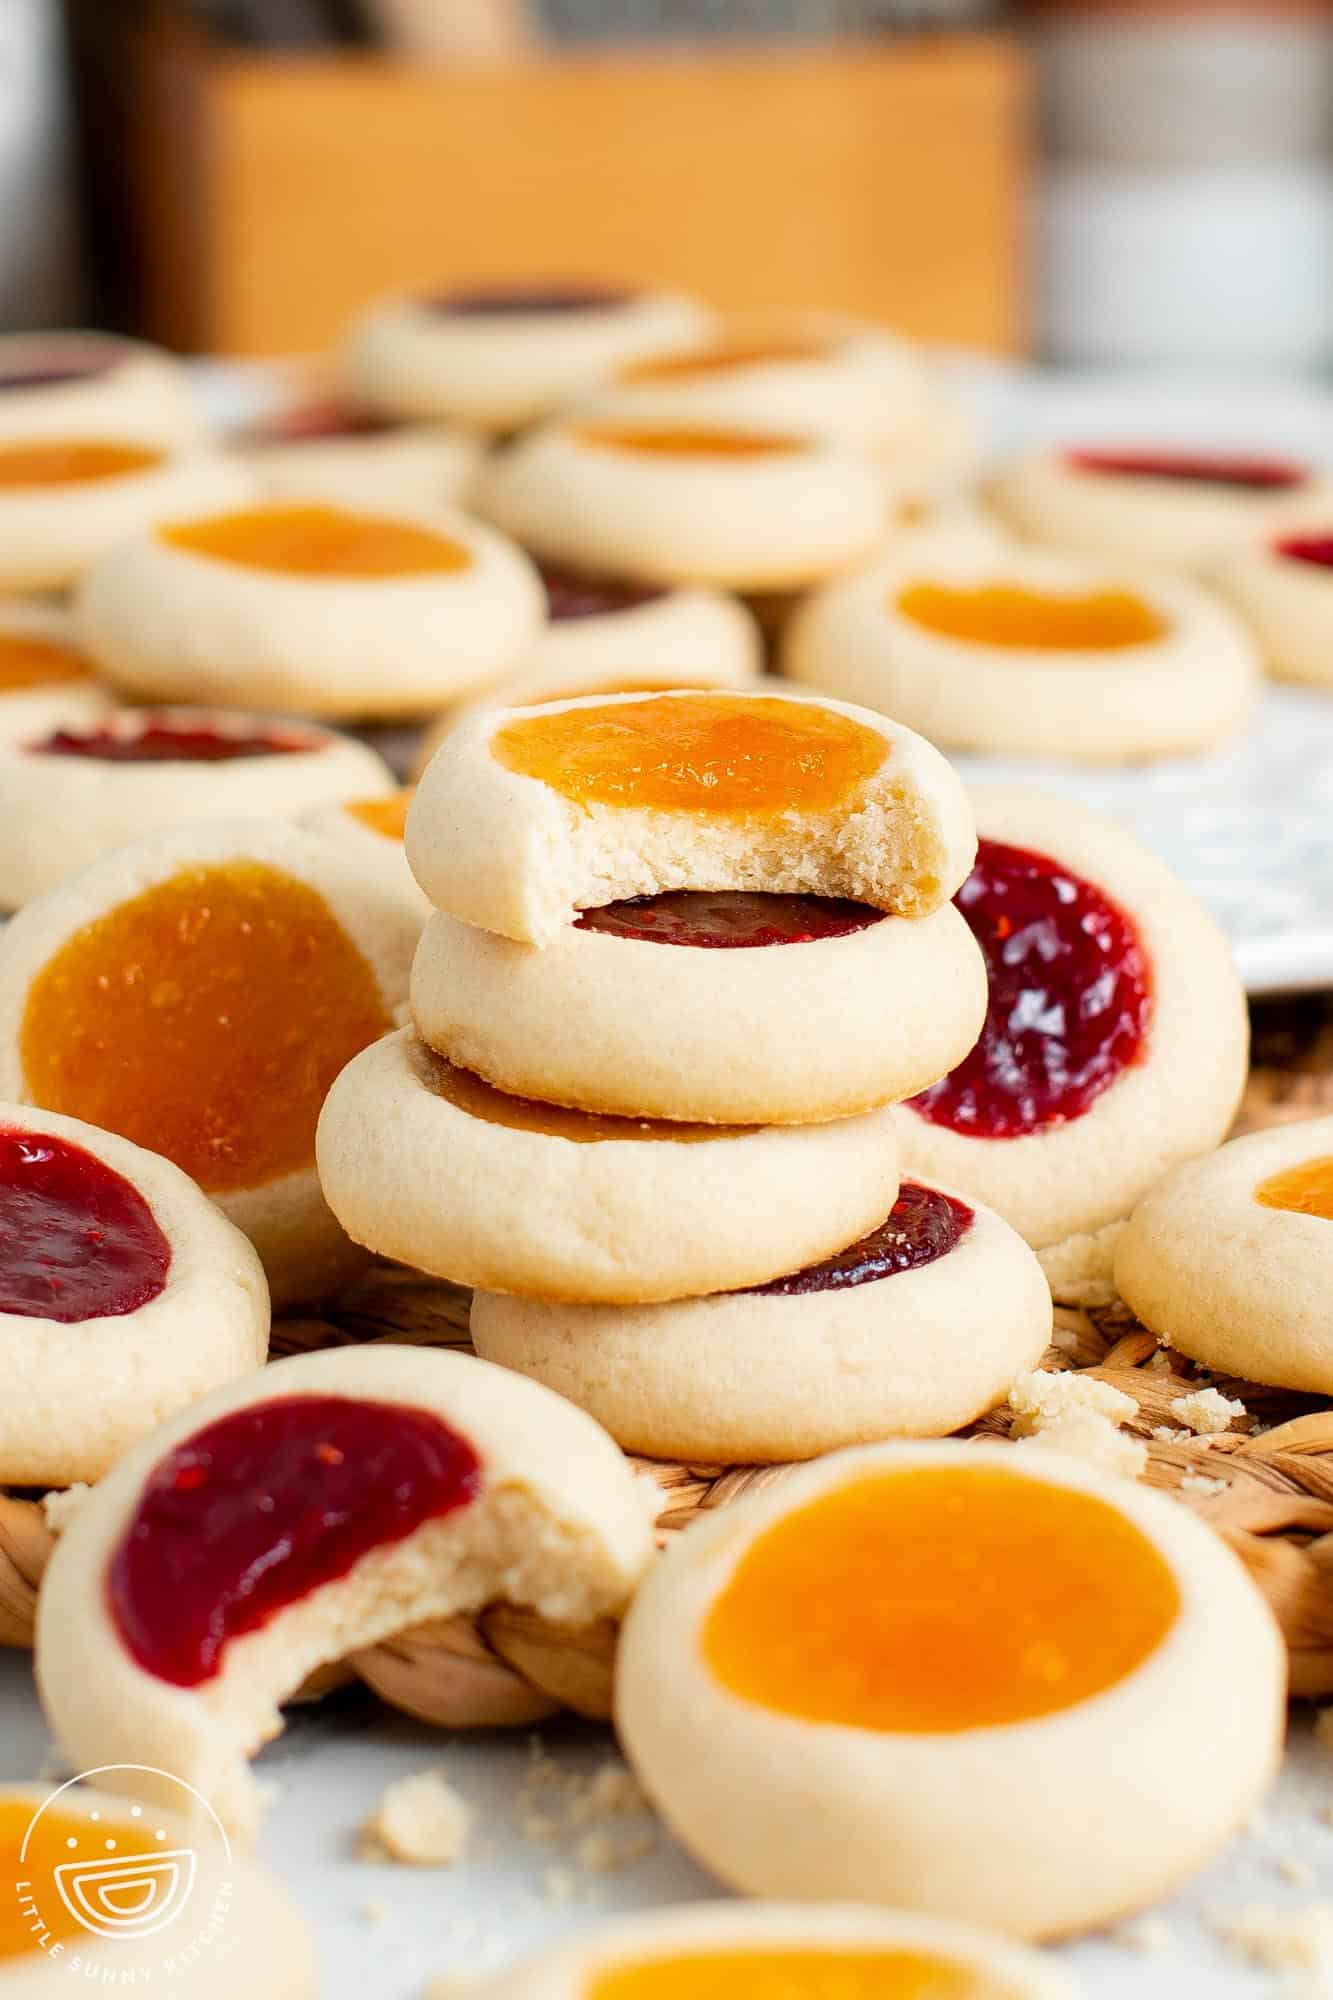
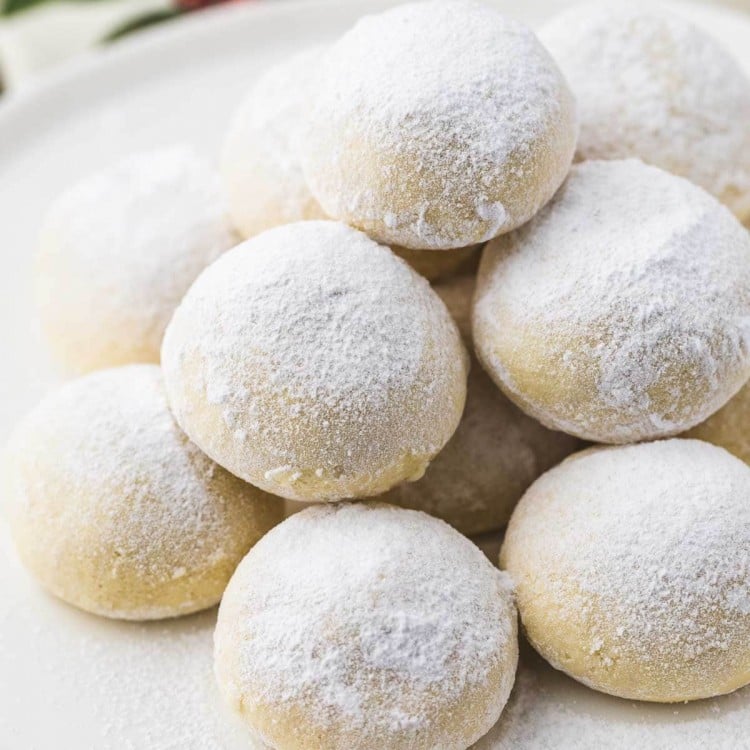
Jam Thumbprint Cookies are such a beautiful treat to make for the holidays! These classic cookies are buttery, tender, and soft with a chewy, fruity jam center.
These will look so great on your holiday cookie tray, but will disappear fast!

A perfect, Classic Cookie
I love recipes like this one that have stood the test of time. Jam Thumbprints have been a staple at Christmas for as long as I can remember, and for much longer than that, too!
A little bit of research shows me that the origin of this recipe comes from Sweden, where raspberry jam is preferred for the centers of these traditional shortbread thumbprints.
I love using different types of jam to create varied colors and flavors in my thumbprint cookies! Today I’m using raspberry and apricot, but I’ve also tried lemon curd, strawberry preserves, and blackberry jam, and every single version is amazing.
Ingredient Notes
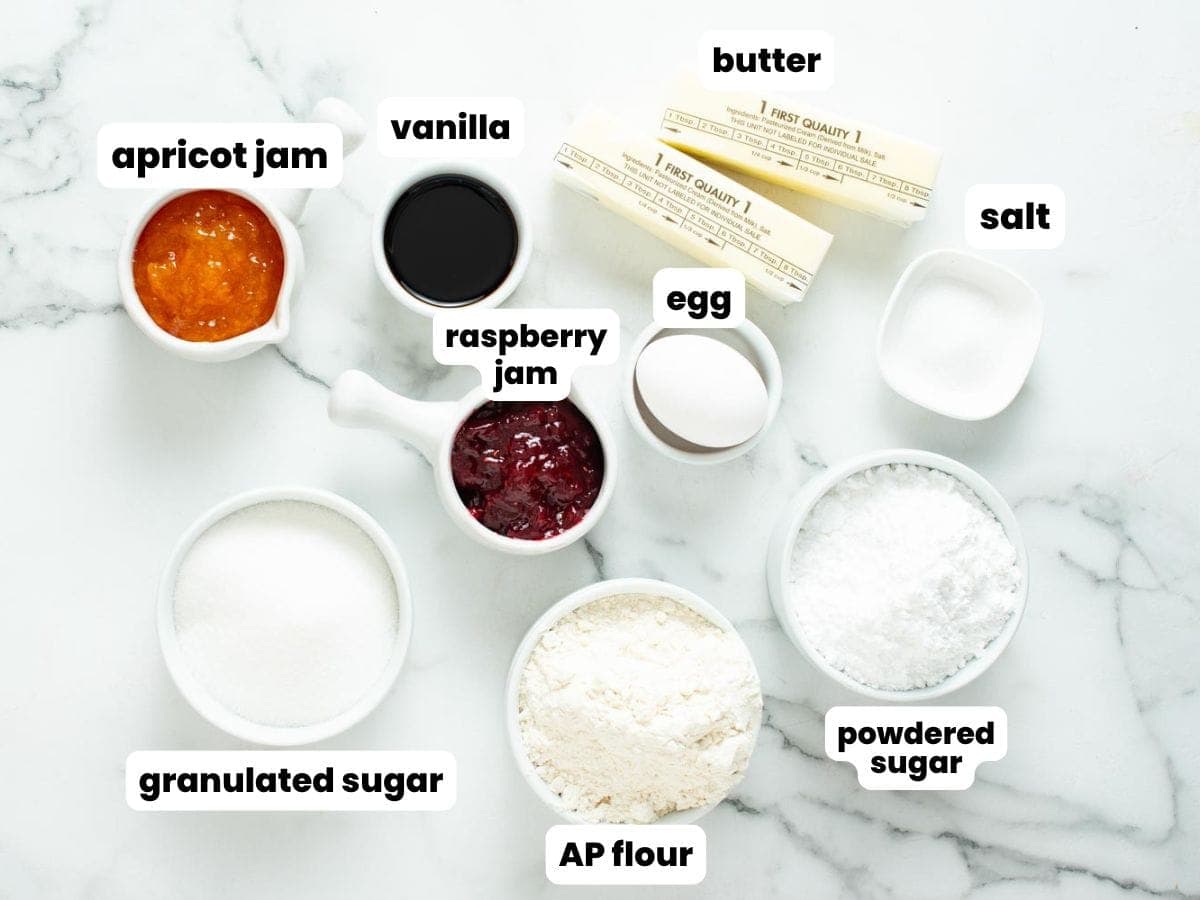
Complete list of ingredients and amounts can be found in the recipe card below.
- Flour and Salt: These cookies don’t need any baking soda or baking powder mixed into the dry ingredients. The cookies won’t rise much in the oven, and turn out pleasantly light, buttery, and crisp around the edges.
- Butter: Unsalted butter is the best choice when baking cookies, as different brands of butter will have different amounts of salt in them – it’s hard to control! Let the butter sit out at room temperature until it’s soft.
- Powdered Sugar and Granulated Sugar: Using powdered sugar as well as granulated sugar to sweeten the thumbprints is another key to their perfect texture. The powdered sugar helps to keep the cookies soft.
- Egg: While your butter is softening on the counter, leave your egg out too. A room-temperature egg will mix into the cookie dough much better than a cold one will.
- Jam: You can use any type of jam or fruit spread that you enjoy in these cookies. I suggest using one or two that you already know that you enjoy. Higher-quality jams are usually thicker and will work the best.
Recipe Tips
- Making the dough: This dough should come together quickly and easily in your stand mixer or in a large bowl with your electric hand mixer. It does not require any chilling and can be used as soon as the oven is preheated.
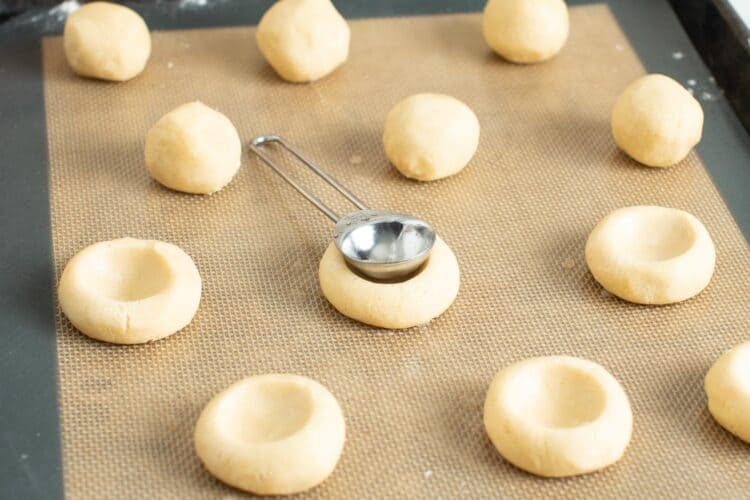
- For perfect thumbprint cookies, use a rounded measuring spoon, not your thumb, to make the indents in the cookies. For a more rustic look, feel free to use your hands instead!
- The key to avoiding cracks in your thumbprint cookies is to roll and form each cookie, one at a time. When you roll the dough into a ball with your hands, the outside of the dough ball will warm up slightly. This will let you press a measuring spoon into the center to create a cavity without cracking the dough. If you wait too long, the dough will dry out a bit and be more prone to cracks.
- Stir the fruit jam really well before using it. You want the jam to be loose so that it will melt evenly.
- Don’t be shy with the jam! It’s best to have a bit of a mound of jam in the indent of each cookie, as it will melt down in the oven. Try not to get any jam on the outside of the cookies, though, or it can look messy.
- For a fun, pretty twist, roll the balls of cookie dough in sugar or colored sugar sprinkles before making the indent.
More Christmas Cookies to Bake!
All Cookies →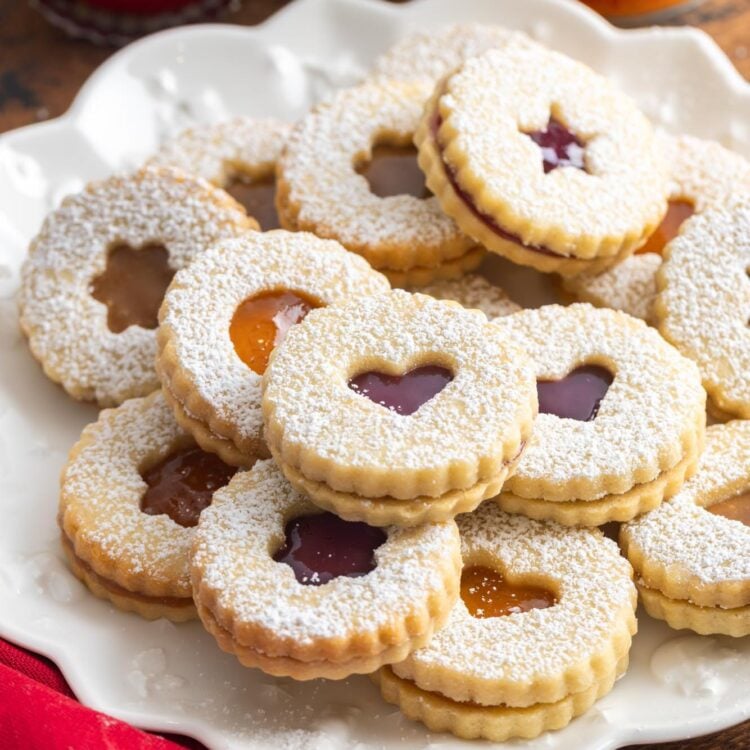


Did you make this? Be sure to leave a review below and tag me on Facebook, Instagram, or Pinterest!

Jam Thumbprint Cookies
Equipment
- Stand mixer or hand mixer
- Cookie Sheets
- Parchment paper or silicone mats
Ingredients
- 1 cup (225 g) unsalted butter softened
- ¾ cup (90 g) powdered sugar
- ½ cup (100 g) granulated sugar
- 1 large egg
- 2 teaspoons vanilla extract
- 2 ¾ cups (350 g) all-purpose flour
- ½ teaspoon salt
- ¼ cup (85 g) apricot jam or preserves
- ¼ cup (85 g) raspberry jam or preserves
Instructions
- Preheat the oven to 350°F (180°C), or 160°C fan oven.Line a cookie sheet with parchment paper or a silicone baking mat and set aside.
- In a large mixing bowl with a hand mixer, cream together the butter, powdered sugar, and granulated sugar until smooth and creamy (2-3 minutes).
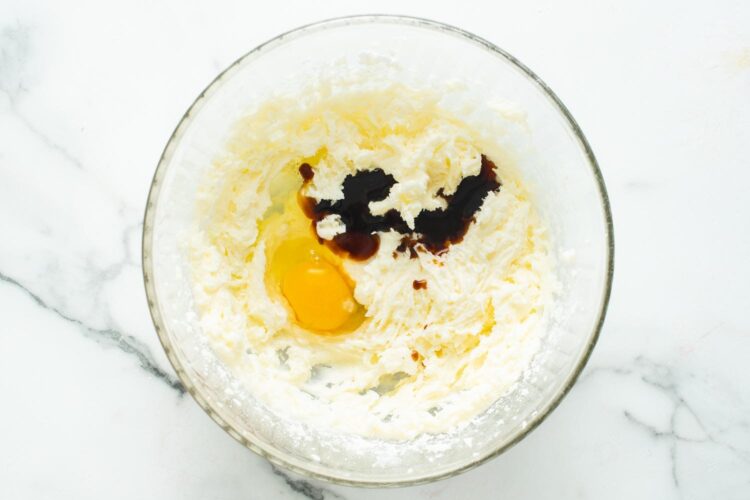
- Add the egg and vanilla, mix again until light and fluffy.

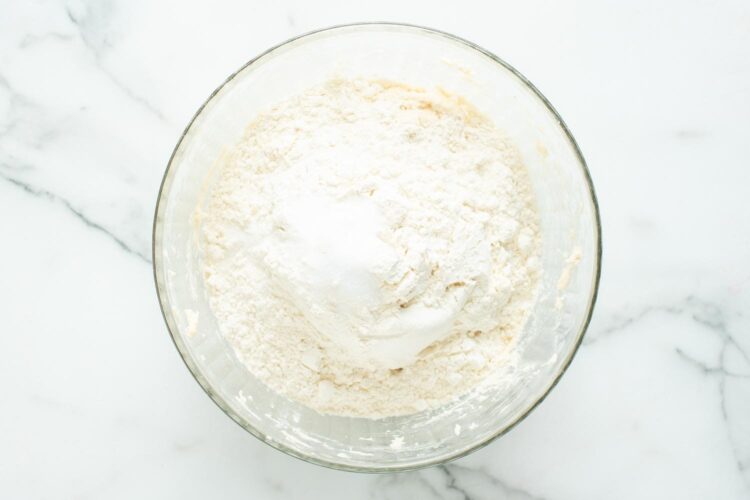
- Add in the flour and salt and mix again until just combined.
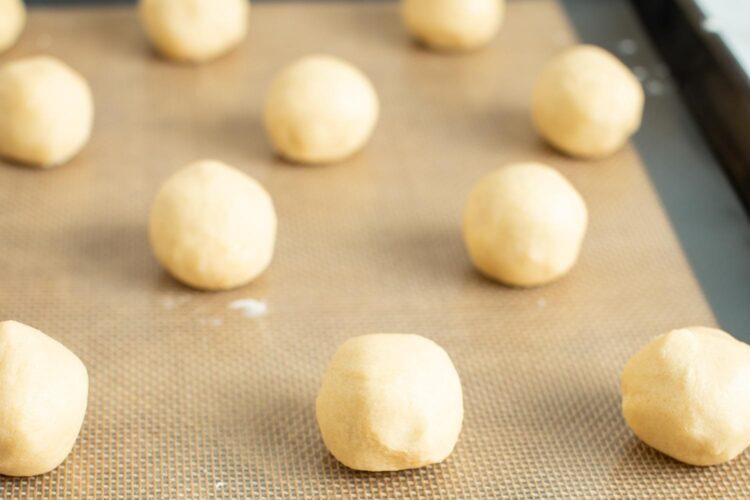
- Take a 1 Tablespoon sized scoop and roll the dough in the palm of your hands until it forms a smooth ball without any cracks. Set the ball onto the prepared baking sheet.
- Then, use a round teaspoon measuring spoon and press the back of it into the center of the dough ball creating a little well. (To prevent the spoon from sticking you can wet the back of the spoon with water before pressing into the dough.)
- Continue this process of rolling 1 Tablespoon sized dough balls then immediately pressing a teaspoon size well into each until the dough is gone. As you are placing the dough balls onto the prepared baking sheet, place them about 2 inches apart.
- Give both the apricot and raspberry a good stir (do not mix together, keep separate) to loosen them up. Fill each of the wells in the cookies with a mounding teaspoon of either the apricot or raspberry jams.
- Bake in the preheated oven for 10-12 minutes or until the cookie is set, the cookies should remain very light in color, not golden.
- Remove finished cookies from the oven, let cool for 5-10 minutes before transferring to a cooling rack.
- Once completely cool, store in an airtight container at room temperature for up to 6 days.


Notes:
- The secret to smooth, uncracked cookies is to make the indent immediately after rolling the ball while it is still soft from the warmth of your hands. If you roll all the balls first, then make the indents, the cookies are way more likely to crack.
- If the dough is sticking to your hands, wet them with a bit of water.
- For a fun twist, roll the dough in plain or colored sugar before making the indent.
- Any kind of jam or fruit spread can be used!
- This cookie dough can be made in advance and stored in the fridge for up to 2 days, or in the freezer for up to 3 months.
- Cookies should be stored in an airtight container at room temperature, and will stay fresh for up to 4 days.
Nutrition Information
This website provides approximate nutrition information for convenience and as a courtesy only. Nutrition data is gathered primarily from the USDA Food Composition Database, whenever available, or otherwise other online calculators.
© Little Sunny Kitchen

Complete your Holiday Cookie Tray
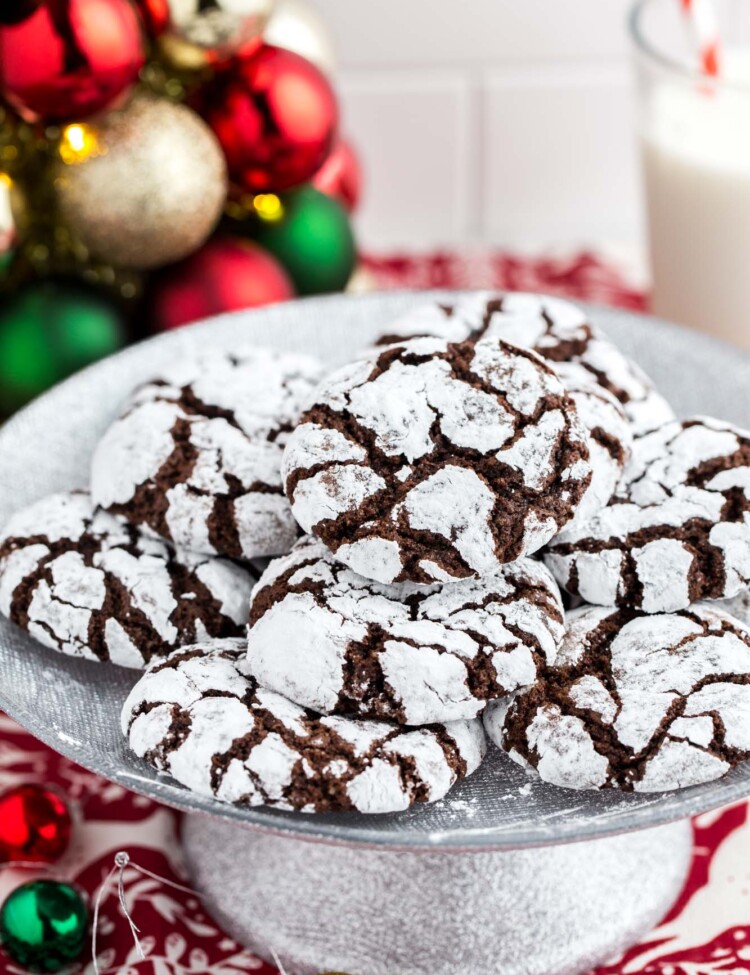
Every year, I have my go-to cookie favorites, but there’s always room for a few new Christmas cookie recipes! This year, I’m making these thumbprints along with the tastiest Gingerbread Men Cookies and gorgeous Stained Glass Cookies.
They fill up a holiday cookie box perfectly and will make the best homemade cookie gifts for friends and neighbors.

Cookie Storage Tips and Tricks
- Most baked cookies can be stored in an airtight container at room temperature for up to 5-7 days.
- For jam thumbprints, I suggest separating layers of cookies with parchment paper so that they don’t stick together.
- For longer storage, freeze your cookies for up to a month. When you’re ready to enjoy them, let them thaw at room temperature for an hour or so.


Brenda says
Almond extract, darn it!
Brenda says
These cookies are an absolute delight. Used the optional roll in sugar and just changed vanilla to half almost extract. Absolutely amazing cookie that I’ll be making more of. Thank you!
Diana says
Hi Brenda, I’m so glad you loved them. Thank you for sharing your tweaks and for the kind comment. I’m so happy these will be a repeat for you!
Heather says
They are delish! I made them with 1:1 Gluten Free flour.
Diana says
Thanks, Heather. So glad they turned out well with the 1:1 gluten-free flour. Appreciate you sharing that!