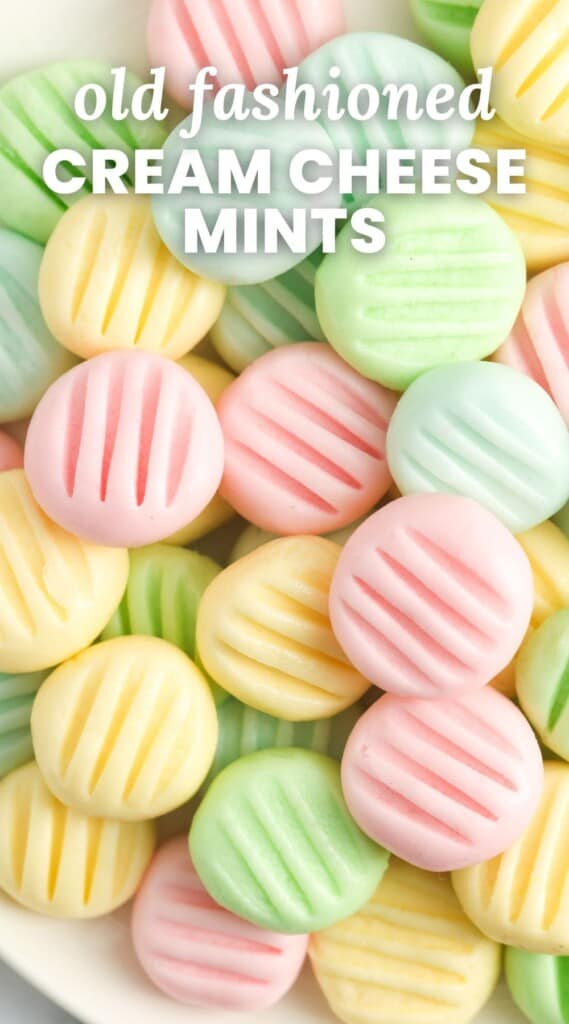
Easy to make Cream Cheese Mints are a sweet and refreshing treat that’s perfect for parties, holidays, or any special occasion.
These homemade creamy mint candies are a classic old-fashioned recipe that comes together in minutes, and is always a hit!
Cream cheese mints are a old fashioned recipe that I’m happy to share with you so that it it stays relevant! Nostalgic treats like this are not only delicious, but they can also be reminders to us of fun times from the past.
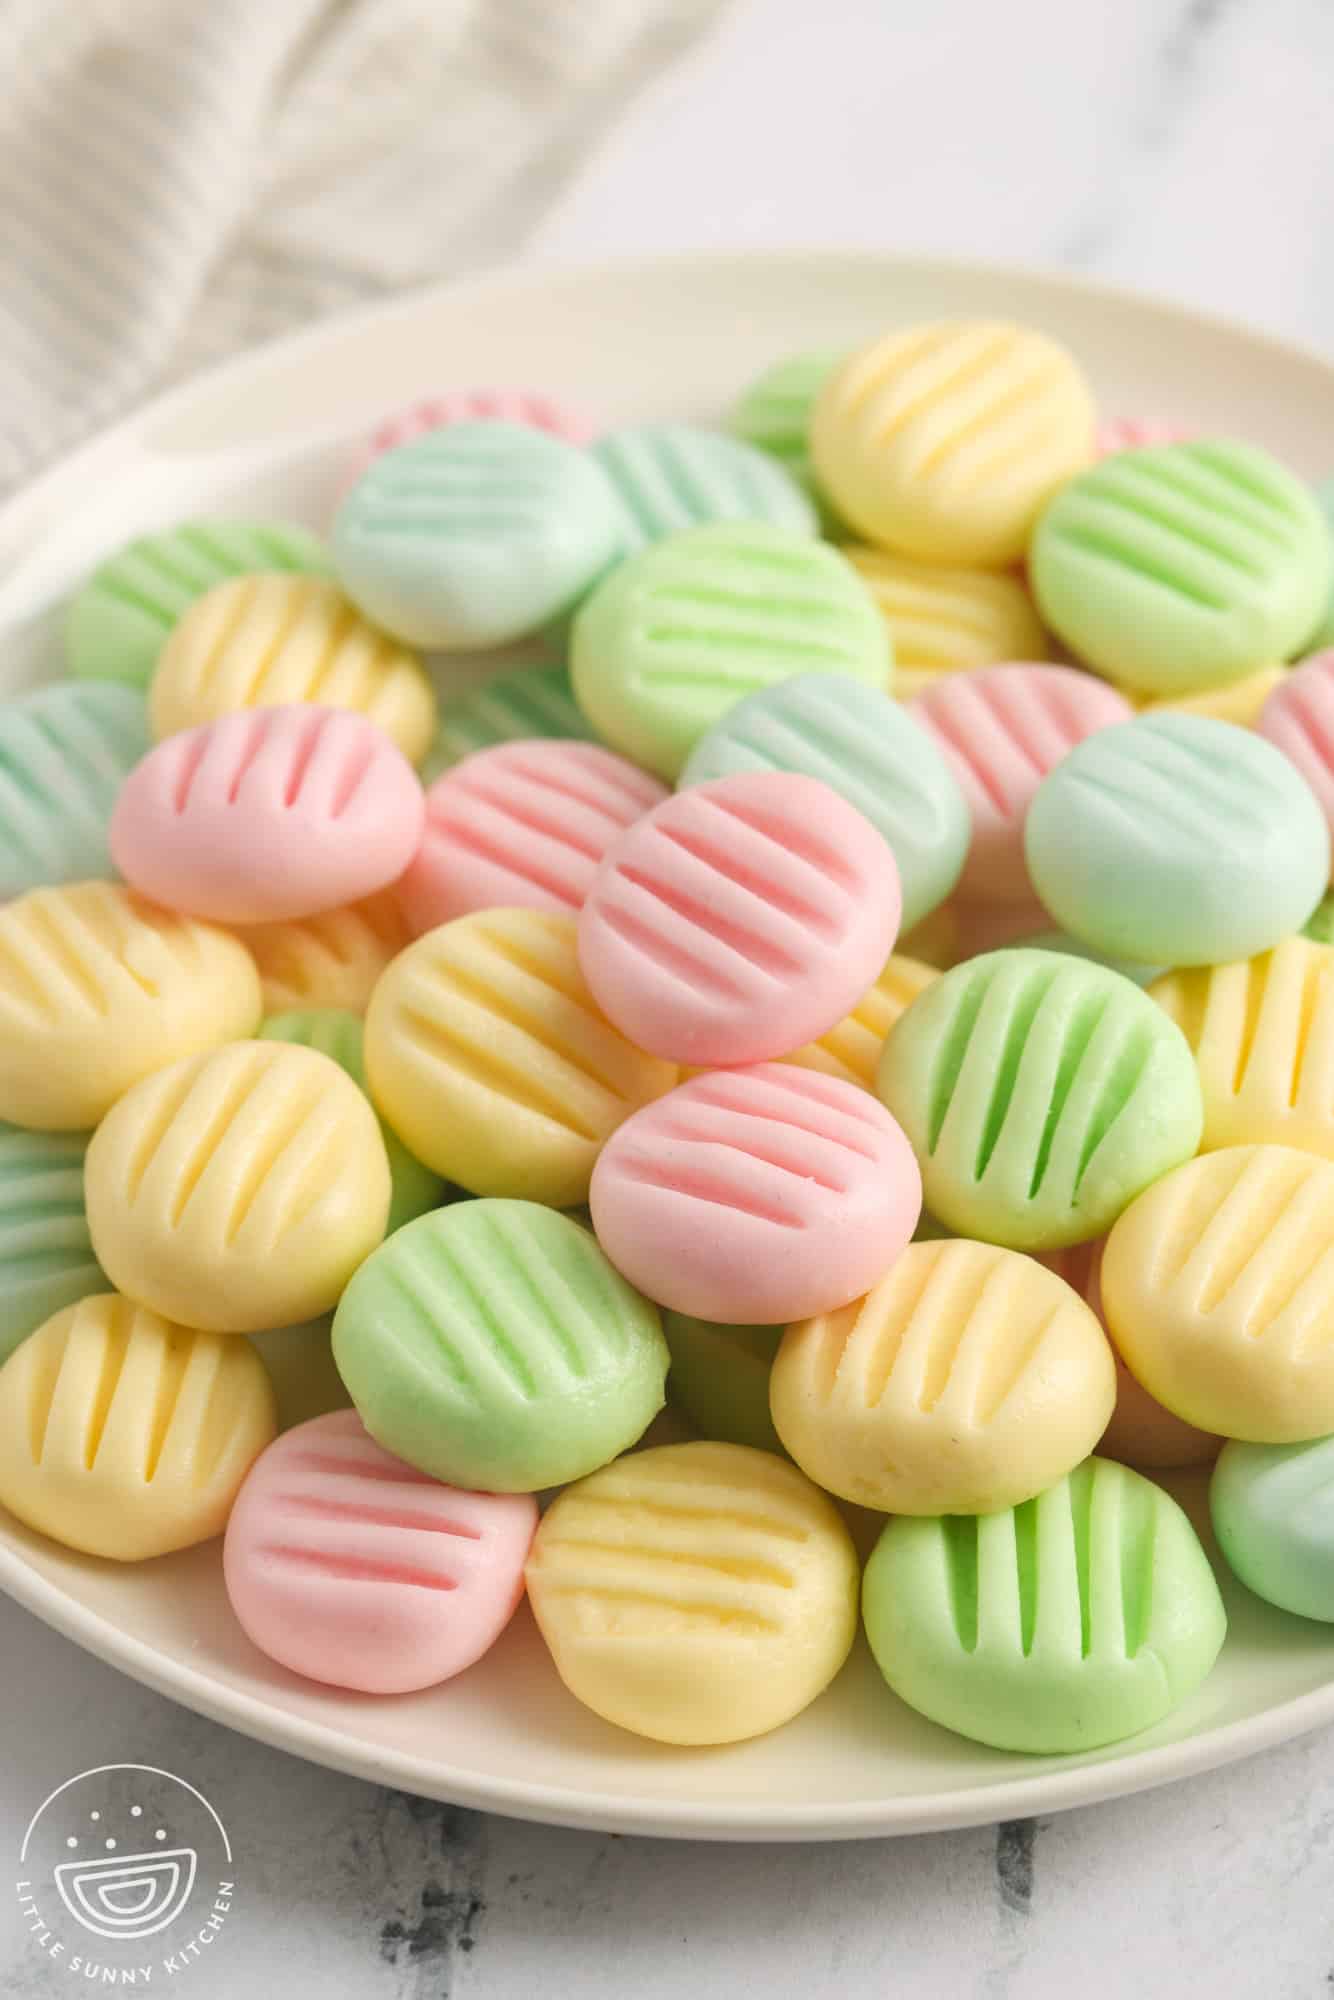
Similar to butter mints, these candies are sometimes called “wedding mints”, as cream cheese mints make a lovely favor for weddings, baby showers, and bridal showers.
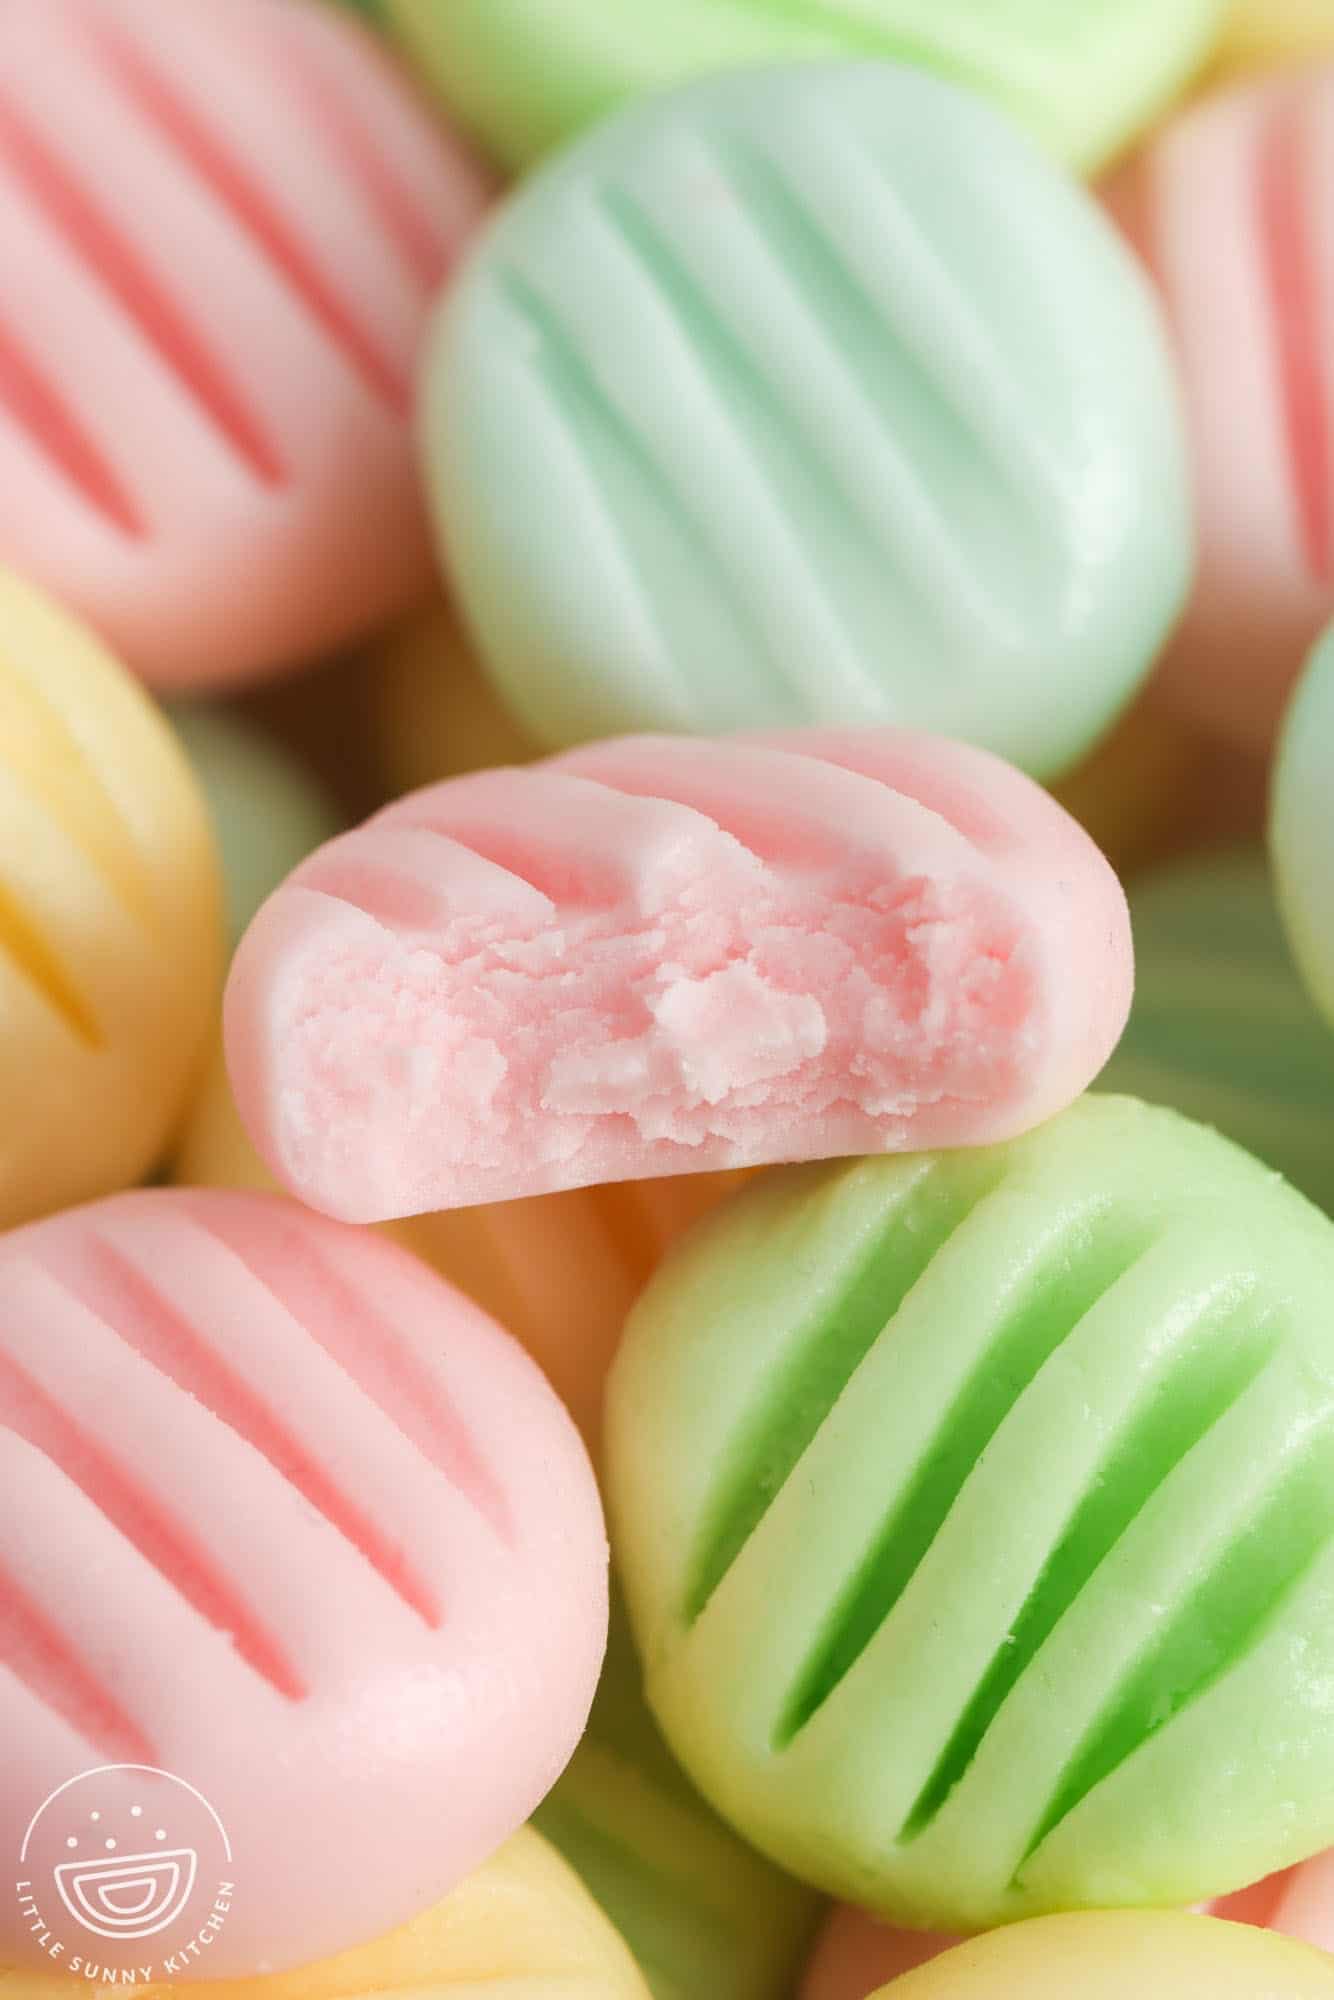
You don’t need a special occasion to make these simple cream cheese mints though! They can be mixed up in just a few minutes, and are a sweet, soft, melt-in-your-mouth treat that you can enjoy for any reason at all!
If you’re looking for another recipe that is perfect for a wedding shower, try my pretty Flower Cupcakes, Italian Wedding Cookies, or Raspberry Sorbet Bellinis.
Why You’ll Love This Recipe
- Simple Ingredients – You need six ingredients to make cream cheese mints, and none of them are unusual at all. Cream cheese, powdered sugar, and mint extract are the main ingredients.
- Easy to Make – Candy making can often involve cooking sugar to a specific temperature and paying close attention to details. Not in this cream cheese mints recipe! There’s no cooking involved in making homemade cream cheese mints. Simply mix the ingredients, shape them into small circles, and let them set.
- Customizable – You can easily adjust the colors, flavors, or shapes of these mints to suit any occasion. The possibilities are endless!
Ingredients In Cream Cheese Mints
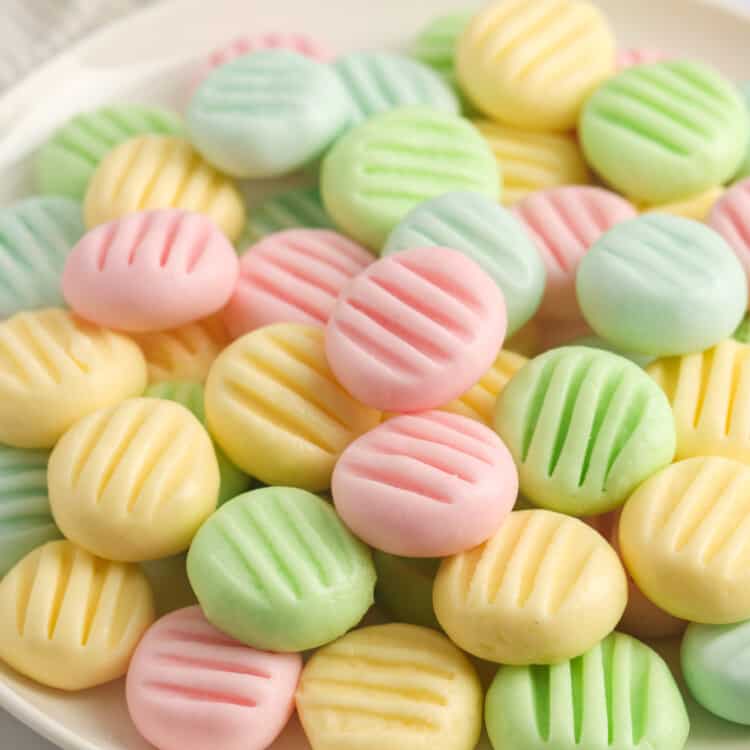
Here’s what you need to make these pastel mint candies:
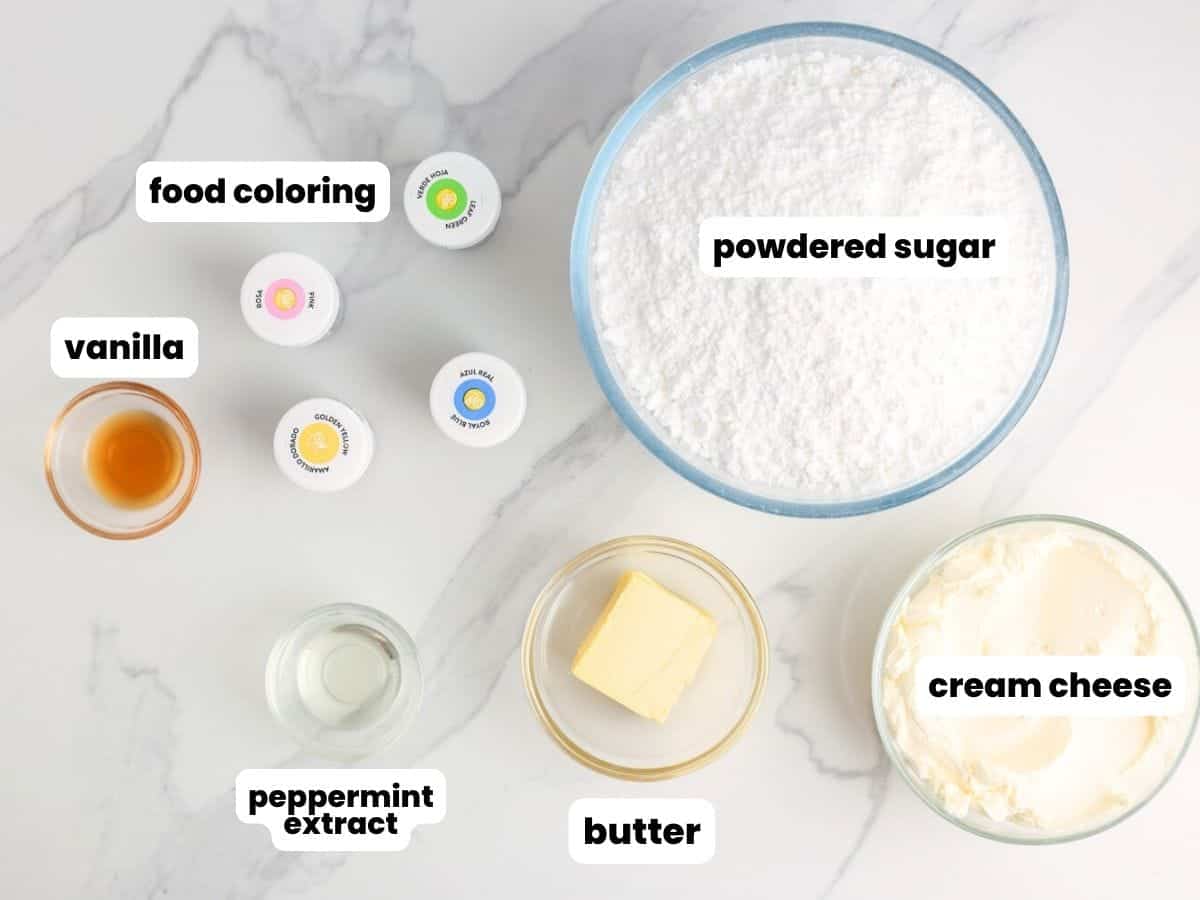
- Cream Cheese: For the best flavor and texture, use full-fat cream cheese. Let it soften fully at room temperature before mixing.
- Powdered Sugar: Adds sweetness and helps to bind the ingredients together.
- Butter: Just a tablespoon of unsalted butter adds richness and gives the mints a softer texture.
- Pure Vanilla Extract: This enhances the flavor of the mint just enough and adds a lovely warmth.
- Peppermint Extract: Be sure to use peppermint extract and not mint extract or spearmint extract – either of those can make your mints taste like toothpaste, and that’s not what we’re going for here!
- Food Coloring: Gel food coloring in your favorite colors makes the cream cheese mints festive and fun.
Complete list of ingredients and amounts can be found in the recipe card below.
How To Make Cream Cheese Mints
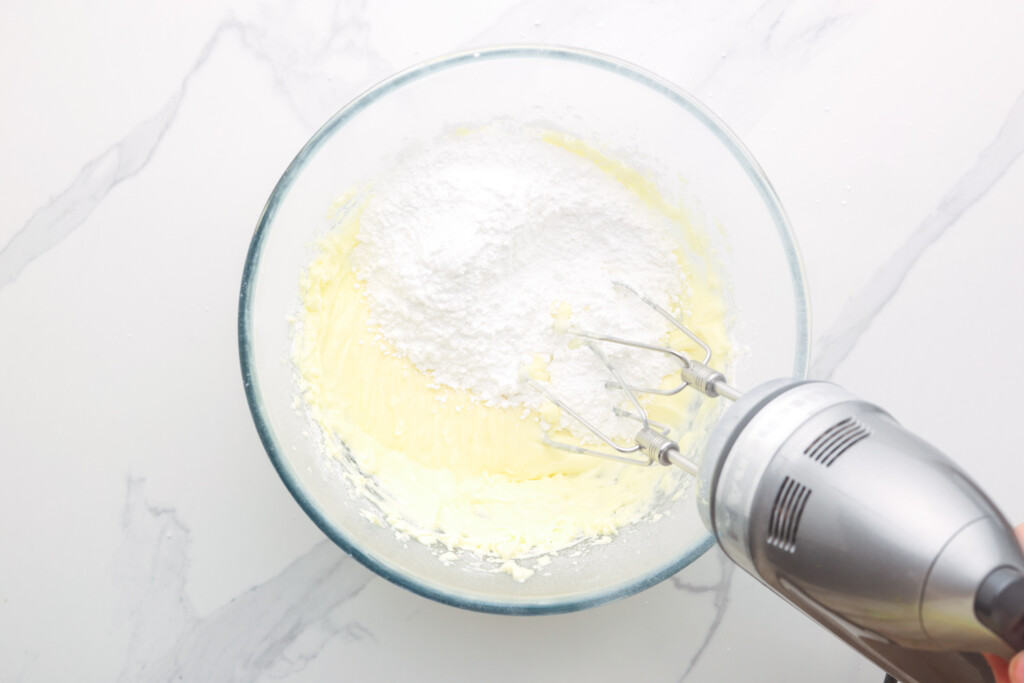
- Make the dough: In a large mixing bowl, combine the softened cream cheese, butter, vanilla extract, and peppermint extract using a handheld mixer. Gradually add the powdered sugar to the bowl, mixing continuously to avoid a “sugar storm”. Mix until all of the sugar is fully incorporated.
- Adjust if needed: Test the mint mixture by forming a small ball with your hands. It should not be sticky. If it is, add additional powdered sugar until you have a dough that is easy to work with.
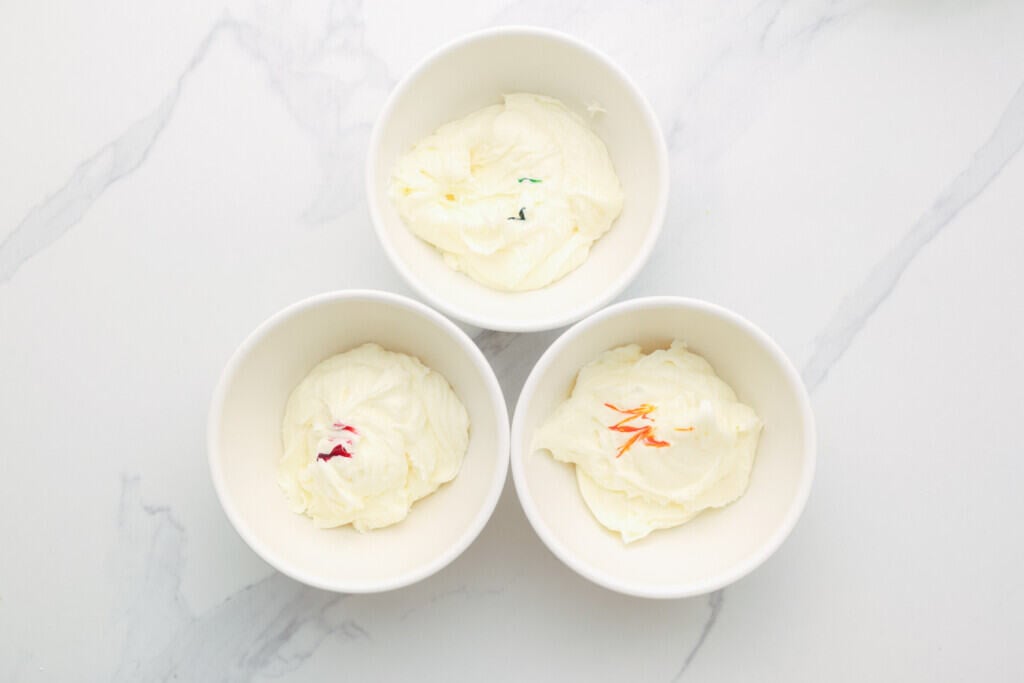
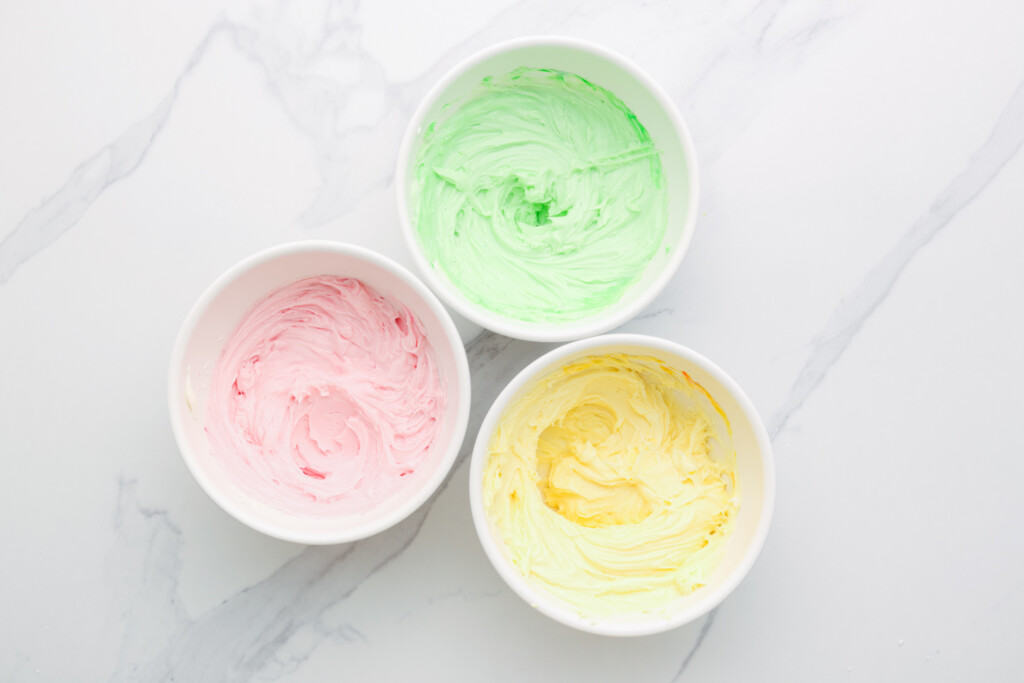
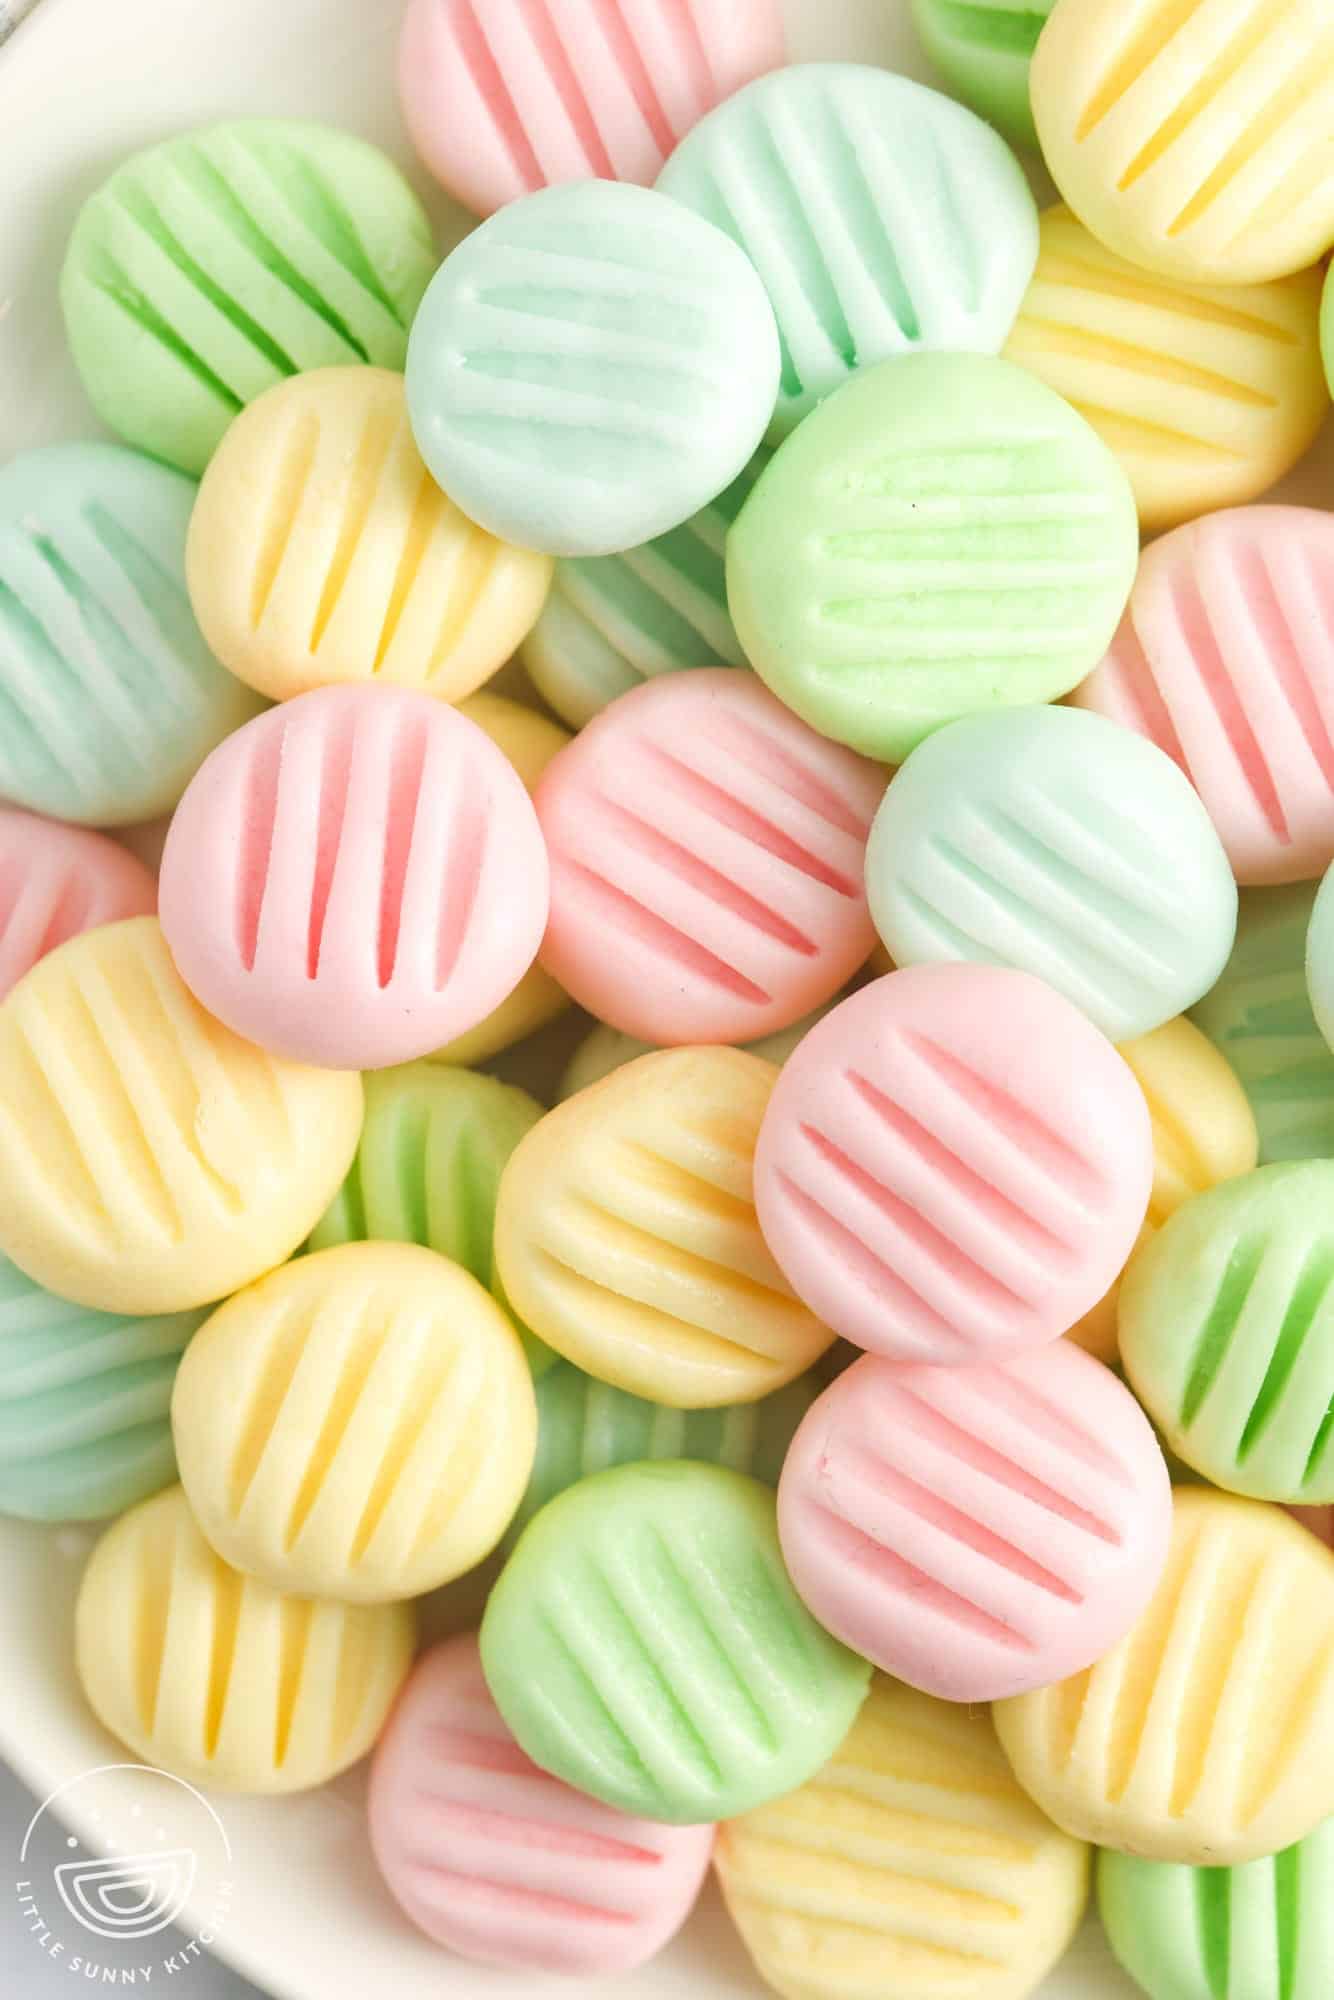
- Add Food Coloring: Divide the mixture into separate bowls, one for each color you plan to use. Add a small amount of gel food coloring to each and mix well. Add more coloring as needed to reach the shade you desire. You can make these in just one color, or as many colors as you like.
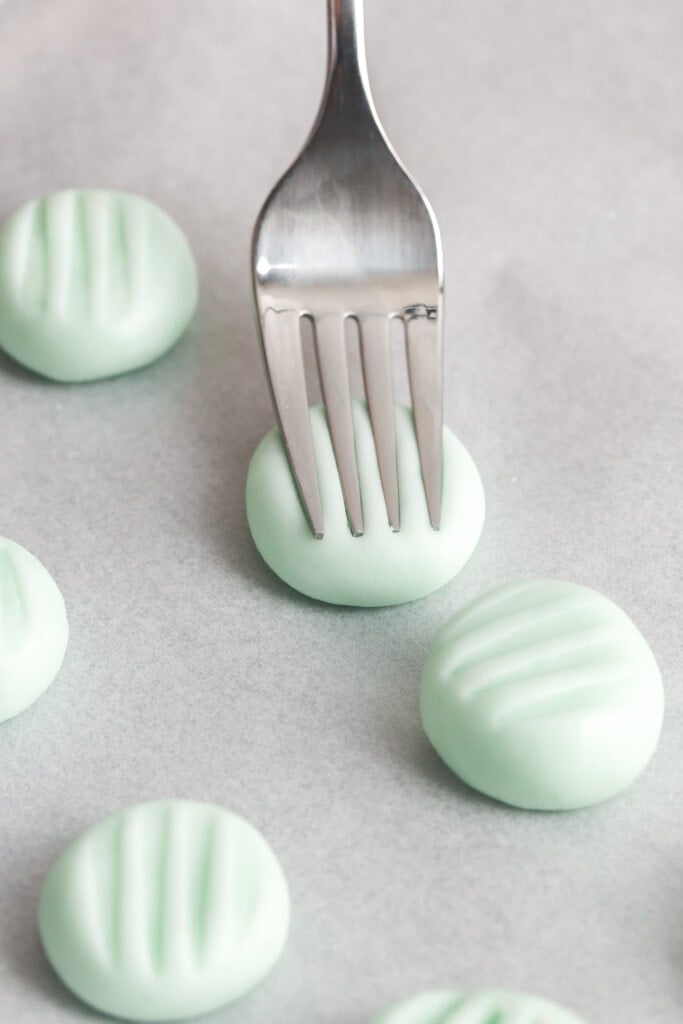
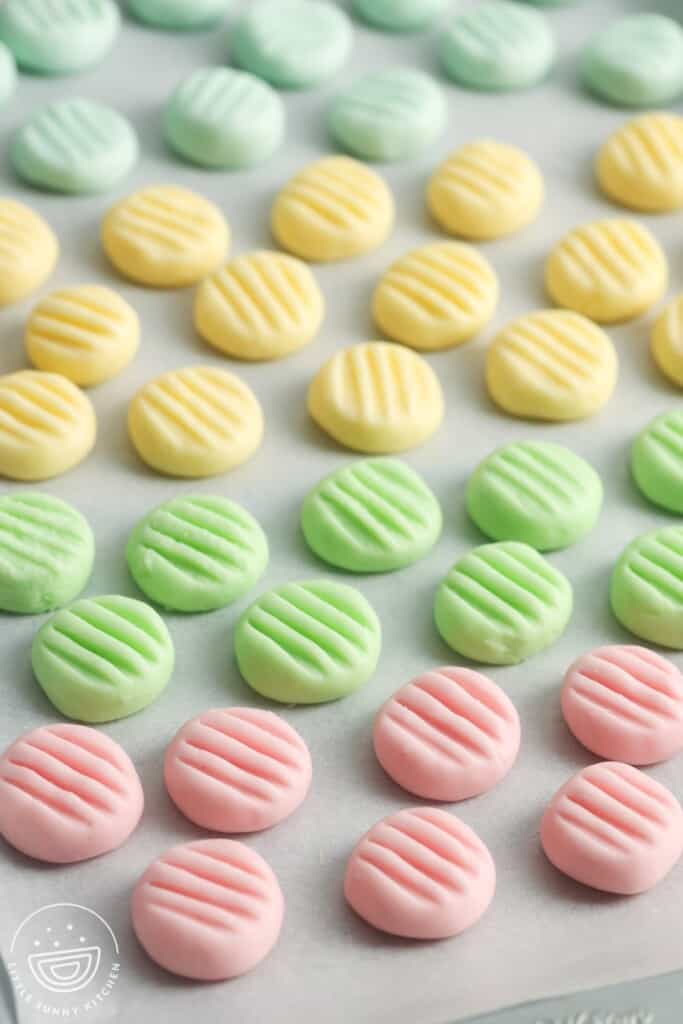
- Shape the Mints: Line a cookie sheet with parchment paper. Using a teaspoon or a small cookie scoop, portion out the cream cheese mint mixture. Roll each portion between your palms to form a ball, then place it on the sheet. Press into each ball with a fork to flatten it slightly and create a pattern.
- Dry: Allow the mints to dry and set at room temperature for at least two hours. Then transfer them to an airtight container for storage.
Tip!
Less is more when it comes to food coloring! Star with just a drop or two to create lovely pastel colors. Add a little bit more to achieve vibrant tones.
Recipe Tips
- Adjust for flavor: You can use a bit more or a bit less peppermint extract to suit your preference. I think that 1 ½ teaspoons is the perfect amount though!
- Try other extracts: You can avoid mint entirely and make these candies any flavor you like! Try almond extract, cherry, orange, or lemon extract.
- Make gifts or favors by adding a few mints to cellophane bags and tying the bags with festive ribbons.
- Food coloring is technically optional! These mints still taste delicious if you leave them in their natural cream color. You can also try these with all-natural colorings if you’d like to avoid using food dyes.
Storing Tips
Once they are set and firm, store your cream cheese minutes in an airtight container in the refrigerator for up to two weeks, or in the freezer for up to 3 months.
Recipe FAQs
Can Cream Cheese Mints Be Frozen?
One of the great things about this recipe is that it freezes very well. If you like to plan ahead, the mints can be made and frozen for up to 3 months! Be sure that your freezer container is air-tight and very well sealed to avoid any moisture getting to them.
Can I Double the Recipe?
Of course! You can make as many mints as you need using this recipe. Simply double or triple the ingredients, and make sure you have a large enough mixing bowl to hold them. If you’re scaling the recipe up, I suggest using your stand mixer rather than a hand mixer to do the mixing.
Can Cream Cheese Mints Be Made in Molds?
To make these treats into any shape you can imagine, consider shaping them using flexible silicone candy molds. To keep them from sticking, roll the dough into some extra powdered sugar or granulated first.
Allow the mints to set in the molds, then carefully remove them and let them dry fully.
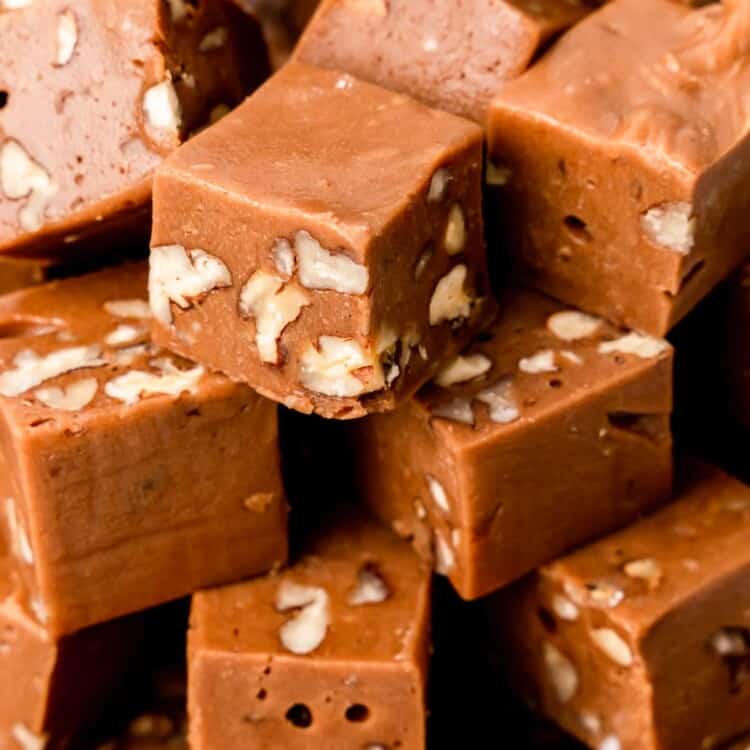
More Candies and Treats to Make


Homemade Cream Cheese Mints are an old-fashioned treat, but a delicious one that you should definitely make for your next special occasion! Save this recipe by Pinning it!
Did you make this? Be sure to leave a review below and tag me on Facebook, Instagram, or Pinterest!
Cream Cheese Mints
Equipment
- Electric Hand mixer or Stand mixer
Ingredients
- 8 ounces (225 g) full-fat cream cheese
- 8 cups (960 g) powdered sugar or 2 pounds
- 1 tablespoon (14 g) unsalted butter softened
- ½ teaspoon pure vanilla extract
- 1 ½ teaspoons peppermint extract
- Gel food coloring as needed
Instructions
- In a large mixing bowl, combine the cream cheese, softened butter, vanilla extract, and peppermint extract.
- Gradually add the powdered sugar to the bowl, mixing continuously to avoid a sugar storm. Keep adding until the sugar is fully incorporated.
- Test the mixture by forming a small ball with your hands. It should not be sticky. If it’s sticky, add more powdered sugar, starting with ¼ cup. Mix well and test again, adding more sugar if necessary.
- Divide the mixture into separate bowls, one for each color you plan to use. Add a small amount of gel food coloring to each bowl and mix well. Add more coloring gradually until you achieve the desired shade.
- Line a cookie sheet with parchment paper. Using a teaspoon or a small cookie scoop, scoop out portions of the mixture. Roll each portion between your palms to form a ball, then place it on the prepared cookie sheet.
- Press down each mint ball with a fork to flatten slightly and create a pattern. Leave the mints to dry at room temperature for at least 2 hours.
Notes:
- Adjust for flavor: You can use a bit more or a bit less peppermint extract to suit your preference. I think that 1 ½ teaspoons is the perfect amount though!
- Try other extracts: You can avoid mint entirely and make these candies any flavor you like! Try almond extract, cherry, orange, or lemon extract.
- Make gifts or favors by adding a few mints to cellophane bags and tying the bags with festive ribbons.
- Food coloring is technically optional! These mints still taste delicious if you leave them in their natural cream color. You can also try these with all-natural colorings if you’d like to avoid using food dyes.
- To Store: Once dry, store your mints in an airtight container in the fridge for up to a week or in the freezer for several months.
Nutrition Information
This website provides approximate nutrition information for convenience and as a courtesy only. Nutrition data is gathered primarily from the USDA Food Composition Database, whenever available, or otherwise other online calculators.
© Little Sunny Kitchen

Lori Riddick says
Made these for a retirement party and they were a big hit! Now I’m making them for Easter. They are very good and everybody likes them.
Diana says
That’s wonderful to hear, Lori! So glad they were a hit at the party, and perfect for Easter too. Thanks for making them again!
Leslie T says
So simple to make. I’ve always wanted to make them and your recipe was on point.
I did find I added quite a bit more, almost a cup extra powdered sugar. Not a problem at all as you mentioned that you might need extra.
Smooth, creamy texture and the peppermint wasn’t overwhelming. I’ll put these on my must make holiday list from here on out.
Thanks so much for sharing.
Little Sunny Kitchen says
Hi Leslie! I’m so glad my recipe worked so well for you. Enjoy, and happy holidays!
Cindy G. says
About how many mints does a full recipe make?
Little Sunny Kitchen says
About 150 mints!
Magical_Moosey says
Super Yummy!! The flavour is delish and my family enjoys them a lot! However, they are not the texture I thought they would be. Kind of like dried up cream cheese frosting, but they taste really good and work well! I halved the recipe but it made way more than 75 (pleasant surprise ). I added more sugar than the recipe said because the ‘batter’ (idk if that’s the right word) was too sticky. In the end the ‘mints’ turned out really yummy! I definitely recommend this recipe.
Diana says
I’m glad to hear they were a hit in terms of flavor and that your family enjoyed them! And it’s always nice when a recipe yields more than anticipated. Thanks for recommending the recipe and sharing your modifications and experience!
AE says
Hi, I was about to print the recipe, but realised it says 8 cups/960 g of powdered sugar, and then it says 1 pound. Just checking if it’s 1 or 2 pounds / 4 or 8 cups. Thanks!
Diana says
Thanks for the heads up! It’s 2 pounds in total, we just corrected it 🙂 Enjoy!