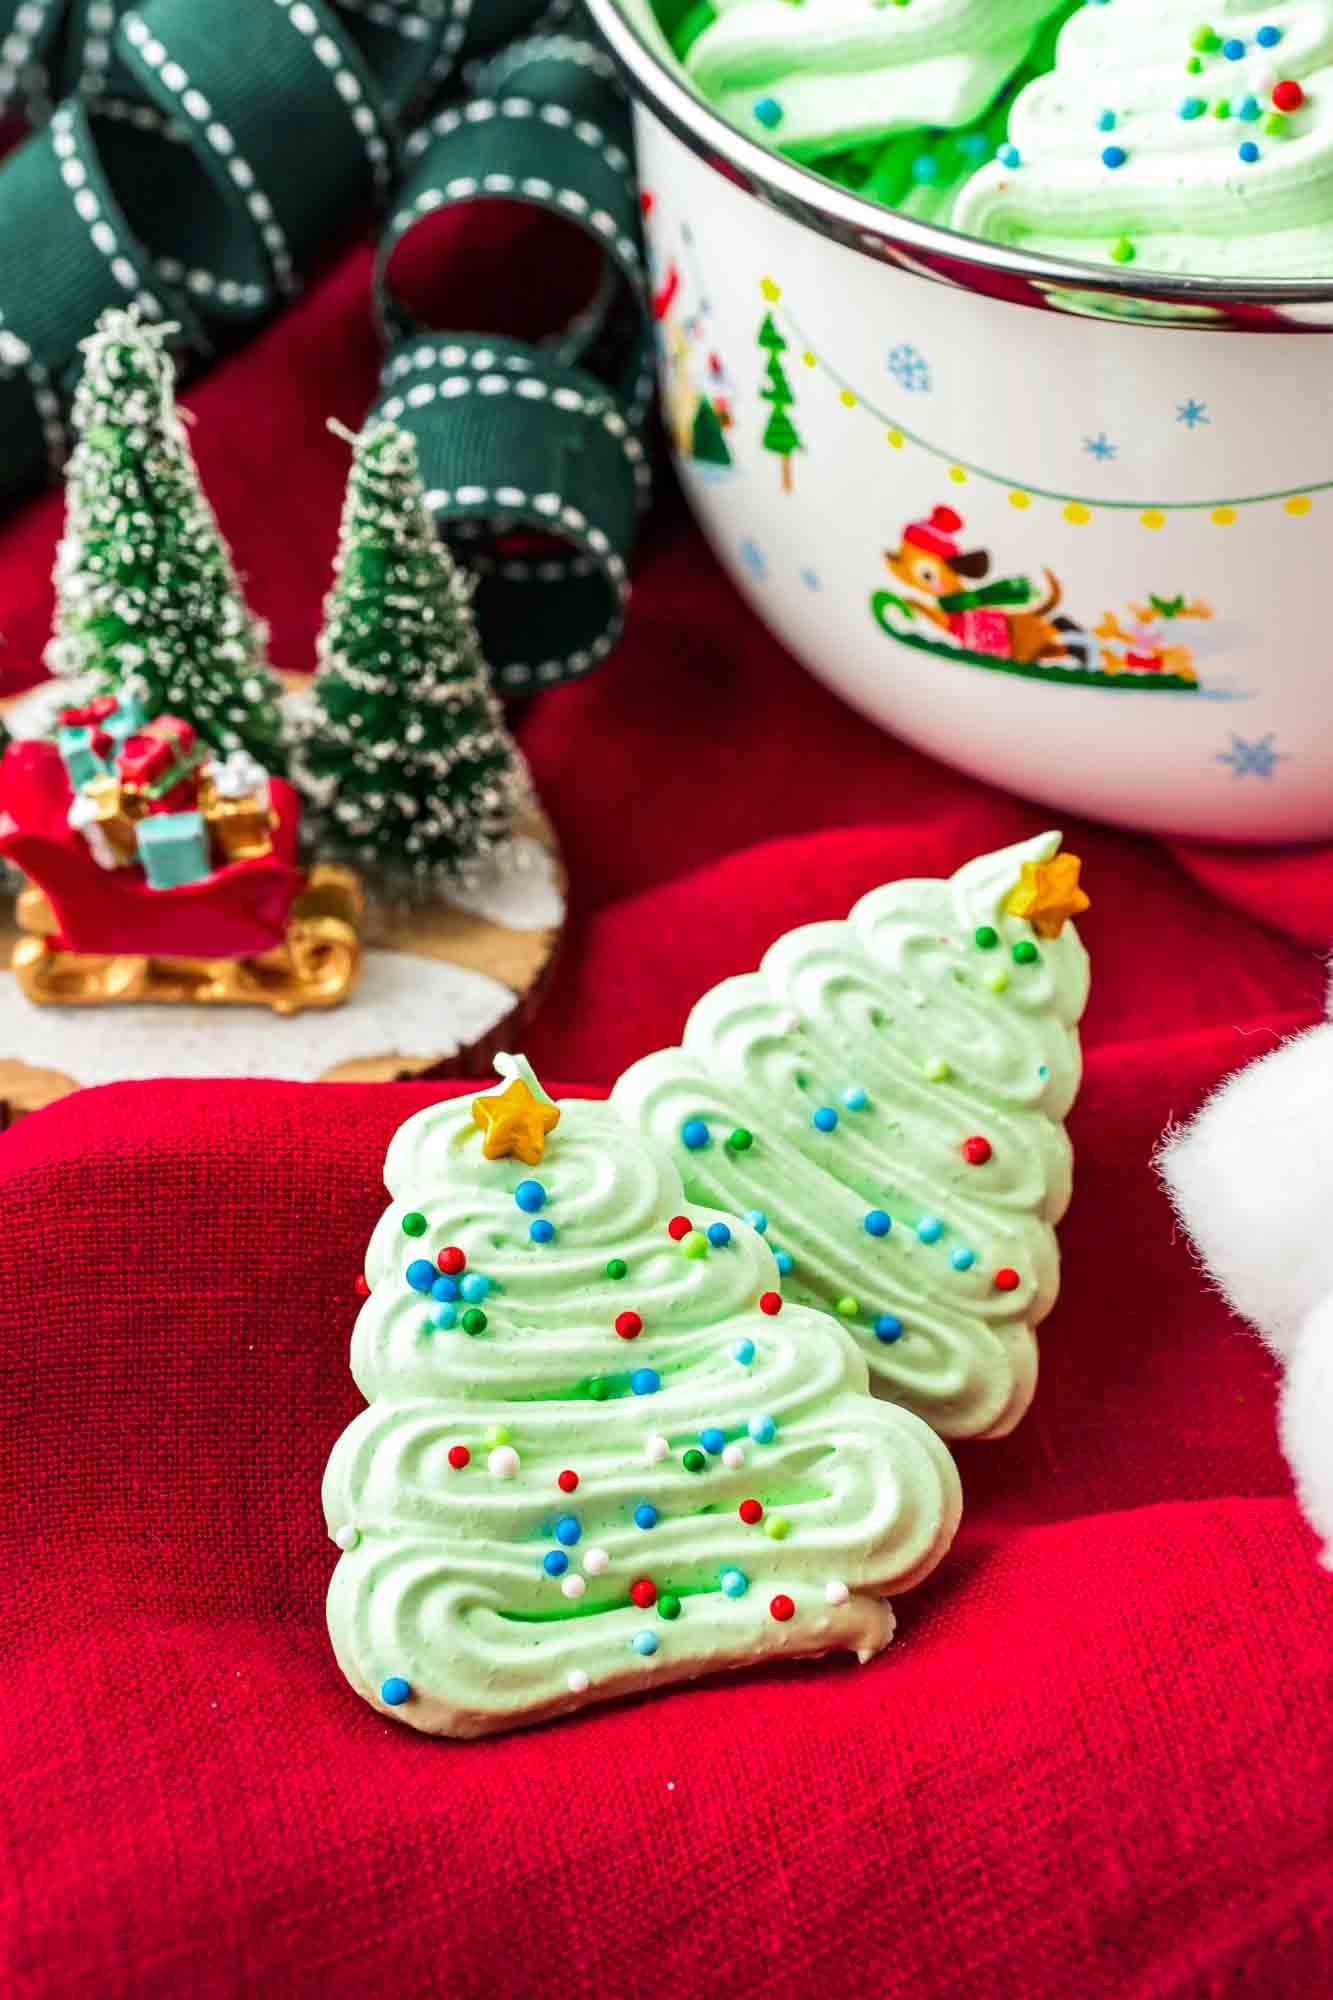
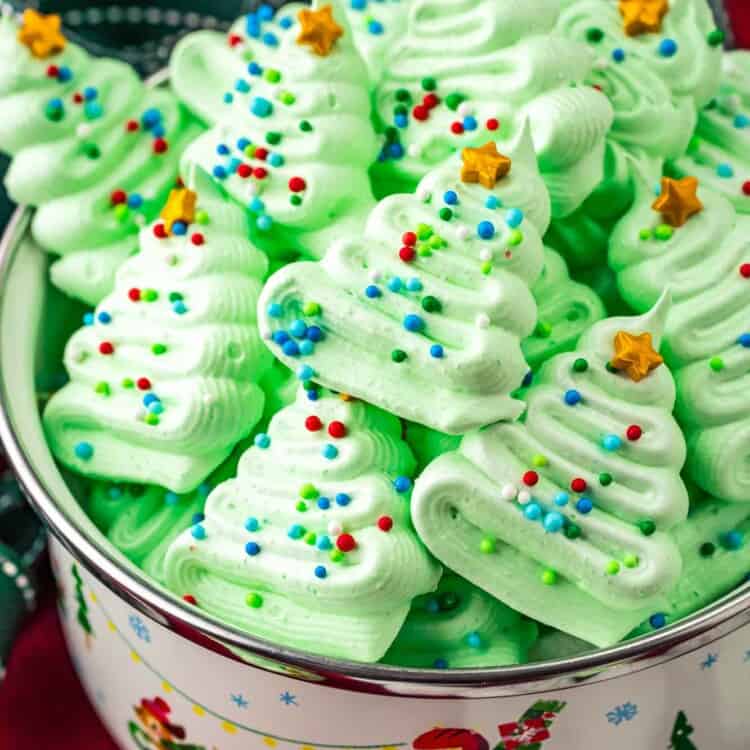
Let’s make festive and unique Christmas cookies this year that will wow your friends and family! Christmas tree meringue cookies will look amazing on your cookie trays plus they are tasty and really cute.
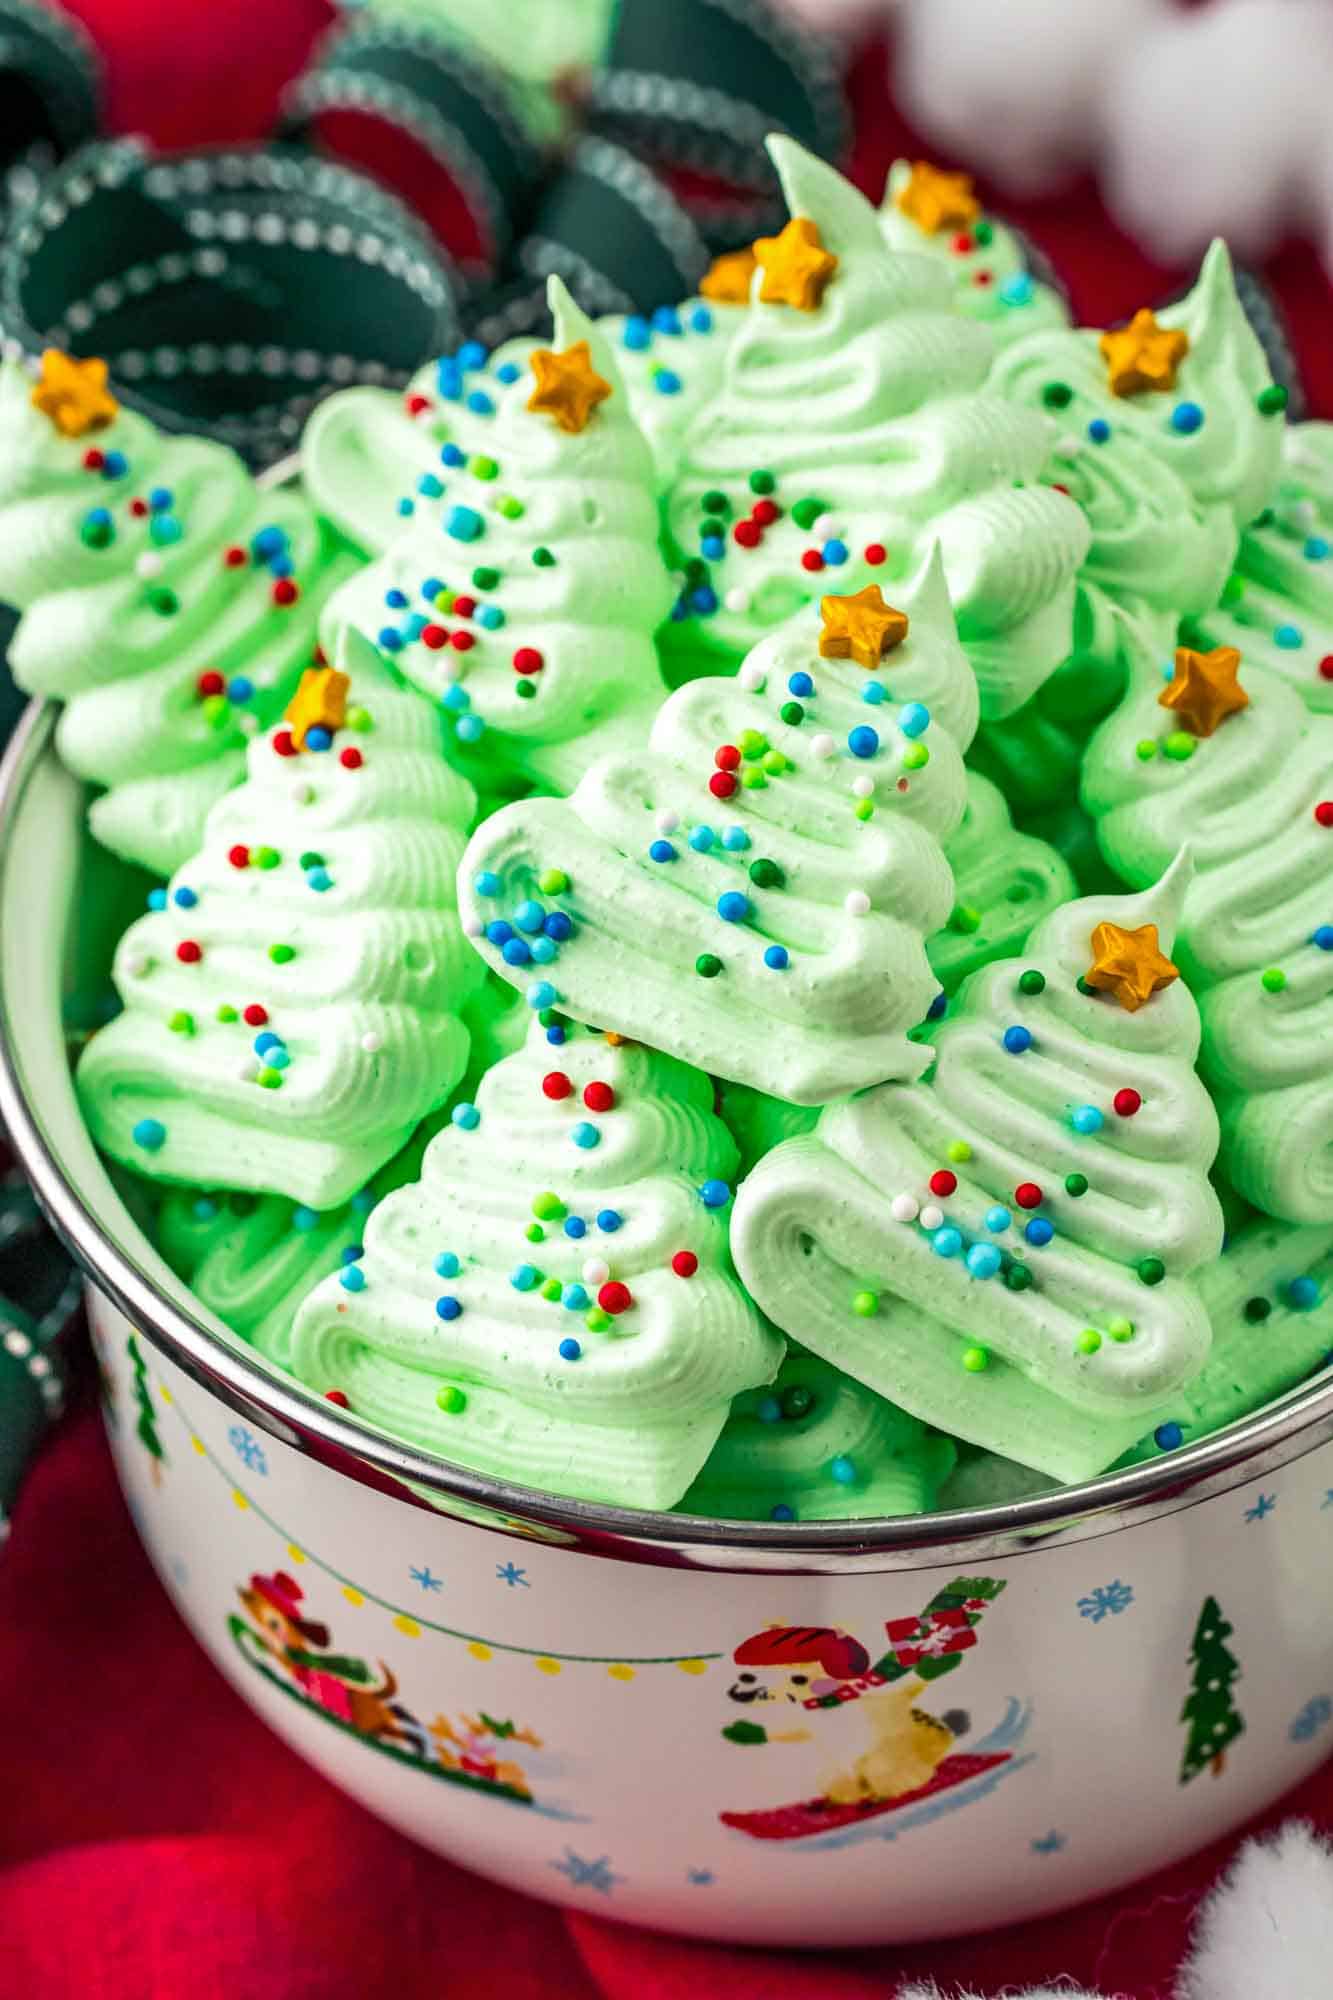
Meringue cookies can be a little bit tricky, but I’m here to teach you how to make meringue cookies, step by step, so that they turn out perfectly. Take your time, follow the instructions, and you’ll have perfect meringue trees to share.
Christmas Tree Meringues are perfect for the holiday season and can be made up to two weeks ahead of time.
I love the light and airy texture of meringues, and the Christmas sprinkles add the perfect amount of extra sugary crunch. Once you’ve mastered this recipe, you can make any kind of meringue cookies, even macarons!
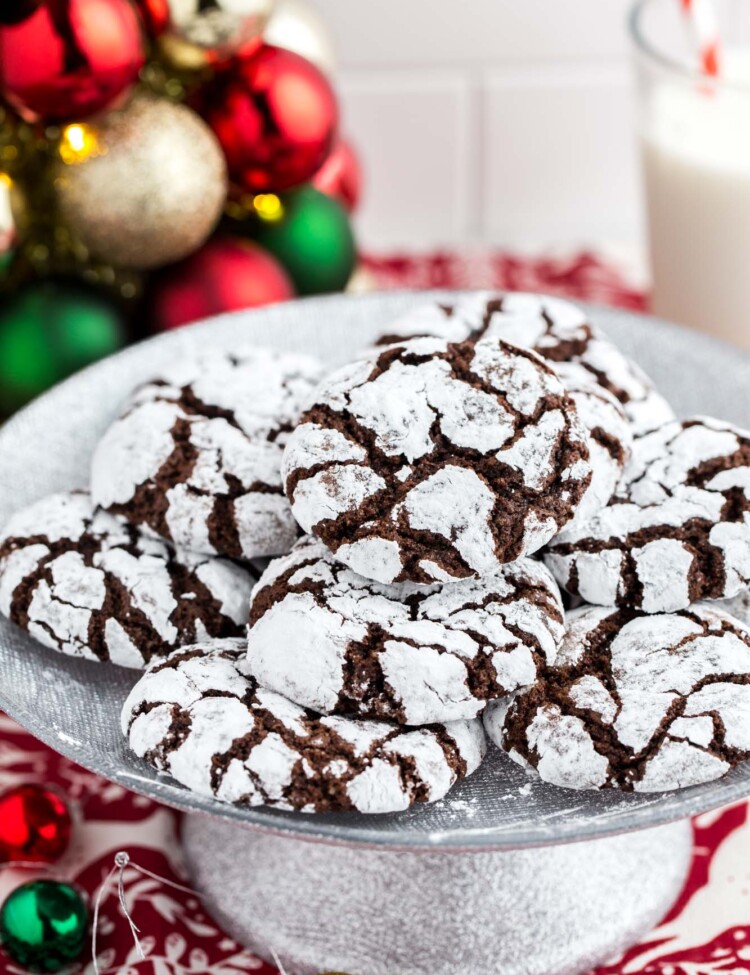
If you need more cookie ideas, see all of my Christmas Recipes. Or just start with one of my favorites: Ricotta Cookies or Chocolate Crinkle Cookies.
Why You’ll Love This Recipe
- These cookies are impressive: People will literally ooh and ahh over these Christmas Tree Meringue Cookies. They will think that you are an artistic genius.
- Christmas Tree Cookies: I don’t know why, but cookies shaped like Christmas trees are always my favorites. Cut out Christmas tree cookies, brownies shaped like trees, or little Christmas tree cookies are just the best, and these cookies will fit right in.
- Minimal Ingredients: Meringue cookies only need 4 ingredients, and this recipe is just 6 ingredients total, including the food coloring and sprinkles.
Key Ingredients
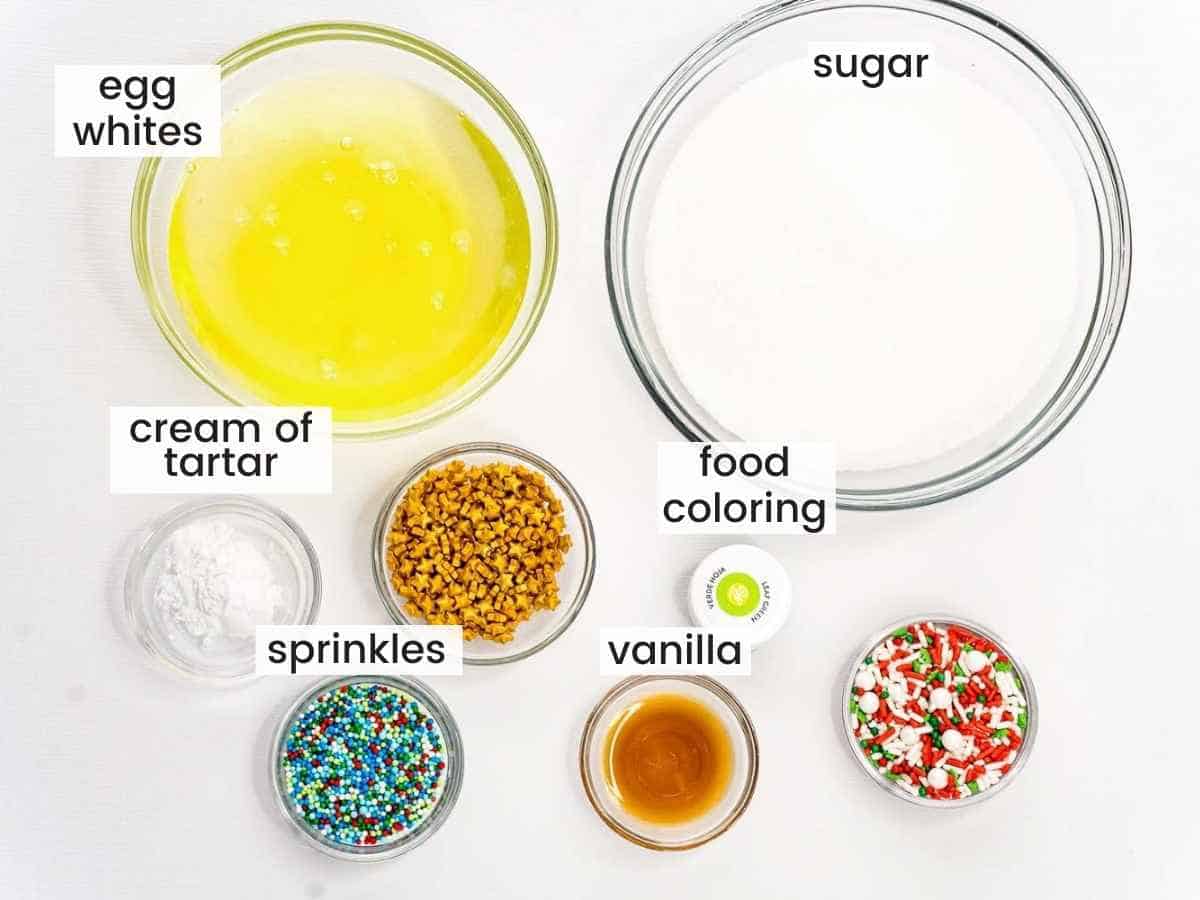
Complete list of ingredients and amounts can be found in the recipe card below.
- Egg Whites: You want the whites only from 6 large eggs for this recipe. It’s very important that you let the egg whites come to room temperature and that you’re careful not to have any yolks in there.
- Cream of Tartar: This is a very important ingredient in meringue cookies (and in Snickerdoodles too). Without fresh cream of tartar, your meringues won’t work. I suggest purchasing new cream of tartar when making these, or at least making sure that it’s fresh.
- Sugar: The ideal type of sugar for meringues is superfine or caster sugar. If you can’t find that, regular granulated sugar will work as well.
- Pure Vanilla Extract: This adds flavor to the cookies! You can swap it out for any other extract that you enjoy too.
- Food Coloring and Sprinkles: These won’t be trees unless they are green and decorated! You can use any type of holiday sprinkles that you like. Want gold stars for the tops of your trees? Get them here.
Tip!
Keep your hands and your workspace clean while making these. Oil – cooking, skin, or otherwise- can ruin your meringues.
How to Make Christmas Tree Meringue Cookies
- Set up: Preheat the oven to 200°F/93°C. Line two baking sheets with parchment paper and set aside.
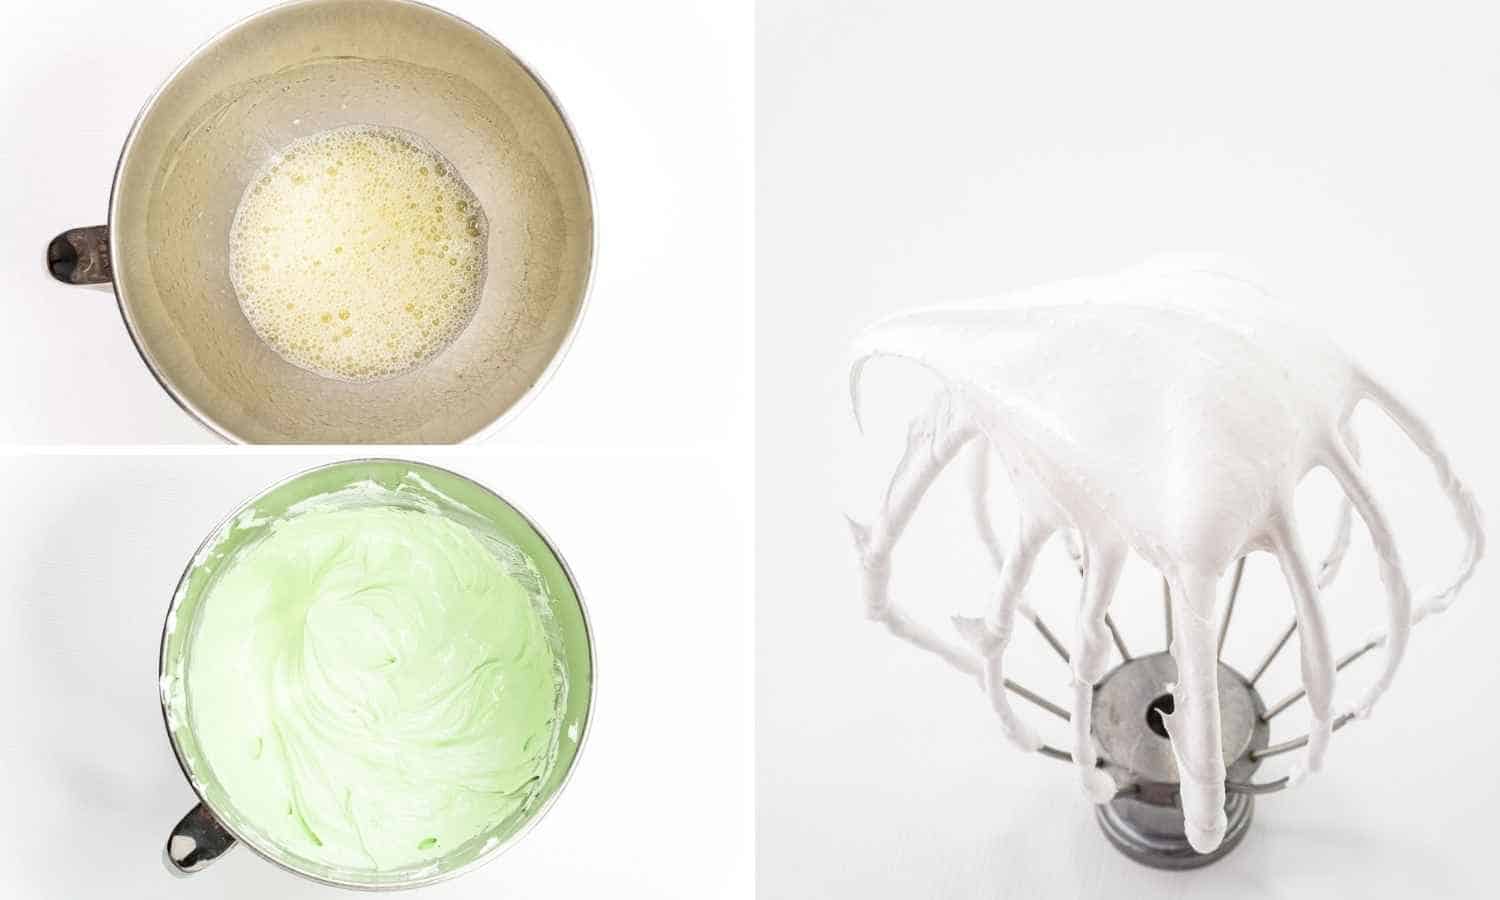
- Whip: To the bowl of a stand mixer, add the room temperature egg whites and the cream of tartar. Beat with the whisk attachment on low speed until the mixture becomes foamy. Increase the speed to high, and add the sugar, 1 tablespoon at a time, mixing for about 15 seconds between each addition. Once all the sugar is added, continue beating until the egg whites reach the stiff peaks stage and are thick and shiny.
- Test: To check to see that the meringue is ready, you can rub a small amount of it between your fingers to make sure that it’s not gritty. If there is any grit, continue mixing until it’s gone. You should also lift the whisk up out of the bowl to see that the peaks are indeed stiff, with peaks that will curl over on themselves.
- Add Color and Flavor: Add food coloring and vanilla extract and mix until the color is evenly blended.
- Set up Piping Bag: Transfer the meringue to a large piping bag fitted with a medium or large piping tip. You can use a round, flat, or even an open star tip. I suggest a Wilton 18 Star or a Wilton 12 round for these, but you can use any tip you like as long as you can draw lines with it.
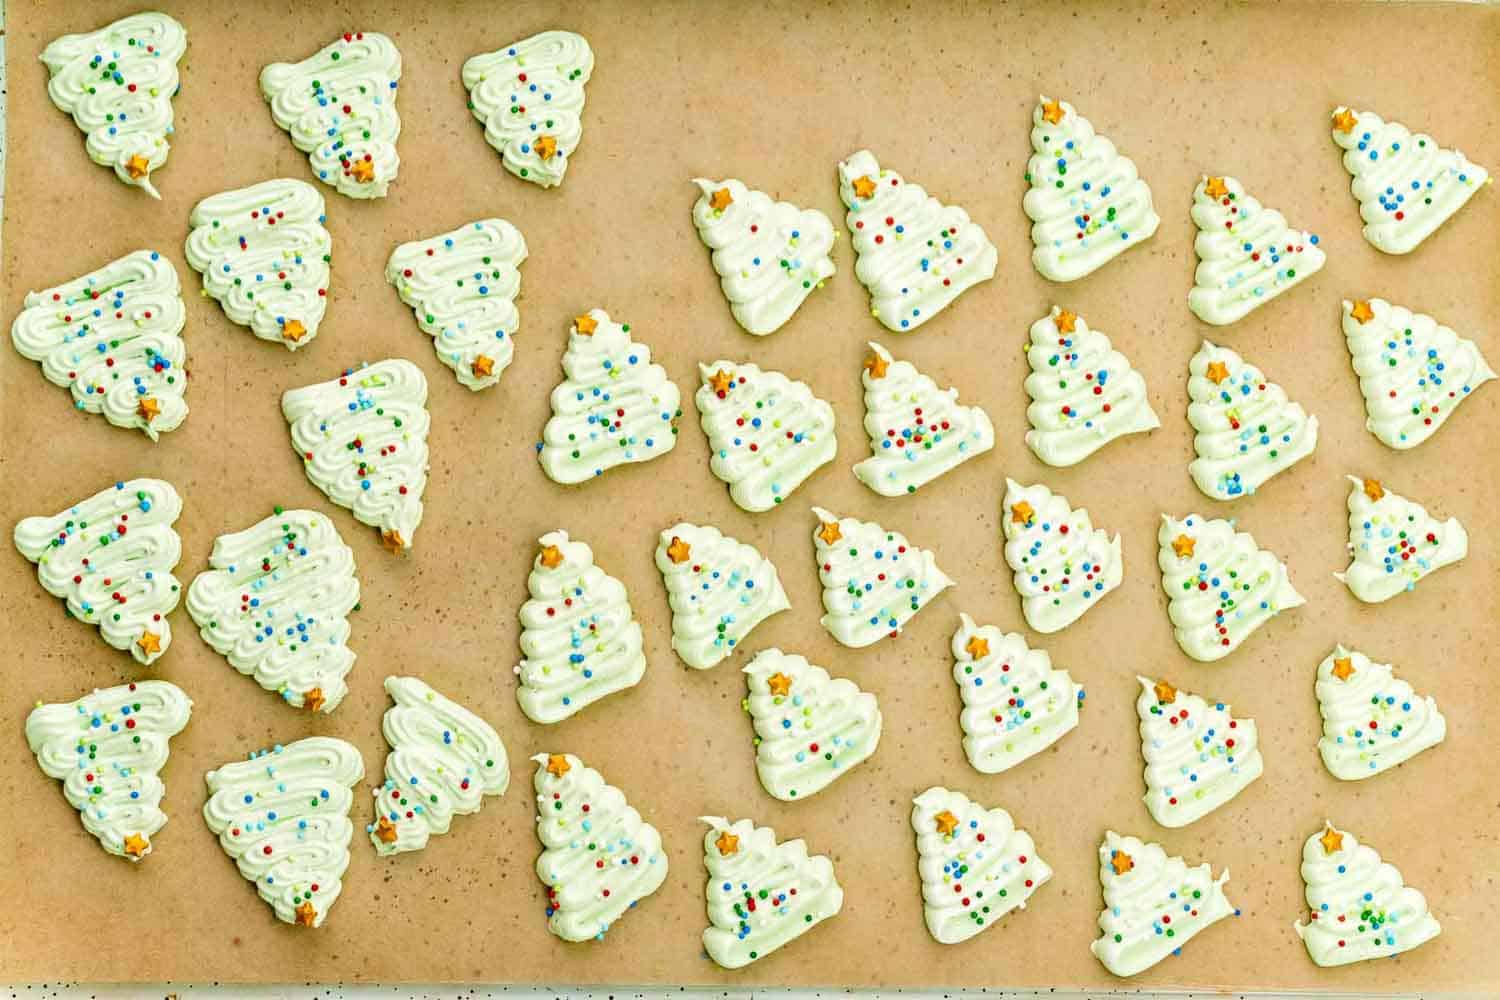
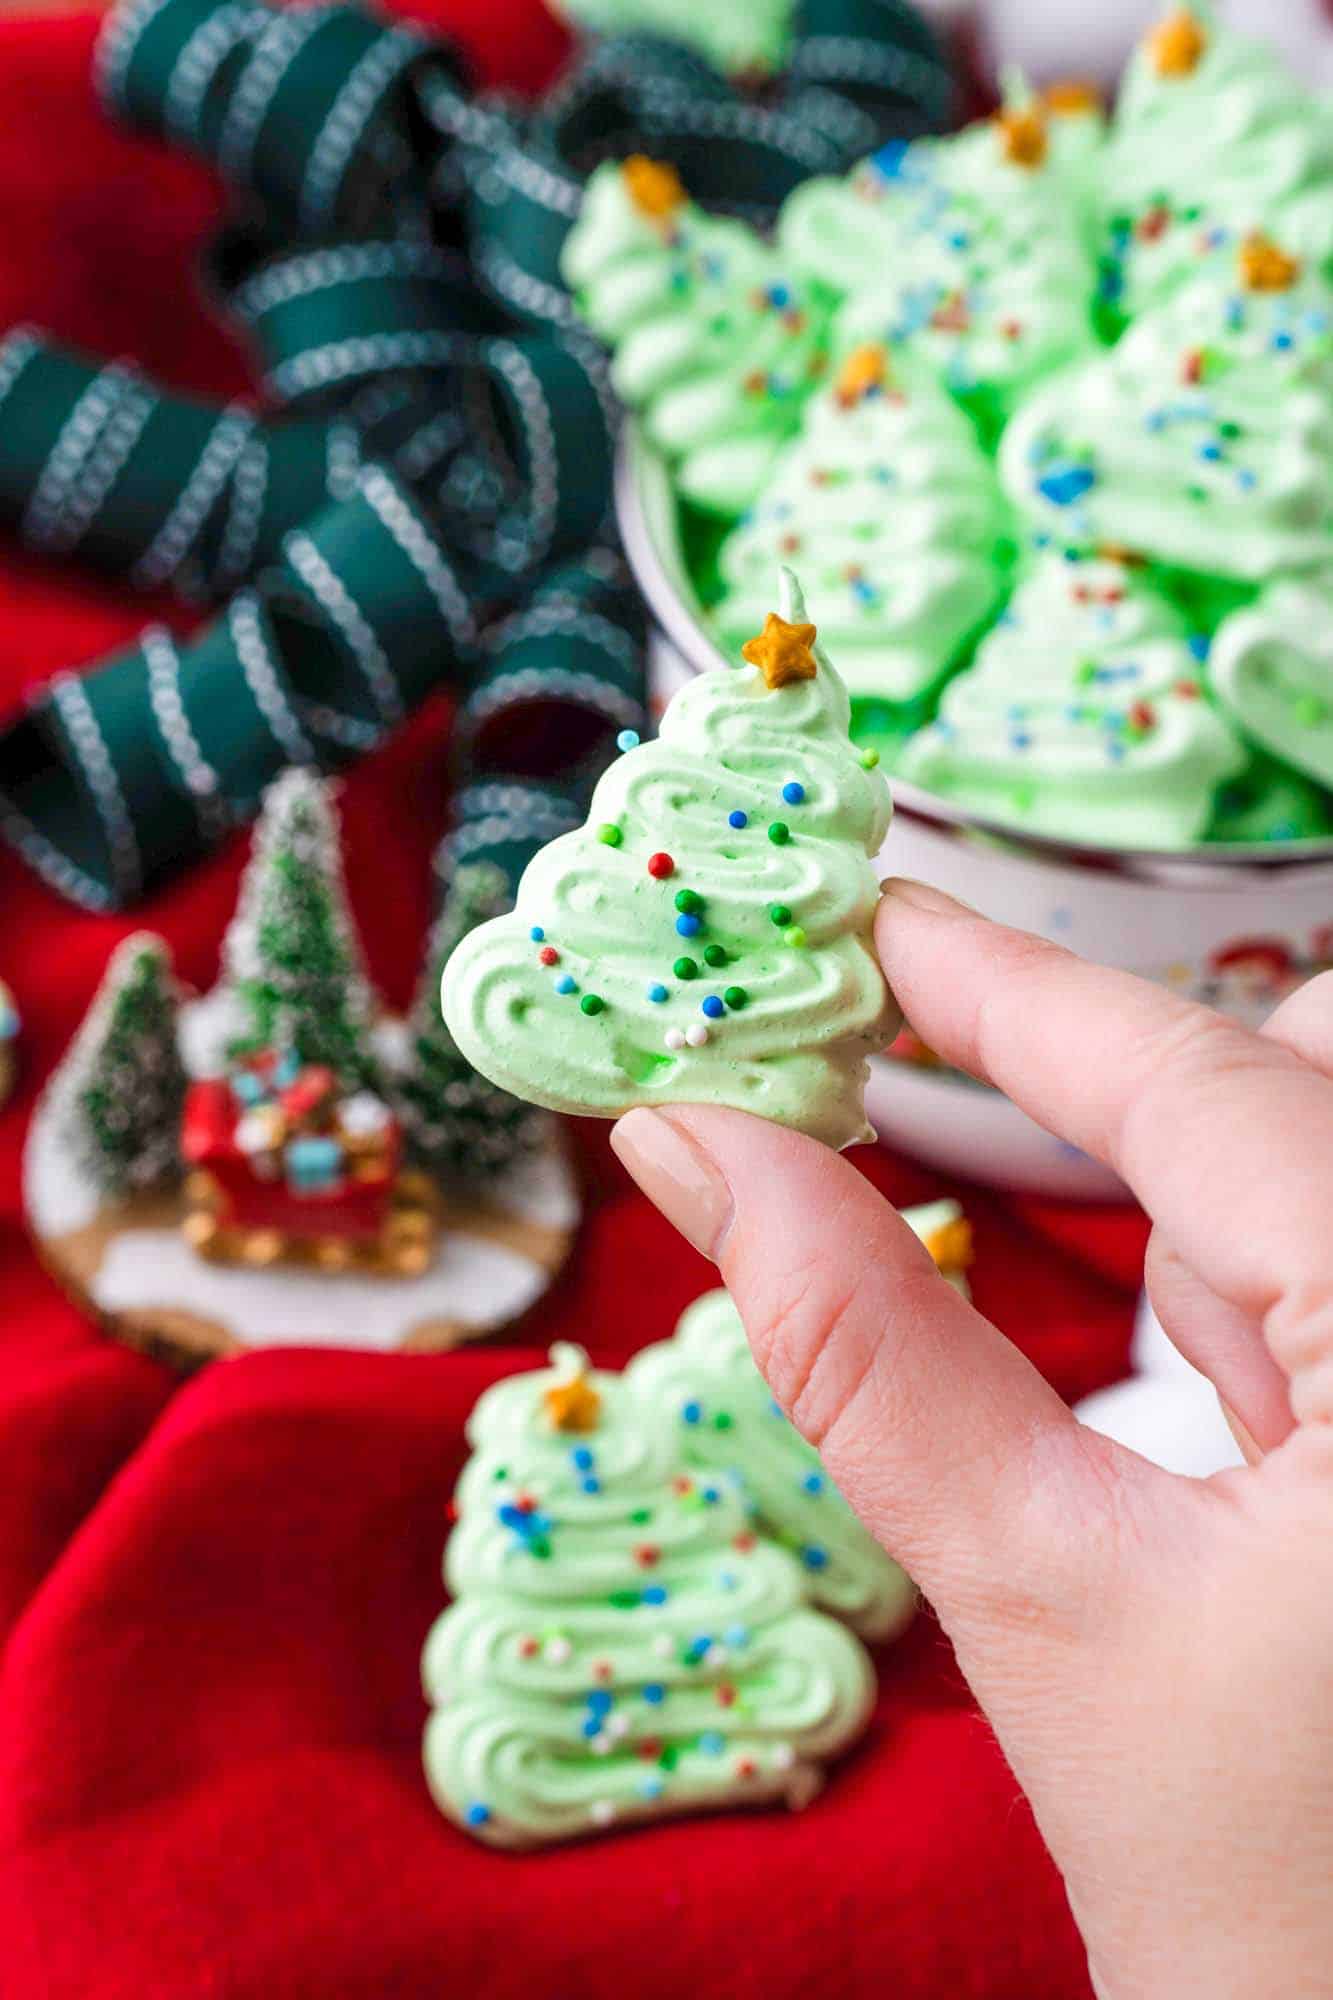
- Pipe Trees: Pipe the meringue onto the parchment lined sheets, making lines in a back and forth pattern to create a triangular tree. Each tree should be no larger than 3 inches tall. You can put marks on the underside of the parchment to guide if you like.
- Decorate: Add the sprinkles before baking. I like the stars at the top and then colorful sprinkles to act as decorations.
- Bake: Bake the meringues for 1 hour at 200°F/93°C, then turn off the oven. DO NOT OPEN THE DOOR at any point.
- Cool: Leave the meringues in the oven and allow the oven to cool down completely before removing the cookies. This can take between 1-3 hours. The cookies should be crisp and dry when finished.
Tip!
Don’t open the oven door! Just don’t do it, it will make the cookies deflate or crack.
What to Serve with Christmas Tree Meringue Cookies
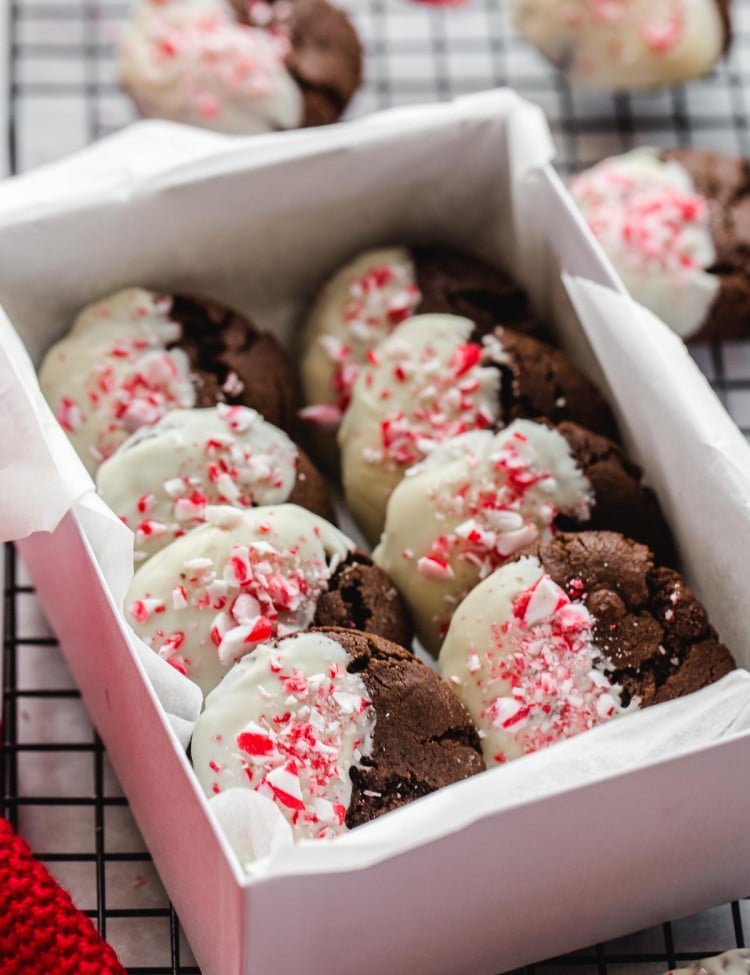
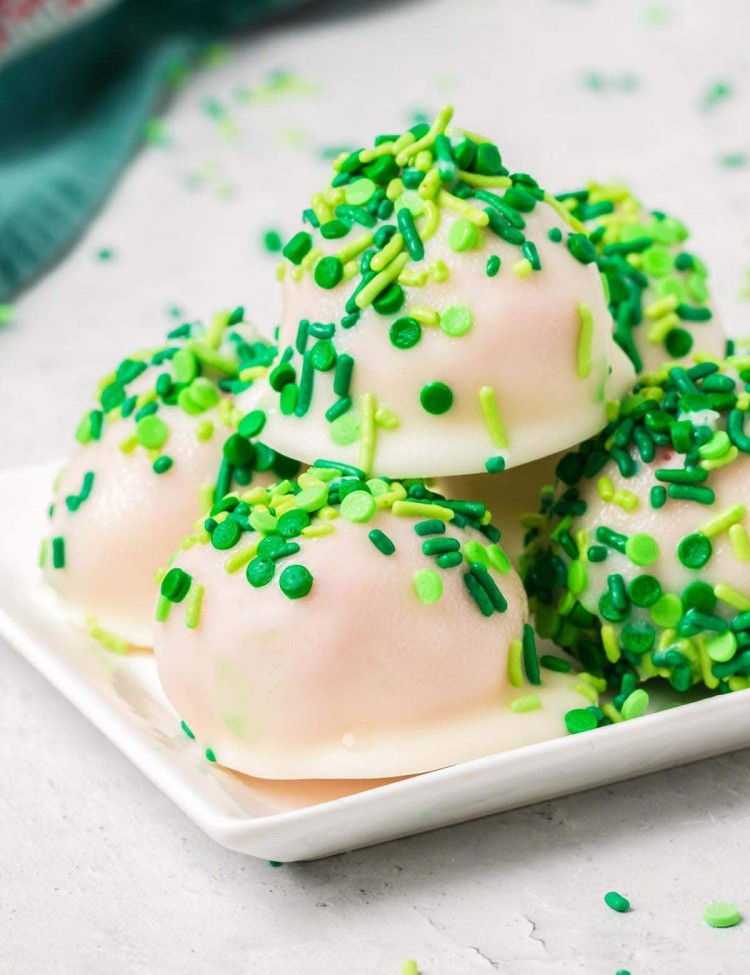
These are an excellent addition to any cookie platter. You will also like making Christmas Crack, Chocolate Peppermint Cookies, and Oreo Truffles.
While you’re planning for Christmas entertaining, check out this festive Christmas Charcuterie Board too.
Recipe Tips
- Use a Mixer: I find that this recipe is easiest to make in a stand mixer, since it can take a bit of time for the eggs to get to the stiff peaks stage. An electric hand mixer can be used, but it will be more difficult.
- Make sure the Bowl is clean: Any oil or grease residue on your bowl or mixer can cause the egg whites to not whip. Avoid using plastic utensils, as they can absorb oil. Metal or glass is best.
- Wash Your Hands: Again, oil of any kind will ruin your meringue. Wash your hands well before cracking your eggs, and avoid touching the yolks. Did you drop an egg shell in? Don’t grab it with your fingers! Use the shell instead.
- Work at Room Temp: Eggs at room temperature will whip up perfectly, while cold egg whites will not. Use a thermometer if needed to be sure that the egg whites are around 70°F/21°C before starting.
- Watch the Humidity: Meringues won’t turn out properly if made on a humid day or in a humid kitchen. Avoid making this recipe if you’re also simmering soup or if it’s raining out.
- Practice: Practice with a bit of meringue in a smaller piping bag before committing to a piping tip if you’re unsure.
- Use a scale: I am giving you imperial measurements, but to ensure that your meringues are perfect, you can measure to be sure that the weight of the sugar is twice the amount of the weight of the egg whites.
FAQs
These cookies will stay fresh in an airtight container in a dry area for up to two weeks. Avoid putting them in the fridge or freezer, or in any humid place. It’s often best to remove them from the kitchen and keep them in an office or dining room to keep them dry.
I warned you – meringue can be tricky! Read through the tips above to see if you can improve next time. Were your egg whites at room temperature? Was there oil on your whisk? Did you open the oven door? There are a lot of things that could have gone wrong. Keep trying though!
While most Christmas cookies can be frozen, these Christmas tree cookies cannot be. Putting them in the freezer will introduce moisture, which will melt them.
Yes! In order to make meringue pops, you’ll need lollipop sticks. Dip a stick into the meringue, place it on the sheet pan, and then pipe the tree over the stick. Follow the rest of the recipe as written. Or check out this Meringue Pops recipe.
If your cookies are a bit sticky or chewy, just pop them in the oven for 10 minutes in a 200°F/95°C oven.
Do a little science experiment to test it! Mix a half teaspoon of cream of tartar into a half cup of warm water. Add a pinch of baking soda to the mix. If it foams up, the tartar is still good. If it doesn’t, or if the foaming is very weak, it will be best to get fresh cream of tartar.
I can’t wait to hear how your meringue cookies turned out! Remember to go slow and follow the instructions. I know you’re going to love these. Once you’ve mastered this recipe, you’ll be unstoppable.
Did you make this? Be sure to leave a review below and tag me on Facebook, Instagram, or Pinterest!
Christmas Tree Meringue Cookies
Equipment
- Stand-mixer
- Large piping bag fitted with a large tip
Ingredients
- 6 large eggs whites at room temperature, 200g in total
- ¾ teaspoon cream of tartar Note 1
- 1¾ cups + 2 tablespoons granulated sugar 400g in total
- 1 teaspoon pure vanilla extract or other flavor extract, optional
- Green gel food coloring
- Holiday sprinkles
- Star sprinkles
Instructions
- Preheat the oven to 200°F/93°C. Line two baking sheets with parchment paper and set aside.
- To the bowl of a stand mixer, add the room temperature egg whites and the cream of tartar. Beat with the whisk attachment on low speed until the mixture becomes foamy. Increase the speed to high, and add the sugar, 1 tablespoon at a time, mixing for about 15 seconds between each addition. Once all the sugar is added, continue beating until the egg whites reach the stiff peaks stage and are thick and shiny.
- To check to see that the meringue is ready, you can rub a small amount of it between your fingers to make sure that it’s not gritty. If there is any grit, continue mixing until it’s gone. You should also lift the whisk up out of the bowl to see that the peaks are indeed stiff, with peaks that will curl over on themselves.
- Add food coloring and vanilla extract and mix until the color is evenly blended.
- Transfer the meringue to a large piping bag fitted with a medium or large piping tip. You can use a round, flat, or even an open star tip. I suggest a Wilton 18 Star or a Wilton 12 round for these, but you can use any tip you like as long as you can draw lines with it.
- Pipe the meringue onto the parchment lined sheets, making lines in a back and forth pattern to create a triangular tree. Each tree should be no larger than 3 inches tall. You can put marks on the underside of the parchment to guide if you like.
- Add the sprinkles before baking. I like the stars at the top and then colorful sprinkles to act as decorations.
- Bake the meringues for 1 hour at 200°F/93°C, then turn off the oven. DO NOT OPEN THE DOOR at any point.
- Leave the meringues in the oven and allow the oven to cool down completely before removing the cookies. This can take between 1-3 hours. The cookies should be crisp and dry when finished.
Notes:
- Make sure your cream of tartar is fresh: Mix a half teaspoon of cream of tartar into a half cup of warm water. Add a pinch of baking soda to the mix. If it foams up, the tartar is still good. If it doesn’t, or if the foaming is very weak, it will be best to get fresh cream of tartar.
- Storing: These cookies will stay fresh in an airtight container in a dry area for up to two weeks. Avoid putting them in the fridge or freezer, or in any humid place. It’s often best to remove them from the kitchen and keep them in an office or dining room to keep them dry.
- Yield: This recipe makes about 90 cookies that are 2 inches tall. But keep in mind that the amount will vary based on how the cookies are piped and the size of the tip that is used.
Nutrition Information
This website provides approximate nutrition information for convenience and as a courtesy only. Nutrition data is gathered primarily from the USDA Food Composition Database, whenever available, or otherwise other online calculators.
© Little Sunny Kitchen


Ginger says
I’ve got my kitchen aid mixer going on high for about 10 minutes now and the sugar is still gritty. I’m looking at other recipes now – I noticed some have you use a syrup so the sugar isn’t so gritty.
Mary Jona says
Diana,
I love a lot of your recipes!
Years ago I used to make a meringue cookie that looked like fat sticks.
The lower part of the cookie I dipped in chocolate.
I am going to make this recipe and then dip the bottom of the trees in chocolate after they are baked.
I bet they will be great!
Diana says
So happy to hear that you enjoy my recipes! Your idea to dip the bottom of the cookies in chocolate sounds absolutely delicious, I’d love to hear how they turn out!
Melissa says
Great recipe! I added these to my Christmas cookie platters this year and they are a big hit! Very cute results and easy to follow recipe! Thank you for sharing!
Diana says
Glad to hear you liked the recipe, Melissa! Merry Christmas!