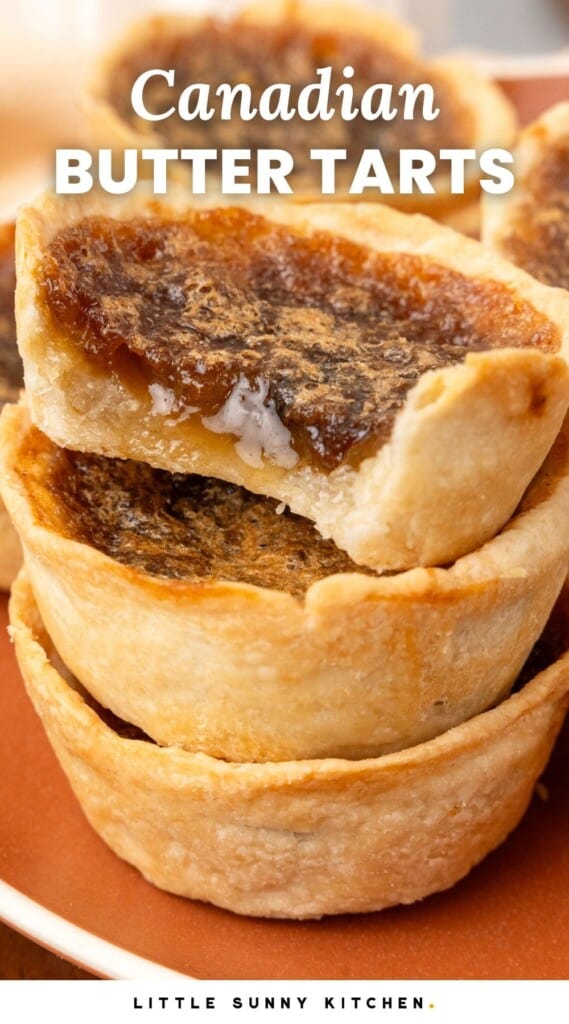
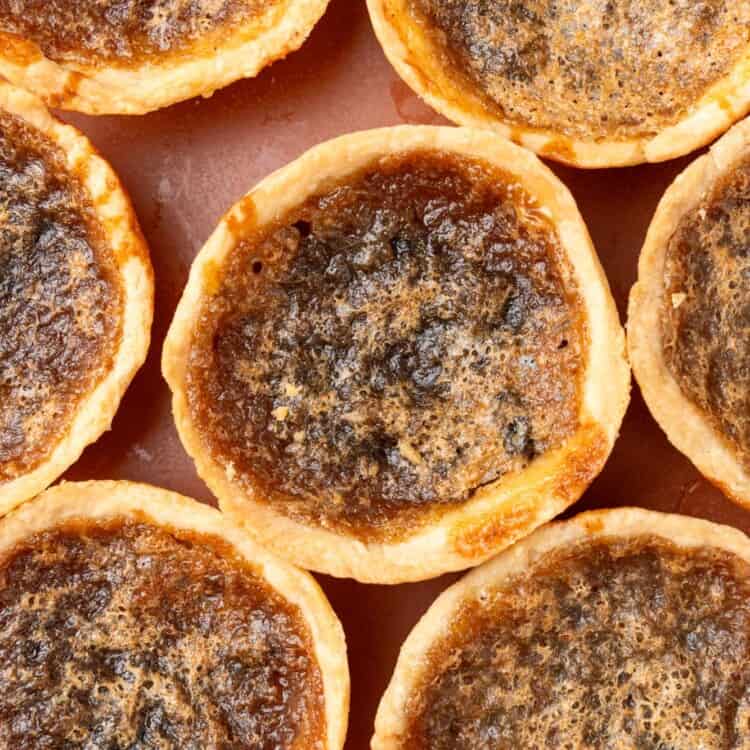
This is the best Butter Tarts recipe! A classic Canadian dessert that features a rich and gooey filling baked inside a flaky pastry shell.
Butter Tarts have the perfect combination of sweet and buttery flavors and crunchy and gooey textures, making them the perfect treat for any special occasion.
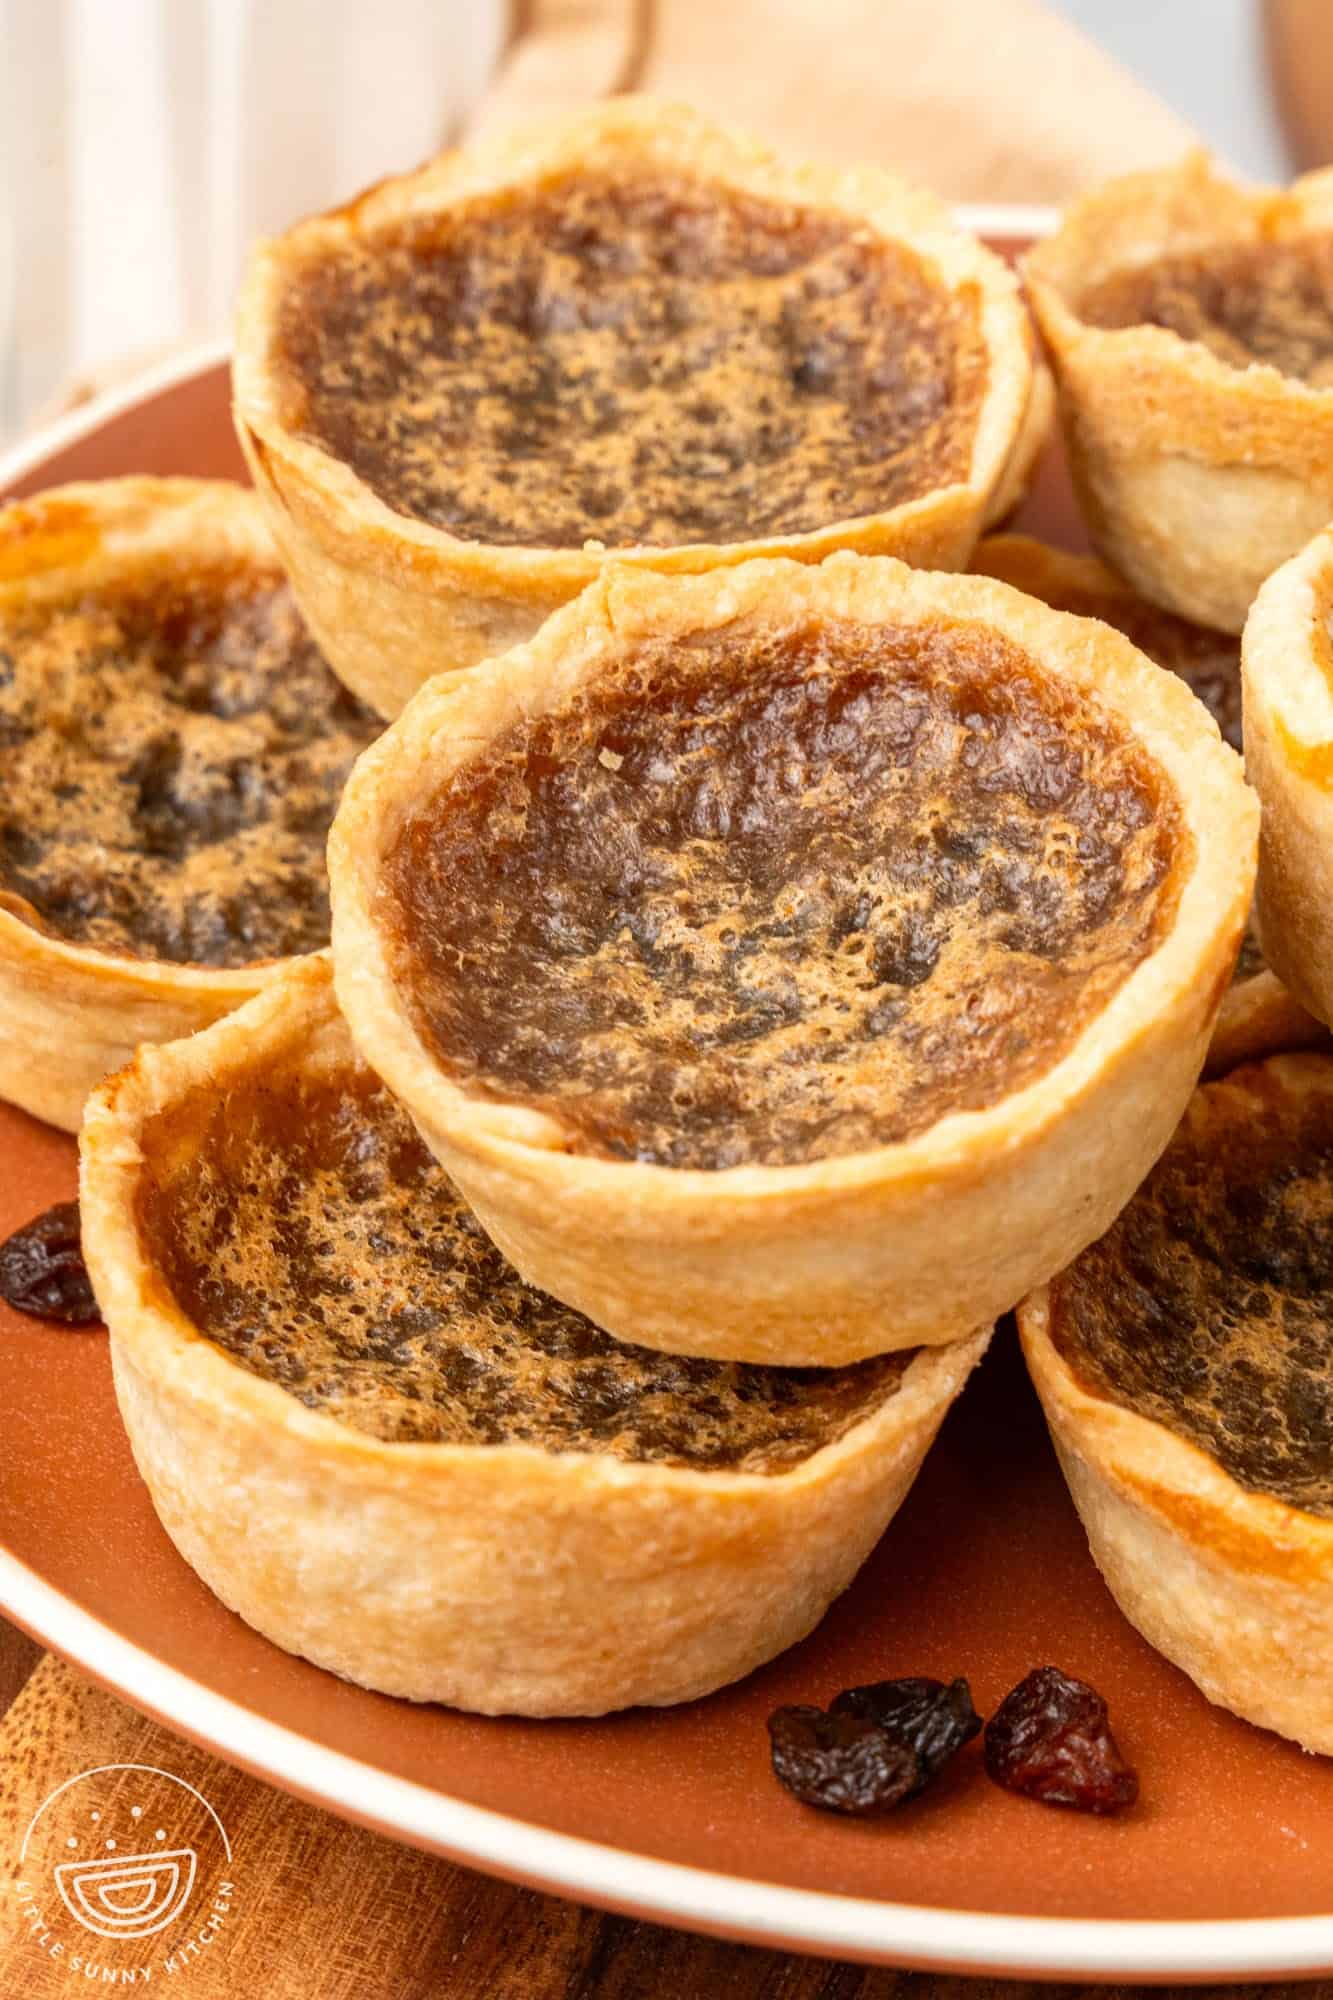
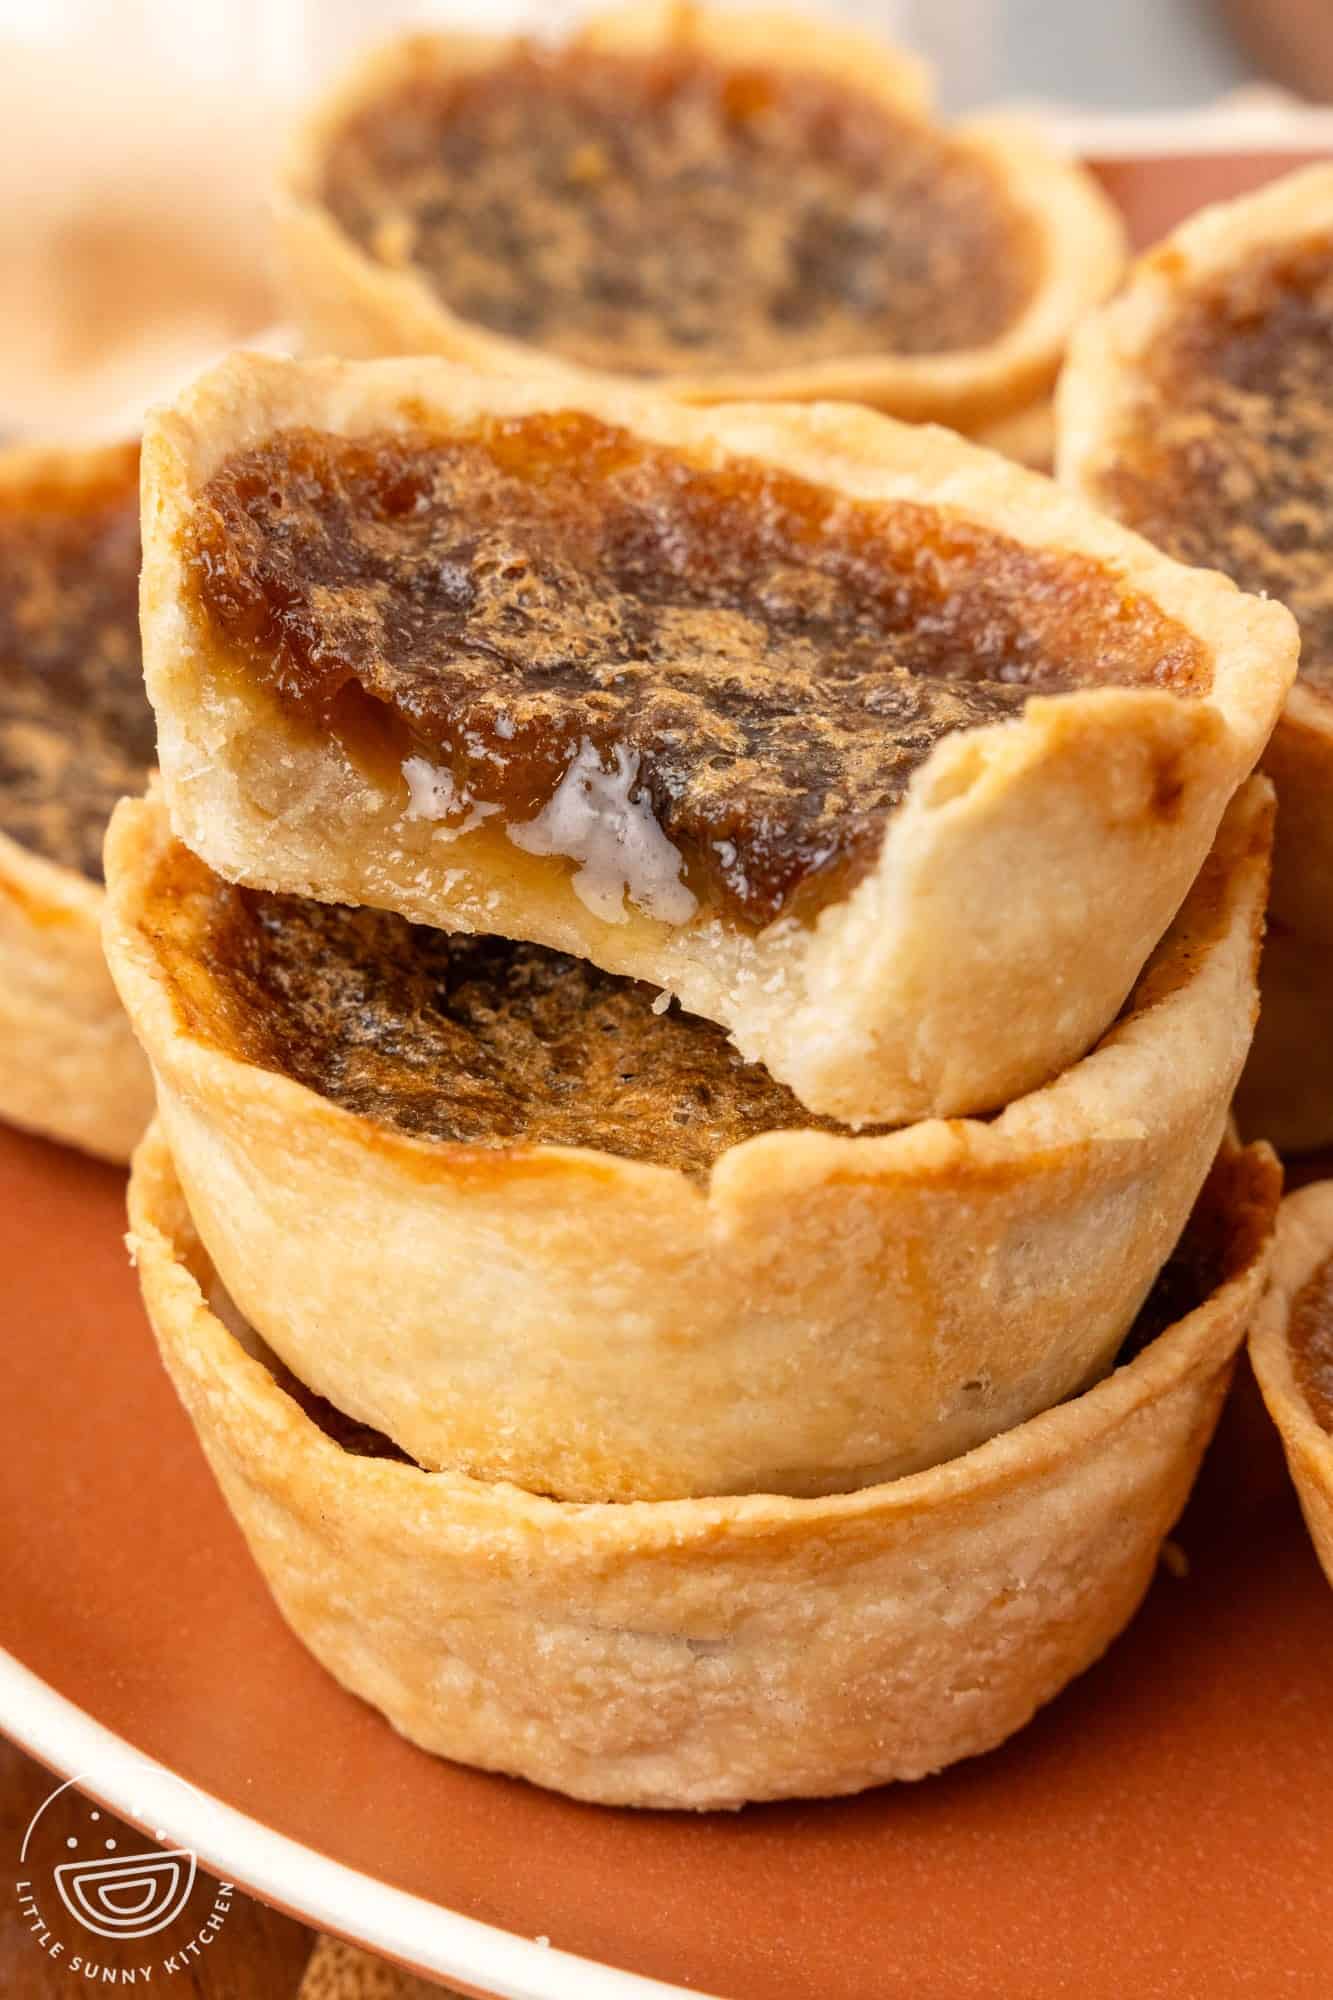
I have an amazing new recipe for you to try: Butter Tarts! These miniature pastry shells filled with a sweet and gooey filling are simple to make with this old-fashioned recipe. Leave them plain, or add raisins, currants, chopped pecans, or walnuts to make them extra delicious!
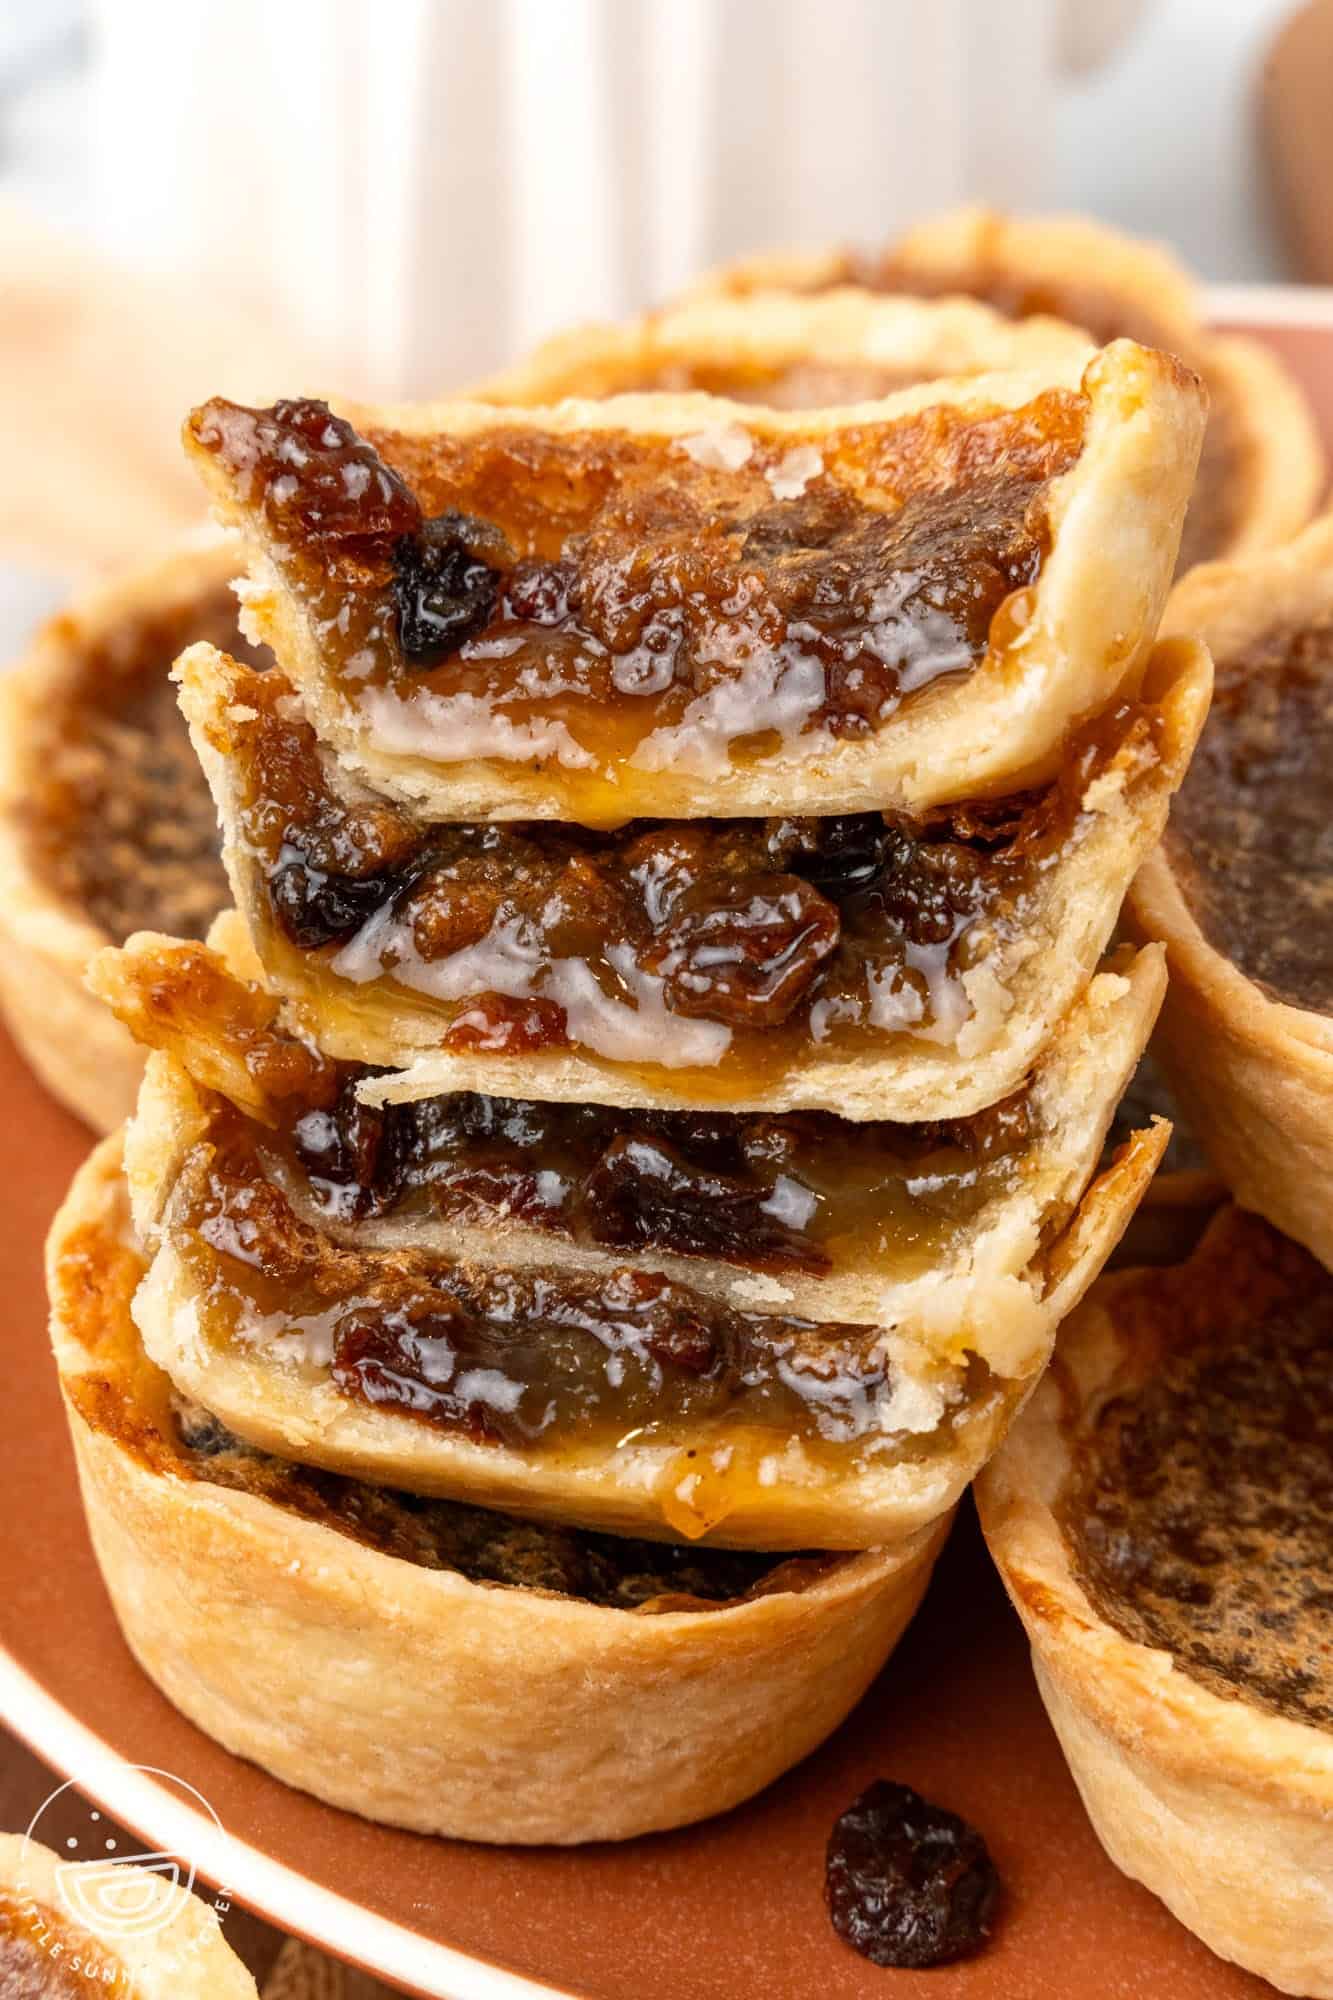
These small mini pies deliver three amazing textures in every bite. Flaky, buttery crust, a chewy and crunchy top, and a gooey, rich center.
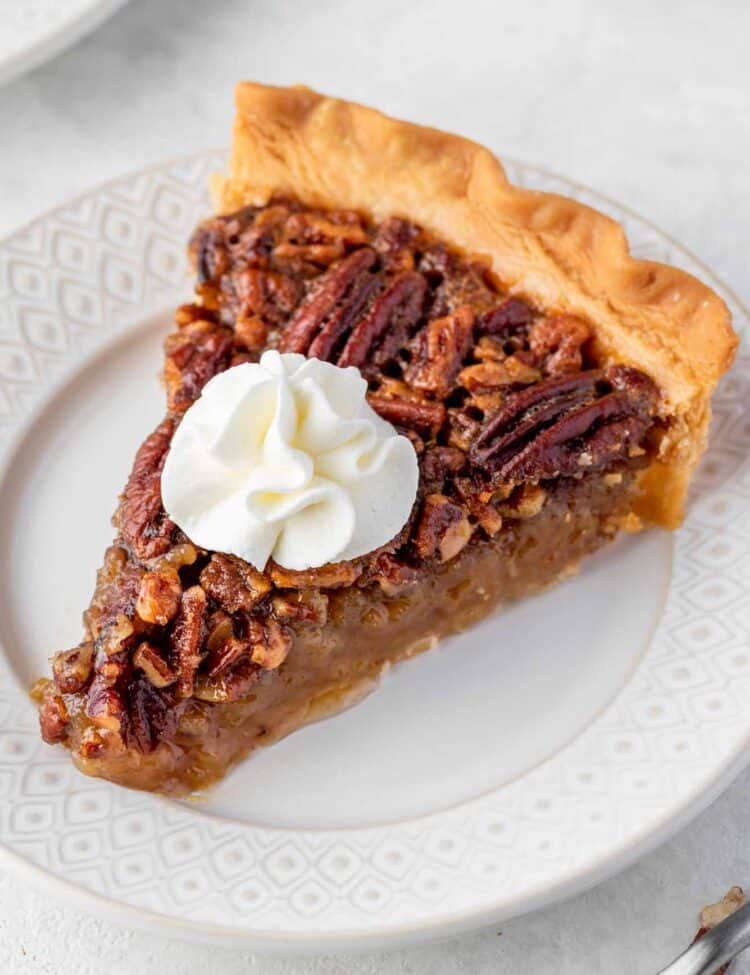
This Canadian Butter Tarts recipe is similar in some ways to the classic Southern dessert, Pecan Tassies. While that recipe is made in a mini muffin tin, butter tarts are best made in a regular full-size muffin pan.
Why You’ll Love This Recipe
This recipe for butter tarts was shared with me by a dear Canadian friend, and it’s a classic Canadian recipe that has been passed down for generations.
And while there are many ways to make butter tarts, I think that the best butter tart recipe is the one that you get from a friend. That’s because it’s that type of recipe – the kind of delicious dessert recipe that is shared and received with knowledge and love.
Speaking of love, butter tarts are one of Canada’s most loved desserts. This may be because butter tarts are one of the only desserts that is quintessentially Canadian.
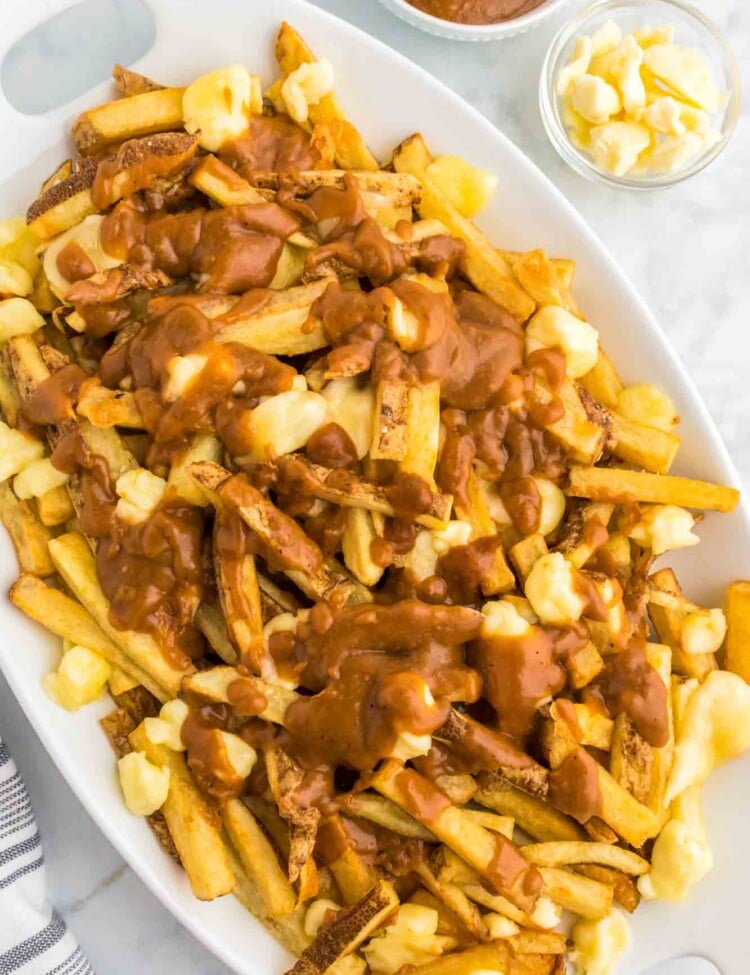
Canada, much like the United States, has a varied population that was built from many diverse people, so it’s difficult to say that any dish is truly Canadian. Except maybe Poutine, that delicious dish of french fries topped with gravy and cheese curds.
But butter tarts ARE Canadian, as much as anything can be. This traditional butter tarts recipe is easy to make and completely delicious, with a buttery flaky crust and a sweet spiced filling. These are perfect for Christmas, Thanksgiving, or any special day.
Key Ingredients
Here’s what you need to make this classic Canadian treat:
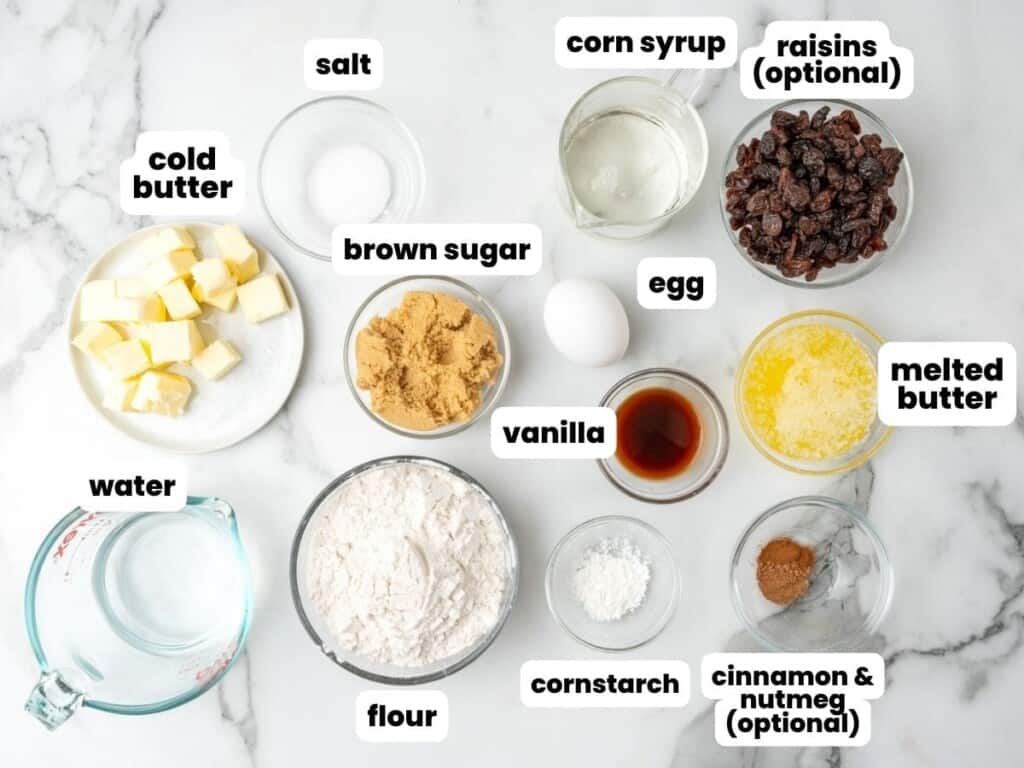
- For the Crust: The crust for butter tarts is made much like a traditional pie crust, with cold butter cut into all-purpose flour.
- Butter: You’ll need one stick of butter cold and in cubes, and 3 tablespoons of butter melted for the filling.
- Egg: This works to stabilize the filling so that it doesn’t all run out of the tart when you bite into it.
- Corn Syrup: In Canada, you will want to look for “golden corn syrup”, but in the US, use light corn syrup instead. I don’t recommend using dark corn syrup to make butter tarts, as the flavor is too strong. The syrup keeps the center of the tarts gooey and sweet.
- Light Brown Sugar: For even more sweetness.
- Spices: Technically these are optional, as you can make your butter tarts to your own preferences. I like to add cinnamon and nutmeg to the filling mixture though.
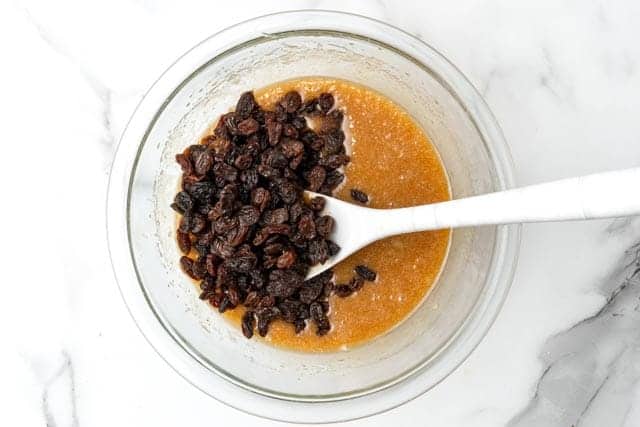
- Raisins: This is a fairly controversial ingredient in Canadian butter tarts. Some insist that raisins are necessary, while others believe that they absolutely do not belong. You can make your own choice!
Complete list of ingredients and amounts can be found in the recipe card below.
How To Make Butter Tarts
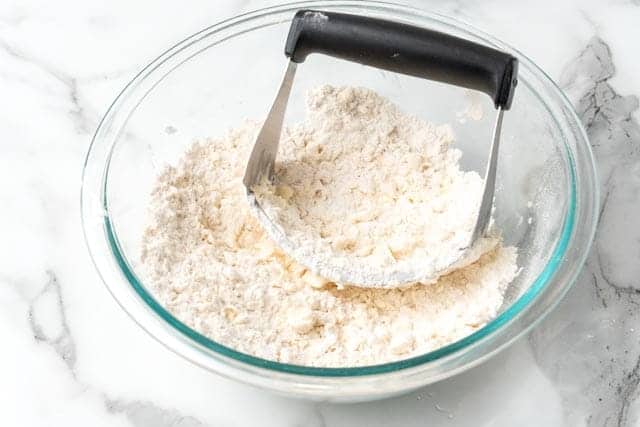
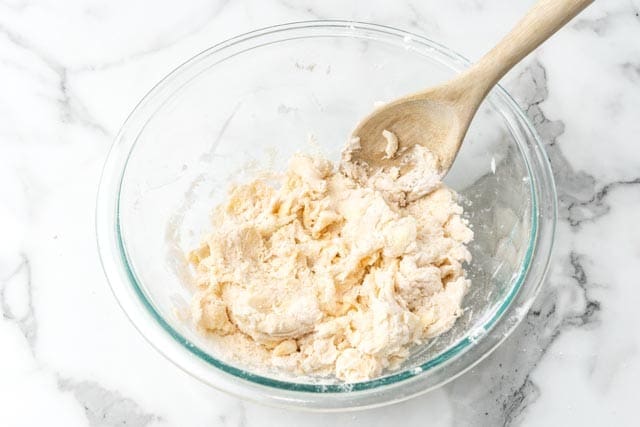
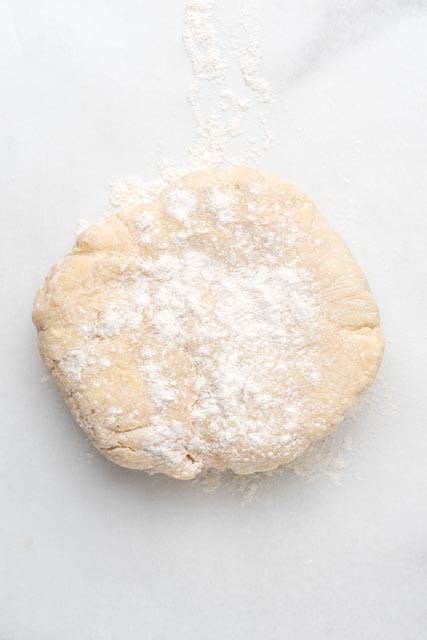
- Make the Dough for the Crust: First, whisk the flour and salt in a large bowl. Then add the cold butter cubes, and cut them in with a pastry cutter until only pea-sized pieces remain. Add cold water and mix until you get a shaggy dough. Form the dough into a flat disk, wrap it with plastic wrap, and refrigerate for at least two hours.
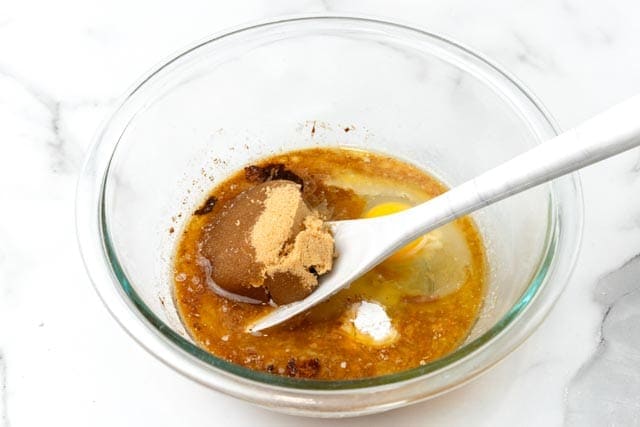
- Mix the Butter Tart Filling: In a medium bowl, whisk together the corn syrup, brown sugar, butter, egg, vanilla, cornstarch, cinnamon, salt, and nutmeg until smooth.
- Get Ready to Bake: Preheat the oven to 400°F (200°C), and start making the filling.
Tip!
Instead of mixing the dough by hand, use your food processor to cut in the butter! It’s a fairly quick process either way.
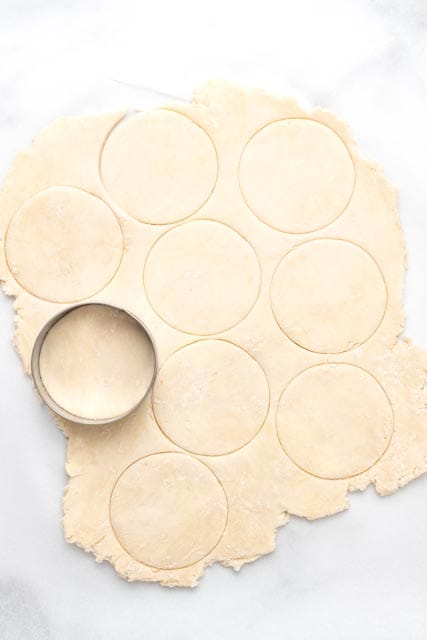
- Roll and Cut the Dough: On a lightly floured surface, roll out the chilled tart dough to about ⅛” thickness, and cut out as many 4″ circles as you can. Collect the scraps, re-roll them, and continue cutting circles until you have twelve of them.
- Form the Tarts: Press a dough circle into each cavity of a muffin pan. Place the pan in the freezer for 10-15 minutes before filling and baking.
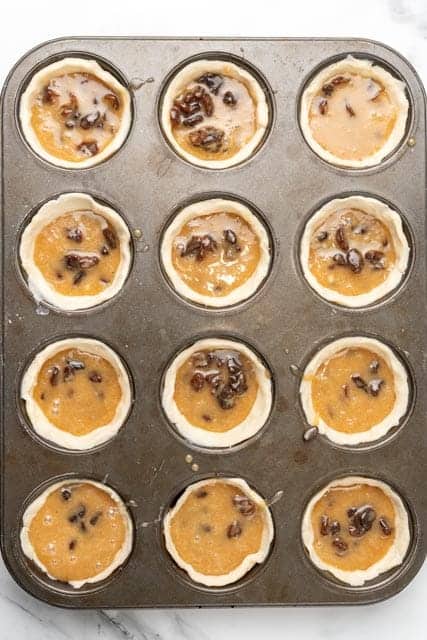
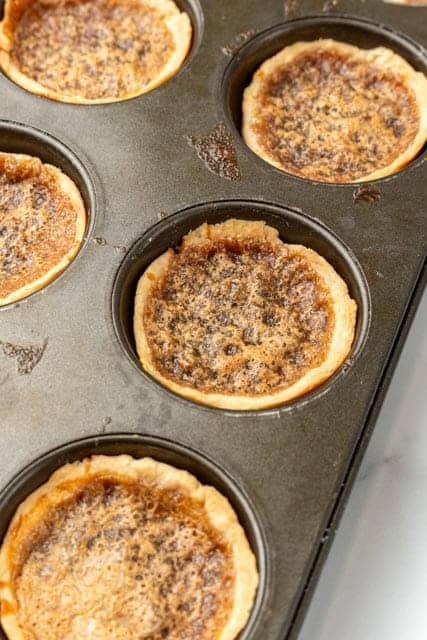
- Fill and Bake the Tarts: If you’re using raisins, add them to the tart shells first. Add the filling to the tart shells, only filling halfway. Then bake in the preheated 400°F oven for 5 minutes. Reduce the heat to 350° (180°C) and continue baking for 15-20 minutes, or until the filling is bubbling and the crust is golden. Cool in the pan until they are easy to handle.
Recipe Tips
- Chilling is important. Chilling the dough for at least two hours will make it easier to roll out and work with. I also highly recommend freezing the shells before baking. Otherwise, the dough can slip down and the tarts can overflow.
- Speaking of overflowing, be sure not to overfill the tarts. Aim to fill each crust only half of the way. While baking, the filling will expand.
- To keep things neat, I use a small cookie scoop to add the filling to the shells.
- Other mix ins: Raisins or dried currents make the tarts fruity and sweet. For a less sweet filling, try replacing the raisins with chopped pecans or walnuts.
- For plump raisins, pour boiling water over them and let them sit for 5 minutes, then drain. This step isn’t necessary, but consider trying it!
- Other flavors: This recipe calls for vanilla extract, but you can also try it with almond extract, rum extract, or lemon juice to adjust the flavor.
Storing Tips
Once fully cooled, store your butter tarts in an airtight container at room temperature for up to 5 days.
You can also freeze these tarts for up to 2 months, which makes them a perfect make-ahead dessert!
Recipe FAQs
Can I Use This Recipe to Make a Pie?
The filling for butter tarts is a bit too runny to make a large pie. It’s best used to make these mini pies, where the filling has more support around it.
What Spices Are in Butter Tarts?
Most recipes for Canadian butter tarts don’t include any spices, but my friend’s recipe includes cinnamon and nutmeg. I love how the recipe changes and evolves to be different for every family!
What if My Butter Tarts Stick to the Pan?
If your tarts happen to overflow, you’ll likely have a sticky mess on your hands. The butter tarts are still tasty this way, but will be very difficult to get out of the pan. Use a knife to try to get around each tart to pull it out. Next time, don’t overfill the crusts!
What size cookie cutter should I use?
I tested these using a 3.5″ round cutter and a 4″ round cutter. Both worked just fine! Use what you have.
Internationally Inspired Dessert Recipes
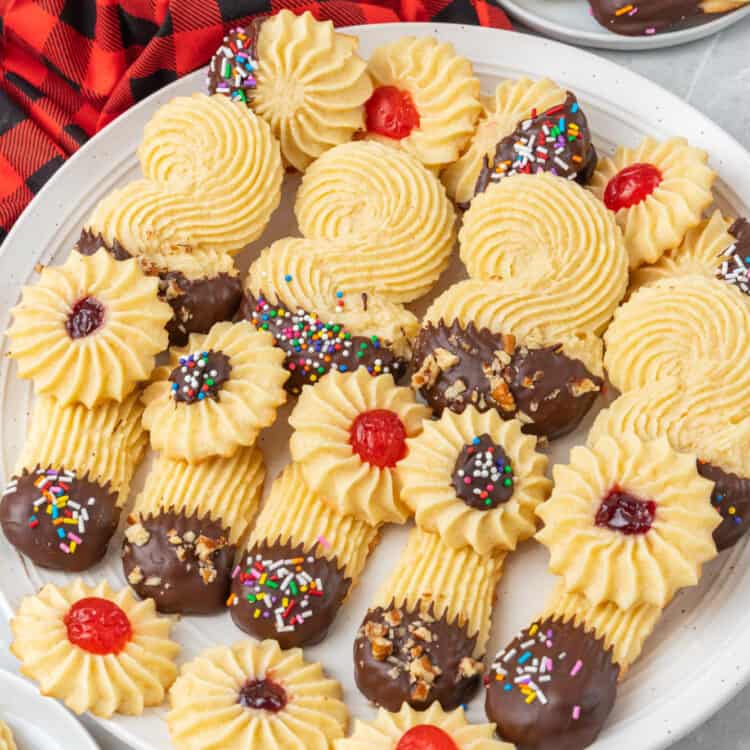
Classic Italian Butter Cookies

Date Cookies
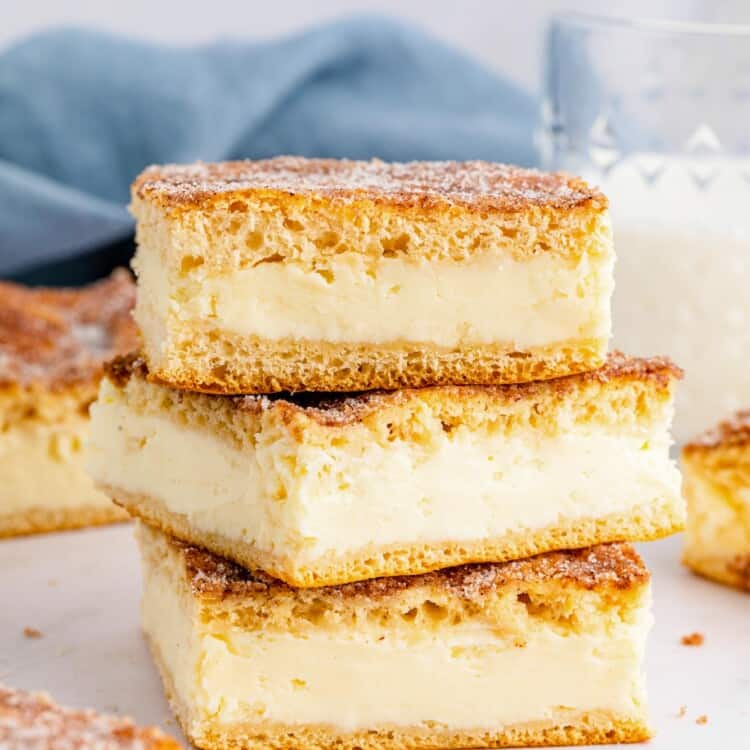
Sopapilla Cheesecake (Churro Cheesecake)
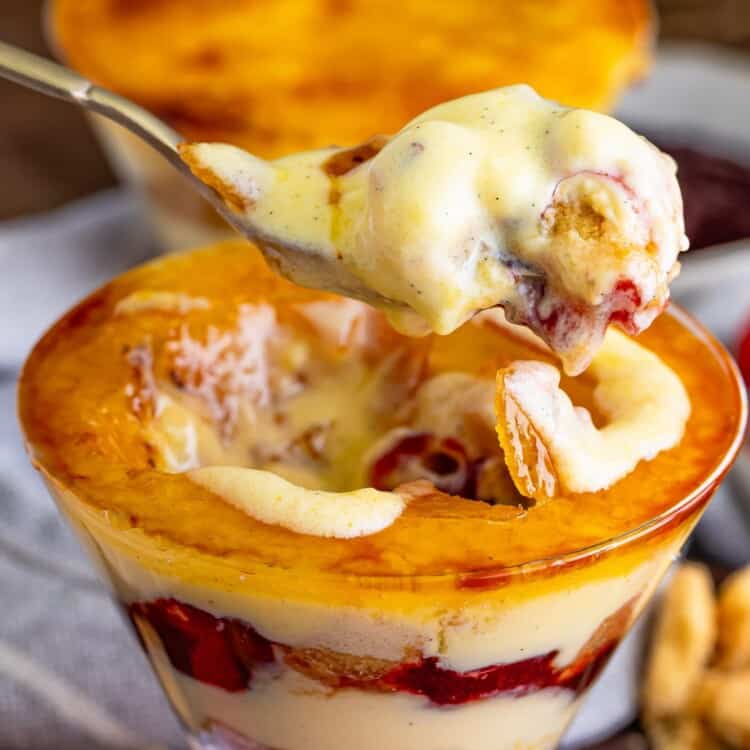
Mini Creme Brulee Trifles
The most Canadian of Canadian recipes, Butter Tarts are so fun to make and delicious to eat! Share these with your family this holiday, and be sure to pin the recipe for later.
Did you make this? Be sure to leave a review below and tag me on Facebook, Instagram, or Pinterest!
Butter Tarts
Equipment
- 12 cup muffin pan
- Pastry cutter
Ingredients
For the crust:
- 1 ½ cups (180 g) all purpose flour
- ¼ teaspoon salt
- ½ cup (113 g) salted butter cold and cubed
- 4-5 tablespoons very cold water
For the filling:
- ½ cup (120 ml) corn syrup light corn syrup, or golden corn syrup
- ⅓ cup (67 g) light brown sugar
- 3 tablespoons (42 g) unsalted butter melted and cooled
- 1 large egg at room temperature
- 1 teaspoon vanilla extract
- ½ teaspoon cornstarch
- ¼ teaspoon ground cinnamon
- ¼ teaspoon salt
- ⅛ teaspoon ground nutmeg
- ½ cup (70 g) raisins optional
Instructions
- In a large bowl, whisk together the flour and salt. With a pastry cutter, cut in the butter until only pea sized pieces remain. You can also use a food processor to do this.
- Add 4 tablespoons of water and mix, add the water a little more at a time until the dough is shaggy and sticks together. Form into a flat disc and cover with plastic wrap. Chill in the refrigerator for at least 2 hours.
- Once the dough is ready, roll into ⅛” thickness and cut into 4” circles. Press into the cavities and up the sides of a 12-count muffin tin. Gather up any scraps and repeat until all 12 of the spots in the muffin tin are full. Place the tin into the freezer while you prepare the filling to chill the crust
- Preheat the oven to 400°F (200°C), or 180°C if you have a fan oven.
- In a medium bowl, whisk together the corn syrup, brown sugar, butter, egg, vanilla, cornstarch, cinnamon, salt and nutmeg until smooth.
- If you're using raisins, divide them among the chilled tart shells first. Then Add the filling to the tart shells, only filling about 1/2 way.
- Bake in the preheated oven for 5 minutes, then reduce the heat to 350 and bake an additional 15-20 minutes, or until the filling is bubbling and the crust is golden.
- Allow to cool for at least 15 minutes before using a butter knife to help remove them from the pan.
Notes:
- Raisins are optional. You can leave them out, or replace them with the same amount of currants, chopped pecans, or chopped walnuts.
- Chilling is important. Chilling the dough for at least two hours will make it easier to roll out and work with. I also highly recommend freezing the shells before baking. Otherwise, the dough can slip down and the tarts can overflow.
- Be sure not to over-fill the tarts. Aim to fill each crust only half of the way. While baking, the filling will expand.
- To keep things neat, use a small cookie scoop to add the filling to the shells.
- If you don’t have a 4″ round cutter, a slightly smaller one will work just fine.
- To Store: Keep in an airtight container at room temperature for up to 5 days, or freeze for up to 2 months.
Nutrition Information
This website provides approximate nutrition information for convenience and as a courtesy only. Nutrition data is gathered primarily from the USDA Food Composition Database, whenever available, or otherwise other online calculators.
© Little Sunny Kitchen
Jessica Ricardo says
My tarts didn’t look as beautiful as yours, why are they rough on the top
Diana says
Thanks for trying the recipe, Jessica! The rough tops can happen if the filling is mixed too much or if it bubbles over while baking. Letting it settle before baking can help. Hope they still tasted great!
Katrina Harvey says
this is a definite no tasted really funky the nutmeg and cinnamon change is a definite no thanks tho
Diana says
Appreciate your feedback! I listed the nutmeg and cinnamon as optional, but I personally like the extra warmth they add.
Janice Wilson says
Question..I am making these for a Taste of Nations dinner at church tonight. This recipe makes 12. I made 48. But my tart shells must be smaller cause I have a bunch of leftover filling. WHAT with it? Does it freeze?
Diana says
I haven’t tried freezing the filling myself, but I think it should work! Store it in an airtight container and freeze for up to 3 months. Let it thaw in the fridge overnight and stir well before using.
Pam says
Could I use puff pastry as the crust?
Little Sunny Kitchen says
I haven’t tried this. The crust for butter tarts is a different texture than puff pastry, and fairly easy to make from scratch. If you try it, let me know how they turn out!
Jean Soulliere says
Thank you for your reply. I will try that…..I have been making butter tarts for years (a family tradition), but lately notice they are runnier than I like them. I will try adding the corn starch.