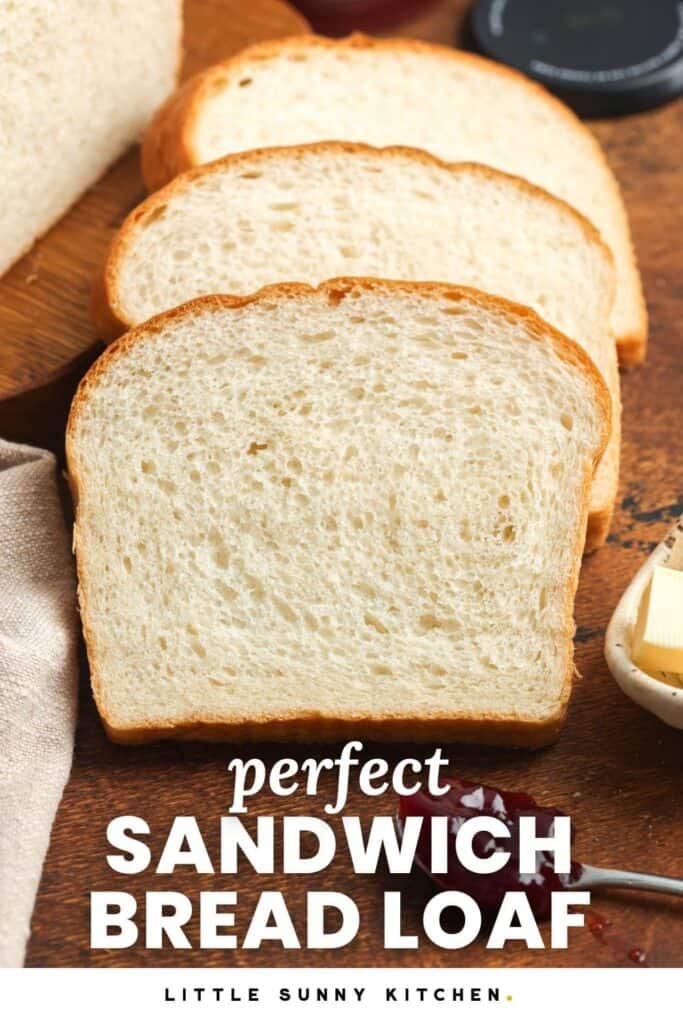
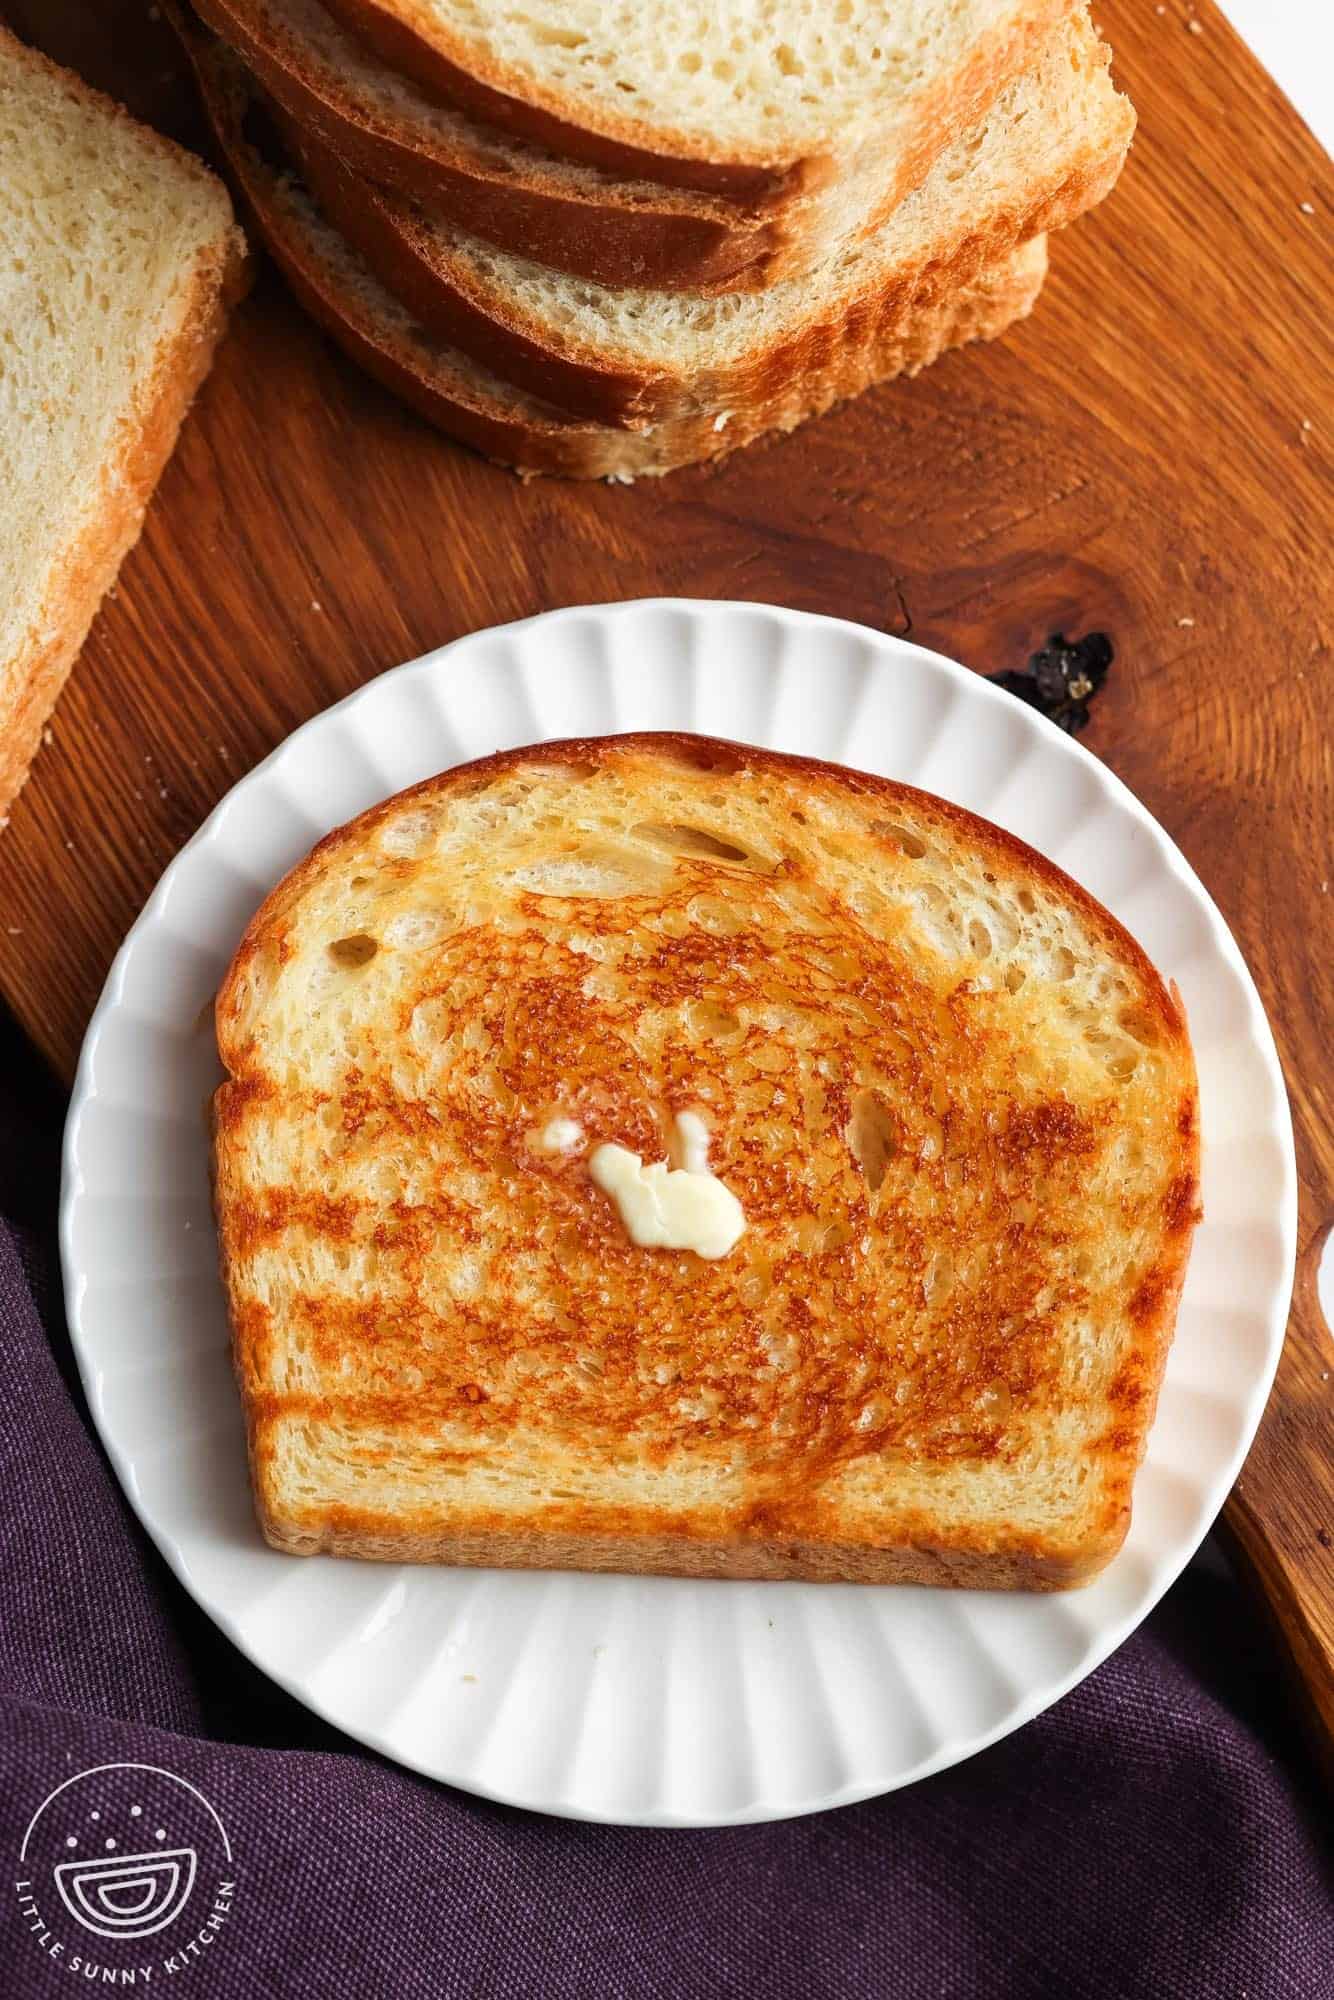
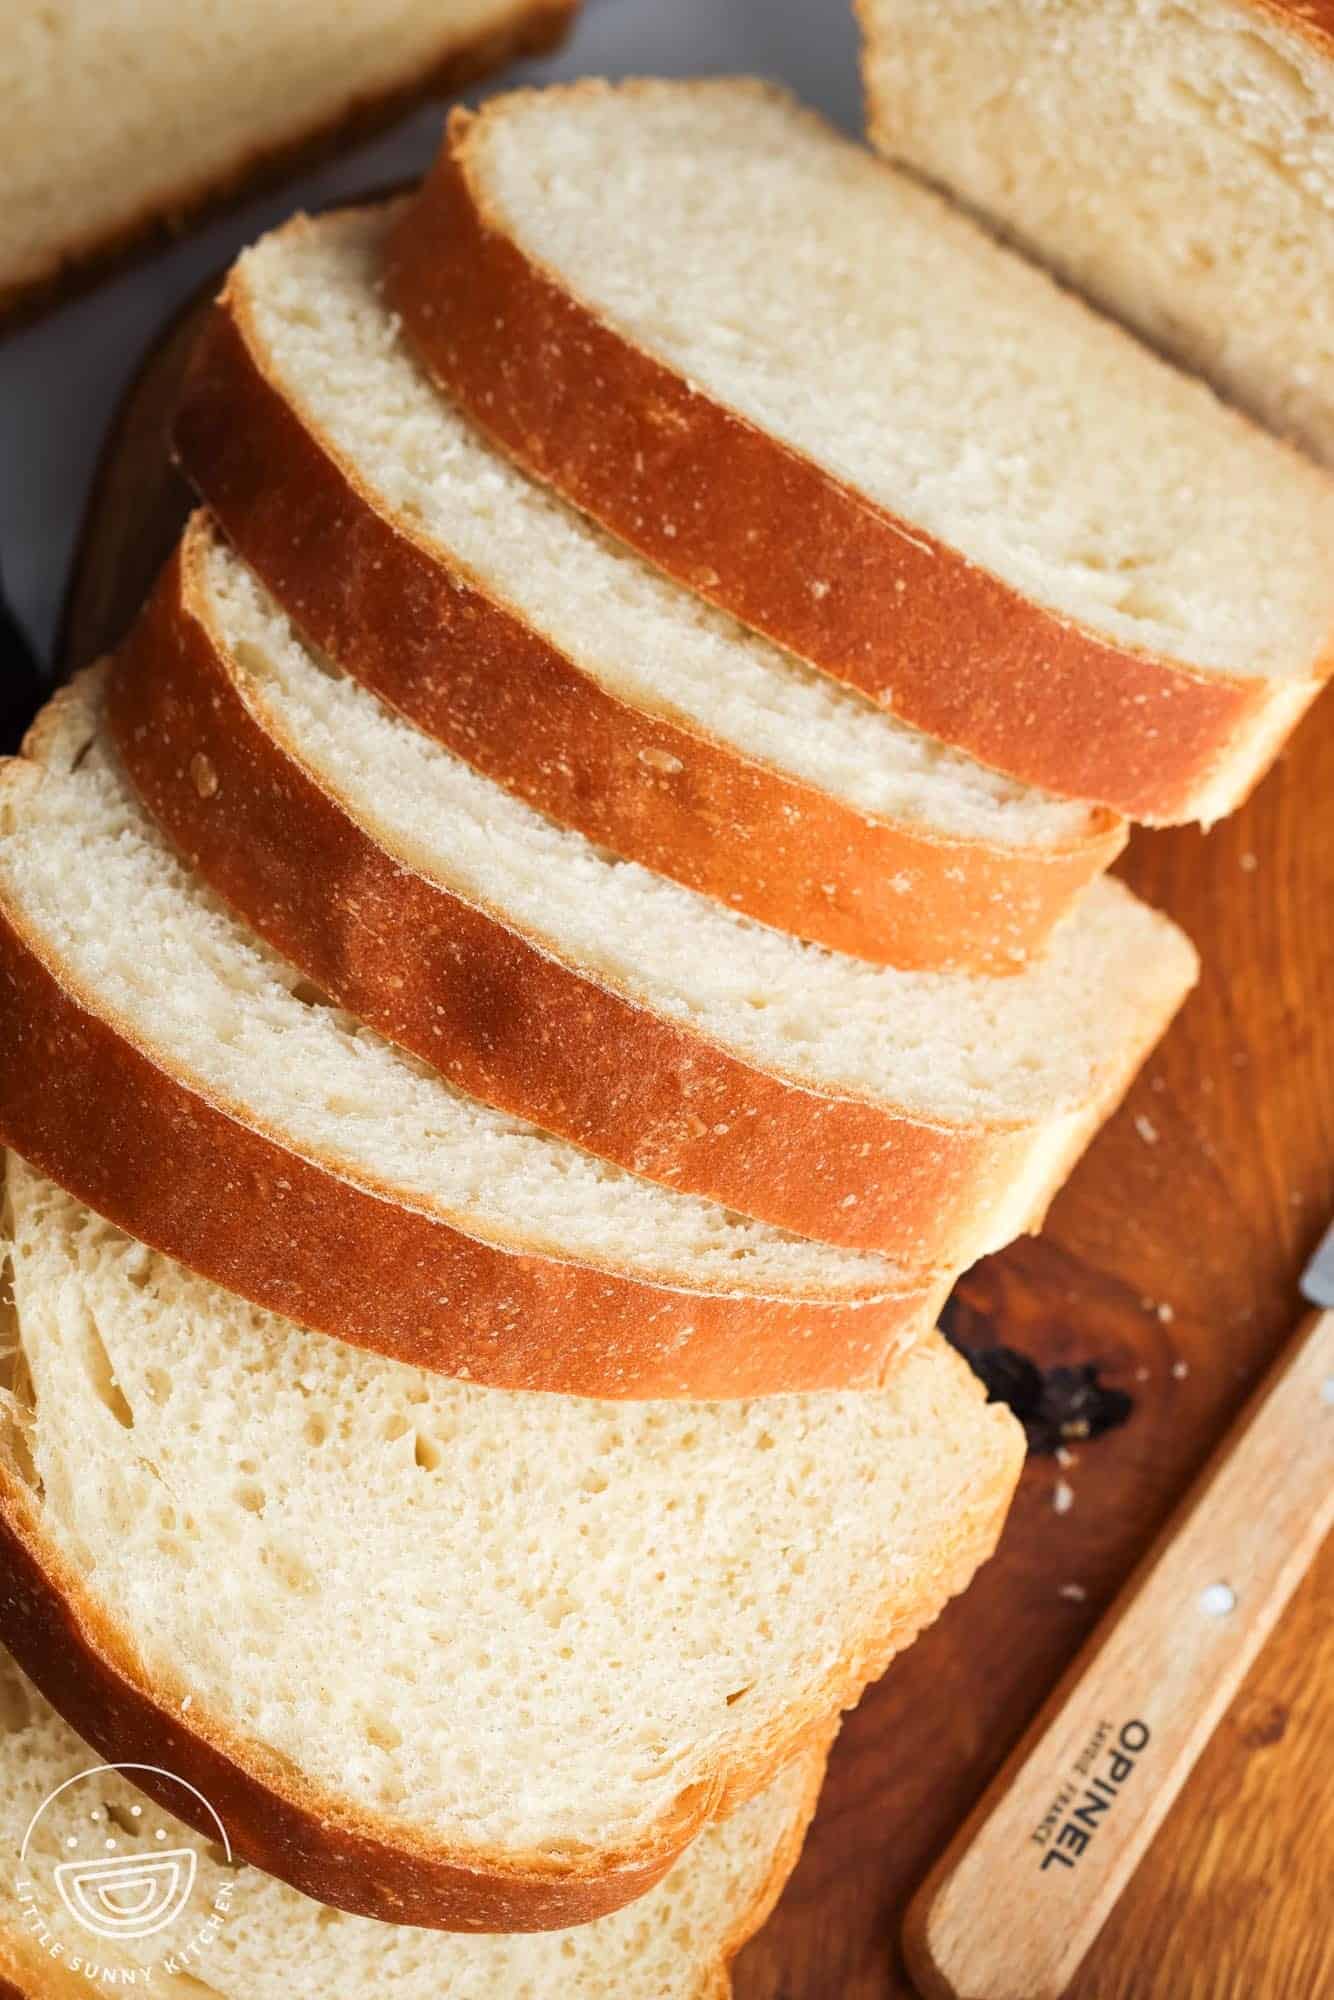
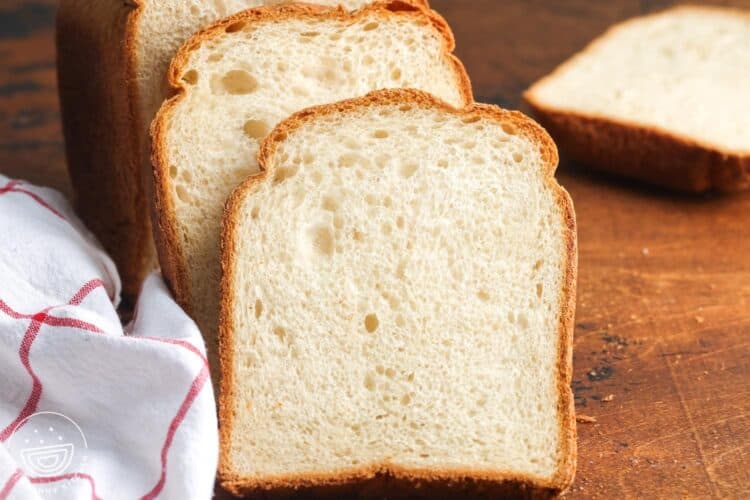
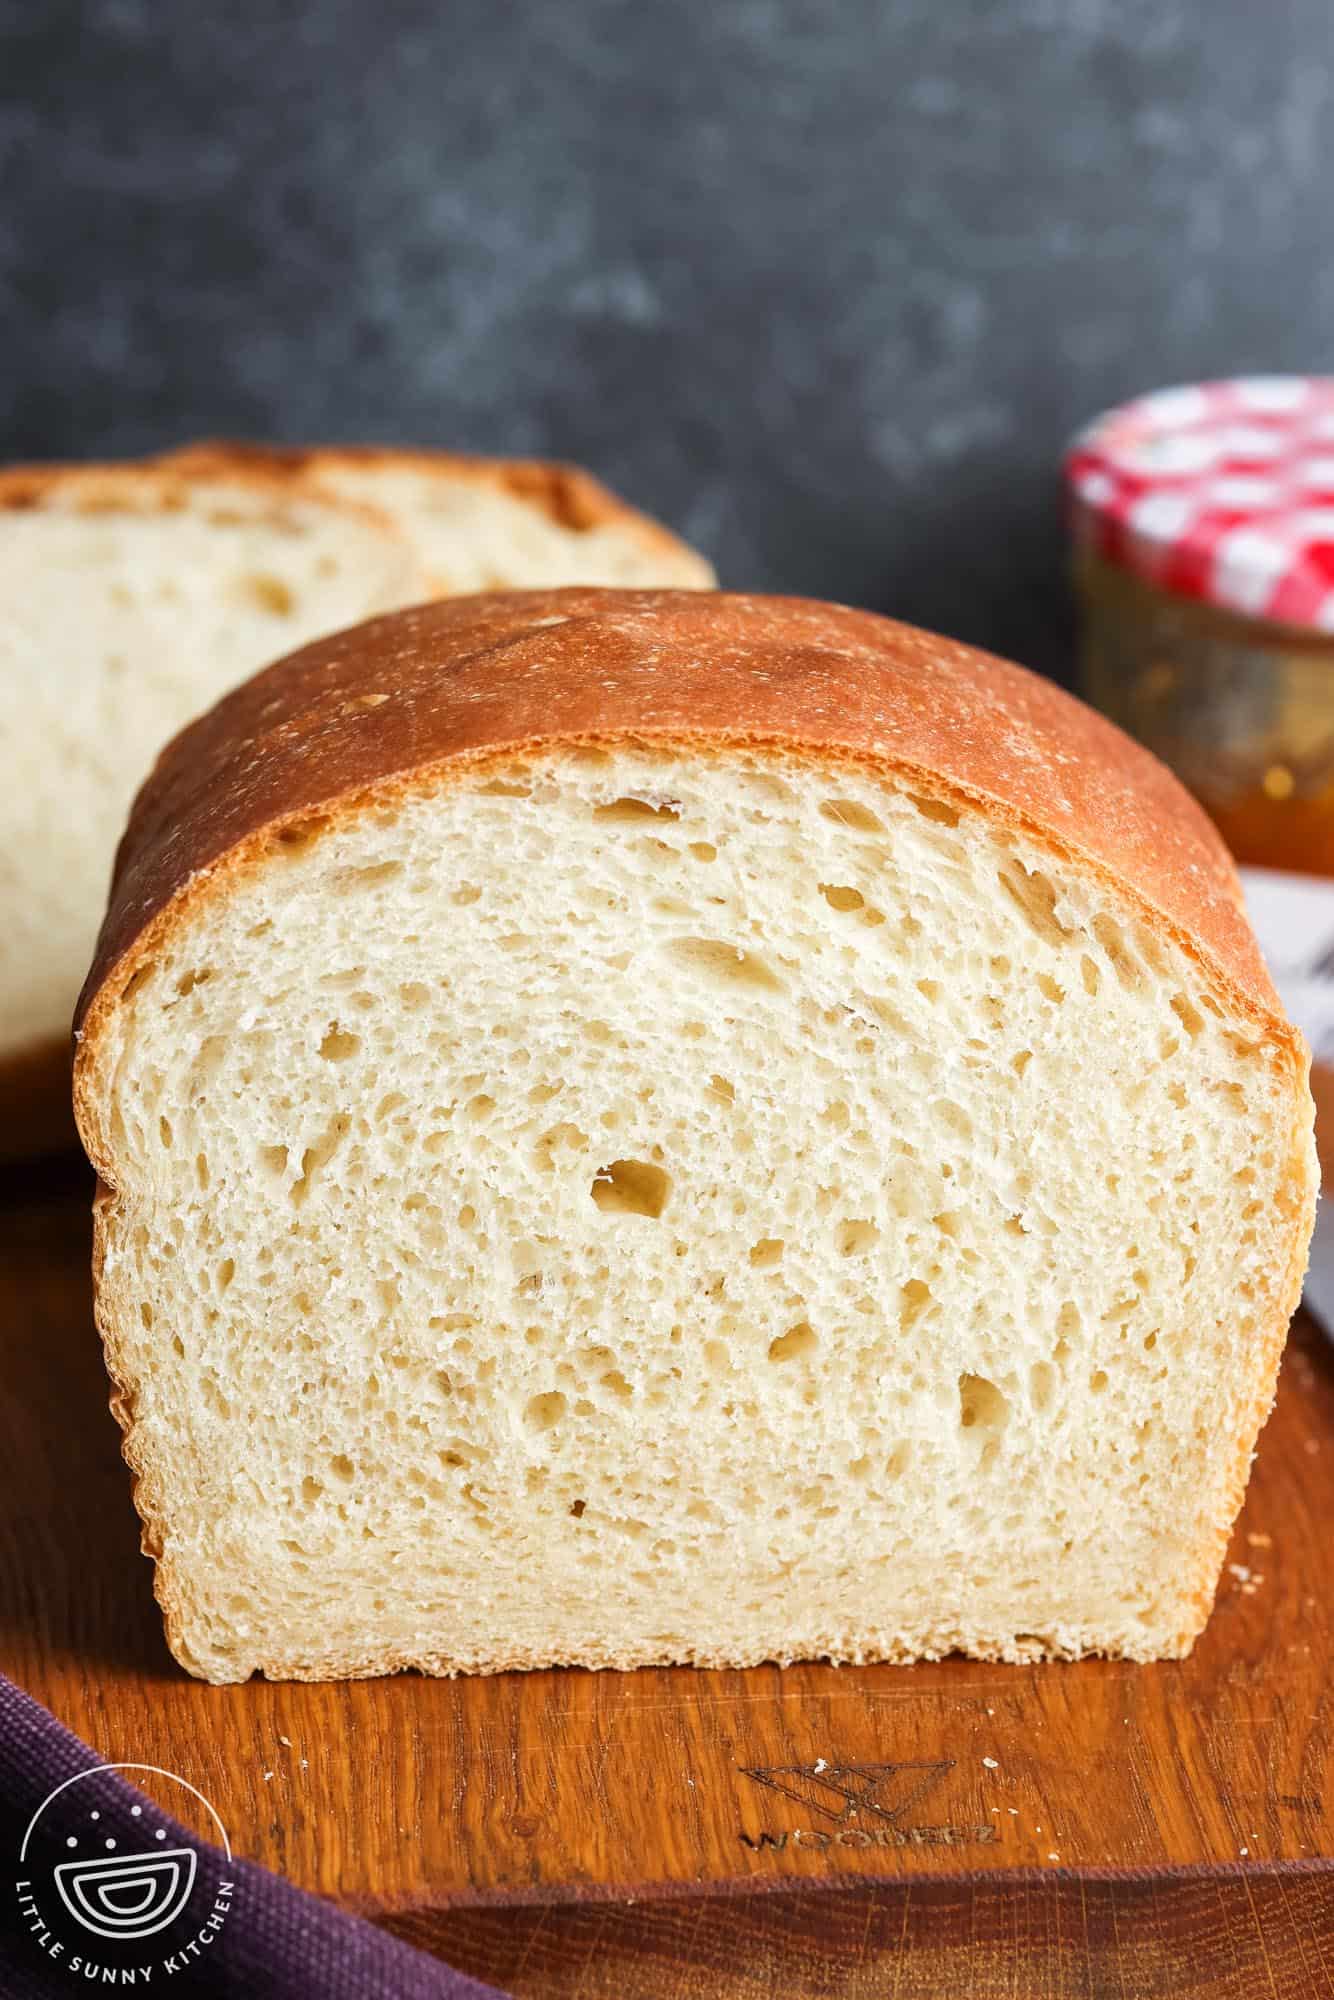
The perfect homemade sandwich bread recipe that bakes up soft and sliceable with a tender, golden brown crust. This reliable loaf will be a staple on your breakfast table – it makes the best toast!

Behind the Loaf
I’ve been working hard on this sandwich bread recipe! I’ve baked at least 10 loaves while testing and adjusting the amount of flour and hydration until I achieved this perfect, soft, sliceable sandwich loaf.
I even spent time troubleshooting the wrinkly top crust that most homemade sandwich breads have! I managed to reduce the wrinkles quite a bit, but it’s impossible to make bread this soft with a completely smooth top.
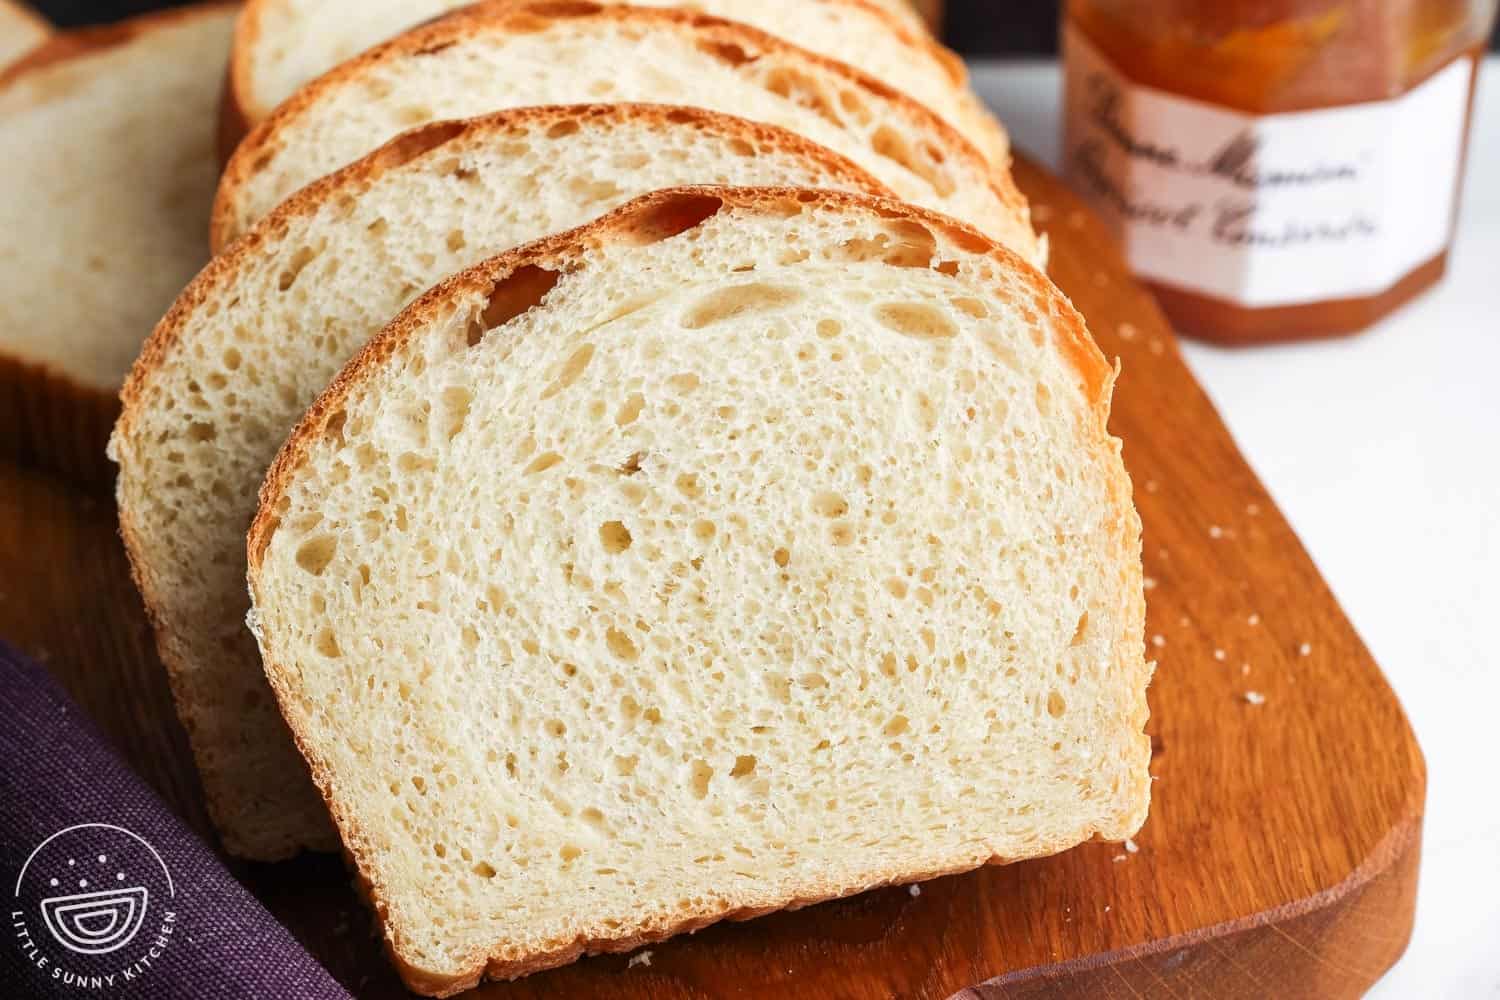
I landed on a bread dough that has about 70 percent hydration, which means that the dough will be tacky and a bit sticky. Avoid the temptation to add extra flour! It’s supposed to be this way.
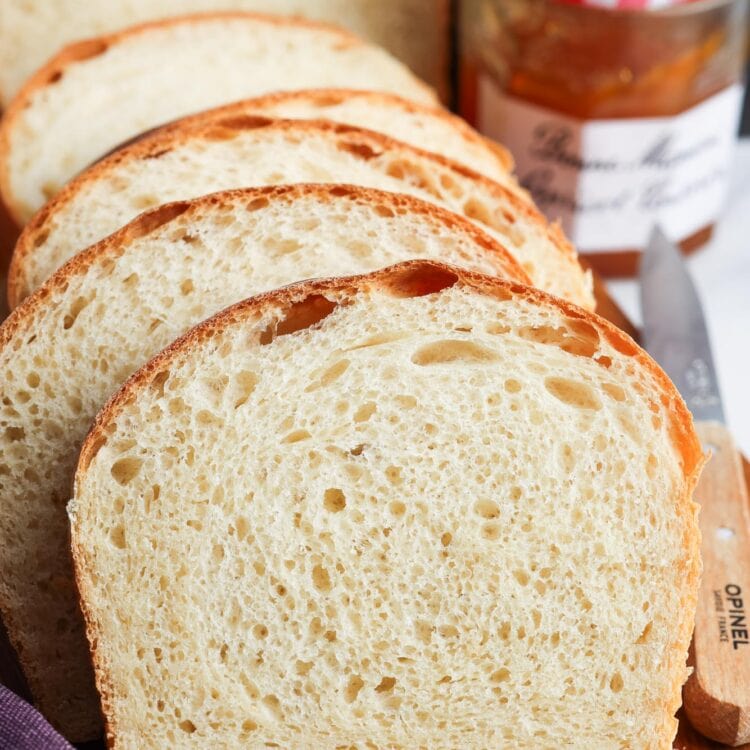
You can make this recipe with either all-purpose flour or bread flour, and it works well in the oven and in my bread machine.
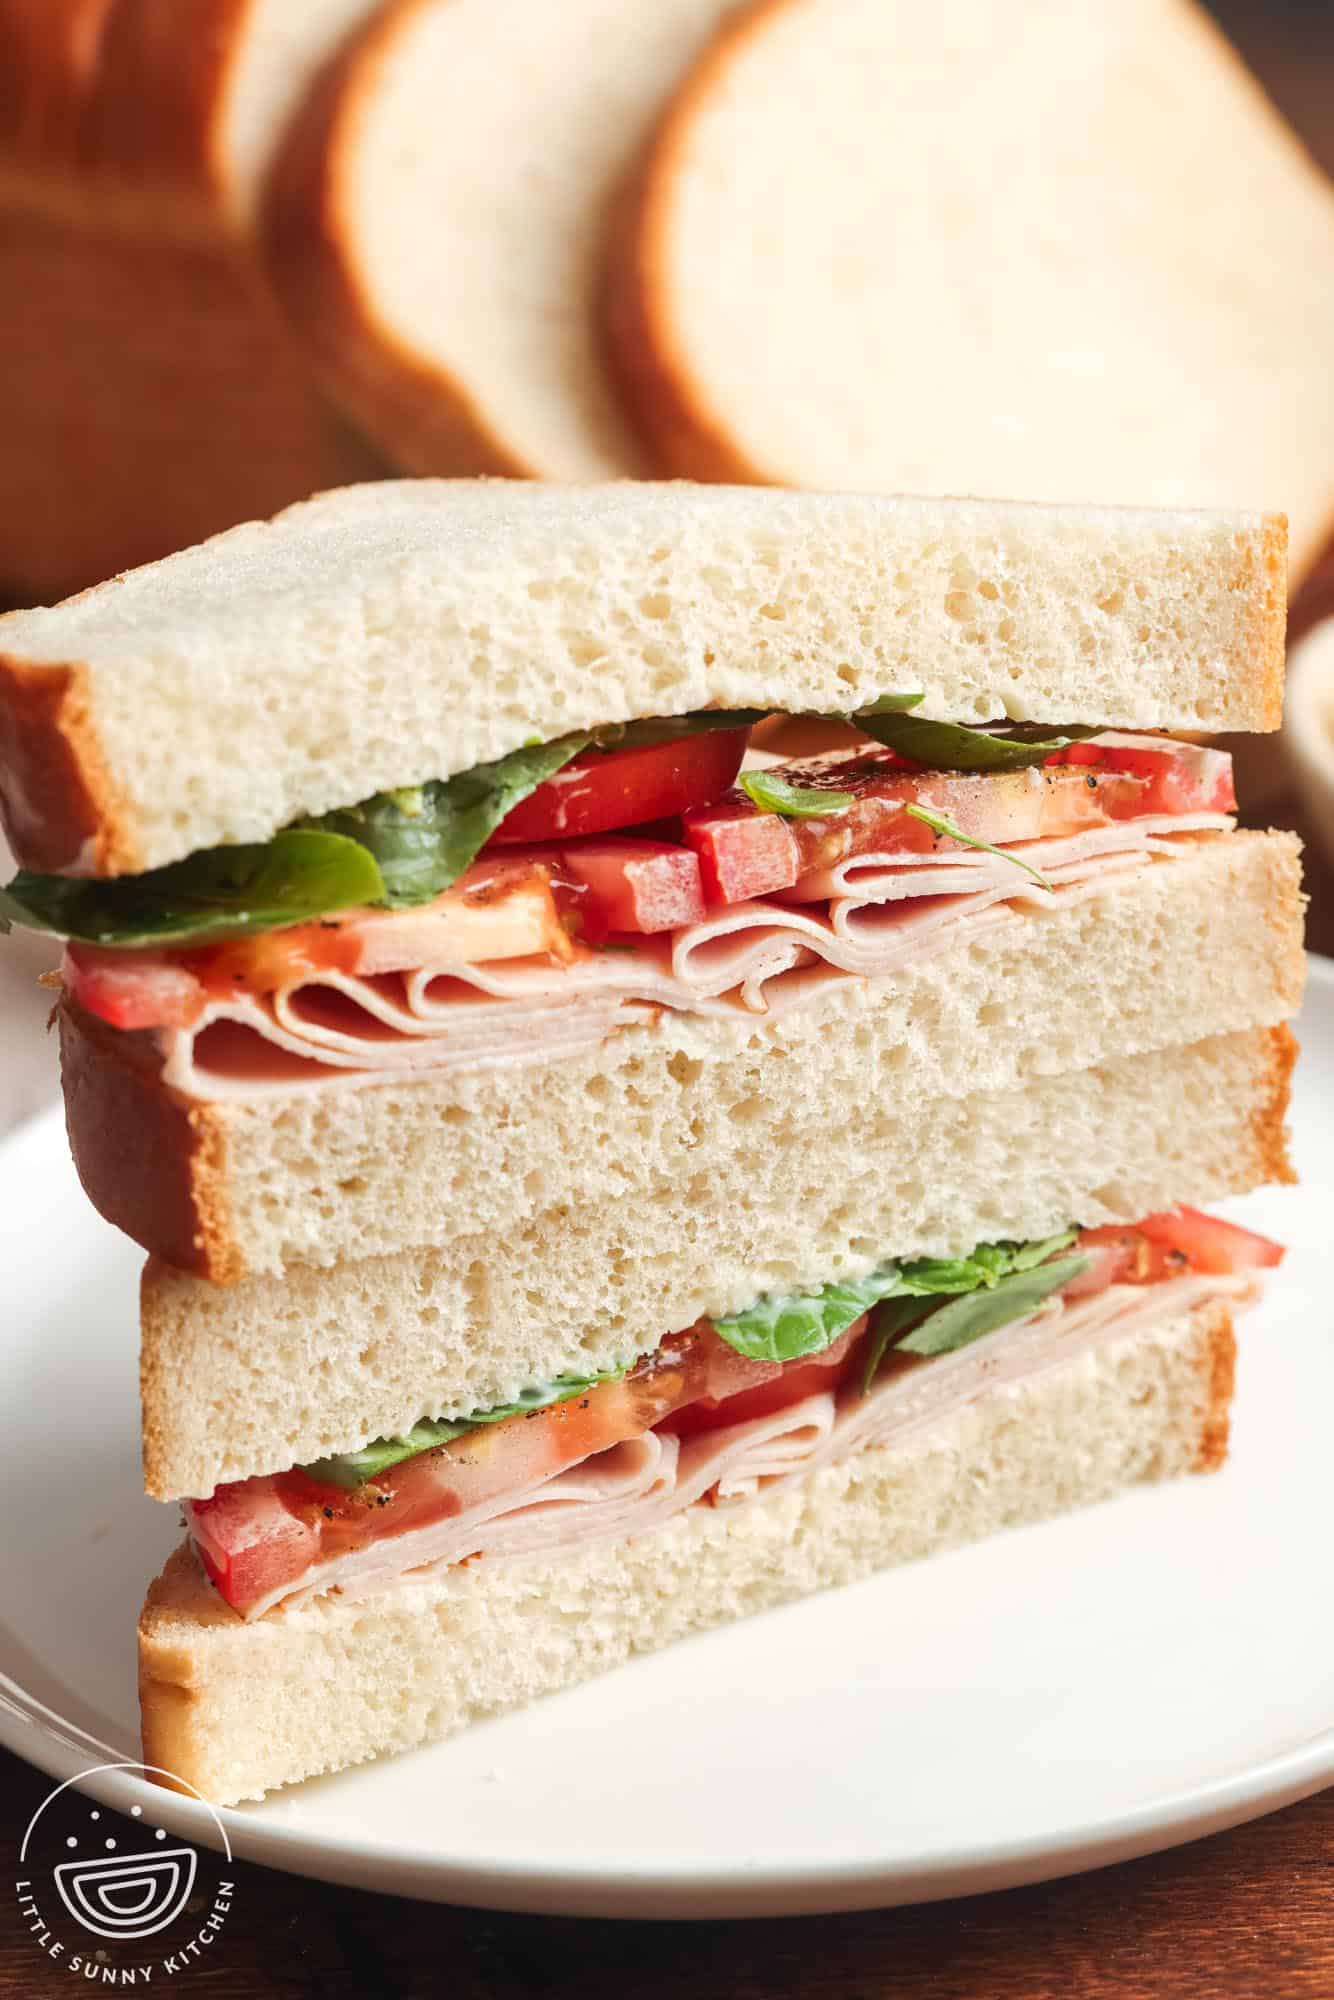
However you choose to make it, this loaf turns out fluffy, golden, and perfect for sandwiches, grilled cheese, and toast. If you have leftovers, cube them up and make air fryer croutons!
I am fully convinced that this is the best sandwich bread recipe! It’s easy enough for beginners, and always delicious.
Ingredient Notes
Complete list of ingredients and amounts can be found in the recipe card below.
- Flour: Use bread flour for this recipe if you like your bread to have a bit of a chewy texture. All-purpose flour will also work, but it doesn’t absorb as much of the liquid, so the dough can take a bit longer to knead by hand. I haven’t tested this recipe with alternative flours or whole wheat flour.
- Warm Water and Milk: To get the yeast working, it’s important to warm the liquids in this recipe to a temperature of 110°F/43°C. This is the ideal temperature for waking up the yeast and making it work faster, but it’s not so hot that it will kill the yeast. Use a kitchen thermometer for accuracy.
- Butter: Unsalted butter enriches the dough and gives it a wonderful flavor. Melt the butter, then let it cool down before mixing it into the dough. You’ll also need a bit of butter to rub over the loaf after it comes out of the oven. This step makes the crust wonderfully soft.
- Honey: Just a bit of honey adds a sweet flavor note that is perfectly balanced here. You can also use the same amount of granulated sugar if you prefer, but I like the flavor of honey better.
- Salt: Fine sea salt adds the perfect amount of seasoning. If you’re watching your sodium intake, you can reduce the amount, but a loaf of bread without any salt can be disappointing in terms of flavor.
- Yeast: I most often bake with instant (also known as “active rise”) yeast. I think it works better and faster. If you only have active dry yeast, be sure to proof it first by dissolving it in the warm milk with honey added. Use it once it’s bubbly. With instant yeast, you don’t need to do this step!

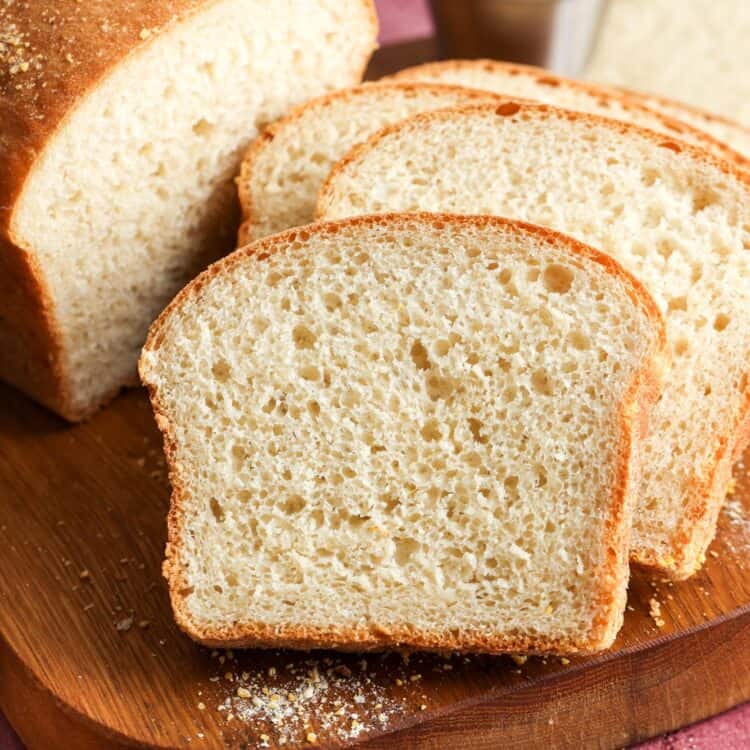

After much trial and error, this is by far the best loaf of white sandwich bread I’ve ever made, and I know your family is going to love it too! Fresh bread is just so much better than store-bought bread. Enjoy!
Did you make this? Be sure to leave a review below and tag me on Facebook, Instagram, or Pinterest!
Homemade Sandwich Bread
Equipment
- 9 by 5 inch (23 by 13 cm) loaf pan (oven method)
- Stand mixer with dough hook attachment or large mixing bowl and wooden spoon
- Kitchen scale and measuring cups and spoons
- Plastic wrap or clean towel
Ingredients
- ¾ cup (180 ml) whole milk warm, 105 to 115°F (40 to 46°C)
- ½ cup (120 ml) water warm, 105 to 115°F (40 to 46°C)
- 1 tablespoon (21 g) honey or granulated sugar
- 2 tablespoons (28 g) unsalted butter melted and cooled slightly
- 3 ½ cups (420 g) white flour all-purpose or bread flour
- 1 ½ teaspoons (8.5 g) fine sea salt
- 1 packet (7 g) instant yeast (use just 1½ teaspoons (4.5 g) yeast for bread machine version)
Instructions
Oven Instructions
- Whisk the flour, salt, and instant yeast in the bowl of a stand mixer fitted with a dough hook.
- Add the warm milk, warm water, honey, and melted butter.
- Beat on low speed until the dough comes together and no dry spots remain.
- Increase to medium speed and knead for 8 minutes, until the dough is smooth, elastic, and can stretch thin enough to see light through it (windowpane test).
- If the dough becomes too sticky during kneading, sprinkle 1 teaspoon flour at a time over the dough or into the bowl, just until you have a soft, slightly tacky dough. Do not add more flour than you need.
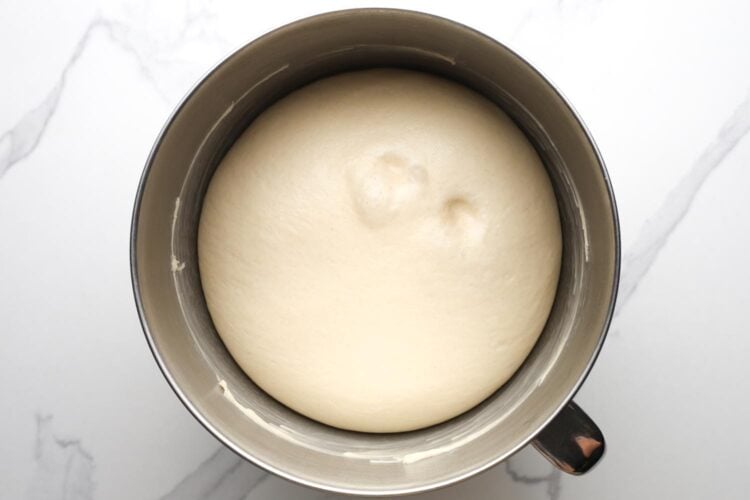
- Shape the dough into a ball and place it in a lightly greased bowl.
- Cover and let rise until doubled in size, 60 to 75 minutes.

- Lightly grease a 9 by 5 inch (23 by 13 cm) loaf pan.
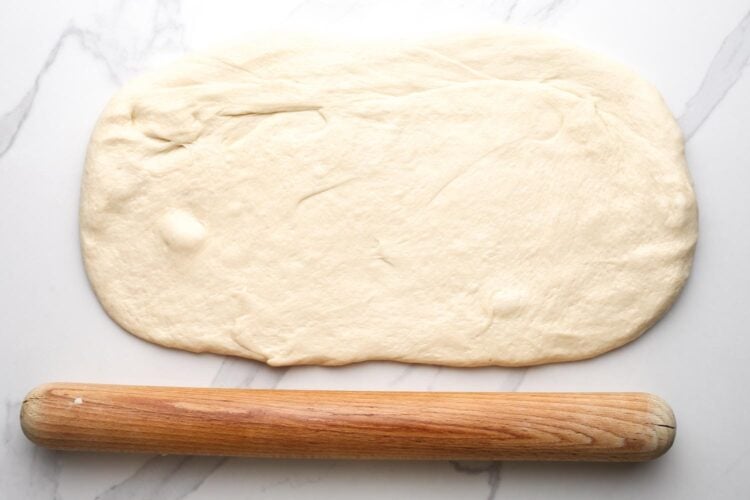
- Turn the dough out and press it into an 8 by 12 inch (20 by 30 cm) rectangle.
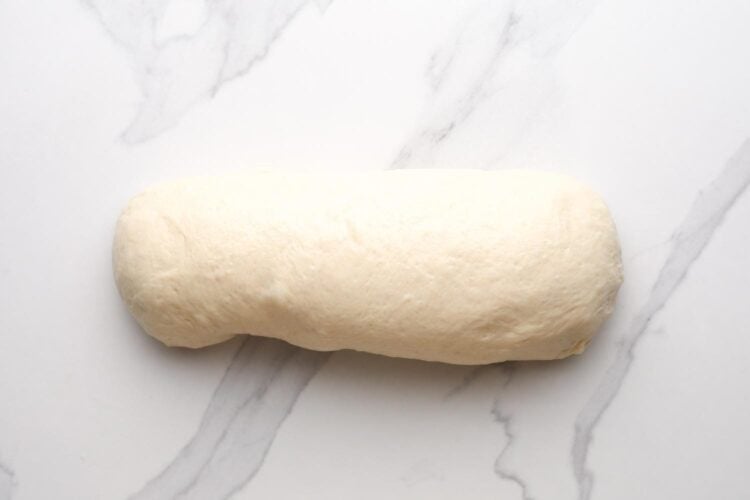
- Roll up tightly from the short side, pinch the seam, and tuck the ends under.
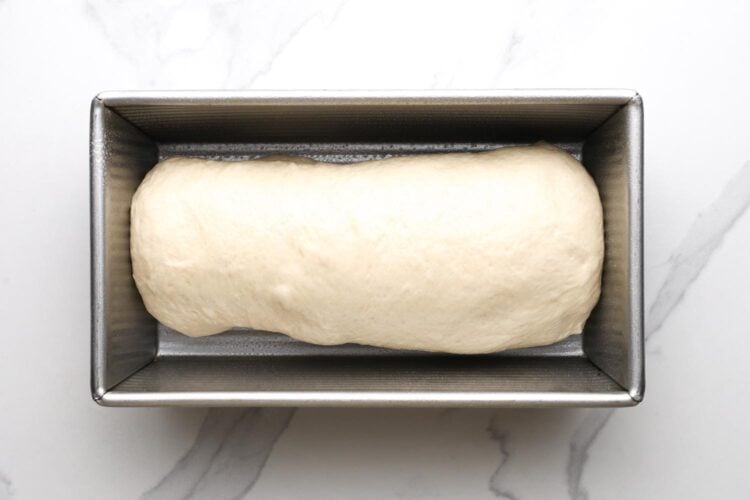
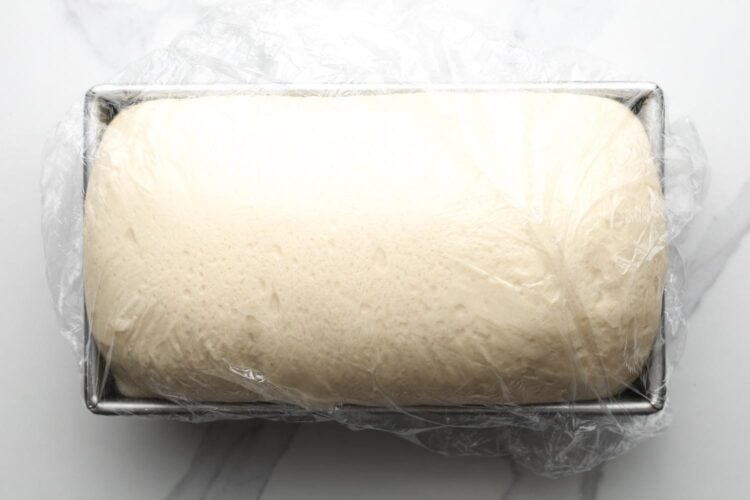
- Place seam side down in the pan and cover with plastic wrap or a damp towel.
- When the dough reaches the rim of the pan, preheat the oven to 350°F (180°C).
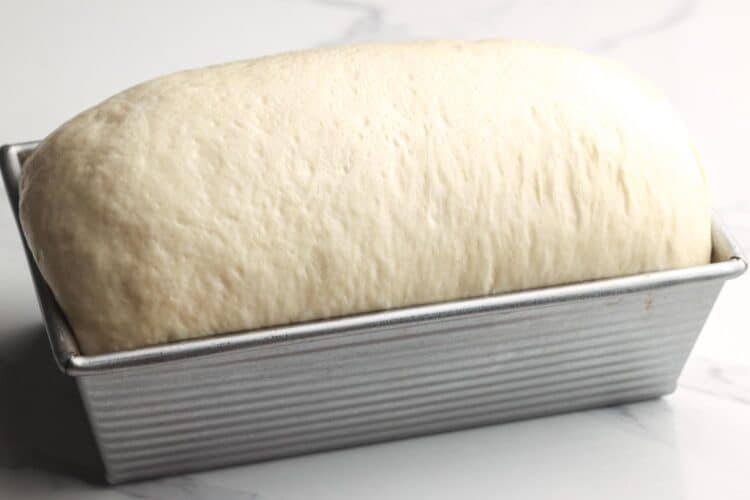
- Continue proofing until the dome is about 1 inch (2.5 cm) above the rim and a gentle poke slowly springs back.
- Bake on the center rack for 15 minutes, then rotate the pan 180 degrees.
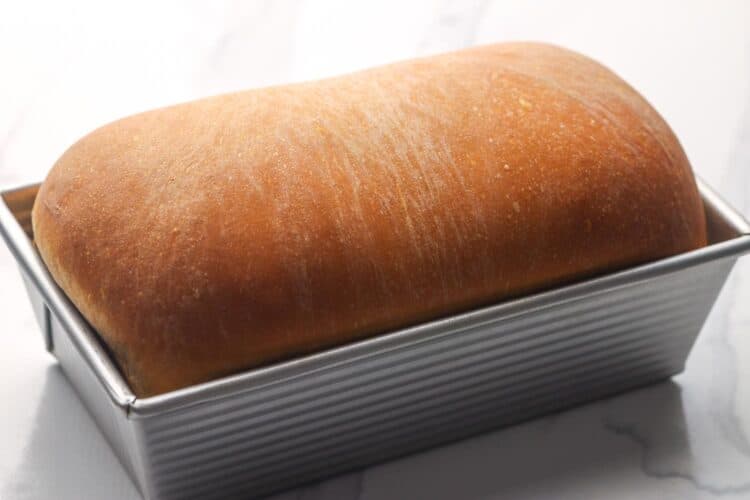
- Continue baking until deep golden and the center reads 200°F (93°C), about 15 to 20 minutes more.
- Cool in the pan for 10 minutes, then turn out onto a wire rack and cool completely. While the bread is still warm, rub butter over the top crust to keep it soft.

Bread Machine Instructions
- Add ingredients to the pan in this order: milk, water, honey, melted butter, flour, salt, instant yeast. Use 1½ teaspoons (4.5 g) yeast.
- Insert the pan, close the lid, and select Basic or White, Medium or 1½-lb loaf, and your preferred crust color. Start the cycle.
- When the cycle ends, unplug the machine and remove the pan with oven mitts.
- Cool in the pan for 10 minutes, then shake the loaf out, remove the paddle if needed, and cool completely on a wire rack. Brush the top with butter while the bread is still warm, if desired.
Notes:
- To make without a stand mixer: Stir with a sturdy spoon until a shaggy dough forms, then knead by hand for about 10 minutes until smooth, elastic, and tacky.
- To use active dry yeast instead of instant yeast, proof the yeast with warm milk, water, butter, and honey/sugar. Wait until it becomes foamy, then add the flour and salt.
- Liquid swaps: For a lighter loaf, replace up to ½ cup (120 ml) of milk with warm water.
- Bread pan size: An 8 ½ by 4 ½ inch (21.5 by 11.5 cm) pan will give a taller loaf. Check for doneness 2 to 3 minutes earlier.
- Doneness cues: Use a thermometer to check the internal temperature of the loaf. It should reach 200°F (93°C). Also, the loaf should sound hollow when tapped on the bottom.
- Storage: Store in an airtight container or bag at room temperature for up to 3 days, or for one week in the fridge. For longer storage, slice and freeze in a zip-top bag for up to two months. Toast slices from frozen.
Nutrition Information
This website provides approximate nutrition information for convenience and as a courtesy only. Nutrition data is gathered primarily from the USDA Food Composition Database, whenever available, or otherwise other online calculators.
© Little Sunny Kitchen
Storing Homemade Bread
While any kind of homemade bread will be at its best the same day that you bake it, it will last on the counter, wrapped up airtight, for 3-4 days, or in the fridge for a week.
Use your fresh white bread to make sandwiches, French toast, or as an easy side for soups and salads.
If you need to freeze this bread, slice it first and then freeze the slices. Pull the bread out of the freezer and pop it right in the toaster for an easy breakfast.
Tips for Baking Homemade Sandwich Bread
- Don’t add extra flour! The dough for this bread will be sticky and loose. Adding any more flour will make your loaf dry and dense. Instead, continue kneading the dough until it’s elastic and easy to work with.
- Cool before slicing. I know it’s hard to wait, but cutting into a warm loaf of bread will allow steam to escape, which will interrupt the process of creating the perfect white bread crumb.
- You can make this bread in your bread machine! Instructions are in the recipe card. Just be sure to add the ingredients in the proper order: milk, water, honey, melted butter, flour, salt, and instant yeast. You’ll need less yeast as well. I used 1½ teaspoons (4.5 g) yeast to make this in the bread maker.

Kim says
I bake a lot of bread and try a lot of recipes. This one is absolutely perfect! It makes a single loaf so for a smaller family it is just the right amount. The bread has a really nice consistency and density and a firm but soft crust.
Elaine says
I’m so pleased with this bread! Finally a recipe that is soft and sliceable for sandwiches.. It holds together (in the middle) and does not fall apart !
Little Sunny Kitchen says
Thanks, Elaine! I’m so glad you found success with this recipe.
Hannah says
Portions are incorrect. Dough forms a hard ball. Waste of ingredients.
Diana says
Sorry it didn’t turn out the way you expected. This recipe has been tested many times with good results, and with 420 g flour to 300 ml liquid, the dough should be soft rather than hard. It’s possible a little too much flour was added, which can make a big difference with bread dough. If you decide to try it again, I’d recommend weighing the flour if you can, since that usually gives the most accurate result.
Myra says
Delightful recipe and taste!!!
So glad my daughter found your site! She is 14, and she surprised me with this when I got home from work! Made my entire day! Nothing like coming home to the smell of fresh baked bread!
Little Sunny Kitchen says
I love this so much! I hope your daughter finds lots of yummy things to cook for you here, and I’m glad she enjoyed the bread recipe.